Page 9 of 362
yellowblue
1-3 Massaging Lumbar (If Equipped)
Push the lumbar control, located on the outboard side of each
front seat, up for half a second to activate the massage
feature. The massage cycle will run for 10 minutes and can be
interrupted by pushing the lumbar control down briefly. The
lumbar support can be adjusted during the massage cycle by
moving the switch forward to increase support and rearward
to decrease support. The massage cycle will continue to run
even if the ignition is turned to OFF, unless interrupted.
Adaptive Seat Control (If Equipped)
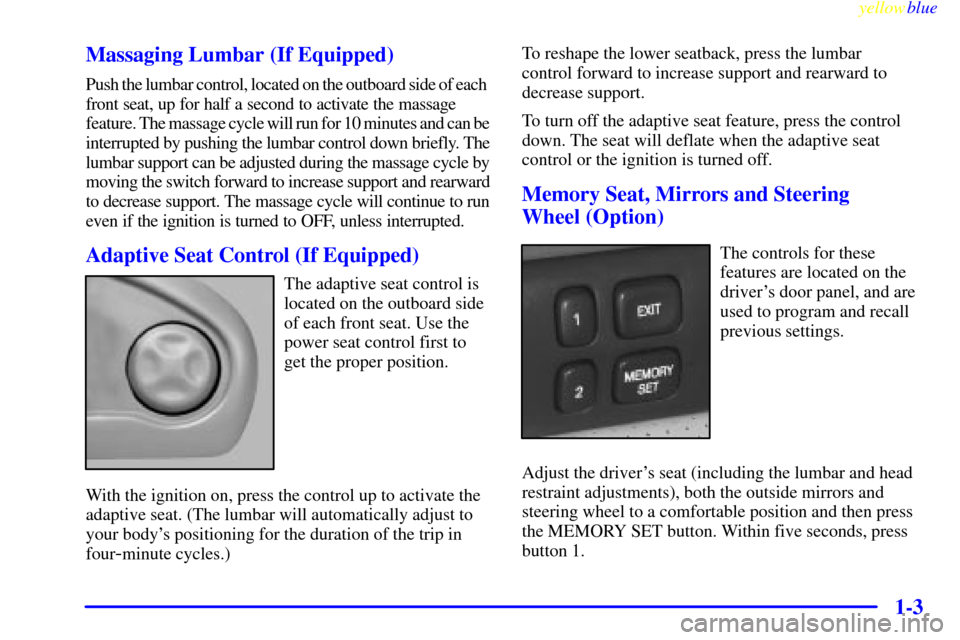
The adaptive seat control is
located on the outboard side
of each front seat. Use the
power seat control first to
get the proper position.
With the ignition on, press the control up to activate the
adaptive seat. (The lumbar will automatically adjust to
your body's positioning for the duration of the trip in
four
-minute cycles.)To reshape the lower seatback, press the lumbar
control forward to increase support and rearward to
decrease support.
To turn off the adaptive seat feature, press the control
down. The seat will deflate when the adaptive seat
control or the ignition is turned off.
Memory Seat, Mirrors and Steering
Wheel (Option)
The controls for these
features are located on the
driver's door panel, and are
used to program and recall
previous settings.
Adjust the driver's seat (including the lumbar and head
restraint adjustments), both the outside mirrors and
steering wheel to a comfortable position and then press
the MEMORY SET button. Within five seconds, press
button 1.
Page 10 of 362
yellowblue
1-4
A second mirror, seating and steering wheel position may
be programmed by repeating the above steps and pressing
button ª2º. Each time a memory button is pressed, a single
beep will sound through the radio. Each time button 1 or 2
is pressed, the memory positions will be recalled. At the
factory, the exit position is preset with the steering wheel
full up and the seat full back. However, two personalized
exit positions can be set by first recalling the driving
position (Driver ª1º or ª2º), positioning the wheel and
seat in the desired exit positions and then pressing the
MEMORY SET button and, within five seconds, pressing
the EXIT button. The exit position for either previously set
driver can be recalled by pressing the EXIT button.
Heated Seats (Option)
This option is only available if your vehicle is equipped
with the power lumbar control feature.
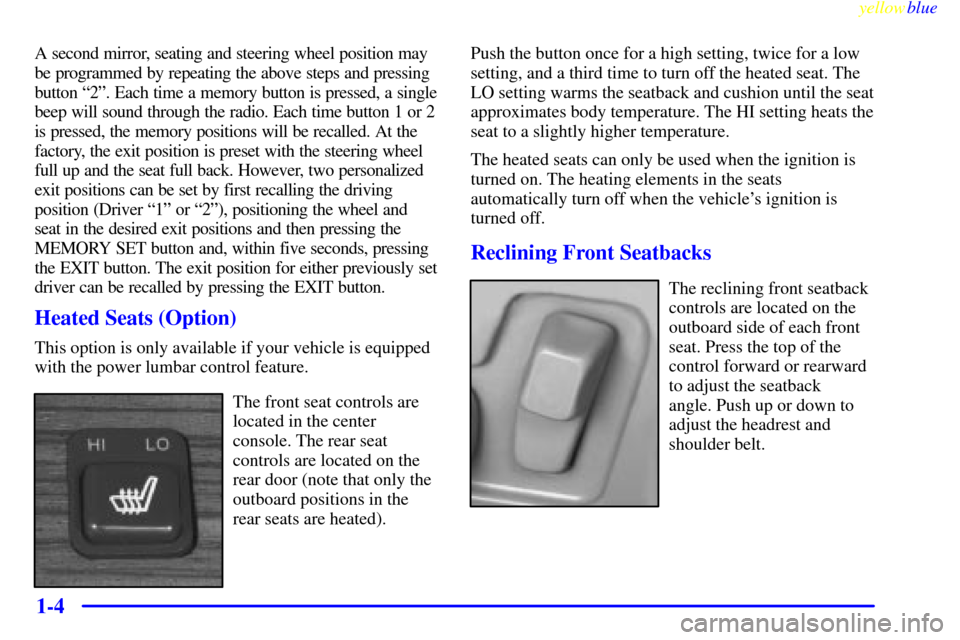
The front seat controls are
located in the center
console. The rear seat
controls are located on the
rear door (note that only the
outboard positions in the
rear seats are heated).Push the button once for a high setting, twice for a low
setting, and a third time to turn off the heated seat. The
LO setting warms the seatback and cushion until the seat
approximates body temperature. The HI setting heats the
seat to a slightly higher temperature.
The heated seats can only be used when the ignition is
turned on. The heating elements in the seats
automatically turn off when the vehicle's ignition is
turned off.
Reclining Front Seatbacks
The reclining front seatback
controls are located on the
outboard side of each front
seat. Press the top of the
control forward or rearward
to adjust the seatback
angle. Push up or down to
adjust the headrest and
shoulder belt.
Page 33 of 362
yellowblue
1-27
CAUTION:
For up to 10 seconds after the ignition key is
turned off and the battery is disconnected, an air
bag can still inflate during improper service. You
can be injured if you are close to an air bag when
it inflates. Avoid yellow connectors. They are
probably part of the air bag systems. Be sure to
follow proper service procedures, and make sure
the person performing work for you is qualified
to do so.
The air bag systems do not need regular maintenance.
Rear Seat Passengers
It's very important for rear seat passengers to buckle up!
Accident statistics show that unbelted people in the rear
seat are hurt more often in crashes than those who are
wearing safety belts.Rear passengers who aren't safety belted can be thrown
out of the vehicle in a crash. And they can strike others
in the vehicle who are wearing safety belts.
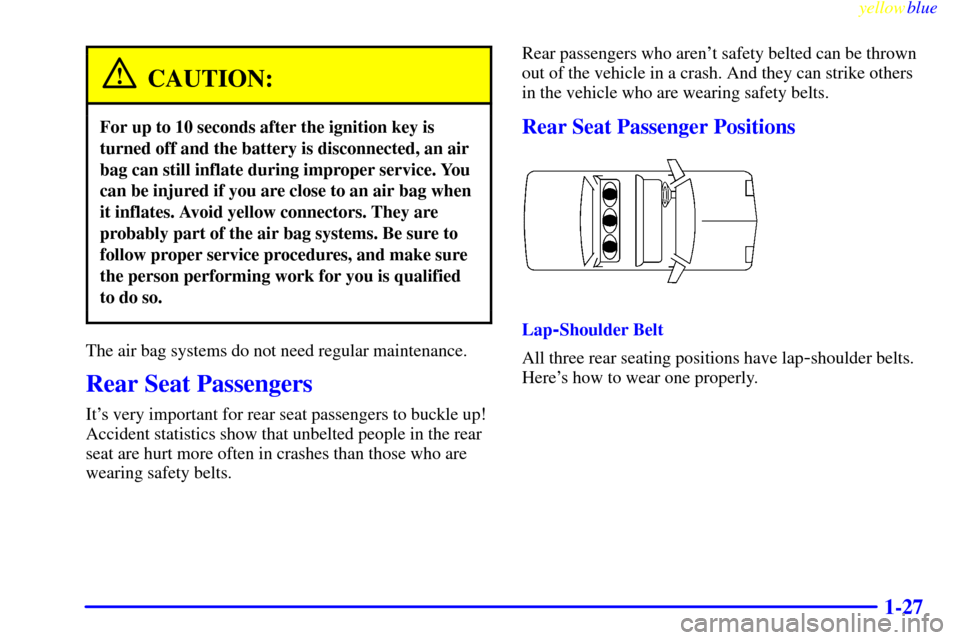
Rear Seat Passenger Positions
Lap-Shoulder Belt
All three rear seating positions have lap
-shoulder belts.
Here's how to wear one properly.
Page 53 of 362
2-
yellowblue
2-1
Section 2 Features and Controls
Here you can learn about the many standard and optional features on your vehicle, and information on starting,
shifting and braking. Also explained are the instrument panel and the warning systems that tell you if everything is
working properly
-- and what to do if you have a problem.
2
-2 Keys
2
-4 Door Locks
2
-7 Remote Keyless Entry (RKE) System
2
-11 Trunk
2
-15 Theft
2
-15 Theft-Deterrent System
2
-17 PASS-Key� III
2
-19 New Vehicle ªBreak-Inº
2
-19 Ignition Positions
2
-21 Starting Your Engine
2
-22 Engine Coolant Heater (If Equipped)
2
-24 Automatic Transaxle Operation
2
-27 Parking Brake
2
-29 Shifting Into PARK (P)
2
-31 Shifting Out of PARK (P)
2
-32 Parking Over Things That Burn2
-32 Engine Exhaust
2
-33 Running Your Engine While You're Parked
2
-34 Windows
2
-35 Tilt Wheel
2
-36 Turn Signal/Multifunction Lever
2
-43 Exterior Lamps
2
-47 Interior Lamps
2
-49 Mirrors
2
-53 Storage Compartments
2
-56 Sun Visors
2
-57 Sunroof (Option)
2
-58 Universal Transmitter (Option)
2
-62 The Instrument Panel -- Your
Information System
2
-67 Warning Lights, Gages and Indicators
2
-78 Driver Information Center (DIC)
Page 54 of 362
yellowblue
2-2
Keys
CAUTION:
Leaving children in a vehicle with the ignition
key is dangerous for many reasons. A child or
others could be badly injured or even killed.
They could operate power windows or other
controls or even make the vehicle move. If they
turned the ignition to ACC or ON and moved the
shift lever out of PARK (P), that would release
the parking brake. Don't leave the keys in a
vehicle with children.
Page 55 of 362
yellowblue
2-3
Master Key Valet Key
There is a master key that works in all of the lock
cylinders (driver's door, trunk, ignition and glove box).
There is also a valet key which only operates the
driver's door and the ignition.Both the master and valet keys have a transponder
embedded into the key for security and theft deterrence.
The keys also come with a bar code tag. Keep the bar
code tag in a safe place. If you lose your key you will be
able to have a new one made using the bar code tag.
The replacement key must have a transponder embedded
in it.
NOTICE:
Your vehicle has a number of new features that
can help prevent theft. You can have a lot of
trouble getting into your vehicle if you ever lock
your key inside and you may have to damage
your vehicle to get in. Be sure you have an
extra key.
Page 57 of 362
yellowblue
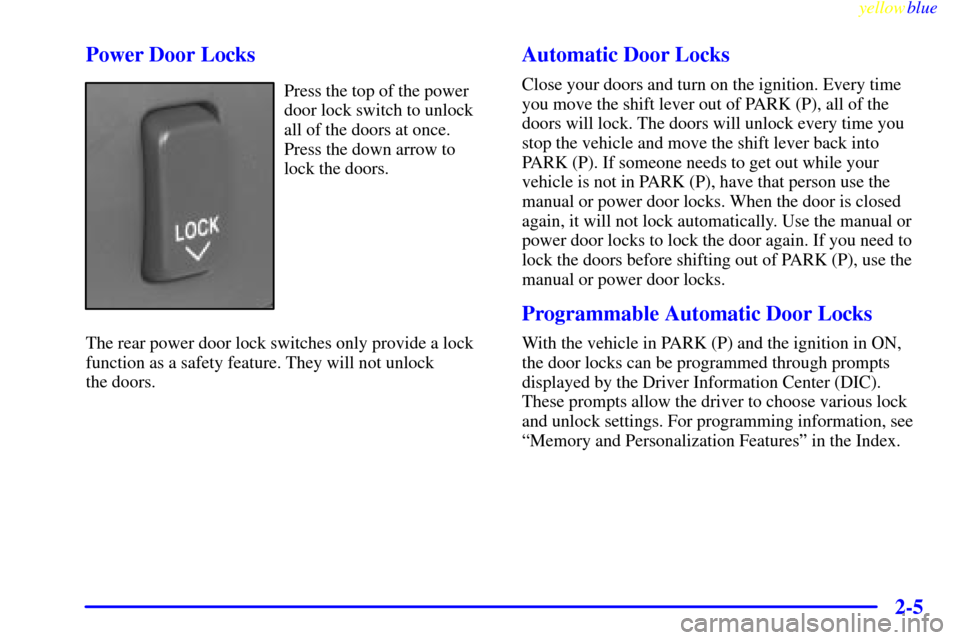
2-5 Power Door Locks
Press the top of the power
door lock switch to unlock
all of the doors at once.
Press the down arrow to
lock the doors.
The rear power door lock switches only provide a lock
function as a safety feature. They will not unlock
the doors.
Automatic Door Locks
Close your doors and turn on the ignition. Every time
you move the shift lever out of PARK (P), all of the
doors will lock. The doors will unlock every time you
stop the vehicle and move the shift lever back into
PARK (P). If someone needs to get out while your
vehicle is not in PARK (P), have that person use the
manual or power door locks. When the door is closed
again, it will not lock automatically. Use the manual or
power door locks to lock the door again. If you need to
lock the doors before shifting out of PARK (P), use the
manual or power door locks.
Programmable Automatic Door Locks
With the vehicle in PARK (P) and the ignition in ON,
the door locks can be programmed through prompts
displayed by the Driver Information Center (DIC).
These prompts allow the driver to choose various lock
and unlock settings. For programming information, see
ªMemory and Personalization Featuresº in the Index.
Page 58 of 362
yellowblue
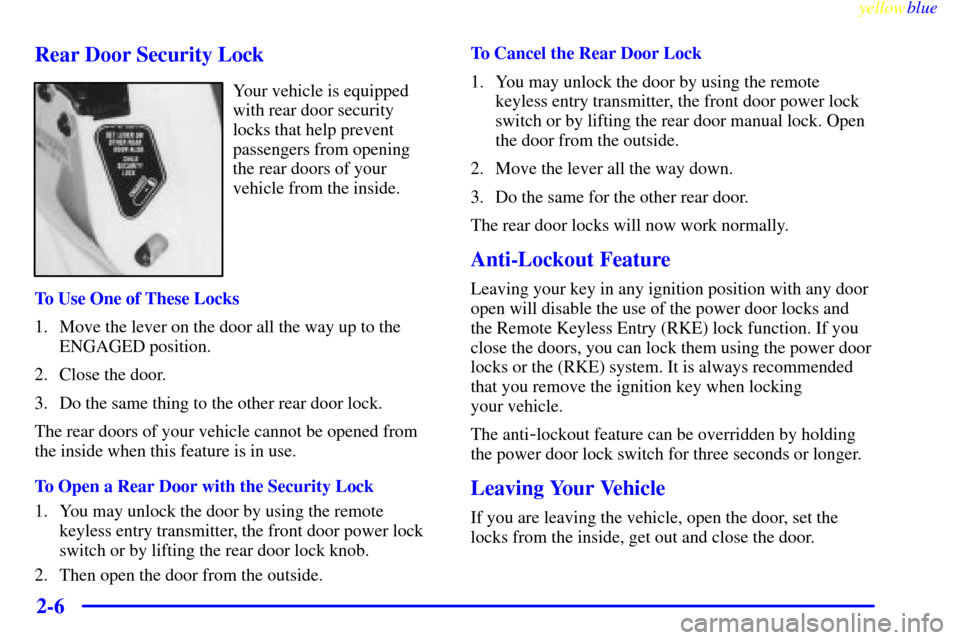
2-6 Rear Door Security Lock
Your vehicle is equipped
with rear door security
locks that help prevent
passengers from opening
the rear doors of your
vehicle from the inside.
To Use One of These Locks
1. Move the lever on the door all the way up to the
ENGAGED position.
2. Close the door.
3. Do the same thing to the other rear door lock.
The rear doors of your vehicle cannot be opened from
the inside when this feature is in use.
To Open a Rear Door with the Security Lock
1. You may unlock the door by using the remote
keyless entry transmitter, the front door power lock
switch or by lifting the rear door lock knob.
2. Then open the door from the outside.To Cancel the Rear Door Lock
1. You may unlock the door by using the remote
keyless entry transmitter, the front door power lock
switch or by lifting the rear door manual lock. Open
the door from the outside.
2. Move the lever all the way down.
3. Do the same for the other rear door.
The rear door locks will now work normally.
Anti-Lockout Feature
Leaving your key in any ignition position with any door
open will disable the use of the power door locks and
the Remote Keyless Entry (RKE) lock function. If you
close the doors, you can lock them using the power door
locks or the (RKE) system. It is always recommended
that you remove the ignition key when locking
your vehicle.
The anti
-lockout feature can be overridden by holding
the power door lock switch for three seconds or longer.
Leaving Your Vehicle
If you are leaving the vehicle, open the door, set the
locks from the inside, get out and close the door.