1999 CADILLAC CATERA buttons
[x] Cancel search: buttonsPage 11 of 328

yellowblue
1-3
If a failure in the power supply system occurs, the power
seats can be manually adjusted by inserting the crank
handle into the slot located below the seat cushion, as
shown in the above illustration. Turn the crank handle
clockwise until you've reached your desired
seating position.
Note: Manually moving the seat requires turning the
crank handle many times.
The crank handle is provided in the tool kit located in
the trunk. To access, pull the red handle on the
passenger's side of the trunk.
Memory Seat and Mirrors
These buttons are located on the side of the driver's seat
closest to the door. They are used to program and recall
your desired memory settings.
To begin, adjust the driver's seat to a comfortable
position. Also adjust the interior and exterior mirrors.
Press memory button ªMº and memory button ª1º at the
same time and hold for five seconds.
Seat and mirror positions may be programmed for
two additional drivers by repeating the above steps and
pressing memory button ª2º or ª3º instead of
memory button ª1.º
Page 12 of 328

yellowblue
1-4
If your vehicle is in PARK (P), you can recall mirror and
seating positions by pressing and holding one of the
three memory buttons. This will adjust the seat and
mirrors to where you have previously programmed
them. Seat and mirror movement is immediately stopped
if the memory button is released or if a seat or mirror
control is moved.
Also note that if you try to adjust the driver's memory
seat and it doesn't move, try opening and closing the
driver's door. This will re
-activate power to the driver's
seat as power to the driver's seat ªtimes outº after
30 seconds. (Power to the passenger's seat is
always present.)
Heated Front Seat (Option)
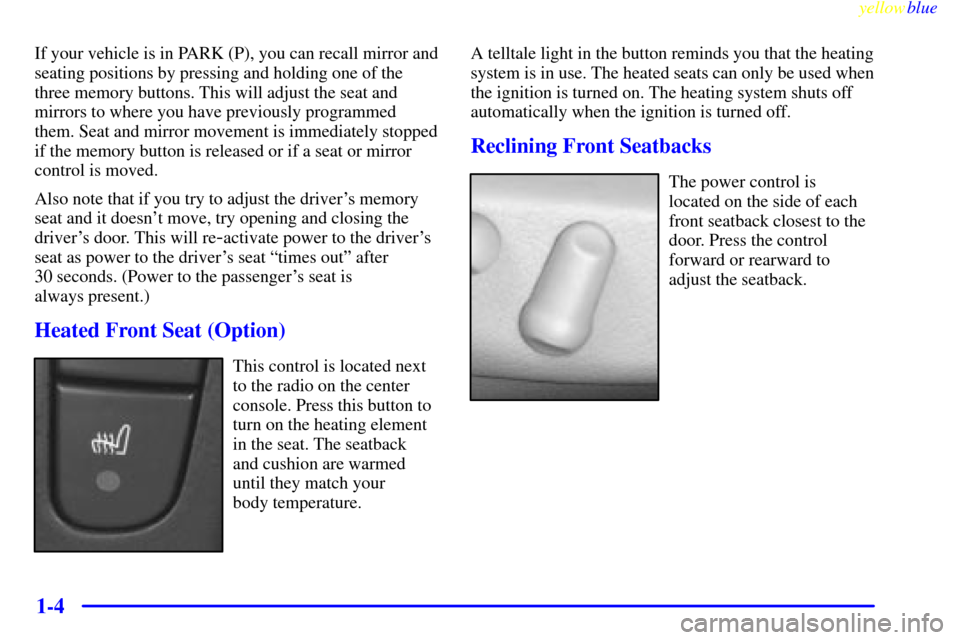
This control is located next
to the radio on the center
console. Press this button to
turn on the heating element
in the seat. The seatback
and cushion are warmed
until they match your
body temperature.A telltale light in the button reminds you that the heating
system is in use. The heated seats can only be used when
the ignition is turned on. The heating system shuts off
automatically when the ignition is turned off.
Reclining Front Seatbacks
The power control is
located on the side of each
front seatback closest to the
door. Press the control
forward or rearward to
adjust the seatback.
Page 14 of 328

yellowblue
1-6 Head Restraints
Slide the head restraint up or down so that the top of the
restraint is closest to the top of your ears. This position
reduces the chance of a neck injury in a crash.
The head restraints tilt forward and rearward also.
Removable Head Restraints
CAUTION:
If a head restraint is not installed on the seatback
or stored in the vehicle properly, it could be
thrown about the vehicle in a crash or sudden
maneuver. People in the vehicle could be injured.
Remove the head restraints only when you need
to fold the seat, and be sure that the head
restraints are stored securely in the trunk. When
the seat is returned to the passenger position, be
sure the head restraints are installed properly.
For more cargo space or to fold down the front
passenger's seat, you may need to remove the head
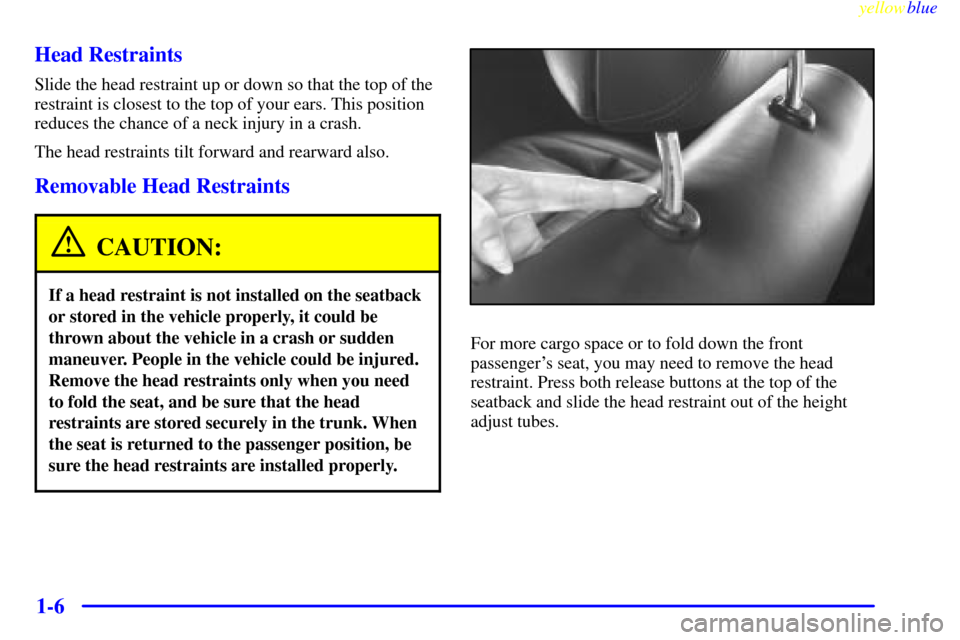
restraint. Press both release buttons at the top of the
seatback and slide the head restraint out of the height
adjust tubes.
Page 72 of 328

yellowblue
2-10
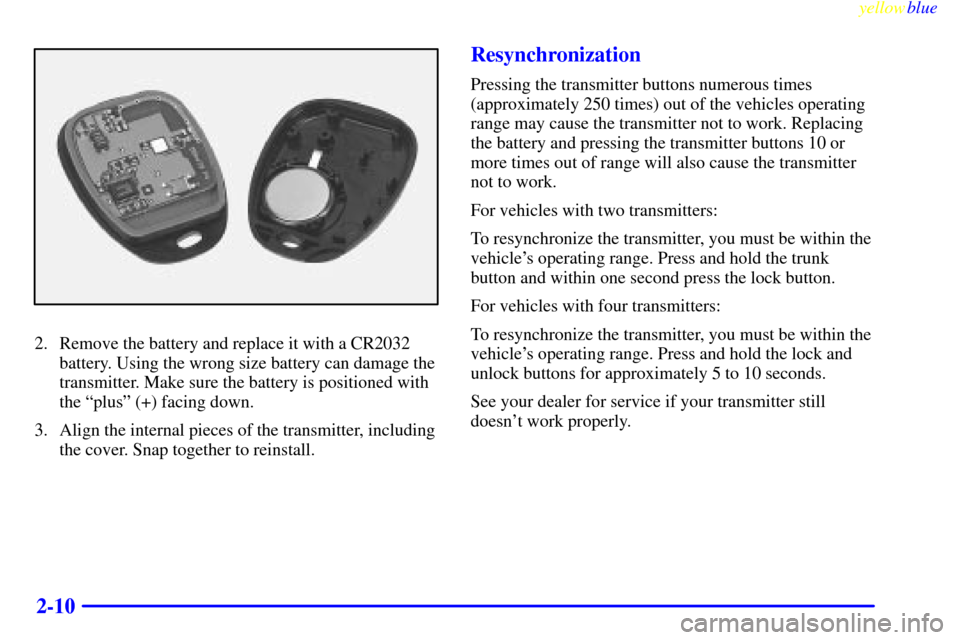
2. Remove the battery and replace it with a CR2032
battery. Using the wrong size battery can damage the
transmitter. Make sure the battery is positioned with
the ªplusº (+) facing down.
3. Align the internal pieces of the transmitter, including
the cover. Snap together to reinstall.
Resynchronization
Pressing the transmitter buttons numerous times
(approximately 250 times) out of the vehicles operating
range may cause the transmitter not to work. Replacing
the battery and pressing the transmitter buttons 10 or
more times out of range will also cause the transmitter
not to work.
For vehicles with two transmitters:
To resynchronize the transmitter, you must be within the
vehicle's operating range. Press and hold the trunk
button and within one second press the lock button.
For vehicles with four transmitters:
To resynchronize the transmitter, you must be within the
vehicle's operating range. Press and hold the lock and
unlock buttons for approximately 5 to 10 seconds.
See your dealer for service if your transmitter still
doesn't work properly.
Page 119 of 328

yellowblue
2-57 Programming the Universal Transmitter
Do not use the Universal Transmitter with any garage
door opener that does not have the ªstop and reverseº
safety feature. This includes any garage door opener
model manufactured before April 1, 1982.
Be sure that people and objects are clear of the garage
door you are programming.
Your vehicle's engine should be turned off while
programming the transmitter. Follow these steps to
program up to three channels:
1. If you have previously programmed a transmitter
channel, proceed to Step 2. Otherwise, hold down
the two outside buttons on the Universal Transmitter
until the indicator light begins to flash rapidly (after
20 seconds). Then release the buttons. This
procedure initializes the memory and erases any
previous settings for all three channels.
2. Decide which one of the three channels you want to
program. Hold the end of the hand
-held transmitter
about 2 to 5 inches (5 to 13 cm) away from the
surface of the Universal Transmitter so that you can
still see the indicator light.3. Using both hands, press the hand
-held transmitter
button and the desired button on the Universal
Transmitter. Continue to press both buttons through
Step 4.
4. Hold down both buttons until you see the indicator
light on the Universal Transmitter flash slowly and
then rapidly. The rapid flashing indicates that the
Universal Transmitter has been programmed.
Release both buttons once the indicator light starts to
flash rapidly.
If you have trouble programming the Universal
Transmitter, make sure that you have followed the
directions exactly as described. The Universal
Transmitter may not work with older garage door
openers that do not meet current Federal Consumer
Safety Standards. If you cannot program the transmitter
after repeated attempts, refer to ªRolling Code
Programmingº later in this section or contact the
Universal Transmitter manufacturer at 1
-800-355-3515.
Be sure to keep the original hand
-held transmitter
in case you need to erase and reprogram the
Universal Transmitter.
Page 120 of 328

yellowblue
2-58
Note to Canadian Owners: During programming, the
hand
-held transmitter may automatically stop
transmitting after one or two seconds. In this case, you
should press and re
-press the button on the hand-held
transmitter every two seconds without ever releasing the
button on the Universal Transmitter. Release both
buttons when the indicator light on the Universal
Transmitter begins to flash rapidly.
Operating the Universal Transmitter
Press and release the appropriate button on the Universal
Transmitter. The indicator light comes on while the
signal is being transmitted.
If the hand
-held transmitter appears to program the
Universal Transmitter but does not open your garage
door, and if the garage door opener was manufactured
after 1996, the garage door opener may have a ªrolling
codeº system. A rolling code system changes the code
of the garage door opener every time you open or close
the garage door.To determine if you have this system, press the button
on the Universal Transmitter that you have programmed
already. If the indicator light on the Universal
Transmitter flashes rapidly for two seconds and then
turns solid, the garage door opener has a rolling code
system. In a rolling code system, the garage door motor
head unit must be trained to the Universal Transmitter.
ªRolling Codeº Programming (If Equipped)
If you have not previously programmed the hand-held
transmitter to the Universal Transmitter, see
ªProgramming the Universal Transmitterº listed
previously. If you have completed this programming
already, you now need to train the garage door opener
motor head unit to recognize the Universal Transmitter.
Refer to your garage door opener owner's manual for
the proper transmitter training procedure for your garage
door opener brand.
Page 121 of 328

yellowblue
2-59
1. Find the training button on the garage door opener
motor head unit. The exact location and color of the
button may vary by garage door opener brand. If you
have difficulty finding the training button, refer to
your garage door opener owner's manual.
2. Press the training button on the garage door opener
motor head unit.
Note: Following this step, you have 30 seconds to
start Step 3.
3. Return to the Universal Transmitter in your vehicle
and firmly press and release the Universal
Transmitter button you have already programmed for
two to three seconds. Press and release the button
again (you may need to do this step up to three
times) to make sure that the Universal Transmitter
has been trained to the garage door opener motor
head unit. Check that the training was successful.The garage door opener should now recognize the
Universal Transmitter. You may either use the Universal
Transmitter or the hand
-held transmitter to open the
garage door.
If after following these instructions, you still have
problems training the garage door opener, contact the
Universal Transmitter manufacturer at 1
-800-355-3515.
Erasing Channels
To erase all three programmed channels, hold down the
two outside buttons until the indicator light begins to
flash (after 20 seconds). Release both buttons.
Accessories
Accessories for the Universal Transmitter are available
from the manufacturer of the unit. If you would like
additional information, please call 1
-800-355-3515.
Page 148 of 328

yellowblue
3-10
Finding a Station
BAND: Press this button to select AM, FM1 or FM2.
SEEK
-TUNE: Press and release this button to seek to
the next higher or lower radio station. Pressing and
holding this button until a chime sounds puts the radio
in a tune mode. In this mode, higher or lower radio
stations are advanced to in small increments until the
SEEK
-TUNE button is released. Tuning stops when you
release this button. If you press and hold the
SEEK
-TUNE button again within five seconds of being
in the tune mode, tuning will continue. Waiting longer
than five seconds places the radio back in the
seek mode.
SCAN: Press this button and SCAN will appear on the
display. Use SCAN to listen to stations for a few
seconds. The radio will go to a station, stop for a few
seconds, then go on to the next station. Press this button
again to stop scanning.PUSHBUTTONS: The six numbered pushbuttons let
you return to your favorite stations. You can set up to
18 stations (six AM, six FM1 and six FM2). Just:
1. Turn the radio on.
2. Press BAND to select AM, FM1 or FM2.
3. Tune in the desired station.
4. Press and hold one of the six numbered buttons for
more than two seconds until you hear a beep.
Whenever you press that numbered button for less
than two seconds, the station you set will return.
5. Repeat the steps for each pushbutton.
When battery power is removed and later applied, you
will not have to reset your radio presets because the
radio remembers them.
PRESET SCAN: Press and hold SCAN for two to three
seconds until PRESET SCAN appears on the display to
listen to each of your preset stations for a few seconds
(factory presets which have not been reprogrammed
with your stations will be ignored). The radio will go to
the first preset station stored on your pushbuttons, stop
for a few seconds, then go on to the next preset station.
Press SCAN again to stop scanning. If a preset station
has weak reception, the radio will not stop at the
preset station.