1998 PONTIAC GRAND PRIX display
[x] Cancel search: displayPage 92 of 402

LOCK (B): Before you put the key into the ignition
switch, the switch is in LOCK. It’s
also the only position
from which you can remove your key.
This position
locks your ignition, steering wheel and transaxle. It’s a
theft-deterrent feature.
OFF (C): This position lets you turn off the engine but
still turn the steering wheel. It doesn’t lock the steering
wheel like
LOCK. Use OFF if you must have your
vehicle pushed or towed.
RUN (D): This position is where the key returns
after you start your vehicle. With the engine
off, you
can use RUN to display some of your warning and
indicator lights.
START (E): This position starts your engine.
A warning chime will sound if you open the driver’s
door when the ignition is in
OFF, LOCK or
ACCESSORY and the key is in the ignition.
NOTICE:
If your key seem stuck in LOCK and you can’t
turn it, be sure you are using the correct key;
if
so, is it all the way in? If it is, then turn the
steering wheel left and right while
you turn the
key hard. But turn the key only with your hand.
Using a tool to force it could break the key
or the
ignition switch.
If none of this works, then your
vehicle needs service.
Retained Accessory Power
With retained accessory power, your power windows, audio system and sunroof will continue to work up to
10 minutes after the ignition key is turned to OFF and
none of the doors are opened.
Starting Your Engine
Move your shift lever to PARK (P) or NEUTRAL (N).
Your engine won’t start in any other position -- that’s a
safety feature.
To restart when you’re already moving,
use
NEUTRAL (N) only.
2-17
~~
Page 138 of 402
SpeedometedOdometer
Your speedometer lets you see your speed in both miles
per hour (mph) and kilometers per hour
(km/h). Your
odometer shows how far your vehicle has been driven in
either miles (used in the United States) or in kilometers
(used in Canada).
Your vehicle has a tamper-resistant odometer.
If you see
silver lines between the numbers, you’ll
know someone
has probably tampered with it and the numbers may not
be correct.
You may wonder what happens
if your vehicle needs a
new odometer installed.
If the new one can be set to the
mileage
total of the old odometer, then that will be done.
If it can’t, then it will be set at zero and a label must be
put on the driver’s door to show the old mileage reading when the new odometer was installed.
Trip Odometer
Your trip odometer tells how far you have driven since
you last reset it.
To set it to zero, press the RESET
button on the right side of the instrument cluster.
Tachometer
I
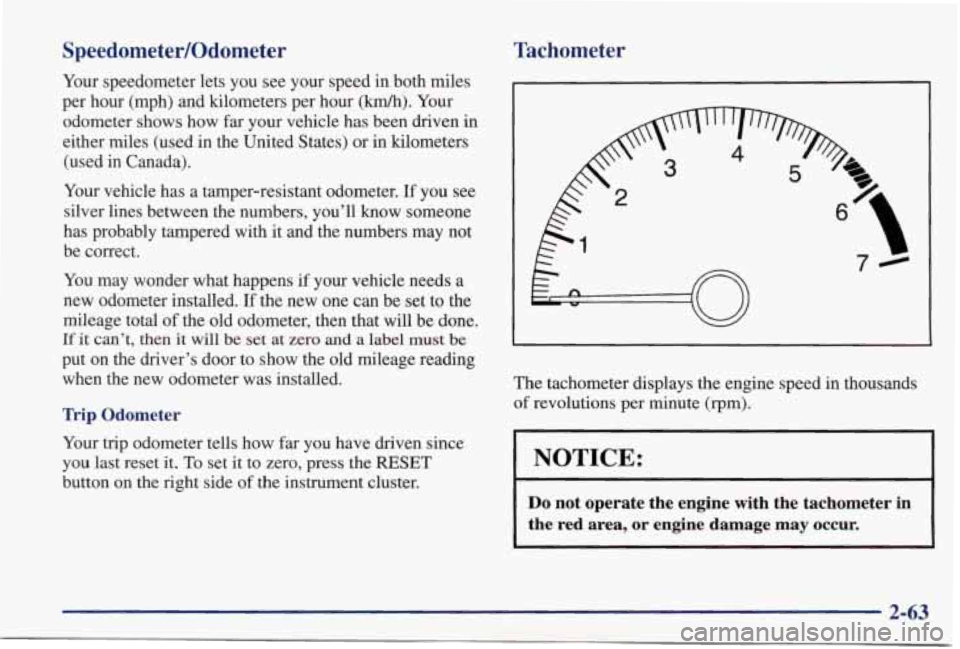
The tachometer displays the engine speed in thousands
of revolutions per minute (rpm).
NOTICE:
Do not operate the engine with the tachometer in
the red area, or engine damage may occur.
i
2-63
Page 154 of 402
0 FUEL USED 0 OIL LIFE
0 AVG ECON ORANGE
I
3800 Supercharged Engine
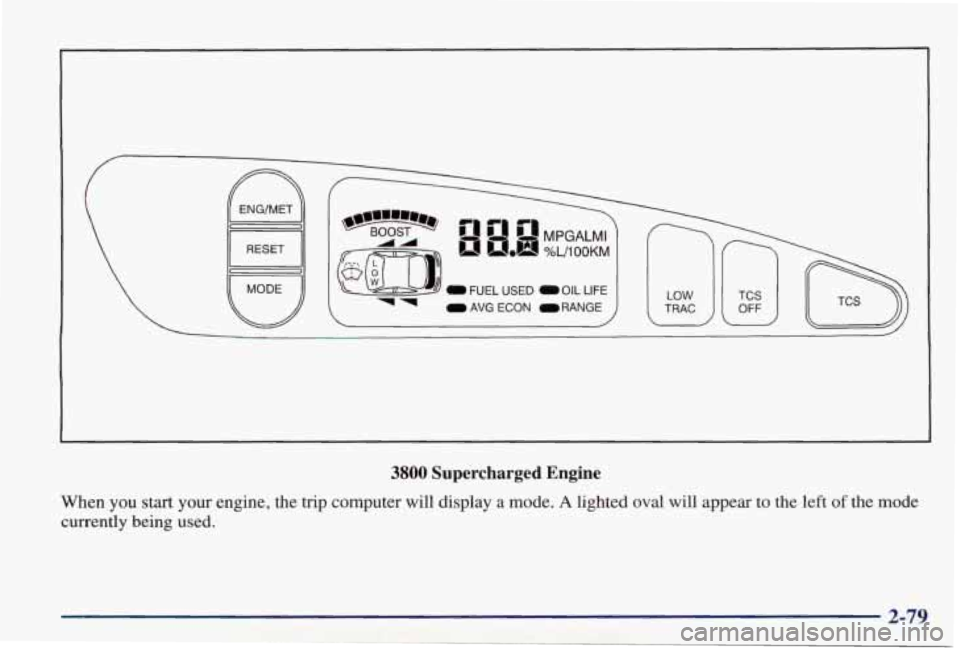
When you start your engine, the trip computer will display a mode. A lighted oval will appear to the left of the mode
currently being used.
2-79
Page 155 of 402

Control Buttons
The trip computer has three buttons that control its functions.
ENGMET: Press this button to change the display from
English to metric units or metric to English.
RESET Press this button for two seconds to reset the
mode displayed.
MODE: Press this button to change the mode
being displayed.
Functions
FUEL USED: Shows the total amount of fuel used
since you last reset this mode. The amount can be
displayed in gallons
or liters.
AVG ECON: Shows your average fuel economy since
you last reset this mode.
OIL LIFE: Shows a percentage of the oil’s remaining
useful life. The system predicts remaining oil life using
inputs from length of drives, coolant temperature,
engine rpm and vehicle speed. Each time
you get an oil
change, be sure to reset this function
so that it will give
you an accurate percentage.
To reset the Oil Life Indicator after the oil has been
changed, press the
MODE button until the light appears lit next
to
OIL LIFE. Press and hold the RESET button
for
three seconds. The oil life percentage should change
to
100%.
RANGE: Shows how much farther you can travel with
the fuel you have before refueling.
LOW WASHER FLUID: This light will come on when
your ignition
is on and the fluid container is low.
DOOR AJAR: If one of your doors is left ajar, a light
will appear next to that
door on the vehicle outline.
BOOST GAGE: If you have the supercharged engine,
this gage will show the amount of boost your engine
is receiving.
TRUNK AJAR: If your trunk is not fully closed or
open, a light will outline the trunk
area on your
vehicle outline.
TCS SWITCH: If your vehicle has the Traction Control
System, you will have
a disable switch on the far right
side of your Trip Computer. Your Traction Control
System
is automatically activated when you turn the
ignition on. This switch will activate/deactivate the
Traction Control System.
If you need to disable the
system, such as when you
are stuck and are rocking your
vehicle back and forth, push
this switch. See “Stuck: In
Sand, Mud, Ice or Snow’’ in
the Index.
Page 156 of 402
TCS OFF: This light lets you know that your Traction
Control System has been disabled and will not limit
wheel spin. See “Traction Control System Warning
Light” or “Low Traction Light” in the Index.
LOW TRAC: This light will come on when your
Traction Control System is limiting wheel spin. See “Traction Control System” or “Low Traction Light” in
the Index.
Head-Up Display (If Equipped)
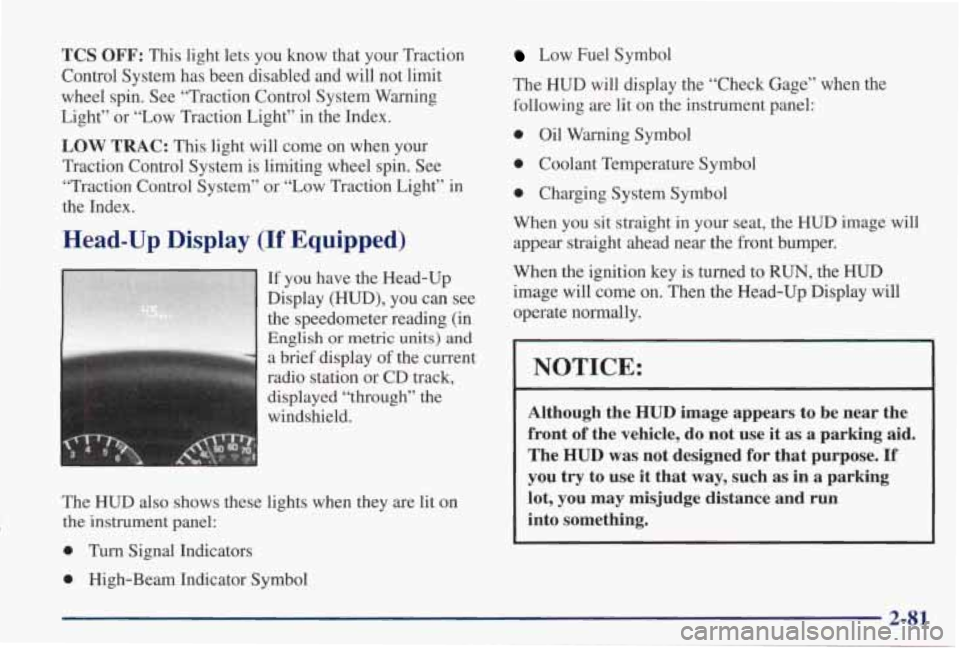
If you have the Head-Up
Display (HUD), you can see
the speedometer reading (in
English or metric units) and
a brief display of the current
radio station or CD track,
displayed
“through” the
windshield.
The
HUD also shows these lights when they are lit on
the instrument panel:
0 Turn Signal Indicators
0 High-Beam Indicator Symbol
Low Fuel Symbol
The HUD will display the “Check Gage” when the
following are lit on the instrument panel:
0 Oil Warning Symbol
0 Coolant Temperature Symbol
0 Charging System Symbol
When you sit straight in your seat, the HUD image will appear straight ahead near the front bumper.
When the ignition key is turned to
RUN, the HUD
image
will come on. Then the Head-Up Display will
operate normally.
I NOTICE: I
Although the HUD image appears to be near the
front
of the vehicle, do not use it as a parking aid.
The
HUD was not designed for that purpose. If
you try to use it that way, such as in a parking
lot, you may misjudge distance and run
into something.
2-81
Page 157 of 402

When the HUD is on, the speedometer reading will be displayed continually. The current radio station
or CD
track number will only be displayed for three seconds
after the radio or
CD track status changes. This will
happen whenever one
of the radio controls is pressed,
either on
the radio itself or on the optional steering
wheel controls.
To adjust the HUD so you can see it properly:
1. Start your engine and turn the DIM dial to the
desired
HUD image brightness.
2. Adjust your seat, if necessary, to a
comfortable position.
3. Press the top of the UP/DN switch until the HUD
image stops moving. Then press the bottom of the
switch until the image is as low as possible but in
full view.
4. Turn the DIM dial down until the HUD image is no
brighter than necessary.
To turn the HUD off, turn
the
DIM dial all the way down.
If the sun comes out, it becomes cloudy, or if you turn
on your headlamps, you may need to adjust the HUD
brightness again. Polarizing sunglasses could make the
HUD image harder to see.
I
I A CAUTION:
If the HUD image is too bright, or too high in
your field of view, it may take more time to see
things
you need to see when it’s dark outside. Be
sure to keep the
HUD image dim and placed low
in your field of view.
2-82
Page 158 of 402
Push the ENGMET button
on the trip calculator to
switch the
HUD speed
display from English to
metric or metric to English.
If you don’t have the trip
1 calculator, you can’t change
the display.
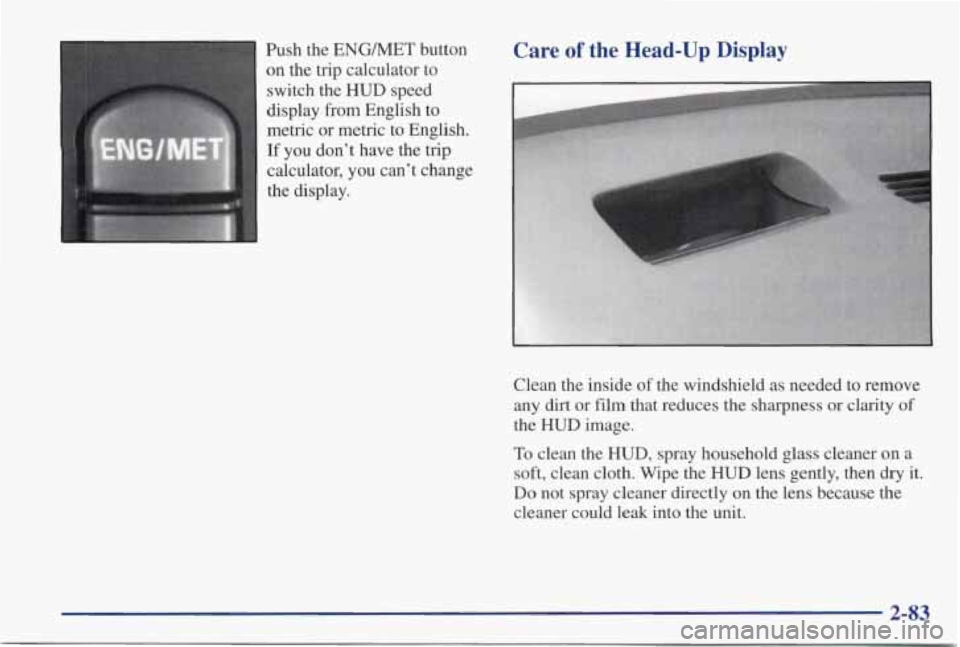
Care of the Head-Up Display
I-
Clean the inside of the windshield as needed to remove
any dirt or film that reduces the sharpness or clarity of
the HUD image.
To clean the HUD, spray household glass cleaner on a
soft, clean cloth. Wipe the HUD lens gently, then dry it.
Do not spray cleaner directly on the lens because the
cleaner could leak into the unit.
2-83
Page 164 of 402
Dual Zone Button Light
The dual zone button light indicates whether the system
is in single zone or dual zone operation. When there is
no desire for dual zone operation, push the lit dual zone
button to return to single zone operation. The dual zone
button light will
go off.
The system will operate to achieve your comfort set
point as quick
as possible. If you set the temperature for
60°F (16°C) or 90°F (32"C), the fan will go to it's
highest speed, unless you manually select
a lower speed.
The system
will maintain full cold or full hot operation
at these settings.
Cold Weather Example: When you start the vehicle in
cold weather, (below freezing) or after being parked
overnight. If your Driver Set Temperature is 73°F
(23°C) and you are in Full Automatic mode, the system
will automatically move the temperature doors to
full
hot. The blower will start out at a low speed and the
blower speed will increase as the engine warms up. The
air will be delivered to the floor.
As the interior of the
vehicle warms up to your desired comfort point, the
blower
will decrease and the temperature door will
move to a cooler position to maintain your desired
comfort. As the cabin
warms up or the SUR load
increases the system could switch to air delivered to the
individual to the windshield and the floor (Defog mode).
Automatic Control
For the most efficient operation, you should set the
system temperature and press AUTO. The system will
select the best fan speed and airflow settings to keep you
comfortable. The
air conditioning compressor will run if
the outside temperature is above 38 OF (3.3 " C). You may
notice a delay of three to four minutes before the fan
comes on.
Driver's Temperature Knob
The left knob sets the temperature for the entire system
when the light on DUAL button isn't lit. If the light is
lit, the knob sets the temperature for the driver.
Turn the
knob toward red (to the right) to raise the desired cabin
temperature. Turn it toward blue (to the left) to lower
the temperature. The display
will show your selection
for a
few seconds, then the outside temperature will
show or be displayed.
.x: - J -refs Temperature Knob
The right knob sets the desired cabin temperature for the
passenger and will automatically force the system into a
dual zone operation, lighting the dual zone button light.
Turn the right knob toward red (to the right) to raise the
temperature. Turn it toward blue (to the left)
to lower
the temperature.
3-5