1998 PONTIAC GRAND PRIX lock
[x] Cancel search: lockPage 142 of 402

Anti-Lock Brake System Warning Light
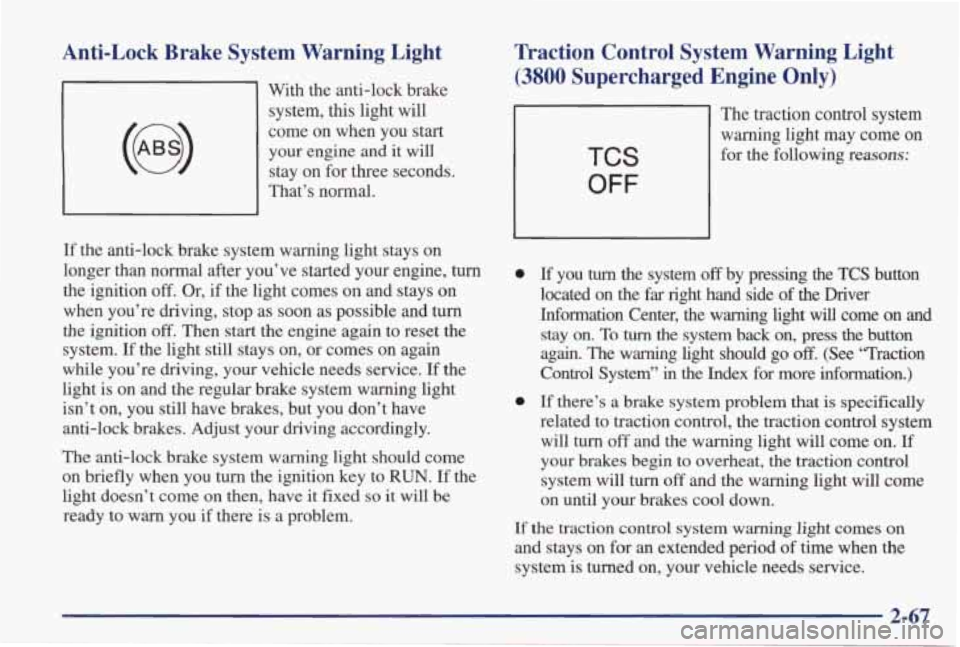
With the anti-lock brake system, this light will
come on when you start your engine and it will
stay on for three seconds.
That’s normal.
If the anti-lock brake system warning light stays on
longer than normal after you’ve started your engine, turn
the ignition
off. Or, if the light comes on and stays on
when you’re driving, stop as soon as possible and turn
the ignition off. Then start the engine again to reset the
system.
If the light still stays on, or comes on again
while you’re driving, your vehicle needs service. If the
light is on and the regular brake system warning light
isn’t on, you still have brakes, but you don’t have
anti-lock brakes. Adjust your driving accordingly.
The anti-lock brake system warning light should come
on briefly when you turn the ignition key to
RUN. If the
light doesn’t come on then, have
it fixed so it will be
ready to warn you if there is a problem.
Traction Control System Warning Light
(3800 Supercharged Engine Only)
1
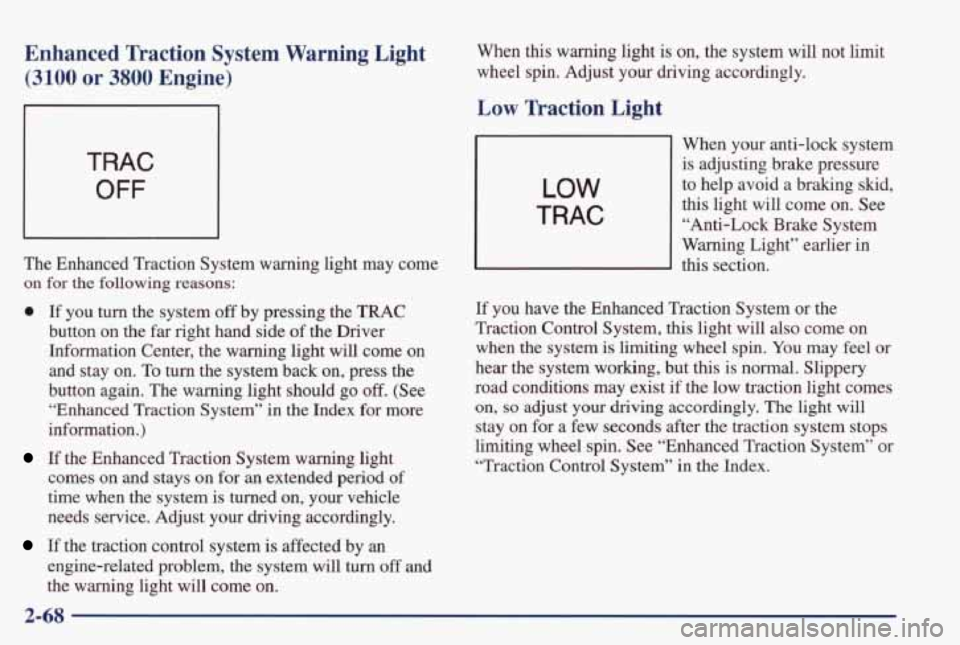
The traction control system
warning light may come
on
for the following reasons: TCS
OFF
0
0
If you turn the system off by pressing the TCS button
located on
the far right hand side of the Driver
Information Center, the warning light
will come on and
stay on. To turn the system back on, press the button
again. The warning light should go
off. (See “Traction
Control System”
in the Index for more information.)
If there’s a brake system problem that is specifically
related to traction control, the traction control system will turn
off and the warning light will come on. If
your brakes begin to overheat, the traction control
system will turn
off and the warning light will come
on until your brakes cool down.
If
the traction control system warning light comes on
and stays on for an extended period of time when
the
system is turned on, your vehicle needs service.
2-67
Page 143 of 402

Enhanced Traction System Warning Light
(3100 or 3800 Engine)
TRAC
OFF
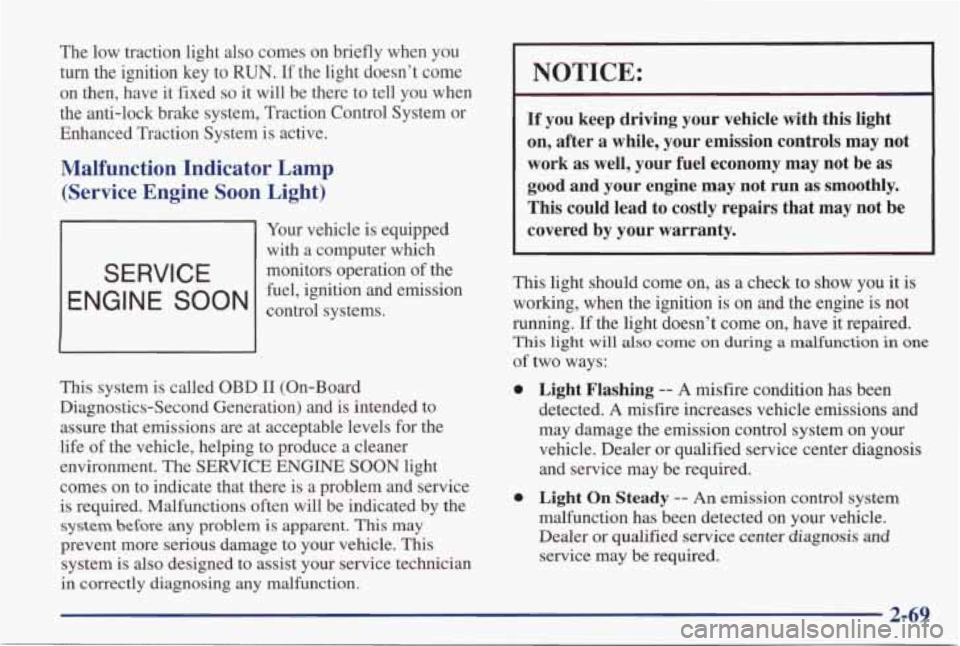
The Enhanced Traction System warning light may come
on for the following reasons:
0 If you turn the system off by pressing the TRAC
button on the far right hand side of the Driver
Information Center, the warning light will come on
and stay on. To
turn the system back on, press the
button again. The warning light should
go off. (See
“Enhanced Traction System” in the Index
for more
information.)
If the Enhanced Traction System warning light
comes on and stays on for
an extended period of
time when the system is turned on, your vehicle
needs service. Adjust your driving accordingly.
If the traction control system is affected by an
engine-related problem, the system will turn off and
the warning light will come on. When
this warning light is on, the
system will not limit
wheel spin. Adjust your driving accordingly.
Low Traction Light
LOW
TRAC
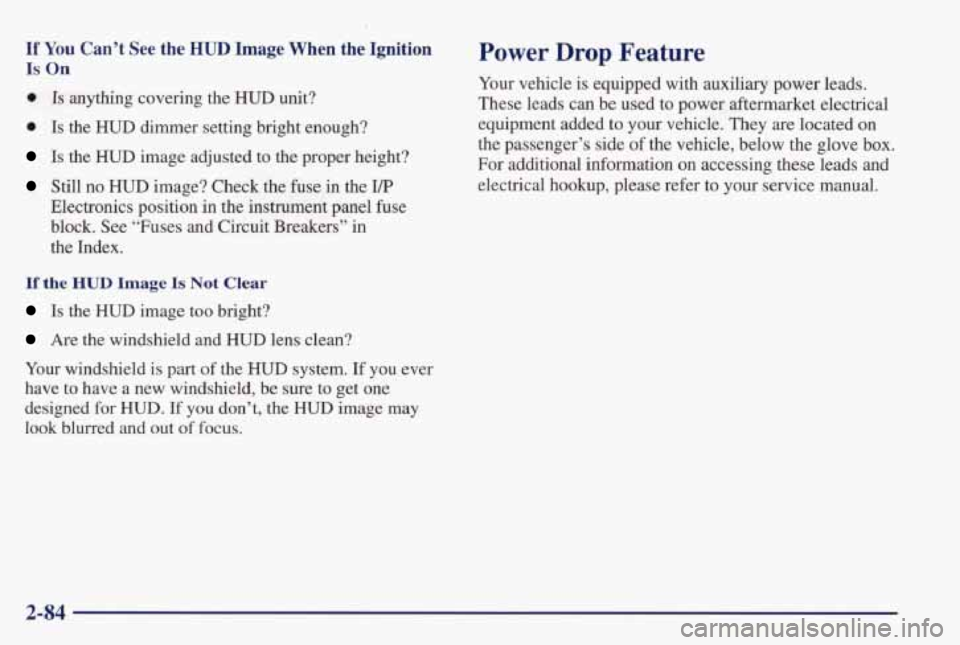
When your anti-lock system
is adjusting brake pressure
to help avoid a braking skid,
this light will come on.
See
“Anti-Lock Brake System
Warning Light” earlier in
this section.
If you have the Enhanced Traction System or the
Traction Control System, this light will
also come on
when the system
is limiting wheel spin. You may feel or
hear the system working, but
this is normal. Slippery
road conditions may exist if the low traction light comes
on,
so adjust your driving accordingly. The light will
stay on for a few seconds after the traction system stops
limiting wheel spin. See “Enhanced Traction System”
or
“Traction Control System” in the Index.
2-68
Page 144 of 402

The low traction light also comes on briefly when you
turn the ignition key to RUN. If the light doesn’t come
on then, have
it fixed so it will be there to tell you when
the anti-lock brake system, Traction Control System or Enhanced Traction System is active.
Malfunction Indicator Lamp
(Service Engine Soon Light)
SERVICE
ENGINE SOON
Your vehicle is equipped
with a computer which
monitors operation of the
fuel, ignition and emission
control systems.
This system is called OBD
I1 (On-Board
Diagnostics-Second Generation) and is intended to assure that emissions are at acceptable levels for the
life of the vehicle, helping to produce a cleaner
environment. The
SERVICE ENGINE SOON light
comes on to indicate that there is a problem and service is required. Malfunctions often will be indicated by the
system before any problem is apparent. This may
prevent more serious damage to your vehicle. This system is also designed to assist your service technician
in correctly diagnosing
any malfunction.
NOTICE:
If you keep driving your vehicle with this light
on, after a while, your emission controls may not
work as well, your fuel economy may not be
as
good and your engine may not run as smoothly.
This could lead to costly repairs that may not
be
covered by your warranty.
This light should come on, as a check to show you it is
working, when the ignition is on and the engine is not
running. If the light doesn’t come on, have it repaired.
This light will also come on during a malfunction in one
of two ways:
0
a
Light Flashing -- A misfire condition has been
detected.
A misfire increases vehicle emissions and
may damage the emission control system on your
vehicle. Dealer or qualified service center diagnosis
and service may be required.
Light On Steady -- An emission control system
malfunction has been detected on your vehicle.
Dealer or qualified service center
diagnosis and
service may be required.
2-69
Page 149 of 402

Low Coolant Warning Light
If this light comes on,
LOW
your system is low on
coolant and the engine
COOLANT
may overheat.
See “Engine Coolant” in the Index and have your
vehicle serviced as soon
as you can.
Low Washer Fluid Warning Light
This light will come on
when your ignition is on
and the fluid container
LOW
I is low.
I
NOTICE:
Remember, driving without washer fluid can be
dangerous.
A bad mud splash can block your
vision. You could collide with another vehicle.
Check your washer fluid often, and add only the
proper fluid. See “Windshield Washer Fluid” in
the Index.
Trunk Ajar Warning Light
This light will come on if
your trunk is not
completely closed.
AJAR
2-74
Page 159 of 402

If You Can’t See the HUD Image When the Ignition
Is On
0 Is anything covering the HUD unit?
0 Is the HUD dimmer setting bright enough?
Is the HUD image adjusted to the proper height?
Still no HUD image? Check the fuse in the I/P
Electronics position in the instrument panel fuse
block. See “Fuses and Circuit Breakers” in
the Index.
If the HUD Image Is Not Clear
Is the HUD image too bright?
Are the windshield and HUD lens clean?
Your windshield is part of the HUD system. If you ever
have to have a new windshield, be sure to get one
designed for
HUD. If you don’t, the HUD image may
look blurred and out
of focus.
Power Drop Feature
Your vehicle is equipped with auxiliary power leads.
These leads can be used to power aftermarket electrical
equipment added
to your vehicle. They are located on
the passenger’s side of the vehicle, below the glove box.
For additional information on accessing these leads and
electrical hookup, please refer
to your service manual.
2-84
Page 160 of 402

P
Section 3 Comfort Controls and Audio Systems
In this section, you’ll find out how to operate the comfort control \
and audio systems offered with your vehicle. Be
sure to read about the particular systems supplied with your v\
ehicle.
3-2
3-2
3-4
3-8
3-9
3-10
3-10
3- 10
3-1 1
3-12
3-16
Comfort Controls
Air Conditioning with Electronic Controls
Air Conditioning with Automatic and
Auxiliary Temperature Control
(If Equipped)
Ventilation System
Rear Window Defogger Audio System Setting the Clock for
AM-FM Stereo
Setting
the Clock for All Systems Except
AM-FM Stereo
AM-FM Stereo
AM-FM Stereo with Cassette Tape Player
(If Equipped)
AM-FM Stereo with Cassette Tape Player and
Equalizer (If Equipped) 3-19
3-22
3-24
3-27
3-29
3-30
3-30
3-3 1
3-32
3-32
3-32 3-32
AM-FM Stereo with Compact Disc Player
(If Equipped)
AM-FM Stereo with Compact Disc Player and
Equalizer
(If Equipped)
Trunk Mounted CD Changer (If Equipped)
Theft-Deterrent Feature
Audio Steering Wheel Controls
(If Equipped)
Understanding Radio Reception
Tips About Your Audio System
Care of
Your Cassette Tape Player
Care
of Your Compact Discs
Care
of Your Compact Disc Player
Fixed Mast Antenna
Backglass Antenna
(If Equipped)
Page 169 of 402

The rear window defogger uses a warming grid to
remove fog from the rear window. Press the button to
turn the rear defogger on. It will turn itself off after
about ten minutes.
If you turn it on again, the rear defogger will only run
for about five minutes before
turning off. You can also
turn it off by pressing the button again.
Do not attach anything like a temporary vehicle license
or decal across the defogger grid.
NOTICE:
Don’t use a razor blade or anything else sharp on
the inside
of the rear window. If you do, you
could cut or damage the warming grid,
and the
repairs wouldn’t be covered by your warranty.
Audio Systems
Your Delco Electronics audio system has been designed
to operate easily and give years of listening pleasure,
You will get the most enjoyment out
of it if you acquaint
yourself with it
first. Find out what your Delco
Electronics system can do and how
to operate all its
controls, to be sure you’re getting the most
out of the
advanced engineering that went into it.
Setting the Clock for AM-FM Stereo
Press SET. Within five seconds, press and hold the
SEEK down arrow until the correct hour appears on the
display. Press
and hold the SEEK up arrow until the
correct minute appears on the display.
Setting the Clock for All Systems Except
AM-FM Stereo
Press and hold HR until the correct hour appears. Press
and hold MIN until the correct minute appears. There
will be a two-second delay before the clock goes into
time-set mode,
and the colon on the display will blink
while in this mode.
3-10
Page 170 of 402

AM-FM Stereo Finding a Station
AM-FM: Press this button to switch between AM and
FM. The display shows your selection.
TUNE: Turn the lower knob to choose radio stations.
SEEK: Press the up or down arrow to go to the next
higher or lower station and stay there.
PUSHBUTTONS: The four numbered pushbuttons let
you return to your favorite stations. You can set up to
14 stations (seven AM and seven FM). Just:
1. Turn the radio on.
Playing the Radio
PWR-VOLUME:
This knob turns the system on and
off and controls the volume. To turn the radio on and to
increase volume,
turn the knob to the right. Turn it to the
left to decrease volume and to turn the radio
off.
RCL: Press this knob to recall the station being played
or to display the clock.
2. Press AM-FM to select the band.
3. Tune in the desired station.
4. Press SET. (SET will appear
on the display.)
5. Press one of the four numbered pushbuttons within five seconds. Whenever you press that numbered
pushbutton, the station you set will return.
6. Repeat the steps for each pushbutton.
3-11