1998 PONTIAC GRAND PRIX parking brake
[x] Cancel search: parking brakePage 248 of 402
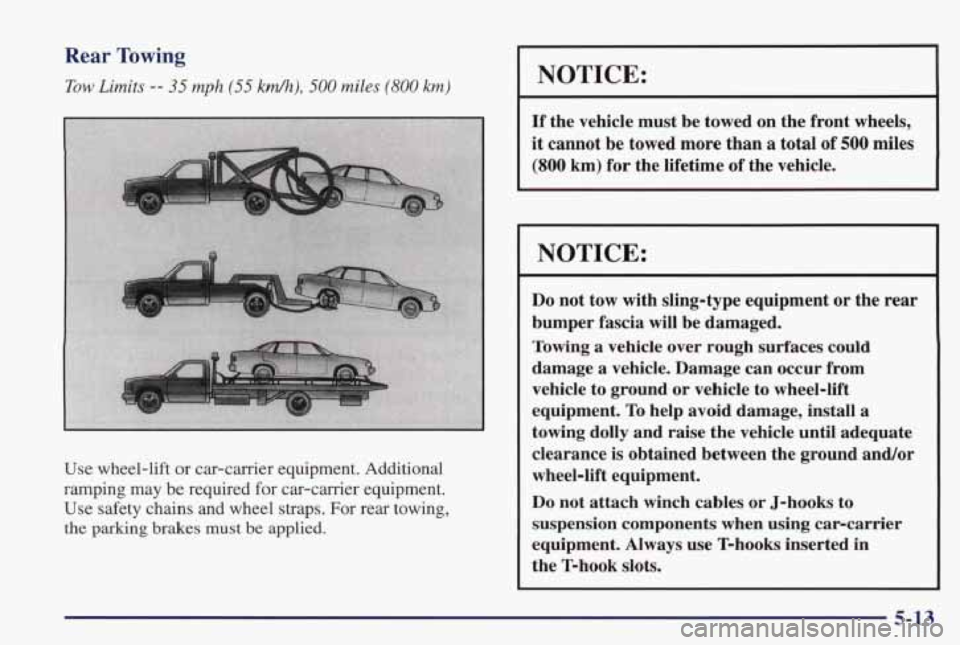
Rear Towing
Tow Limits -- 35 mph (55 k&), 500 miles (800 km)
Use wheel-lift or car-carrier equipment. Additional
ramping may
be required for car-carrier equipment.
Use safety chains and wheel straps. For rear towing,
the parking brakes must be applied.
I NOTICE:
If the vehicle must be towed on the front wheels,
it cannot be towed more than a total of 500 miles
(800 km) for the lifetime of the vehicle.
NOTICE:
Do not tow with sling-type equipment or the rear
bumper fascia will be damaged.
Towing a vehicle over rough surfaces could
damage
a vehicle. Damage can occur from
vehicle
to ground or vehicle to wheel-lift
equipment. To help avoid damage, install
a
towing dolly and raise the vehicle until adequate
clearance
is obtained between the ground and/or
wheel-lift equipment.
Do not attach winch cables or J-hooks to
suspension components when using carcarrier
equipment. Always use T-hooks inserted in
the T-hook slots.
5-13
Page 262 of 402
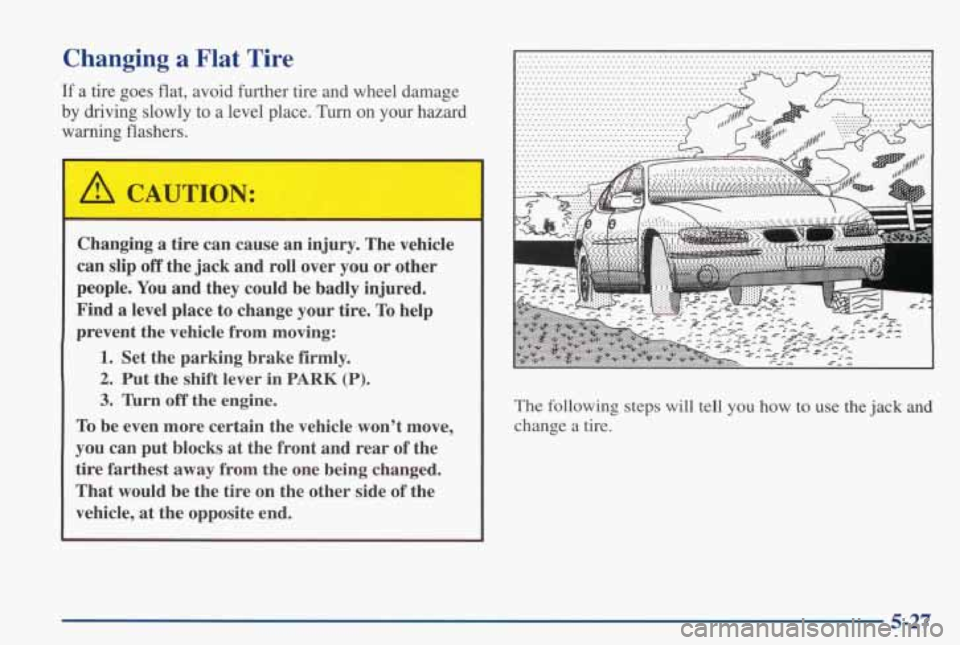
Changing a Flat Tire
If a tire goes flat, avoid further tire and wheel damage
by driving slowly
to a level place. Turn on your hazard
warning flashers.
Changing a tire can cause an injury. The vehicle
can slip
off the jack and roll over you or other
people. You and they could be badly injured.
Find
a level place to change your tire. To help
prevent the vehicle from moving:
1. Set the parking brake firmly.
2. Put the shift lever in PARK (P).
3. Turn off the engine.
To be even more certain the vehicle won’t move,
you can put blocks at the front and rear of the
tire farthest away from the one being changed.
That would be the tire on the other side of the
vehicle,
at the opposite end. The
following steps
will tell you how to use the jack and
change a tire.
5-27
Page 284 of 402
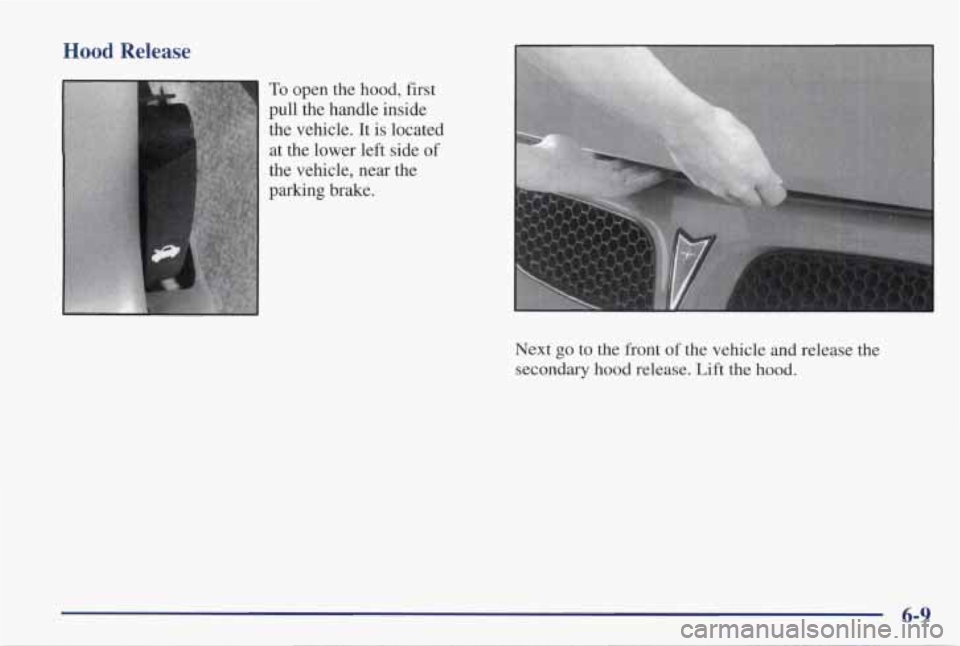
Hood Release
I To open the hood, first
pull the handle inside
the vehicle.
It is located
at the lower left side of
the vehicle, near the
parking brake.
6-9
Page 298 of 402
Wait at least 30 minutes before checking the transaxle
fluid level if you have been driving:
0 When outside temperatures are above 90°F (32" C).
0 At high speed for quite a while.
In heavy traffic -- especially in hot weather.
While pulling a trailer.
To get the right reading, the fluid should be at normal
operating temperature, which is
180°F to 200°F (82°C
to 93 " C).
Get the vehicle warmed up by driving about 15 miles
(24
km) when outside temperatures are above 50°F
(10°C). If it's colder than 50°F ( 10°C), you may have
to drive longer.
Checking the Fluid Level
Park your vehicle on a level place. Keep the
With the parking brake applied, place the shift lever
engine running.
in
PARK (P).
With your foot on the brake pedal, move the shift
lever through each gear range, pausing for about
three seconds in each range. Then, position the shift
lever in PARK (P).
Let the engine run at idle for three to five minutes.
6-23
Page 361 of 402
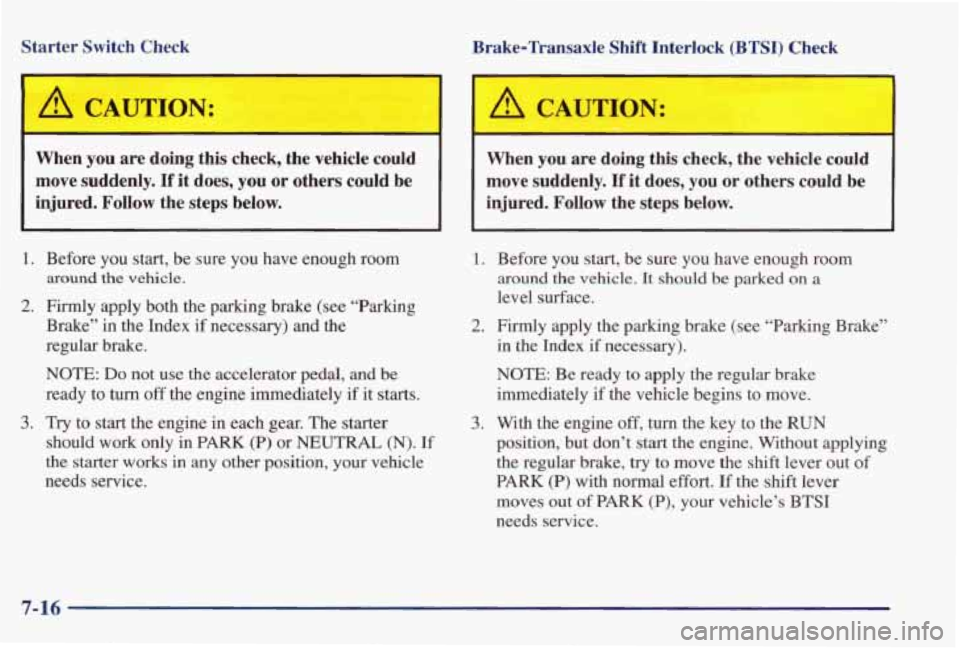
Starter Switch Check
1-
Brake-Transaxle Shift Interlock (BTSI) Check
r-
When you are doing this check, the vehicle could move suddenly.
If it does, you or others could be
injured. Follow the steps below.
A CAUTION:
When you are doing this check, the vehicle could
move suddenly.
If it does, you or others could be
injured. Follow the steps below.
1.
2.
3.
Before you start, be sure you have enough room
around the vehicle.
Firmly apply both the parking brake (see “Parking
Brake” in the Index if necessary) and the
regular brake.
NOTE: Do not use the accelerator pedal, and be
ready to
turn off the engine immediately if it starts.
Try to start the engine in each gear. The starter
should work only
in PARK (P) or NEUTRAL (N). If
the starter works in any other position, your vehicle
needs service.
1. Before you start, be sure you have enough room
around the vehicle. It should be parked on a
level surface.
2. Firmly apply the parking brake (see “Parking Brake”
in the Index if necessary).
NOTE: Be ready to apply the regular brake
immediately if the vehicle begins to move.
3. With the engine off, turn the key to the RUN
position, but don’t start the engine. Without applying
the regular brake,
try to move the shift lever out of
PARK
(P) with normal effort. If the shift lever
moves out
of PARK (P), your vehicle’s BTSI
needs service.
7-16
Page 362 of 402
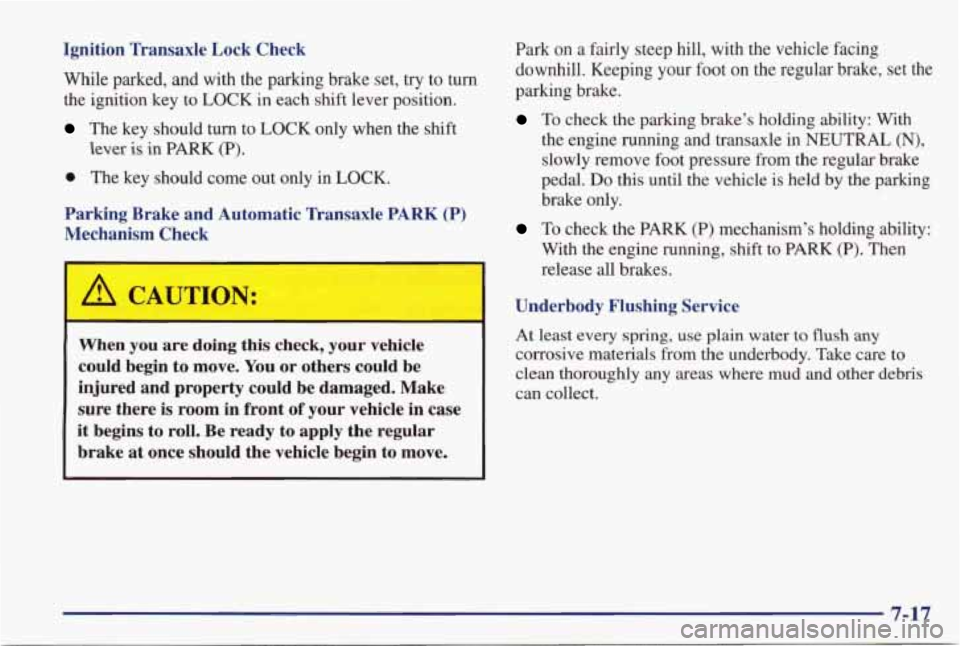
Ignition Transaxle Lock Check
While parked, and with the parking brake set,
try to turn
the ignition key to LOCK in each shift lever position.
The key should turn to LOCK only when the shift
lever is in PARK (P).
0 The key should come out only in LOCK.
Parking Brake and Automatic Transaxle PARK
(P)
Mechanism Check
1
Park on a fairly steep hill, with the vehicle facing
downhill. Keeping your foot on the regular brake, set the
parking brake.
To check the parking brake’s holding ability: With
the engine running and transaxle in
NEUTRAL (N),
slowly remove foot pressure from the regular brake
pedal. Do this until the vehicle is held by the parking
brake only.
To check the PARK (P) mechanism’s holding ability:
With the engine running, shift to
PARK (P). Then
release
all brakes.
Underbody Flushing Service
At
least every spring, use plain water to flush any
corrosive materials from the underbody. Take care to
clean thoroughly any areas where mud and other debris
When you are doing this check, your vehicle
could begin
to move. You or others could be
injured and property could be damaged. Make
it begins to roll. Be ready to apply the regular
sure there
is room in front of your
vehicle in case can collect.
brake
at once should the vehicle begin to move.
Page 363 of 402
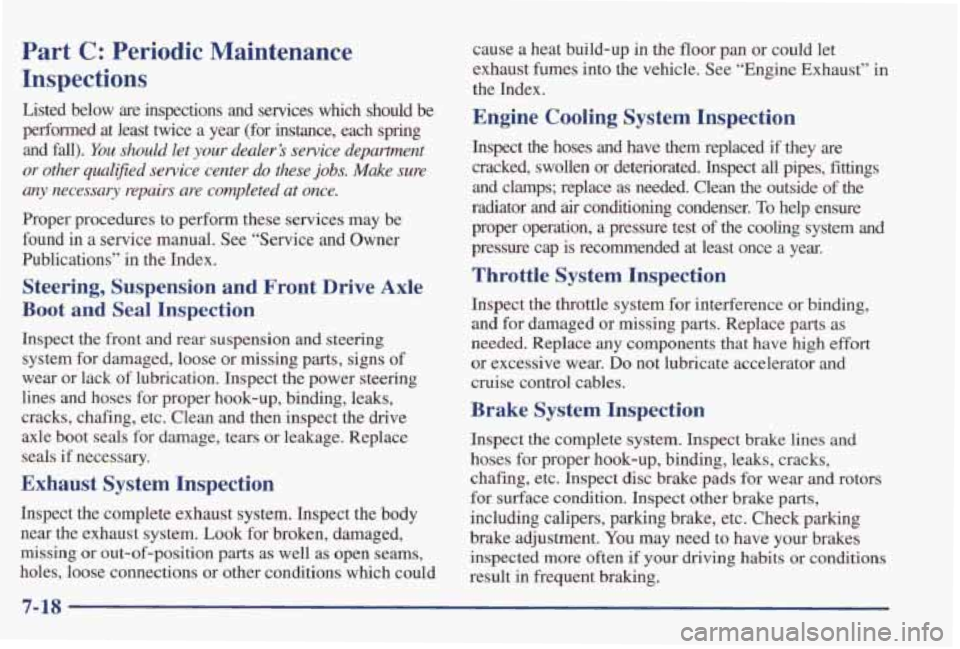
Part C: Periodic Maintenance
Inspections
Listed below are inspections and services which should be
perfunned at least twice a year (for instance, each spring
and
fall). You should let your dealer’s service department
or other qual$ed service center
do these jobs. Make sure
any necessary repairs are completed
at once.
Proper procedures to perform these services may be
found
in a service manual. See “Service and Owner
Publications” in the Index.
Steering, Suspension and Front Drive Axle
Boot
and Seal Inspection
Inspect the front and rear suspension and steering
system for damaged, loose or missing parts, signs of
wear or lack
of lubrication. Inspect the power steering
lines and hoses for proper hook-up, binding, leaks,
cracks, chafing, etc. Clean and then inspect the drive
axle boot seals for damage, tears or leakage. Replace
seals if necessary.
Exhaust System Inspection
Inspect the complete exhaust system. Inspect the body near the exhaust system. Look for broken, damaged,
missing or out-of-position parts
as well as open seams,
holes, loose connections or other conditions which could cause
a heat build-up in the floor pan or could let
exhaust fumes into the vehicle. See “Engine Exhaust’’ in
the Index.
Engine Cooling System Inspection
Inspect the hoses and have them replaced if they are
cracked, swollen or deteriorated. Inspect
all pipes, fittings
and clamps; replace
as needed. Clean the outside of the
radiator and
air conditioning condenser. To help ensure
proper
operation, a pressure test of the cooling system and
pressure cap is recommended at least once a year.
Throttle System Inspection
Inspect the throttle system for interference or binding,
and for damaged
or missing parts. Replace parts as
needed. Replace any components that have high
effort
or excessive wear. Do not lubricate accelerator and
cruise control cables.
Brake System Inspection
Inspect the complete system. Inspect brake lines and
hoses for proper hook-up, binding, leaks, cracks,
chafing, etc. Inspect disc brake pads for wear and rotors
for surface condition. Inspect other brake parts,
including calipers, parking brake, etc. Check parking
brake adjustment. You may need to have your brakes
inspected more often if your driving habits or conditions
result
in frequent braking.
7-18
Page 383 of 402
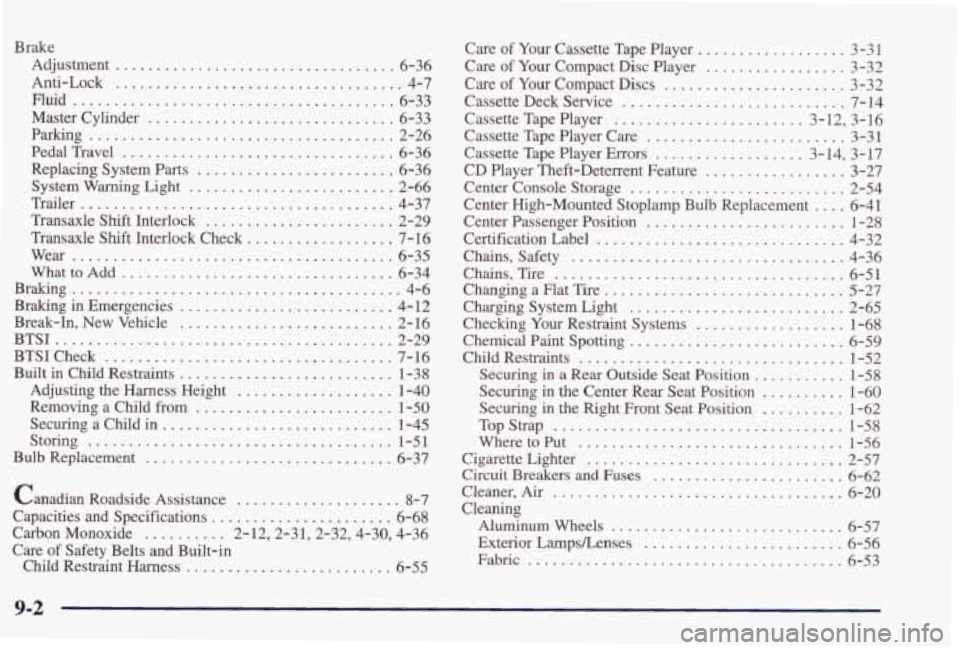
Brake Adjustment
.................................. 6-36
hti-Lock
................................... 4-7
Master Cylinder
.............................. 6-33
Replacing System
Parts ........................ 6-36
System Warning Light
......................... 2-66
Trailer
...................................... 4-37
Transaxle
Shift Interlock ....................... 2-29
Transaxle
Shift Interlock Check .................. 7-16
Wear
....................................... 6-35
WhattoAdd
................................. 6-34
Braking
........................................ 4-6
Braking in Emergencies
.......................... 4- 12
Break-In, New Vehicle
.......................... 2-16
BTSI
......................................... 2-29
Built in Child Restraints .......................... 1-38
Adjusting the Harness Height
................... 1-40
Removing a Child from
........................ 1-50
Securing a Child in
............................ 1-45
Bulb Replacement
.............................. 6-37
Canadian Roadside Assistance
.................... 8-7
Capacities and Specifications ...................... 6-68
Carbon Monoxide
.......... 2-12,2-31,2-32,4-30, 4-36
Child Restraint Harness
......................... 6-55
Fluid
....................................... 6-33
Parking
..................................... 2-26
PedalTravel
................................. 6-36
BTSICheck
................................... 7-16
Storing
..................................... l-51
Care of Safety Belts and Built-in Care
of Your Cassette Tape Player .... ....... 3-31
Care
of Your Compact Disc Player ................. 3-32
Care
of Your Compact Discs ...................... 3-32
Cassette Deck Service
........................... 7-14
Cassette Tape Player
....................... 3.12. 3.16
Cassette Tape Player Care
........................ 3-31
Cassette Tape Player Errors
.................. 3.14. 3.17
CD Player Thefi-Deterrent Feature
................. 3-27
Center Console Storage
.......................... 2-54
Center Passenger Position
........................ 1-28
Certification Label .............................. 4-32
Chains. Safety
................................. 4-36
Chains. Tire
................................... 6-51
Changing a Flat Tire
............................. 5-27
Charging System Light .......................... 2-65
Checking
Your Restraint Systems .................. 1-68
Chemical Paint Spotting .......................... 6-59
Child Restraints
................................ 1-52
Securing
in the Center Rear Seat Position .......... 1-60
Securing
in the Right Front Seat Position .......... 1-62
Cigarette Lighter
............................... 2-57
Center High-Mounted Stoplamp Bulb Replacement
.... 6-41
Securing
in a Rear Outside Seat Position ........... 1-58
TopStrap
................................... l-58
WheretoPut .....................,.........., l-56
Circuit Breakers and Fuses ....................... 6-62
Cleaner. Air
................................... 6-20
Cleaning AluminumWhels
............................ 6-57
Fabric ...................................... 6-53
Exterior
Lampshnses
........................ 6-56
9-2