1998 PONTIAC BONNEVILLE headlamp
[x] Cancel search: headlampPage 65 of 395
If your vehicle is not equipped with remote keyless
entry, the delayed locking feature can be turned
on or off
by using the following procedure:
1. With the ignition on, press and hold the driver's
power door lock switch.
All doors will lock.
2. Cycle the headlamp switch four times. On the third
cycle,
the doors will unlock to confirm that the
feature has been turned on.
Your doors will remain
locked if delayed locking is now in the non-active
mode.
3. To change modes, cycle the headlamp switch once
more.
A locking action will confirm the new mode.
4. Release the power door lock switch.
This procedure must be completed within 10 seconds of
pressing the power door lock switch. To turn the feature
off, repeat the previous procedure.
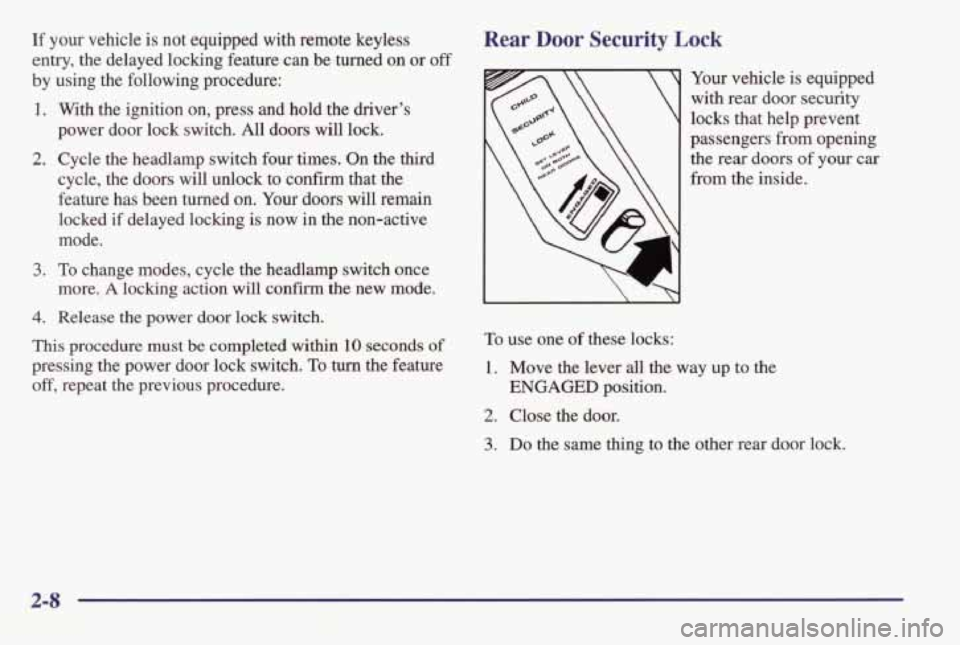
Rear Door Security Lock
Your vehicle is equipped
with rear door security
locks that help prevent
passengers
from opening
the rear doors of your car
from the inside.
To use one of these locks:
1. Move the lever all the way up to the
2. Close the door.
ENGAGED position.
3. Do the same thing to the other rear door lock.
2-8
Page 68 of 395
Operation
The driver’s door will unlock when UNLOCK is
pressed. The fuel door
will also unlock when UNLOCK
is pressed, if you have the optional fuel door lock.
If
UNLOCK is pressed again within five seconds, all
doors
will unlock. Pressing the UNLOCK button will
also illuminate the interior lamps. See “Illuminated
Entry”
in the index.
All doors will lock when LOCK is pressed.
The
trunk will unlock when the trunk symbol is pressed
when
the ignition is OFF. The trunk symbol will
also work when the ignition is on, but only while
in
PARK (P).
Instant Alarm
When the button with the horn symbol on the key
transmitter is pressed, the horn will sound and the
headlamps and taillamps will flash for up to one minute.
This can be turned off by pressing the instant alarm
button again or by turning the ignition to
ON. If your
vehicle is equipped with the Universal Theft-Deterrent
feature, you may also turn
off the alarm by unlocking
the vehicle with a key. See “Universal Theft-Deterrent”
in the Index.
Resynchronization
If only the instant alarm button works, the rransmitter
needs to be resynchronized to the receiver.
Do this by
pressing and holding both the
LOCK and UNLOCK
buttons at the same time for about eight seconds. You
must be within range of the vehicle.
When the system has been resynchronized, the horn
will
chrp and the exterior lamps will flash once. The system
should now operate properly.
Personalization Features
The following list of features that are available on your
vehicle can be programmed to each driver’s preference
for
each of the key transmitters.
Programmable Automatic Door Locks: This feature
programs your door locks to automatically lock or
unlock when shifting in and out
of PARK (P).
Security Feedback: This feature provides feedback to
the driver when the vehicle receives a command from
the key transmitter.
Delayed Locking: This feature lets the driver delay the
actual locking of the vehicle. When all doors have been
closed, the doors will lock automatically after five seconds.
For more detailed information
and programming
instructions, refer to the Index for each individual
feature listed above.
2-11
Page 69 of 395
Security Feedback
This provides feedback to the driver when the vehicle
receives a command
from the key transmitter. The
following modes may be selected:
Mode Security Feedback
0
2
3
4
5
No feedback when locking or
unlocking vehicle.
No feedback when locking;
headlamps and parking lamps flash
when unlocking vehicle.
Headlamps and parking lamps
flash
when locking; no feedback when
unlocking vehicle.
Headlamps and parking lamps flash when
locking and when unlocking vehicle.
Headlamps and
parking lamps flash and
horn chirps when locking; no feedback when unlocking vehicle.
Headlamps and parking lamps
flash and
horn chirps when locking; headlamps and
parking lamps flash when unlocking. Vehicles
are delivered programmed
in Mode 5. To
change to another mode:
1.
Turn the ignition key to OFF.
2. Press and hold LOCK on the driver’s power door
lock switch located on the door panel.
3. Press the trunk button on the transmitter. The
transmitter
will remain in its current mode.
4. Press the trunk button again. Each time the trunk button is
5. Release the power door lock switch.
This procedure changes the mode for only the
transmitter used to change
this setting. The procedure
will need to be repeated for the second transmitter.
pressed, the transmitter
will advance to the next mode.
Matching Transmitter(s) To Your Vehicle
Each remote keyless entry transmitter
is coded to
prevent another transmitter from unlocking your vehicle.
If a transmitter is
lost or stolen, a replacement can be
purchased through your dealer. Remember to bring any
remaining transmitters with you when you go to your
dealer. When the dealer matches
the replacement
transmitter to your vehicle, any remaining transmitters
must
also be matched. Once your dealer has coded the
new transmitter, the lost transmitter will
not unlock your
vehicle. Each vehicle can have only four transmitters
matched to
it.
2-12
Page 93 of 395
Tilt Wheel Turn SignallMultifunction Lever
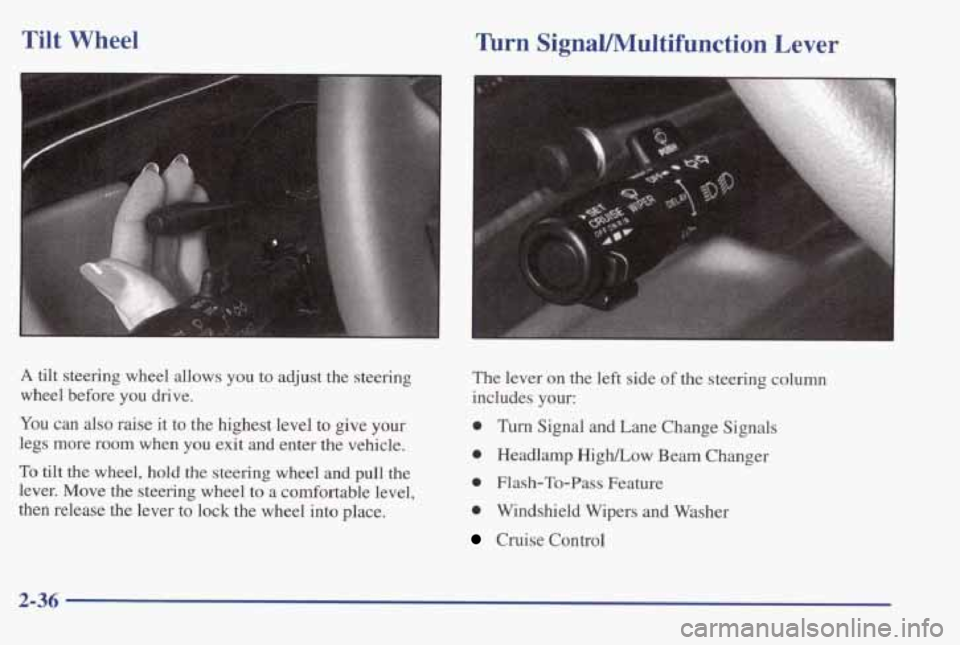
A tilt steering wheel allows you to adjust the steering
wheel before you drive.
You can also raise it to the highest level to give your
legs more room when
you exit and enter the vehicle.
To
tilt the wheel, hold the steering wheel and pull the
lever. Move the steering wheel to a comfortable level,
then release the lever to lock the wheel into place.
The lever on the left side of the steering column
includes your:
0 Turn Signal and Lane Change Signals
0 Headlamp HighLow Beam Changer
0 Flash-To-Pass Feature
0 Windshield Wipers and Washer
Cruise Control
2-36
Page 95 of 395
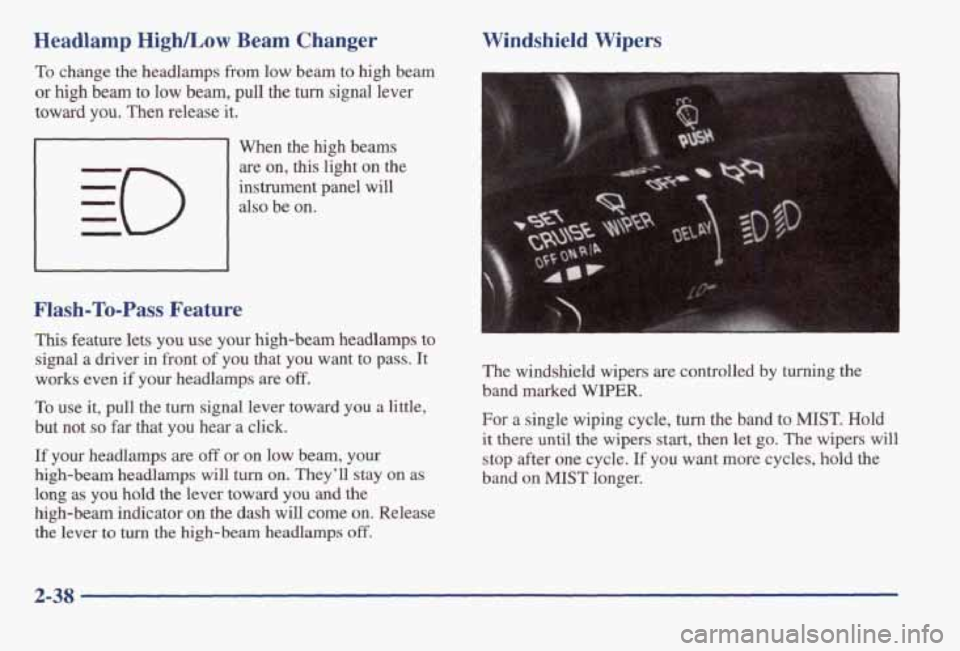
Headlamp HighLow Beam Changer
To change the headlamps from low beam to high beam
or high beam to low beam, pull the turn signal lever
toward you. Then release it.
Flash-To-Pass Feature
When the high beams are on, this light
on the
instrument panel will
also be on.
This feature lets you use your high-beam headlamps to
signal
a driver in front of you that you want to pass. It
works even
if your headlamps are off.
To use it, pull the turn signal lever toward you a little,
but not
so far that you hear a click.
If your headlamps are off or on low beam, your
high-beam headlamps
will turn on. They’ll stay on as
long as you hold
the lever toward you and the
high-beam indicator on the dash will come on. Release
the lever
to turn the high-beam headlamps off.
Windshield Wipers
The windshield wipers are controlled by turning the
band marked WIPER.
For a single wiping cycle, turn the band to MIST. Hold
it there
until the wipers start, then let go. The wipers will
stop after one cycle.
If you want more cycles, hold the
band on MIST longer.
2-38
Page 100 of 395
Exterior Lamps
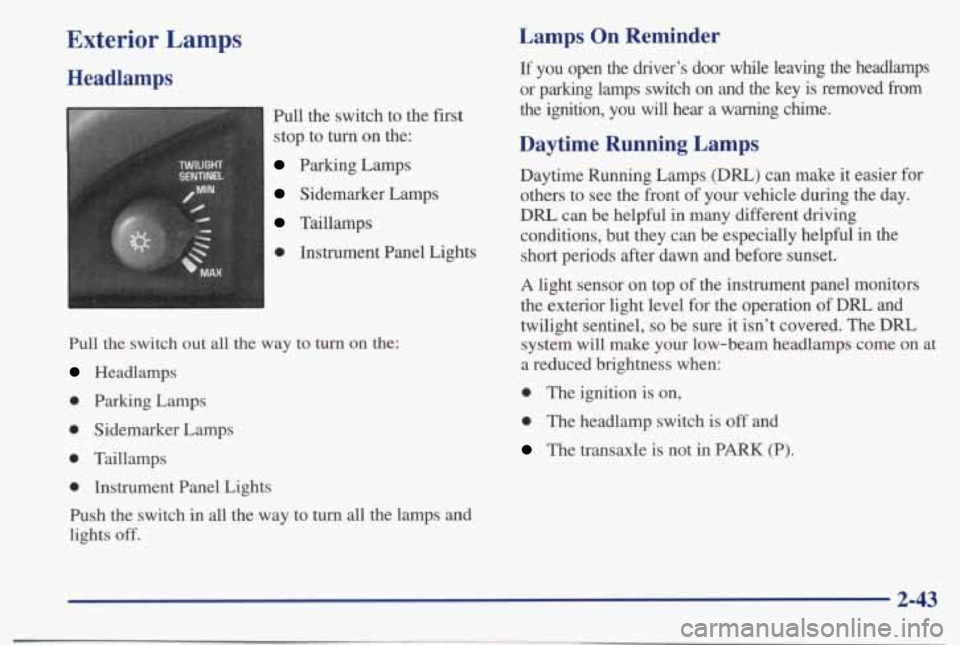
Headlamps
Pull the switch to the first
stop to turn on the:
Parking Lamps
Sidemarker Lamps
Taillamps
0 Instrument Panel Lights
Pull the switch out all the way to turn on the:
Headlamps
0 Parking Lamps
0 Sidemarker Lamps
0 Taillamps
0 Instrument Panel Lights
Push the switch
in all the way to turn all the lamps and
lights
off.
Lamps On Reminder
If you open the driver’s door while leaving the headlamps
or parking lamps switch on and the key is removed
from
the ignition, you will hear a warning chime.
Daytime Running Lamps
Daytime Running Lamps (DIU) can make it easier for
others to see the front of your vehicle during the day.
DRL can be helpful in many different driving
conditions, but they can be especially helpful
in the
short periods after dawn and before sunset.
A light sensor on top of the instrument panel monitors
the exterior light level for the operation
of DRL and
twilight sentinel,
so be sure it isn’t covered. The DRL
system
will make your low-beam headlamps come on at
a reduced brightness when:
0 The ignition is on,
0 The headlamp switch is off and
The transaxle is not in PARK (P).
2-43
Page 101 of 395
When the DRL are on, only your low-beam headlamps
will be on. The taillamps, sidemarker and other lamps
won’t be
on. Your instrument panel won’t be
lighted either.
When it’s
dark enough outside, your low-beam
headlamps will change to
full brightness. The other
lamps that come on with your headlamps will
also come
on. When it’s bright enough outside, the regular lamps
will go
off, and your low-beam headlamps change to the
reduced brightness
of DRL.
To idle your vehicle with the DRL off, shift the
transaxle
into PARK (P). The DIU will stay off until
you shift out of
PARK (P).
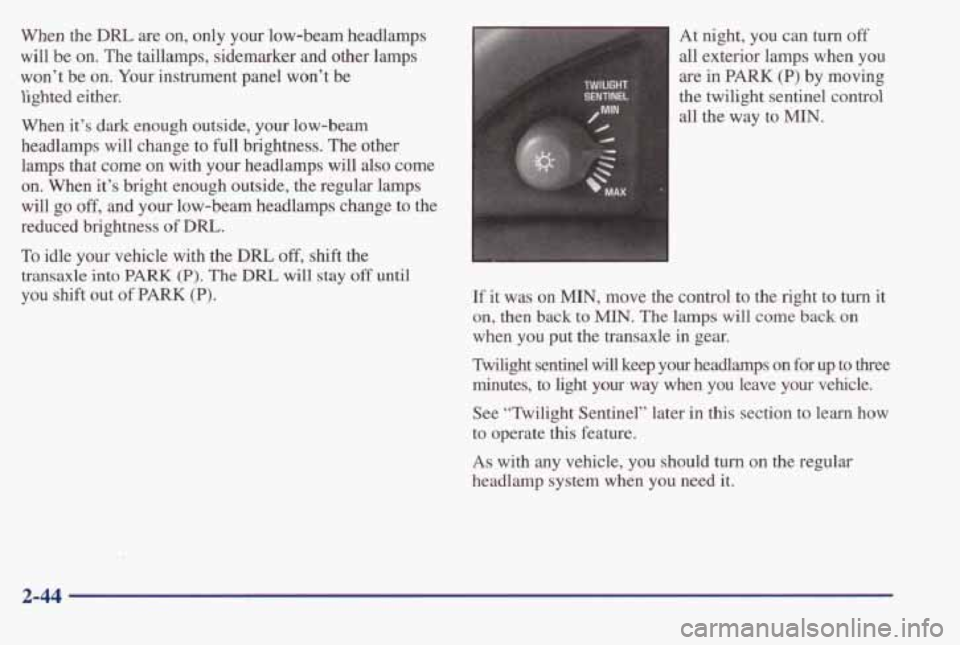
At night, you can turn off
all exterior lamps when you
are in
PARK (P) by moving
the twilight sentinel
control
all the way to MIN.
If it was on MIN, move the control to the right to turn it
on, then back
to MIN. The lamps will come back on
when you put the transaxle in gear.
Nlight sentinel
will keep your headlamps on for up to three
minutes, to light your way when you leave your vehicle.
See Tvilight Sentinel” later
in this section to learn how
to operate
this feature.
As with
any vehicle, you should turn on the regular
headlamp system when you need
it.
2-44
Page 102 of 395
Fog Lamps
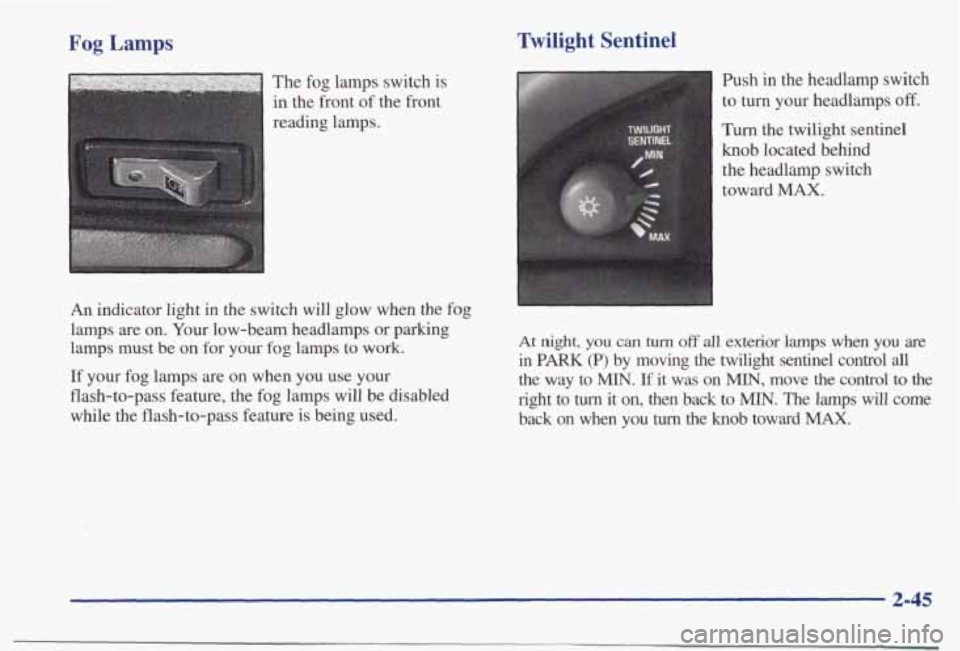
The fog lamps switch is
in the front
of the front
reading lamps.
An indicator light in the switch will glow when the
fog
lamps are on. Your low-beam headlamps or parking
lamps must be
on for your fog lamps to work.
If your fog lamps are on when you use your
flash-to-pass feature, the fog lamps will be disabled
while the flash-to-pass feature is being used.
Twilight Sentinel
Push in the headlamp switch
to turn your headlamps
off.
Turn the twilight sentinel
knob located behind
the headlamp switch
toward
MAX.
At night, you can turn off all exterior lamps when you are
in PARK (P) by moving the twilight sentinel control all
the way to MIN. If it was on MIN, move the control to the
right to
turn it on, then back to MIN. The lamps will come
back on when you
turn the knob toward MAX.
2-45