1998 NISSAN FRONTIER oil
[x] Cancel search: oilPage 153 of 224
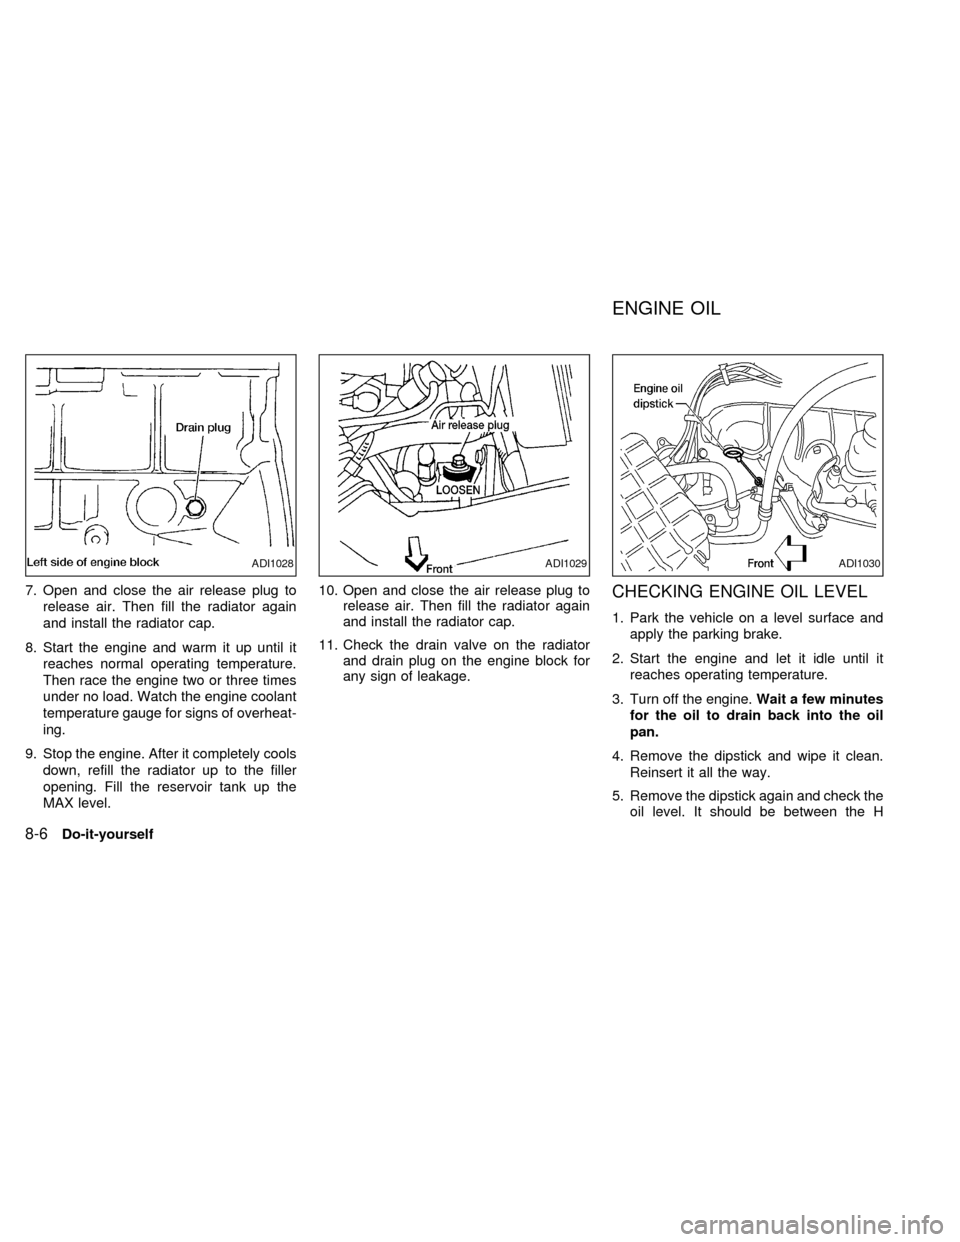
7. Open and close the air release plug to
release air. Then fill the radiator again
and install the radiator cap.
8. Start the engine and warm it up until it
reaches normal operating temperature.
Then race the engine two or three times
under no load. Watch the engine coolant
temperature gauge for signs of overheat-
ing.
9. Stop the engine. After it completely cools
down, refill the radiator up to the filler
opening. Fill the reservoir tank up the
MAX level.10. Open and close the air release plug to
release air. Then fill the radiator again
and install the radiator cap.
11. Check the drain valve on the radiator
and drain plug on the engine block for
any sign of leakage.CHECKING ENGINE OIL LEVEL
1. Park the vehicle on a level surface and
apply the parking brake.
2. Start the engine and let it idle until it
reaches operating temperature.
3. Turn off the engine.Wait a few minutes
for the oil to drain back into the oil
pan.
4. Remove the dipstick and wipe it clean.
Reinsert it all the way.
5. Remove the dipstick again and check the
oil level. It should be between the H
ADI1028ADI1029ADI1030
ENGINE OIL
8-6Do-it-yourself
ZX
Page 154 of 224
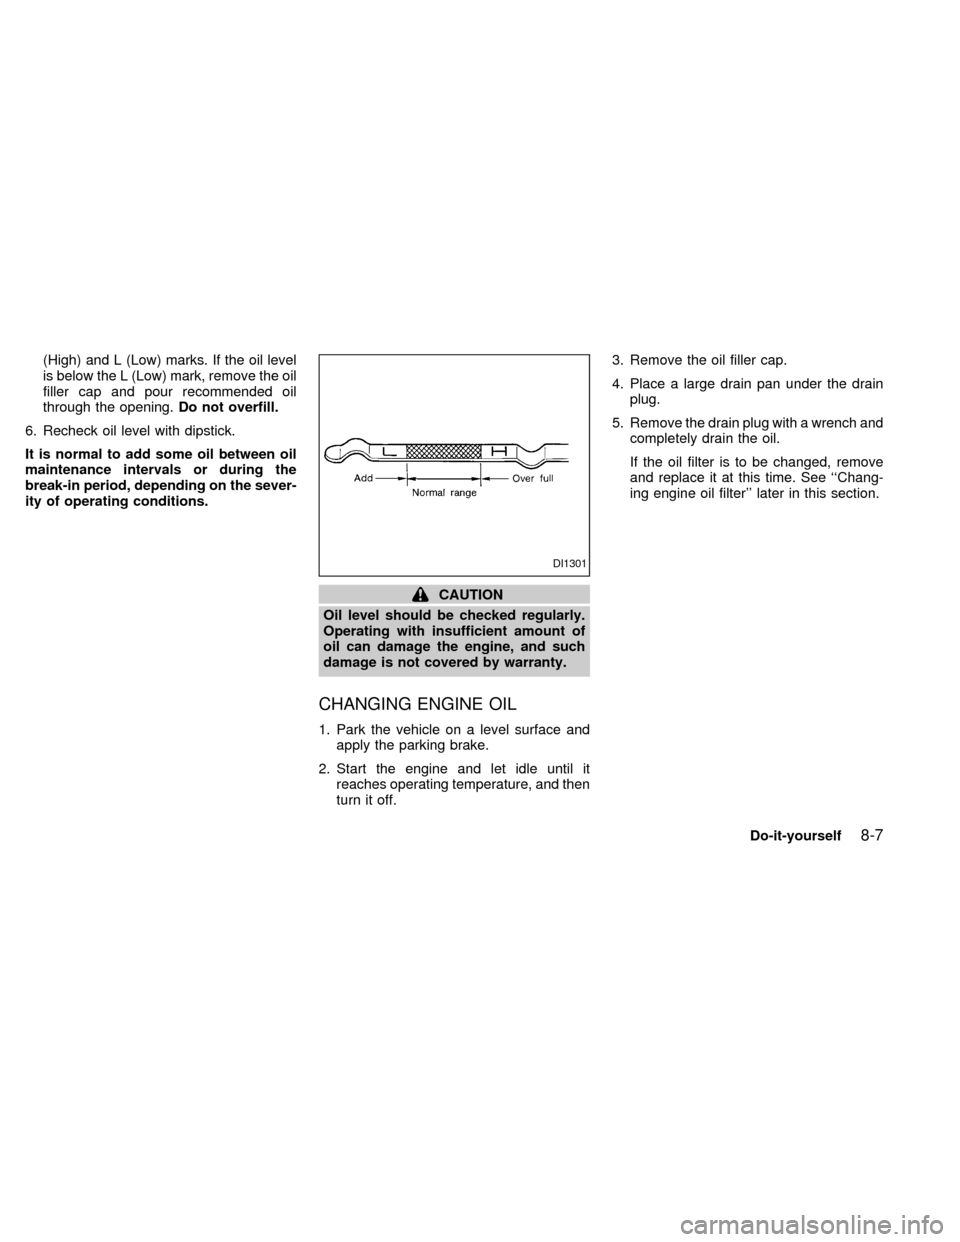
(High) and L (Low) marks. If the oil level
is below the L (Low) mark, remove the oil
filler cap and pour recommended oil
through the opening.Do not overfill.
6. Recheck oil level with dipstick.
It is normal to add some oil between oil
maintenance intervals or during the
break-in period, depending on the sever-
ity of operating conditions.
CAUTION
Oil level should be checked regularly.
Operating with insufficient amount of
oil can damage the engine, and such
damage is not covered by warranty.
CHANGING ENGINE OIL
1. Park the vehicle on a level surface and
apply the parking brake.
2. Start the engine and let idle until it
reaches operating temperature, and then
turn it off.3. Remove the oil filler cap.
4. Place a large drain pan under the drain
plug.
5. Remove the drain plug with a wrench and
completely drain the oil.
If the oil filter is to be changed, remove
and replace it at this time. See ``Chang-
ing engine oil filter'' later in this section.
DI1301
Do-it-yourself8-7
ZX
Page 155 of 224
WARNING
cProlonged and repeated contact with
used engine oil may cause skin can-
cer.
cTry to avoid direct skin contact with
used oil. If skin contact is made,
wash thoroughly with soap or hand
cleaner as soon as possible.
cKeep used engine oil out of reach of
children.
CAUTION
Be careful not to burn yourself, as the
engine oil is hot.
Waste oil must be disposed of properly.
Check your local regulations.
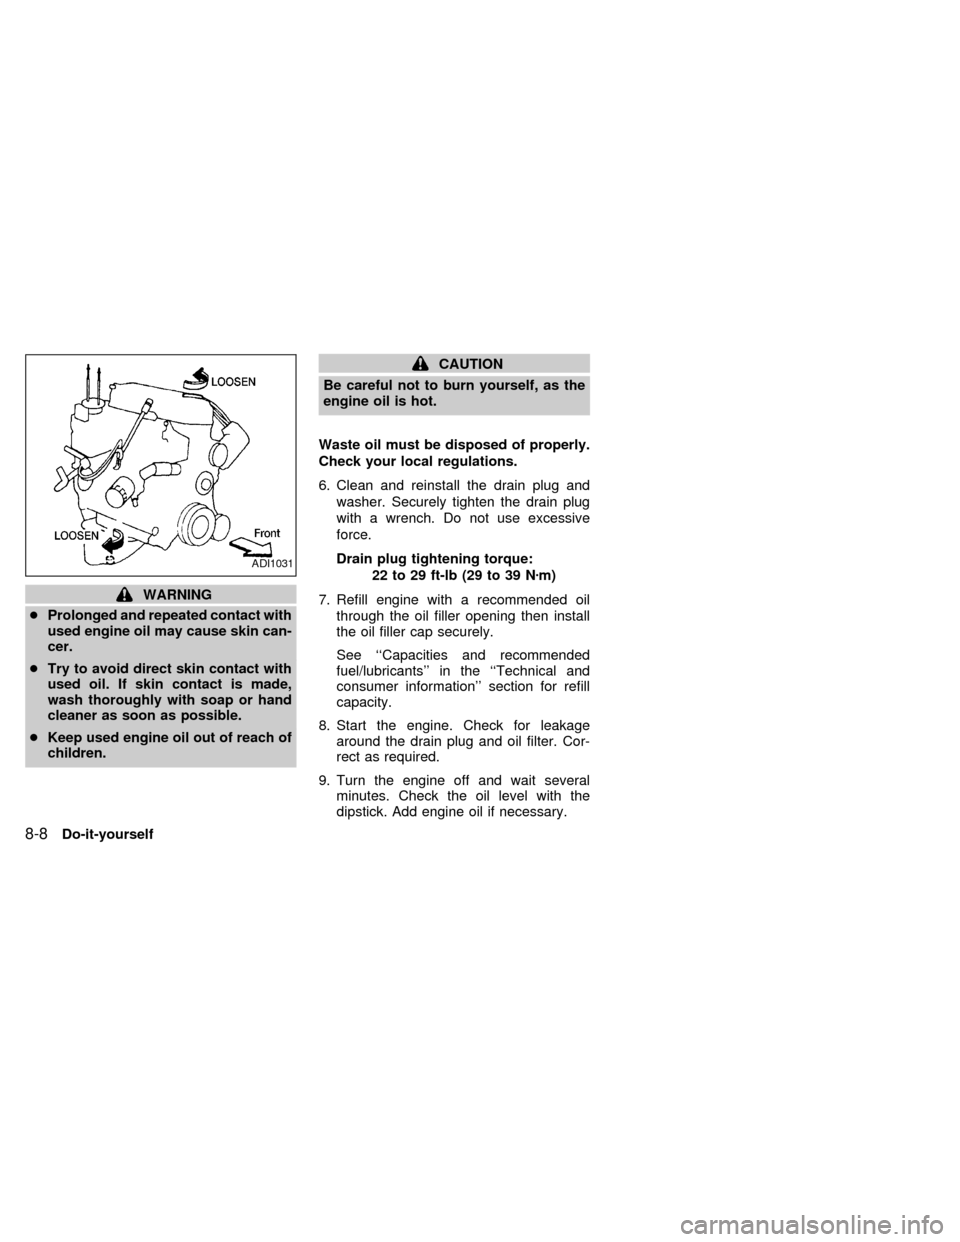
6. Clean and reinstall the drain plug and
washer. Securely tighten the drain plug
with a wrench. Do not use excessive
force.
Drain plug tightening torque:
22 to 29 ft-lb (29 to 39 Nzm)
7. Refill engine with a recommended oil
through the oil filler opening then install
the oil filler cap securely.
See ``Capacities and recommended
fuel/lubricants'' in the ``Technical and
consumer information'' section for refill
capacity.
8. Start the engine. Check for leakage
around the drain plug and oil filter. Cor-
rect as required.
9. Turn the engine off and wait several
minutes. Check the oil level with the
dipstick. Add engine oil if necessary.
ADI1031
8-8Do-it-yourself
ZX
Page 156 of 224
CHANGING ENGINE OIL FILTER
1. Park the vehicle on a level surface and
apply the parking brake.
2. Turn the engine off.
3. Place a large drain pan under the oil
filter.
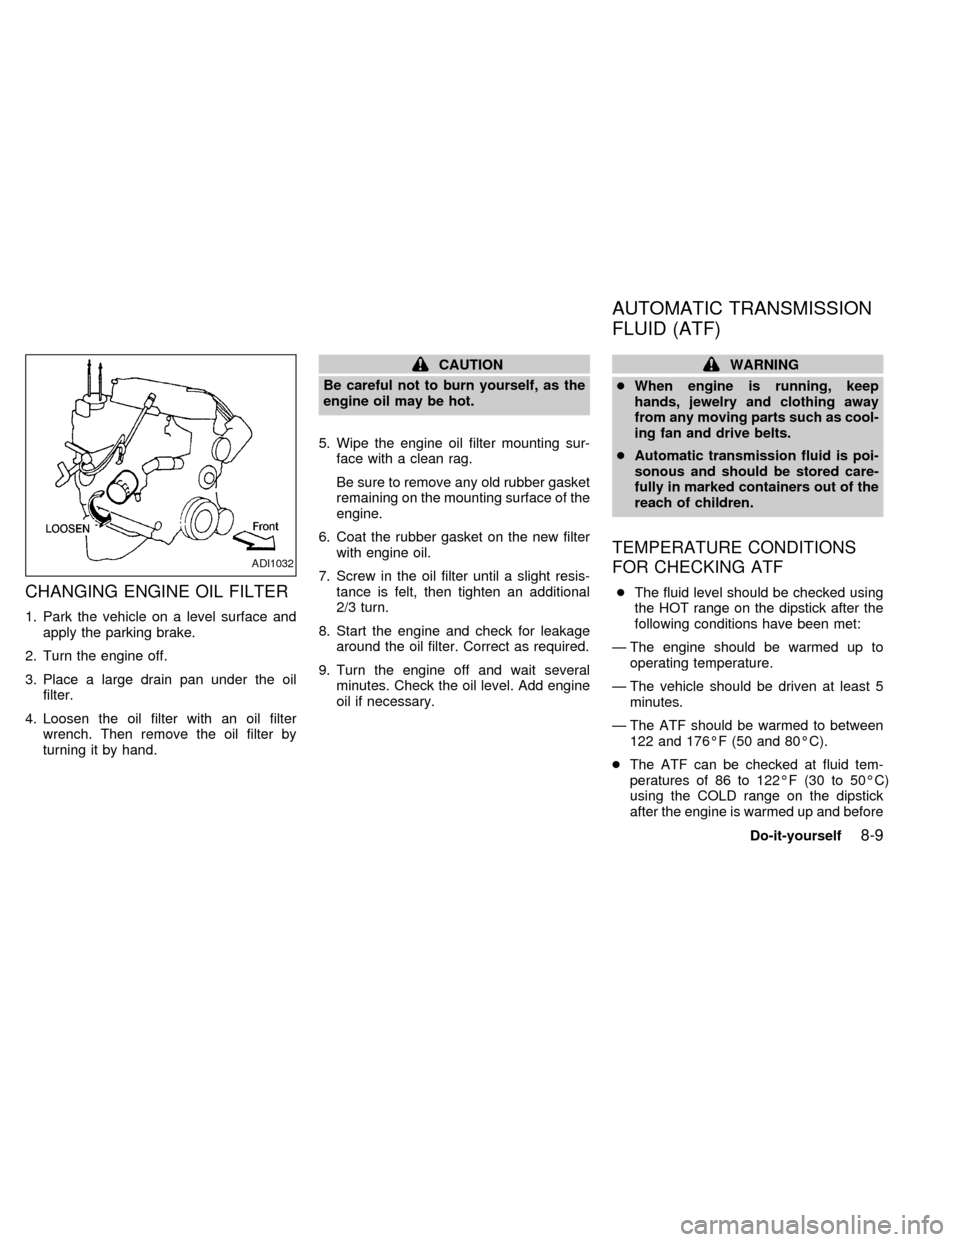
4. Loosen the oil filter with an oil filter
wrench. Then remove the oil filter by
turning it by hand.
CAUTION
Be careful not to burn yourself, as the
engine oil may be hot.
5. Wipe the engine oil filter mounting sur-
face with a clean rag.
Be sure to remove any old rubber gasket
remaining on the mounting surface of the
engine.
6. Coat the rubber gasket on the new filter
with engine oil.
7. Screw in the oil filter until a slight resis-
tance is felt, then tighten an additional
2/3 turn.
8. Start the engine and check for leakage
around the oil filter. Correct as required.
9. Turn the engine off and wait several
minutes. Check the oil level. Add engine
oil if necessary.WARNING
cWhen engine is running, keep
hands, jewelry and clothing away
from any moving parts such as cool-
ing fan and drive belts.
cAutomatic transmission fluid is poi-
sonous and should be stored care-
fully in marked containers out of the
reach of children.
TEMPERATURE CONDITIONS
FOR CHECKING ATF
cThe fluid level should be checked using
the HOT range on the dipstick after the
following conditions have been met:
Ð The engine should be warmed up to
operating temperature.
Ð The vehicle should be driven at least 5
minutes.
Ð The ATF should be warmed to between
122 and 176ÉF (50 and 80ÉC).
cThe ATF can be checked at fluid tem-
peratures of 86 to 122ÉF (30 to 50ÉC)
using the COLD range on the dipstick
after the engine is warmed up and before
ADI1032
AUTOMATIC TRANSMISSION
FLUID (ATF)
Do-it-yourself8-9
ZX
Page 181 of 224
tion. Be certain to keep the floor mat away
from the pedal.
Parking brake*Check that the lever has
the proper travel and confirm that your
vehicle is held securely on a fairly steep hill
with only the parking brake applied.
Automatic transmission Park position
mechanismCheck that the lock release
button on the selector lever operates prop-
erly and smoothly. On a fairly steep hill
check that your vehicle is held securely with
the selector lever in the P position without
applying any brakes.
UNDER THE HOOD AND
VEHICLE
The maintenance items listed here should
be checked periodically (e.g., each time you
check the engine oil or refuel).
Additional information on the following
items with an ``*'' is found in the ``Do-it-
yourself operations'' section.
Windshield washer fluid*Check that there
is adequate fluid in the reservoir.
Engine coolant level*Check the coolant
level when the engine is cold.Radiator and hosesCheck the front of the
radiator and clean off any dirt, insects,
leaves, etc., that may have accumulated.
Make sure the hoses have no cracks, de-
formation, rot or loose connections.
Brake and clutch fluid levels*Make sure
that the brake and clutch fluid level is be-
tween the MIN and MAX lines on the reser-
voir.
Battery*Check the fluid level in each cell. It
should be between the MAX and MIN lines.
Engine drive belts*Make sure the drive
belts are not frayed, worn, cracked or oily.
Engine oil level*Check the level after
parking the vehicle on a level surface with
the engine off. Wait a few minutes for the oil
to drain back into the oil pan.
Power steering fluid level* and lines
Check the level when the fluid is cold, with
the engine off. Check the lines for proper
attachment, leaks, cracks, etc.
Automatic transmission fluid level*
Check the level after putting the selector
lever in P with the engine idling at operating
temperature.
Exhaust systemMake sure there are noloose supports, cracks or holes. If the sound
of the exhaust seems unusual or there is a
smell of exhaust fumes, immediately have
the exhaust system inspected by an autho-
rized NISSAN dealer. See the carbon mon-
oxide warning in the ``Starting and driving''
section of this manual.
UnderbodyThe underbody is frequently
exposed to corrosive substances such as
those used on icy roads or to control dust. It
is very important to remove these sub-
stances from the underbody, otherwise rust
may form on the floor pan, frame, fuel lines
and exhaust system. At the end of winter,
the underbody should be thoroughly flushed
with plain water, in those areas where mud
and dirt may have accumulated. See the
``Appearance and care'' section of this
manual.
Fluid leaksCheck under the vehicle for
fuel, oil, water or other fluid leaks after the
vehicle has been parked for a while. Water
dripping from the air conditioner after use is
normal. If you should notice any leaks or if
gasoline fumes are evident, check for the
cause and have it corrected immediately.
9-4Maintenance
ZX
Page 182 of 224
To ensure smooth, trouble-free, safe and
economical driving, NISSAN provides two
periodic maintenance schedules that may
be used, depending upon the conditions in
which you usually drive. These schedules
contain both distance and time intervals, up
to 60,000 miles (96,000 km)/48 months. For
most people, the odometer reading will in-
dicate when service is needed. However, if
you drive very little, your vehicle should be
serviced at the regular time intervals shown
in the schedule.
After 60,000 miles (96,000 km)/48
months, continue periodic maintenance
at the same mileage/time intervals.
SCHEDULE ONE
Follow Periodic Maintenance Schedule one
if your driving habits frequently include one
or more of the following driving conditions:
cRepeated short trips of less than 5
miles (8 km).
cRepeated short trips of less than 10
miles (16 km) with outside tempera-
tures below freezing.
cOperating the vehicle in hot weatherduring stop-and-go ``rush hour'' traf-
fic.
cExtensive idling and/or low speed
driving for long distances, such as
police, taxi or door-to-door delivery
use.
cDriving in dusty conditions.
cDriving on rough, muddy, or salt
spread roads.
cTowing a trailer, using a camper or a
car-top carrier.
SCHEDULE TWO
Follow Periodic Maintenance Schedule two
if none of the driving conditions shown in
Schedule one apply to your driving habits.
Maintenance for off-road driving
(
only)
Whenever you drive off-road through sand,
mud or water as deep as the wheel hub,
more frequent maintenance may be re-
quired of the following items:
¶Brake pads and rotors
¶Brake linings and drums
¶Brake lines and hoses
¶Wheel bearing grease and free-running
hub grease
¶Differential, transmission and transfer oil
¶Steering linkage
¶Propeller shafts and front drive shafts
¶Air cleaner filter
These items should be checked frequently
to assure safe and proper operation of your
vehicle.
PERIODIC MAINTENANCE
SCHEDULES
Maintenance9-5
ZX
Page 183 of 224

Schedule One
Abbreviations: R = Replace I = Inspect. Correct or replace if necessary. [ ]: At the mileage intervals only
MAINTENANCE OPERATIONMAINTENANCE INTERVAL
Perform at number of miles, kilometers or
months, whichever comes first.Miles ý 1,000 3.75 7.5 11.25 15 18.75 22.5 26.25 30 33.75 37.5 41.25 45 48.75 52.5 56.25 60
(km ý 1,000) (6) (12) (18) (24) (30) (36) (42) (48) (54) (60) (66) (72) (78) (84) (90) (96)
Months 3 6 9 12 15 18 21 24 27 30 33 36 39 42 45 48
Emission control system maintenance
Drive beltsI* I*
Air cleaner filter See NOTE (1) [R] [R]
Positive crankcase ventilation (PCV) filter See NOTE (2) [R] [R]
EVAP vapor linesI* I*
Fuel linesI* I*
Fuel filterSee NOTE
(2)*
Engine coolant See NOTE (3)R*
Engine oilRRRRRRRRRRRRRRRR
Engine oil filterRRRRRRRRRRRRRRRR
Spark plugs[R] [R]
NOTE: (1) If operating mainly in dusty conditions, more frequent maintenance may be required.
(2) If vehicle is operated under extremely adverse weather conditions or in areas where ambient temperatures are either extremely low or
extremely high, the filters might become clogged. In such an event, replace them immediately.
(3) After 60,000 miles (96,000 km) or 48 months, replace every 30,000 miles (48,000 km) or 24 months.
* Maintenance items and intervals with an ``*'' are recommended by NISSAN for reliable vehicle operation. The owner need not perform
such maintenance in order to maintain the emission warranty or manufacturer recall liability. Other maintenance items and intervals
are required.
9-6Maintenance
ZX
Page 184 of 224

Schedule One
Abbreviations: R = Replace I = Inspect. Correct or replace if necessary. [ ]: At the mileage intervals only
MAINTENANCE OPERATIONMAINTENANCE INTERVAL
Perform at number of miles, kilometers
or months, whichever comes first.Miles ý 1,000 3.75 7.5 11.25 15 18.75 22.5 26.25 30 33.75 37.5 41.25 45 48.75 52.5 56.25 60
(km ý 1,000) (6) (12) (18) (24) (30) (36) (42) (48) (54) (60) (66) (72) (78) (84) (90) (96)
Months 3 6 9 12 15 18 21 24 27 30 33 36 39 42 45 48
Chassis and body maintenance
Brake lines & cablesIIII
Brake pads, rotors, drums & liningsIIIIIIII
Automatic transmission, transfer & differ-
ential gear oilSee NOTE (1)IIII
Manual transmission oil See NOTE (1) I I I R
Steering gear (box) & linkage, axle & suspension partsIIIIIIII
Drive shaft boots & propeller shaft (
) IIIIIIII
Front wheel bearing grease (4x2)II
Front wheel bearing grease & free-running
hub grease (
)See NOTE (2)IRIR
Exhaust systemIIIIIIII
Air bag system See NOTE (3)
NOTE: (1) If towing a trailer, using a camper or a car-top carrier, or driving on rough or muddy roads, change (not just inspect) oil at every 30,000
miles (48,000 km) or 24 months.
(2) If operating frequently in water, replace grease every 3,750 miles (6,000 km) or 3 months.
(3) Inspect the supplemental air bag system 10 years after the date of manufacture noted on the FMVSS certification label.
Maintenance9-7
ZX