Page 57 of 176

5. Release the switch, then slowly press it down again. Press the switch
repeatedly until the correct zone setting for your geographic location is
displayed on the upper right corner of the mirror.
6. To exit the zone setting mode, release pressure from the switch for
greater than two seconds.
Compass calibration adjustment
Perform this adjustment in an open area free from steel structures and
high voltage lines.
For optimum calibration, turn off all electrical accessories (heater/air
conditioning, wipers, etc.) and make sure all vehicle doors are shut.
1. Start the vehicle.
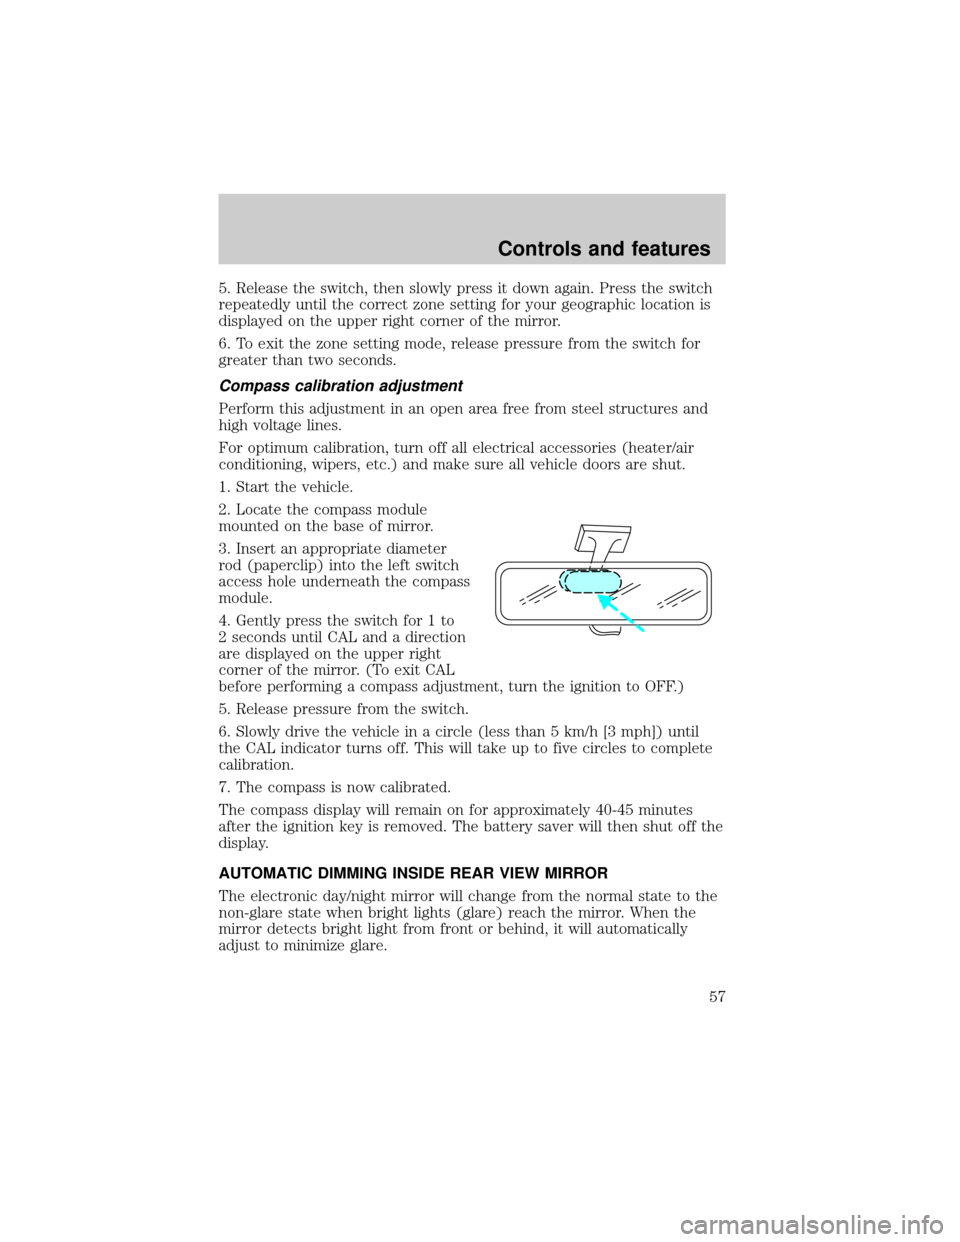
2. Locate the compass module
mounted on the base of mirror.
3. Insert an appropriate diameter
rod (paperclip) into the left switch
access hole underneath the compass
module.
4. Gently press the switch for 1 to
2 seconds until CAL and a direction
are displayed on the upper right
corner of the mirror. (To exit CAL
before performing a compass adjustment, turn the ignition to OFF.)
5. Release pressure from the switch.
6. Slowly drive the vehicle in a circle (less than 5 km/h [3 mph]) until
the CAL indicator turns off. This will take up to five circles to complete
calibration.
7. The compass is now calibrated.
The compass display will remain on for approximately 40-45 minutes
after the ignition key is removed. The battery saver will then shut off the
display.
AUTOMATIC DIMMING INSIDE REAR VIEW MIRROR
The electronic day/night mirror will change from the normal state to the
non-glare state when bright lights (glare) reach the mirror. When the
mirror detects bright light from front or behind, it will automatically
adjust to minimize glare.
Controls and features
57
Page 58 of 176
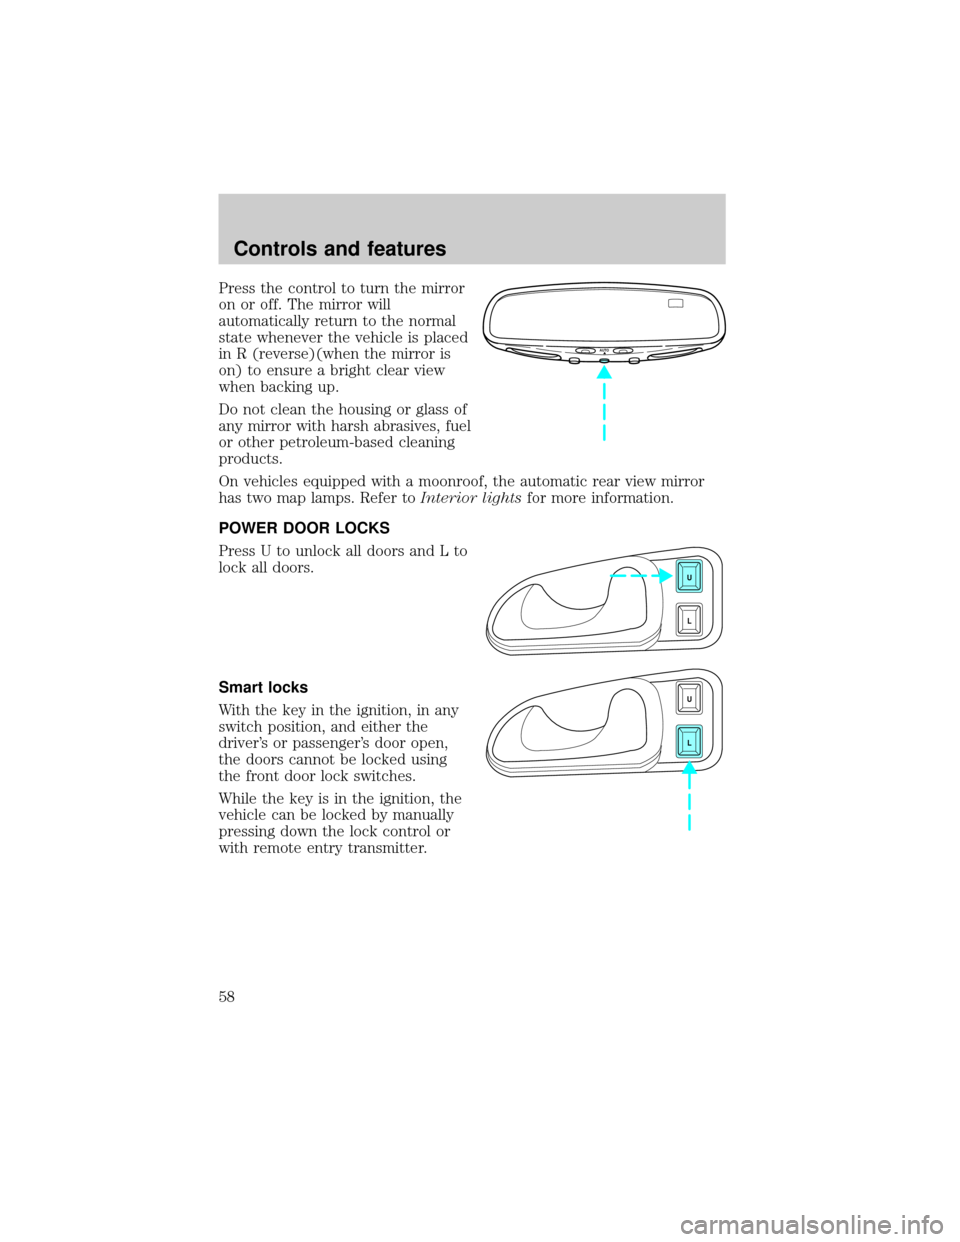
Press the control to turn the mirror
on or off. The mirror will
automatically return to the normal
state whenever the vehicle is placed
in R (reverse)(when the mirror is
on) to ensure a bright clear view
when backing up.
Do not clean the housing or glass of
any mirror with harsh abrasives, fuel
or other petroleum-based cleaning
products.
On vehicles equipped with a moonroof, the automatic rear view mirror
has two map lamps. Refer toInterior lightsfor more information.
POWER DOOR LOCKS
Press U to unlock all doors and L to
lock all doors.
Smart locks
With the key in the ignition, in any
switch position, and either the
driver's or passenger's door open,
the doors cannot be locked using
the front door lock switches.
While the key is in the ignition, the
vehicle can be locked by manually
pressing down the lock control or
with remote entry transmitter.
AUTO
U
L
U
L
Controls and features
58
Page 59 of 176
POWER WINDOWS
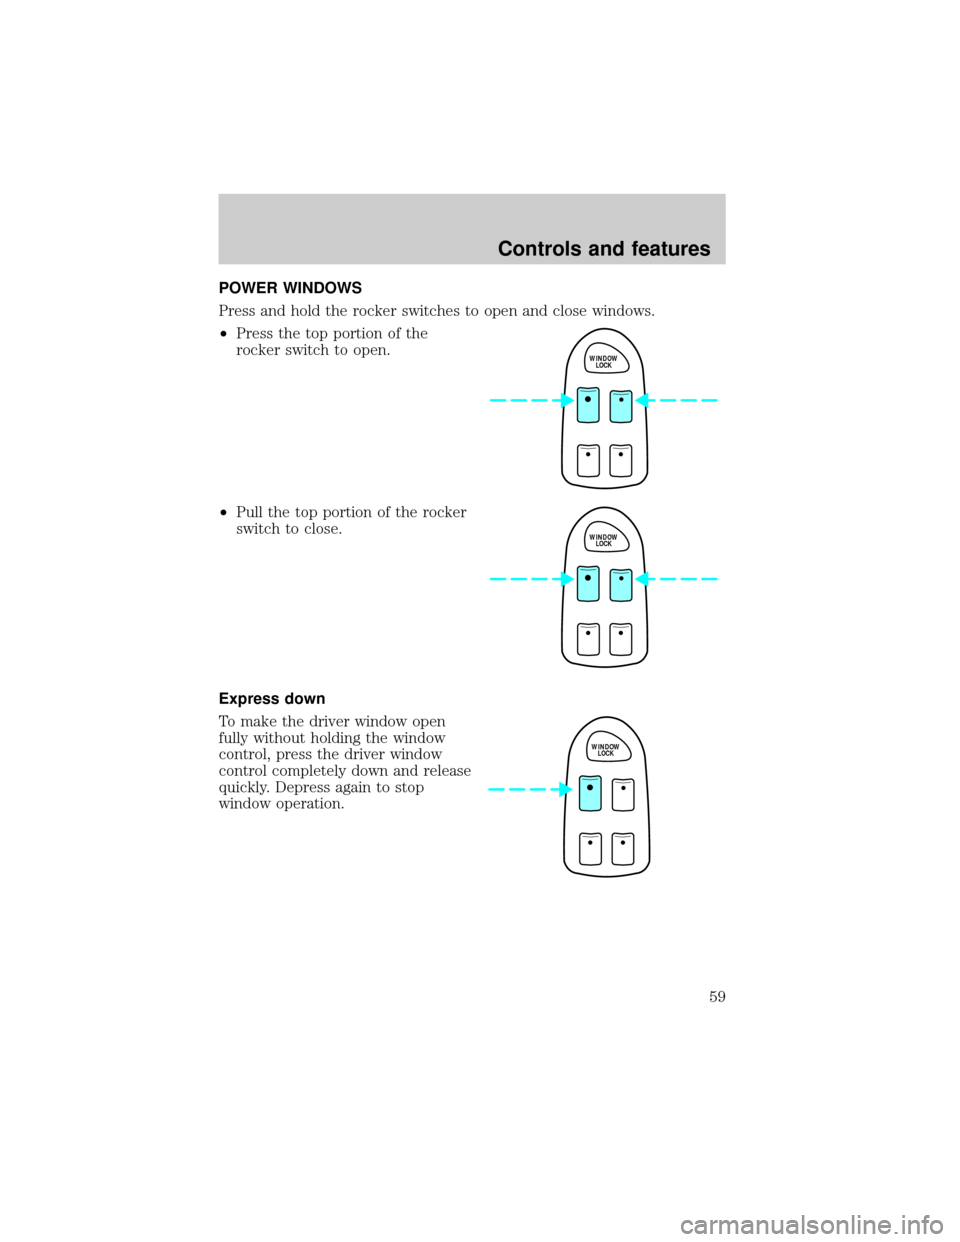
Press and hold the rocker switches to open and close windows.
²Press the top portion of the
rocker switch to open.
²Pull the top portion of the rocker
switch to close.
Express down
To make the driver window open
fully without holding the window
control, press the driver window
control completely down and release
quickly. Depress again to stop
window operation.
WINDOW
LOCK
WINDOW
LOCK
WINDOW
LOCK
Controls and features
59
Page 60 of 176
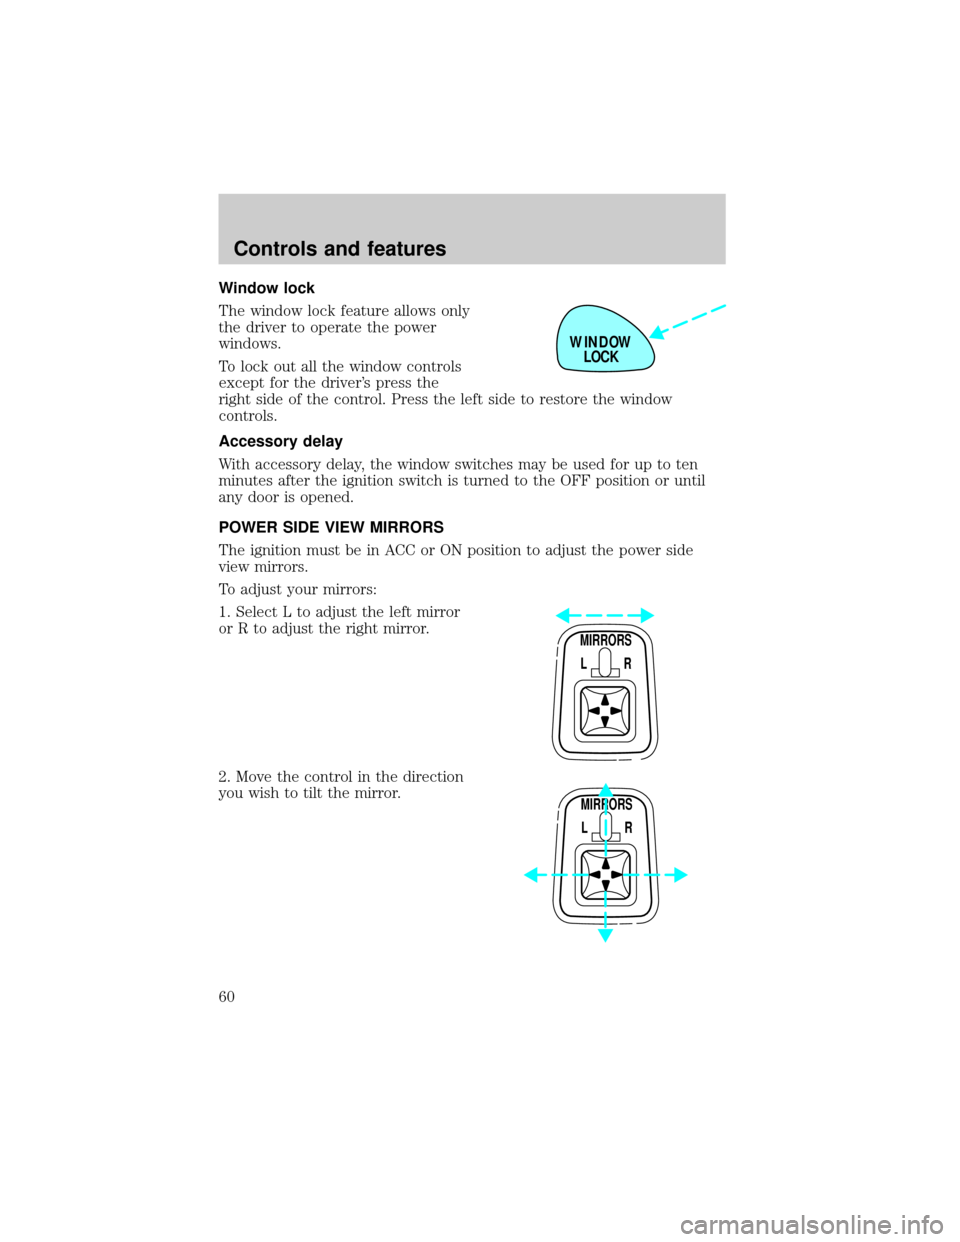
Window lock
The window lock feature allows only
the driver to operate the power
windows.
To lock out all the window controls
except for the driver's press the
right side of the control. Press the left side to restore the window
controls.
Accessory delay
With accessory delay, the window switches may be used for up to ten
minutes after the ignition switch is turned to the OFF position or until
any door is opened.
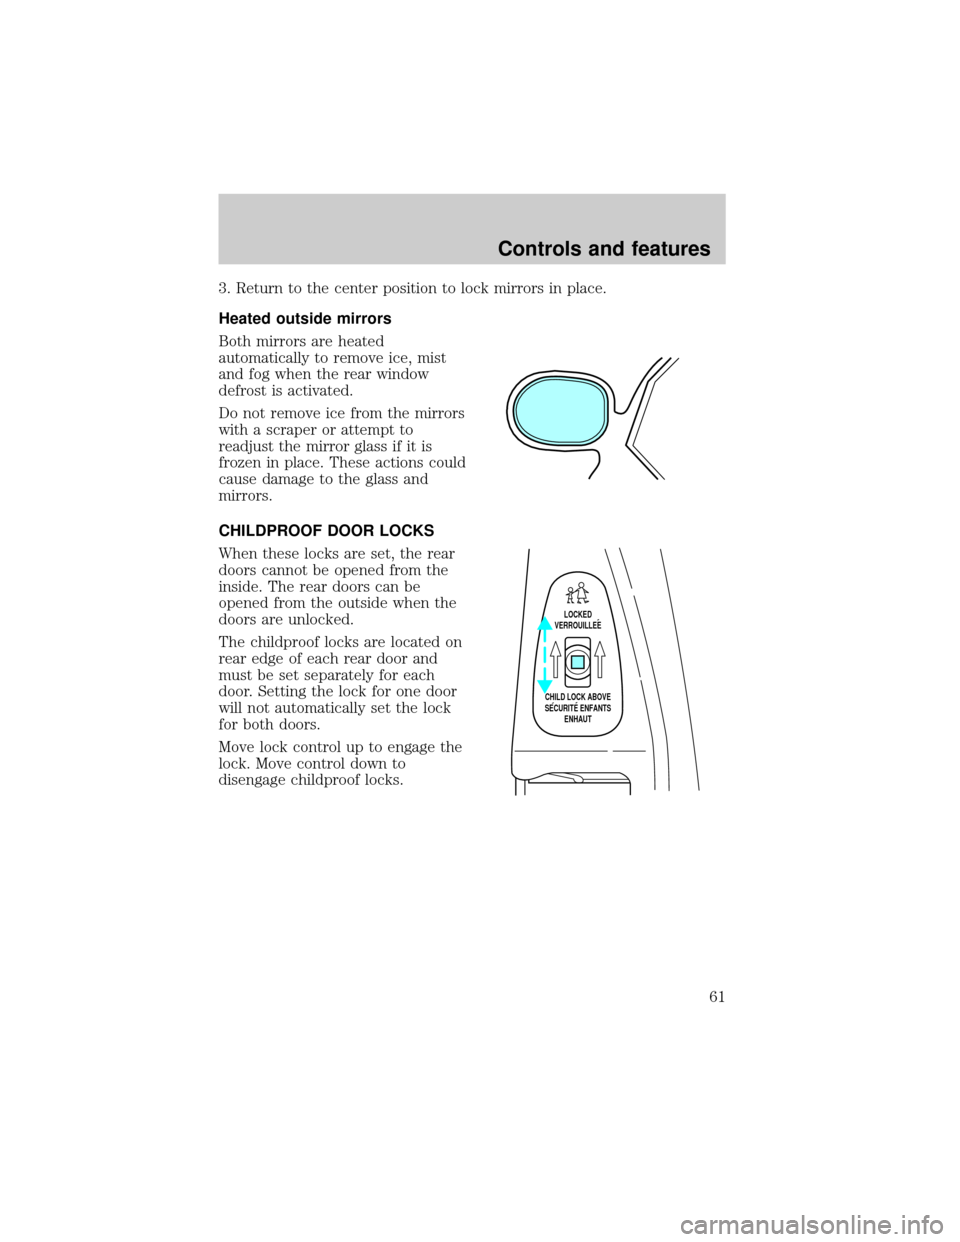
POWER SIDE VIEW MIRRORS
The ignition must be in ACC or ON position to adjust the power side
view mirrors.
To adjust your mirrors:
1. Select L to adjust the left mirror
or R to adjust the right mirror.
2. Move the control in the direction
you wish to tilt the mirror.
WINDOW
LOCK
MIRRORS
L R
MIRRORS
L R
Controls and features
60
Page 61 of 176
3. Return to the center position to lock mirrors in place.
Heated outside mirrors
Both mirrors are heated
automatically to remove ice, mist
and fog when the rear window
defrost is activated.
Do not remove ice from the mirrors
with a scraper or attempt to
readjust the mirror glass if it is
frozen in place. These actions could
cause damage to the glass and
mirrors.
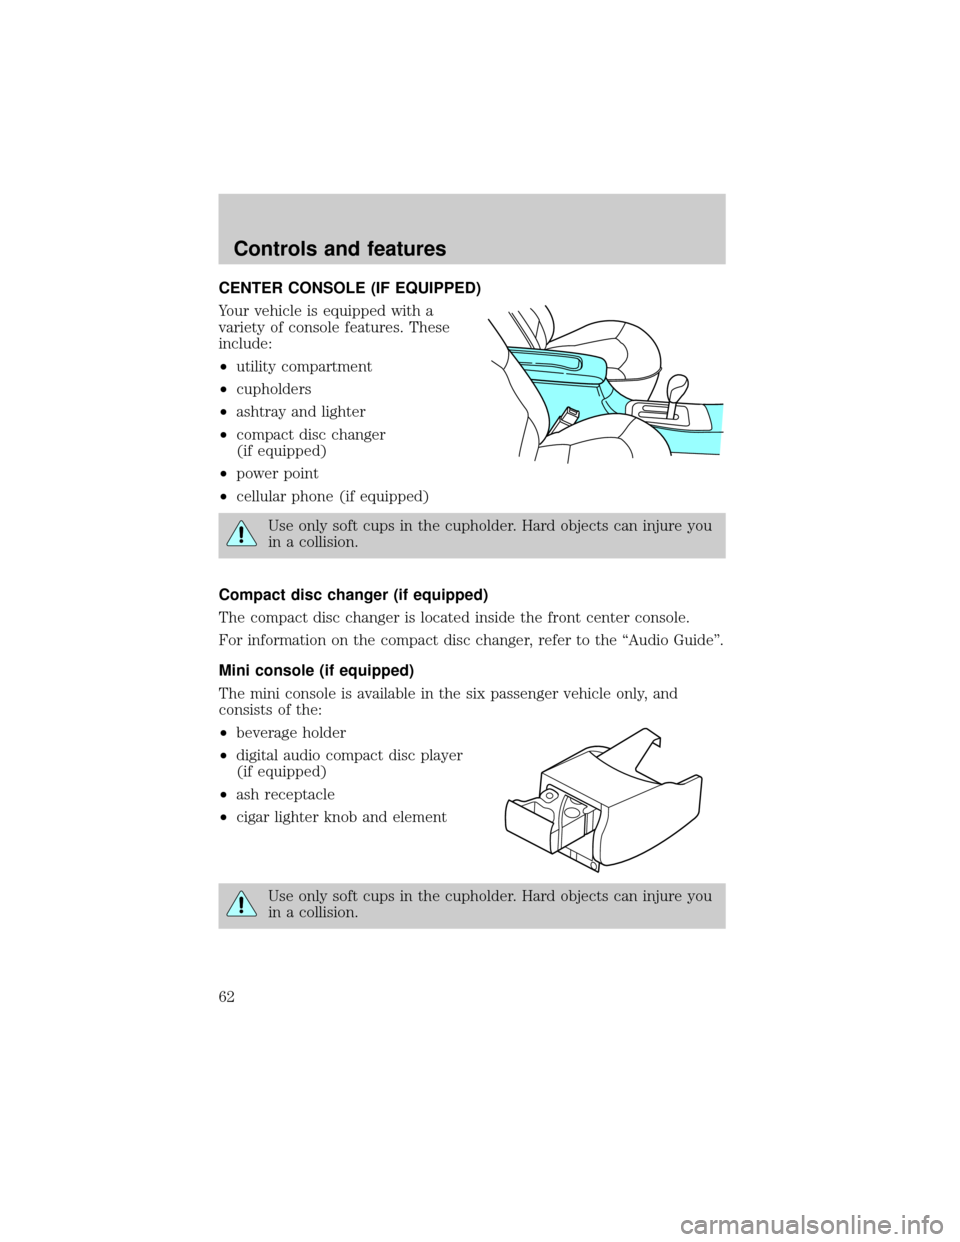
CHILDPROOF DOOR LOCKS
When these locks are set, the rear
doors cannot be opened from the
inside. The rear doors can be
opened from the outside when the
doors are unlocked.
The childproof locks are located on
rear edge of each rear door and
must be set separately for each
door. Setting the lock for one door
will not automatically set the lock
for both doors.
Move lock control up to engage the
lock. Move control down to
disengage childproof locks.
LOCKED
VERROUILLEE
CHILD LOCK ABOVE
SECURITE ENFANTS
ENHAUT
Controls and features
61
Page 62 of 176
CENTER CONSOLE (IF EQUIPPED)
Your vehicle is equipped with a
variety of console features. These
include:
²utility compartment
²cupholders
²ashtray and lighter
²compact disc changer
(if equipped)
²power point
²cellular phone (if equipped)
Use only soft cups in the cupholder. Hard objects can injure you
in a collision.
Compact disc changer (if equipped)
The compact disc changer is located inside the front center console.
For information on the compact disc changer, refer to the ªAudio Guideº.
Mini console (if equipped)
The mini console is available in the six passenger vehicle only, and
consists of the:
²beverage holder
²digital audio compact disc player
(if equipped)
²ash receptacle
²cigar lighter knob and element
Use only soft cups in the cupholder. Hard objects can injure you
in a collision.
Controls and features
62
Page 63 of 176

POSITIVE RETENTION FLOOR MAT
Position the floor mat so that the
eyelet is over the pointed end of the
retention post and rotate forward to
lock in. Make sure that the mat does
not interfere with the operation of
the accelerator or the brake pedal.
To remove the floor mat, reverse the
installation procedure.
PERIMETER ALARM SYSTEM (IF EQUIPPED)
Arming the system
When armed, this system will help protect your vehicle from
unauthorized entry. When unauthorized entry occurs, the system will
flash the headlamps and/or parking lamps and the theft indicator lamp
and will chirp the horn.
The system is ready to arm whenever the ignition is turned OFF. Any of
the following actions will prearm the alarm system:
²Locking the doors with the
remote transmitter (doors opened
or closed). The horn will chirp to
confirm that the control was
pressed. The horn chirp feature
can be turned on/off by using the
feature menu in the message
center.
²Pressing 7/8 and 9/0 on the
keyless entry pad at the same
time to lock the doors (doors
opened or closed).
²Opening a door and pressing the
power door lock control to lock the doors.
123
45678
90
Controls and features
63
Page 64 of 176

If a door is open, the system is prearmed and is waiting for the door to
close. The anti-theft indicator on the instrument panel will be lit
continuously when the system is prearmed.
Once the doors are closed, the system will arm in 30 seconds.
Disarming the system
You can disarm the system by any of the following actions:
²Unlock the doors by using your
remote entry transmitter.
²Unlock the doors by using your
keyless entry keypad.
²Unlock the doors with a key. Turn
the key full travel (toward the
front of the vehicle) to make sure
the alarm disarms.
²Turn ignition to ACC or ON.
SecuriLockYanti-theft system
The SecuriLockyanti-theft system provides an advanced level of vehicle
theft protection. Your vehicle's engine can only be started with the two
special SecuriLockyelectronically coded keys provided with your
vehicle. Each time you start your vehicle, the SecuriLockykey is read
by the SecuriLockyanti-theft system. If the SecuriLockykey
identification code matches the code stored in the SecuriLocky
anti-theft system, the vehicle's engine is allowed to start. If the
SecuriLockykey identification code does not match the code stored in
the system or if a SecuriLockykey is not detected (vehicle theft
situation), the vehicle's engine will not operate.
Spare SecuriLockykeys can be purchased from your dealership and
programmed to your SecuriLockyanti-theft system. Refer to
Programming spare SecuriLockykeysfor more information.
123
45678
90
Controls and features
64