Page 100 of 176

on the accelerator in each gear. Do not rock the vehicle for more than a
few minutes, because it could damage the vehicle.
Always set the parking brake fully and make sure the gearshift is
latched in P (Park). Turn off the ignition whenever you leave
your vehicle.
Driving with a 4±speed automatic transaxle
Your automatic overdrive transaxle provides fully automatic operation in
either D (Overdrive) or 3 (Third). Driving with the shift selector in D
(Overdrive) gives the best fuel economy for normal driving conditions.
For manual control start in 1 (First) and then shift manually.
To put your vehicle in gear, start the engine, depress the brake pedal,
then move gearshift out of P (Park).
Hold the brake pedal down while you move the gearshift lever
from position to position. If you do not hold the brake pedal
down, your vehicle may move unexpectedly and injure someone.
Understanding gearshift positions
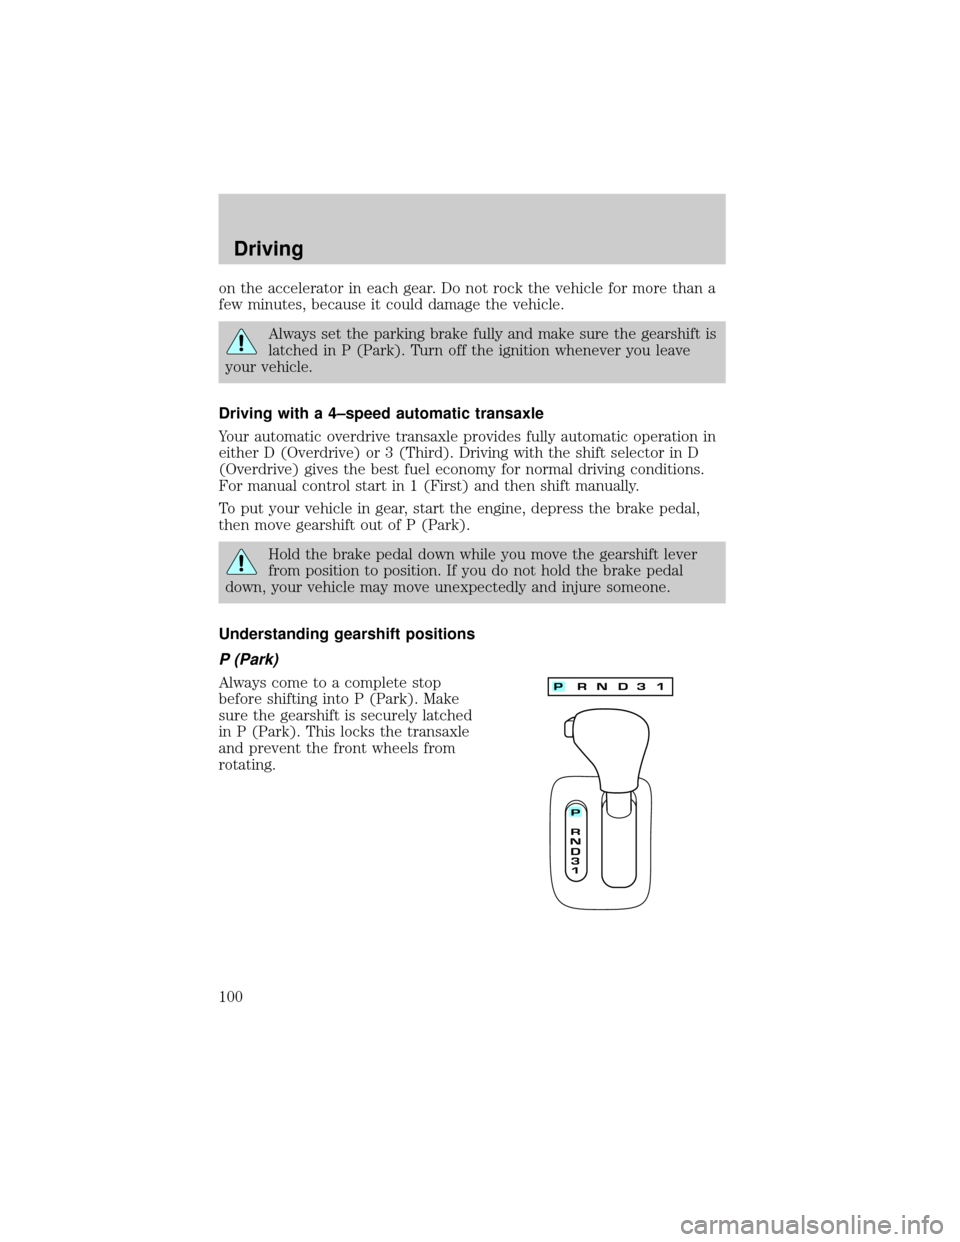
P (Park)
Always come to a complete stop
before shifting into P (Park). Make
sure the gearshift is securely latched
in P (Park). This locks the transaxle
and prevent the front wheels from
rotating.
Driving
100
Page 103 of 176

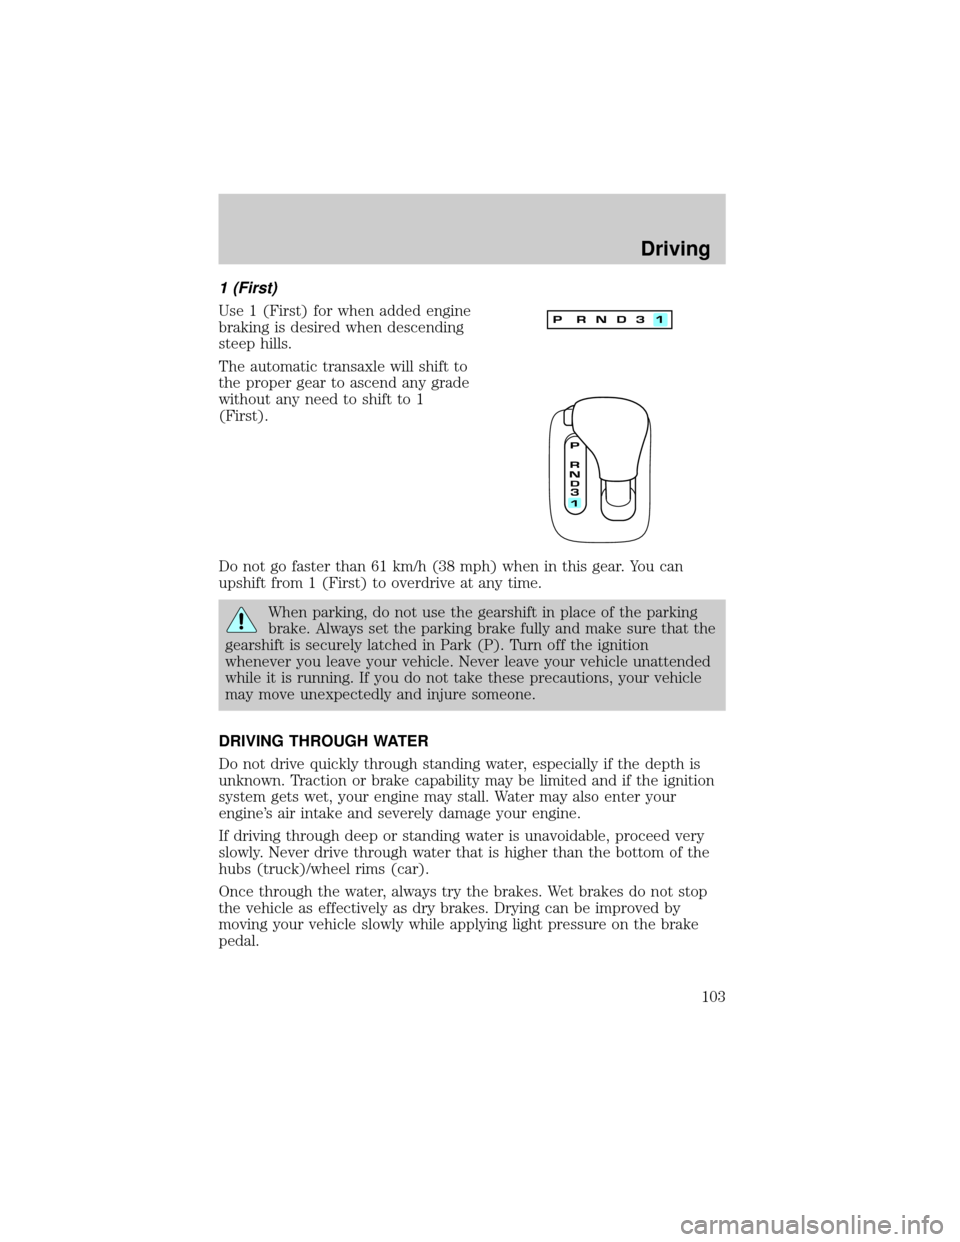
1 (First)
Use 1 (First) for when added engine
braking is desired when descending
steep hills.
The automatic transaxle will shift to
the proper gear to ascend any grade
without any need to shift to 1
(First).
Do not go faster than 61 km/h (38 mph) when in this gear. You can
upshift from 1 (First) to overdrive at any time.
When parking, do not use the gearshift in place of the parking
brake. Always set the parking brake fully and make sure that the
gearshift is securely latched in Park (P). Turn off the ignition
whenever you leave your vehicle. Never leave your vehicle unattended
while it is running. If you do not take these precautions, your vehicle
may move unexpectedly and injure someone.
DRIVING THROUGH WATER
Do not drive quickly through standing water, especially if the depth is
unknown. Traction or brake capability may be limited and if the ignition
system gets wet, your engine may stall. Water may also enter your
engine's air intake and severely damage your engine.
If driving through deep or standing water is unavoidable, proceed very
slowly. Never drive through water that is higher than the bottom of the
hubs (truck)/wheel rims (car).
Once through the water, always try the brakes. Wet brakes do not stop
the vehicle as effectively as dry brakes. Drying can be improved by
moving your vehicle slowly while applying light pressure on the brake
pedal.
Driving
103
Page 109 of 176

HAZARD FLASHER
For information on the hazard flasher control, refer toHazard lights
controlin theRoadside emergencieschapter.
FUEL PUMP SHUT-OFF SWITCH
If the engine cranks but does not start after a collision, the fuel pump
shut-off switch may have been activated. The shut-off switch is a device
intended to stop the electric fuel pump when your vehicle has been
involved in a substantial jolt.
1. Turn the ignition to the OFF position.
2. Check the fuel system for leaks.
3. If no fuel leak is apparent, reset the fuel pump shut-off switch by
pushing in the button on the switch.
4. Turn the ignition to the ON position. Pause for a few seconds and
return the key to the OFF position.
5. Make a further check for leaks in the fuel system.
The fuel pump shut-off switch is
located behind an access door to the
left of the driver's seat on the
B-pillar.
FUSES AND RELAYS
Fuses
If electrical components in the
vehicle are not working, a fuse may
have blown. Blown fuses are
identified by a broken wire within
the fuse. Check the appropriate
fuses before replacing any electrical
components.
1515
Roadside emergencies
109
Page 113 of 176
Fuse/Relay Location Fuse Amp Rating Description
5 10A Virtual Image
Instrument Cluster,
Lighting Control
Module (LCM
RUN/START Sense),
Autolamp Light Sensor
6 10A Virtual Image
Instrument Cluster, RF
Park/Turn Lamp
7 20A Power Point
8 20A Fuel Filler Door
Release Switch, Trunk
Lid Relay
9 10A Air Bag Diagnostic
Monitor, EATC
Module, Blower Motor
Relay
10 30A Windshield Wiper
Motor, Windshield
Wiper Module
11 10A Ignition Coils, Radio
Interference Capacitor,
PCM Power Relay,
Passive Anti-Theft
System (PATS)
Transceiver
12 10A Lighting Control
Module
Roadside emergencies
113
Page 118 of 176
The high-current fuses are coded as follows:
Fuse/Relay Location Fuse Amp Rating Description
175 Generator/Voltage
Regulator
1 30A** Driver's Seat Module
2 30A** Passenger's Seat
Module
3 40A** Ignition Switch
4 40A** Ignition Switch
5 40A** Driver Window
6 - NOT USED
7 30A** PCM Power
8 40A** Rear Window Defrost
Control
9 60A** I/P Fuse Panel
10 60A** LCM Power
11 60A** Compressor Relay
12 60A** Anti-Lock Brake
Control Module, ABS
EVAC and Fill
Connector
13 40A** Blower Motor Relay
14 60A** Dual Auxiliary Relay
Box
1 30A* PCM CAM
2 20A* ALT SENSE
3 30A* Rear Passenger
Window
4 30A* Air Suspension
5 10A* Air Bag
6 20A* Horns
7 15A* High Beam
Roadside emergencies
118
Page 122 of 176

JUMP STARTING YOUR VEHICLE
The gases around the battery can explode if exposed to flames,
sparks, or lit cigarettes. An explosion could result in injury or
vehicle damage.
Do not push start your vehicle. You could damage the catalytic
converter.
Batteries contain sulfuric acid which burns skin, eyes, and
clothing.
Preparing your vehicle
Also see the label on the battery.
1. Use only a 12±volt supply to start your vehicle. If you connect your
battery to a 24±volt power supply you can damage your starter, ignition
system and other electrical components.
2. Do not disconnect the battery of the disabled vehicle as this could
damage the vehicle's electrical system.
3. Park the booster vehicle close to the hood of the disabled vehicle
making sure theydo nottouch. Set the parking brake on both vehicles
and stay clear of the engine cooling fan and other moving parts.
4. Check all battery terminals and remove any excessive corrosion before
you attach the battery cables.
5. Turn the heater fan on in both vehicles to protect any electrical
surges. Turn all other accessories off.
Roadside emergencies
122
Page 138 of 176
CABIN AIR FILTER
The cabin air filter restricts the entry of airborne dust and pollen
particles. The filter is located just in front of the windshield under the
cowl vent screen on the passenger side of the vehicle.
To replace the filter, perform the following procedure:
1. In order to gain better access to the filter, turn the ignition key to ON,
then turn the wipers on. When the wipers reach the middle of the
windshield (wipers in straight up position), turn the ignition to OFF.
2. Release and open the hood.
BRAKE RELEASEHOOD
Maintenance and care
138
Page 140 of 176

Checking the wiper blades
If the wiper blades do not wipe properly, clean both the windshield and
wiper blades using undiluted windshield wiper solution or a mild
detergent. Rinse thoroughly with clean water. To avoid damaging the
blades, do not use fuel, kerosene, paint thinner or other solvents.
Changing the wiper blades
When replacing wiper blade assemblies, always use a Motorcraft part or
equivalent. To make replacing the wipers easy, turn the ignition to ACC,
then turn the wipers on. When the wipers reach the vertical position,
turn the ignition to LOCK.
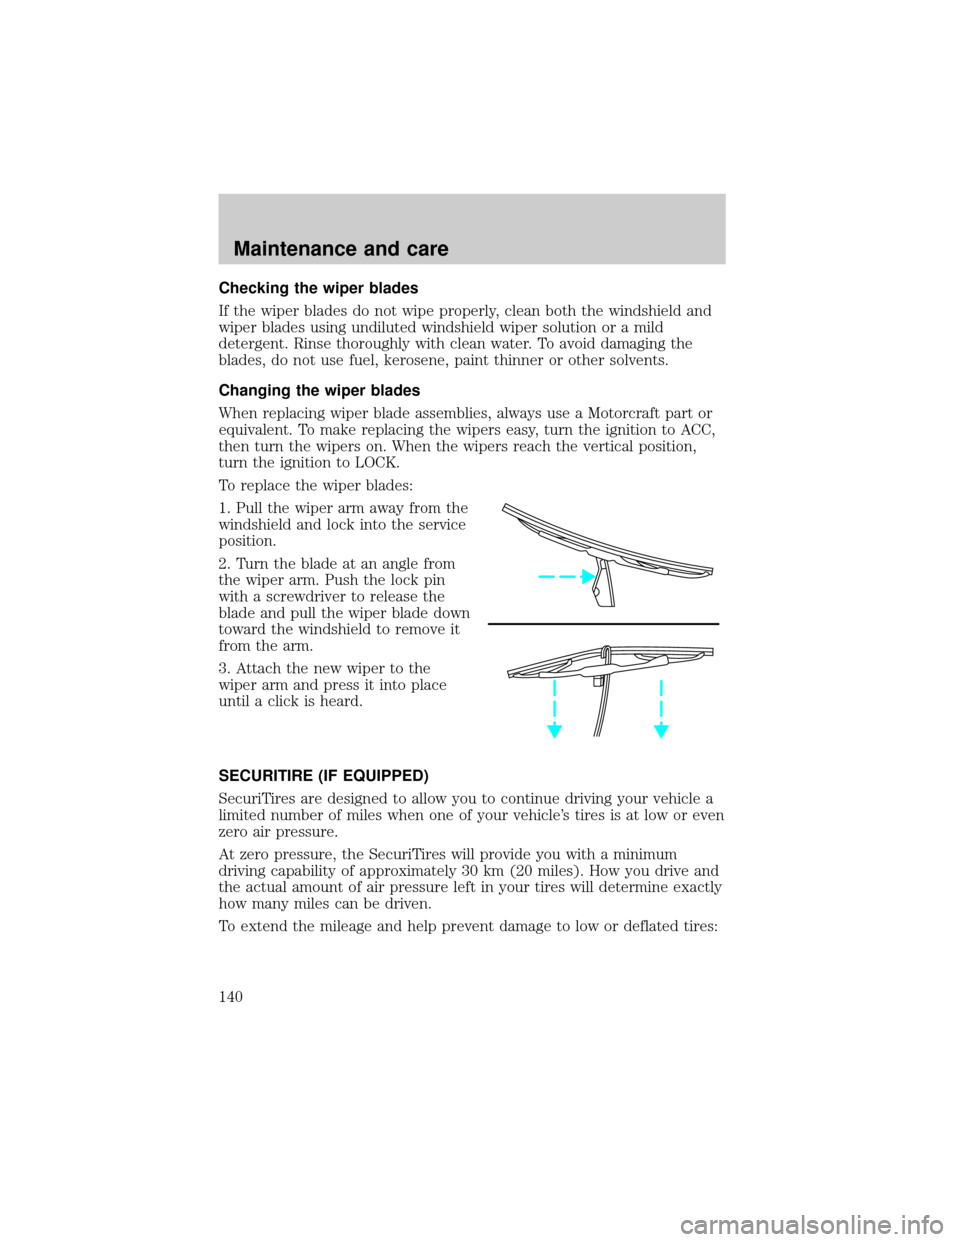
To replace the wiper blades:
1. Pull the wiper arm away from the
windshield and lock into the service
position.
2. Turn the blade at an angle from
the wiper arm. Push the lock pin
with a screwdriver to release the
blade and pull the wiper blade down
toward the windshield to remove it
from the arm.
3. Attach the new wiper to the
wiper arm and press it into place
until a click is heard.
SECURITIRE (IF EQUIPPED)
SecuriTires are designed to allow you to continue driving your vehicle a
limited number of miles when one of your vehicle's tires is at low or even
zero air pressure.
At zero pressure, the SecuriTires will provide you with a minimum
driving capability of approximately 30 km (20 miles). How you drive and
the actual amount of air pressure left in your tires will determine exactly
how many miles can be driven.
To extend the mileage and help prevent damage to low or deflated tires:
Maintenance and care
140