Page 2279 of 2490

Installation
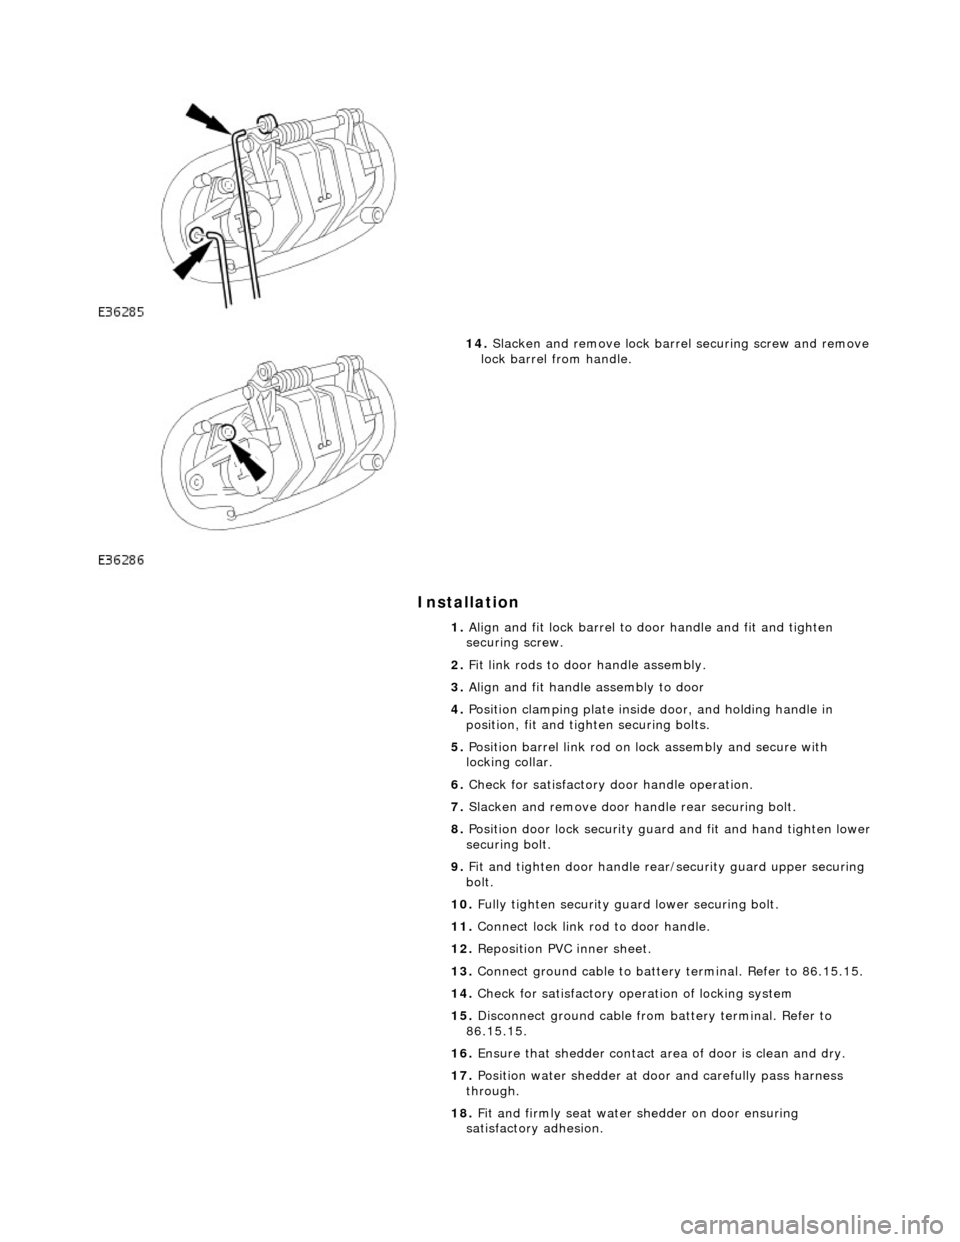
14. Slacken and remove lock barre l securing screw and remove
lock barrel from handle.
1. Align and fit lock barrel to door handle and fit and tighten
securing screw.
2. Fit link rods to door handle assembly.
3. Align and fit handle assembly to door
4. Position clamping plate inside door, and holding handle in
position, fit and tighten securing bolts.
5. Position barrel link rod on lock assembly and secure with
locking collar.
6. Check for satisfactory door handle operation.
7. Slacken and remove door handle rear securing bolt.
8. Position door lock security guard and fit and hand tighten lower
securing bolt.
9. Fit and tighten door handle rear /security guard upper securing
bolt.
10. Fully tighten security guard lower securing bolt.
11. Connect lock link rod to door handle.
12. Reposition PVC inner sheet.
13. Connect ground cable to battery terminal. Refer to 86.15.15.
14. Check for satisfactory operation of locking system
15. Disconnect ground cable from battery terminal. Refer to
86.15.15.
16. Ensure that shedder contact area of door is clean and dry.
17. Position water shedder at door and carefully pass harness
through.
18. Fit and firmly seat water shedder on door ensuring
satisfactory adhesion.
Page 2281 of 2490
Handles, Locks, Latches and Entry Systems - Driver Door Latch
Removal and Installation
Removal
1. Remove battery cover and disconnect ground cable from
battery terminal. Refer to 86.15.19.
2. Remove driver door casing. Refer to 76.34.01.
3. Position water shedder for ac cess and feed door harness
through water shedder.
4. Carefully remove water shedder from door and place adhesive
side down on a clean dry plastic sheet.
5. Release door lock actuator ha rness multiplug from mounting
bracket and disconnect multiplug.
6. Position plastic inner sheet for access.
7. Disconnect outer door handle operating rod from lock
mechanism.
8. Disconnect inner door lock operating rod from lock
mechanism and remove rod assembly.
Page 2282 of 2490
9. Slacken and remove the two se curity guard securing bolts
and remove shield from door.
10. Withdraw locking sleeve to release door lock barrel link
rod, and remove link rod.
11. Slacken and remove the three lock securing bolts.
12. Remove remote control cabl e abutment securing clip,
disconnect cable from lock as sembly and remove lock from
door.
Page 2283 of 2490

Installation
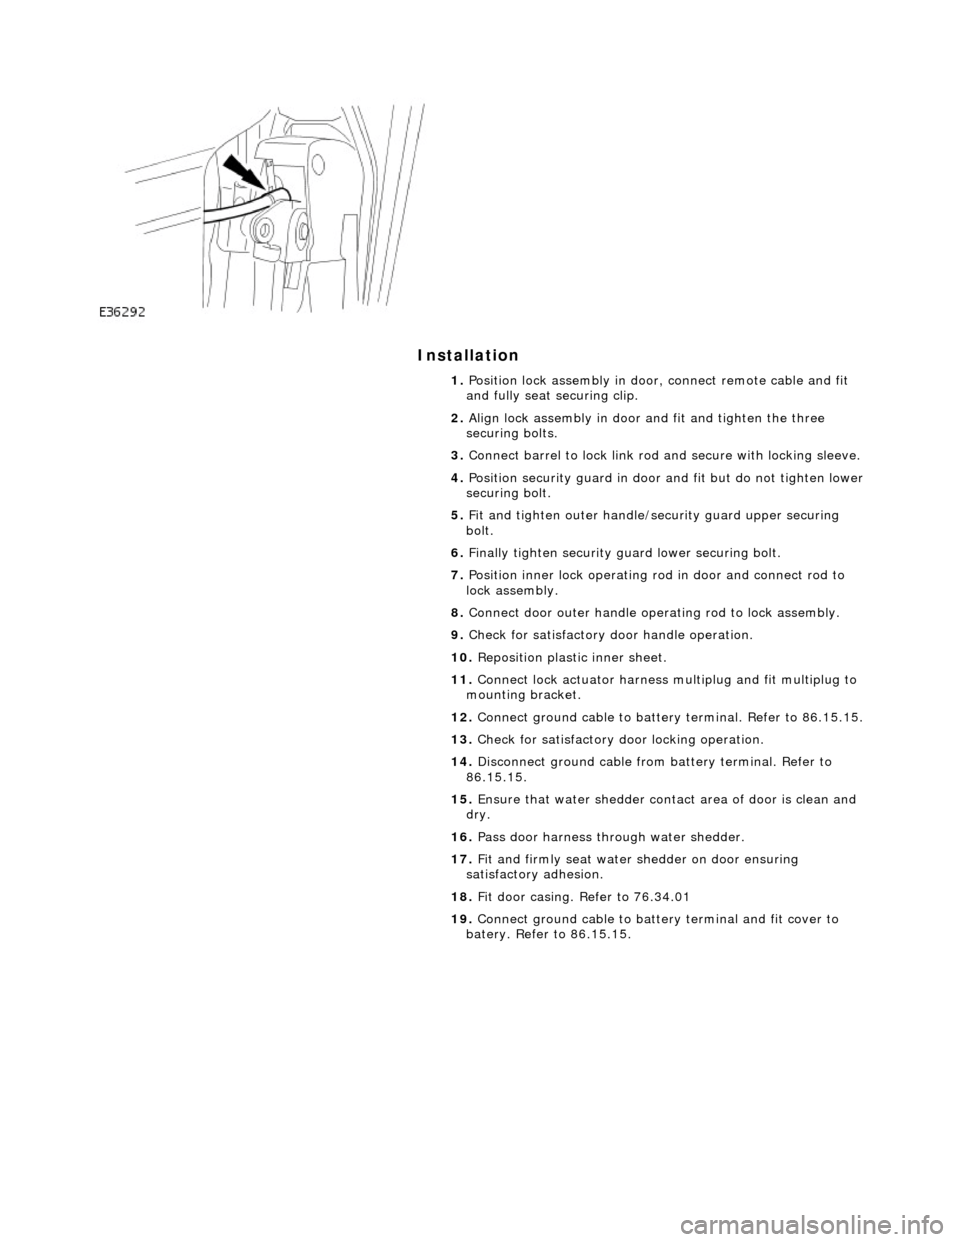
1. Position lock assembly in door, connect remote cable and fit
and fully seat securing clip.
2. Align lock assembly in door and fit and tighten the three
securing bolts.
3. Connect barrel to lock link rod and secure with locking sleeve.
4. Position security guard in door and fit but do not tighten lower
securing bolt.
5. Fit and tighten outer handle/security guard upper securing
bolt.
6. Finally tighten security guard lower securing bolt.
7. Position inner lock operating ro d in door and connect rod to
lock assembly.
8. Connect door outer handle operating rod to lock assembly.
9. Check for satisfactory door handle operation.
10. Reposition plastic inner sheet.
11. Connect lock actuator harness multiplug and fit multiplug to
mounting bracket.
12. Connect ground cable to battery terminal. Refer to 86.15.15.
13. Check for satisfactory door locking operation.
14. Disconnect ground cable from battery terminal. Refer to
86.15.15.
15. Ensure that water shedder contact area of door is clean and
dry.
16. Pass door harness through water shedder.
17. Fit and firmly seat water shedder on door ensuring
satisfactory adhesion.
18. Fit door casing. Refer to 76.34.01
19. Connect ground cable to battery terminal and fit cover to
batery. Refer to 86.15.15.
Page 2297 of 2490
Handles, Locks, Latches and Entry Systems - Exterior Passenger Door
Handle
Removal and Installation
Removal
1. Remove battery cover and disconnect ground cable from
battery terminal. Refer to 86.15.19.
2. Remove door casing veneer panel. Refer to 76.47.11.
3. Remove door casing for access. Refer to 76.34.01.
4. Feeding electrical harness thro ugh water shedder, carefully
peel shedder from door and pl ace adhesive face down on a
clean dry polythene sheet.
5. Position PVC inner sheet for access.
6. Disconnect door handle operating link rod from lock
assembly.
7. Slacken and remove the two handle mounting bracket
securing bolts and remove bracket from door.
8. Withdraw handle assembly from door and remove link rod
from handle.
Page 2298 of 2490
Installation
1. Fit link rod to door handle.
2. Position handle assembly on door.
3. Position mounting bracket on insi de of door and connect lock
link rod.
4. Fit and tighten mounting bracket securing bolts.
5. Reposition PVC inner sheet in door.
6. Check for satisfactory door handle operation.
7. Connect ground cable to battery terminal. Refer to 86.15.15.
8. Check for satisfactory operation of locking system.
9. Disconnect ground cable from battery terminal. Refer to
86.15.15.
10. Ensure that water shedder contact area of door is clean and
dry.
11. Position water shedder at door and carefully pass harness
through.
12. Fit and firmly seat water shedder on door ensuring
satisfactory adhesion.
13. Fit door casing. Refer to 76.34.01.
14. Fit door casing veneer panel. Refer to 76.47.11.
15. Fit ground cable to battery term inal and fit cover to battery.
Refer to 86.15.15.
Page 2299 of 2490
Handles, Locks, Latches and Entry Systems - Passenger Door Latch
Removal and Installation
Removal
1. Remove battery cover and disconnect ground cable from
battery terminal. Refer to 86.15.19.
2. Remove front door casing. Refer to 76.34.01.
3. Position water shedder for ac cess and feed door harness
through water shedder.
4. Carefully remove water shedder from door and place adhesive
side down on a clean dry plastic sheet.
5. Release door lock actuator ha rness multiplug from mounting
bracket and disconnect multiplug.
6. Position plastic inner sheet for access.
7. Disconnect outer door handle operating rod from lock
mechanism.
8. Disconnect inner door lock operating rod from lock
mechanism and remove rod assembly.
9. Slacken and remove the three lock securing bolts.
Page 2300 of 2490

Installation
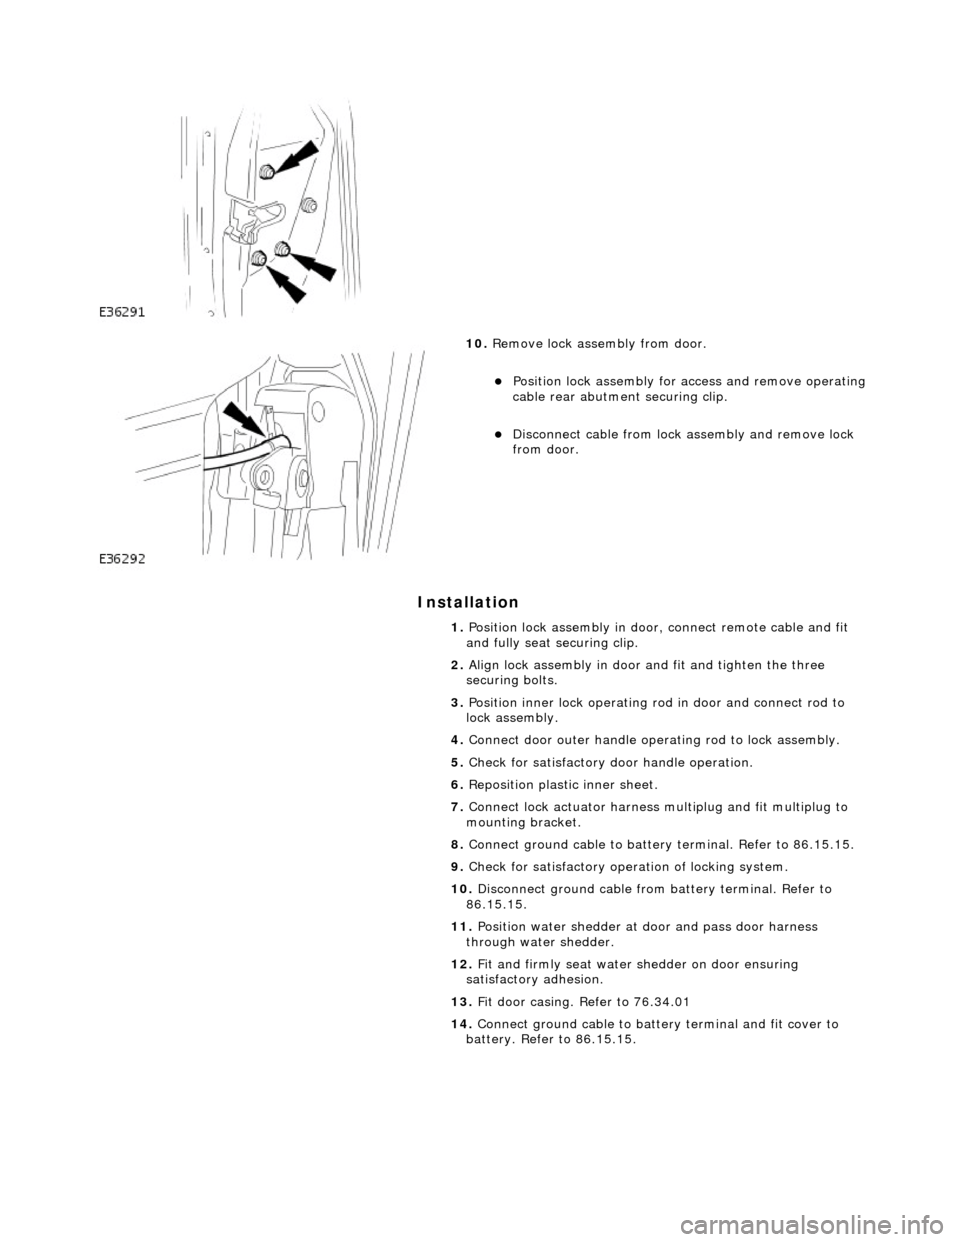
10. Remove lock assembly from door.
Position lock assembly for access and remove operating
cable rear abutment securing clip.
Disconnect cable from lock assembly and remove lock
from door.
1. Position lock assembly in door, connect remote cable and fit
and fully seat securing clip.
2. Align lock assembly in door and fit and tighten the three
securing bolts.
3. Position inner lock operating ro d in door and connect rod to
lock assembly.
4. Connect door outer handle operating rod to lock assembly.
5. Check for satisfactory door handle operation.
6. Reposition plastic inner sheet.
7. Connect lock actuator harness multiplug and fit multiplug to
mounting bracket.
8. Connect ground cable to battery terminal. Refer to 86.15.15.
9. Check for satisfactory operation of locking system.
10. Disconnect ground cable from battery terminal. Refer to
86.15.15.
11. Position water shedder at d oor and pass door harness
through water shedder.
12. Fit and firmly seat water shedder on door ensuring
satisfactory adhesion.
13. Fit door casing. Refer to 76.34.01
14. Connect ground cable to battery terminal and fit cover to
battery. Refer to 86.15.15.