Page 380 of 2490

Rear Disc
Brake - Brake DiscVehicl
es With: High Performance Brakes
Remo
val and Installation
Remov
a
l
1.
WAR N
INGS:
BRAKE DISCS MUST ALWAYS BE REPLACED IN PAIRS.
BRAKE DUST, IF INHALED CAN DAMAGE YOUR HEALTH.
ALWAYS REMOVE BRAKE DUST USING A VACUUM BRUSH. DO
NOT USE A COMPRESSED-AIR LINE TO DISPERSE BRAKE DUST
INTO THE ATMOSPHERE.
• CAUTIONS:
Replacement of nuts and bolts: Various thread-locking
devices are used on nuts and bolts throughout the vehicle. These
devices restrict the number of ti mes a nut or bolt can be used.
See section 100-00 for information.
The Brembo caliper is aligned to the brake disc when it is
first installed to the vehicle, therefore, care must be taken not to
disturb this alignment. When removing the caliper; remove the
bolts that secure the anchor brac ket to the hub carrier only. DO
NOT loosen any other caliper bolts.
Open engine compartment and fit paint work protection covers
to fenders.
2. Ra
ise rear of vehicle and support
on stands. Refer to section
100-02.
3. Remove rear wheels. Refer to section 204-04.
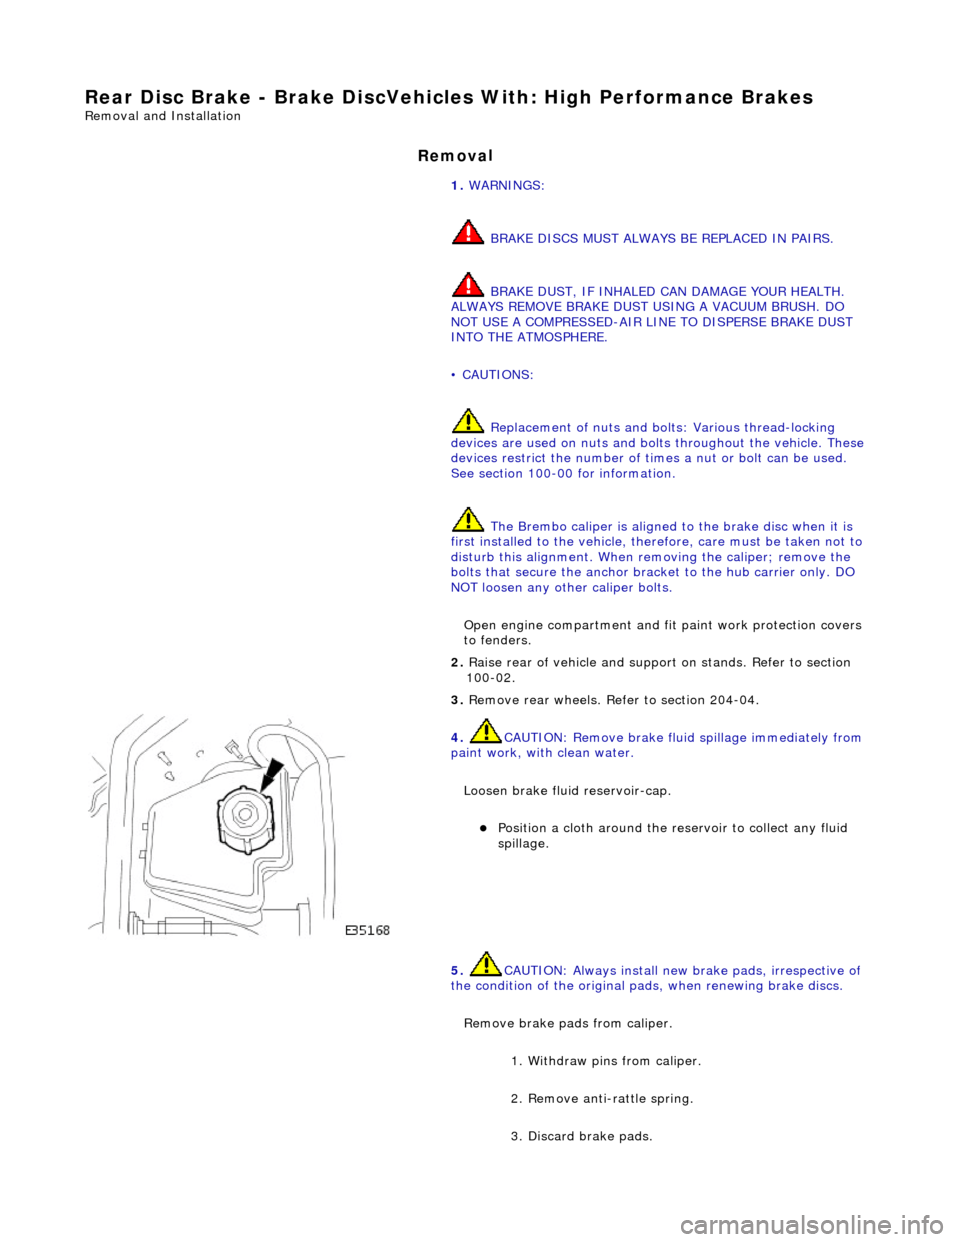
4. CAUTIO
N: Remove brake flui
d spillage immediately from
paint work, with clean water.
Loosen brake fluid reservoir-cap.
Position a cloth around the reser
voir to collect any fluid
spillage.
5. CAUTIO
N: Always install new brake pads, irrespective of
the condition of the original pads, when renewing brake discs.
Remove brake pads from caliper. 1. Withdraw pins from caliper.
2. Remove anti-rattle spring.
3. Discard brake pads.
Page 384 of 2490

Rear Di
sc Brake - Brake PadsVe
hicles With: Standard Brakes
Remo
val and Installation
Remov
a
l
W
A
RNING: BRAKE DUST, IF INHALED CAN DAMAGE YOUR
HEALTH. ALWAYS REMOVE BRAKE DUST USING A VACUUM
BRUSH. DO NOT USE A COMPRESSED-AIR LINE TO DISPERSE BRAKE DUST INTO THE ATMOSPHERE.
CAUTION: Replacement of nuts and bolts: Various thread-locking devices are used on nuts and bolts throughout the
vehicle. These devices restrict the number of times a nut or bolt can be used. See section 100-00 for information.
1. Op
en engine compartment and fit
paint work protection covers
to fenders.
2. Raise rear of vehicl e and support on stan ds. See Section 100-
02.
3. Remove both rear wheels. See Section 204-04.
4. CAUTIO
N: Remove brake flui
d spillage immediately from
paint work, with clean water.
Loosen brake fluid reservoir-cap.
Position a cloth around the reser
voir to collect any fluid
spillage.
5. CAUT
ION: Tie caliper housing aside. Do not allow the
caliper housing to hang on the hydraulic hose, as this will
damage the hose.
Remove caliper housing from caliper carrier.
1. Remove anti-rattle spring.
2. Remove dust covers.
3. Remove guide pins.
4. Remove housing from carrier.
Tie
caliper housing aside.
6.
NO TE
: The inner brake pad is fitt
ed with a clip which secures
the pad into the caliper piston.
Remove brake pads from caliper housing.
Discard b
rake pads.
Page 387 of 2490

Rear Dis
c Brake - Brake PadsVehicl
es With: High Performance Brakes
Re
moval and Installation
Remov
al
1.
W
ARNING: BRAKE DUST, IF INHALED CAN DAMAGE
YOUR HEALTH. ALWAYS REMOVE BRAKE DUST USING A VACUUM
BRUSH. DO NOT USE A COMPRE SSED-AIR LINE TO DISPERSE
BRAKE DUST INTO THE ATMOSPHERE. Failure to follow this
instruction may result in personal injury.
• CAUTIONS:
Brake pads must always be replaced in axle sets.
Replacement of nuts and bolts: Various thread-locking
devices are used on nuts and bolts throughout the vehicle. These
devices restrict the number of ti mes a nut or bolt can be used.
For additional information, refer to: General Service Information
(10
0-00 General Information,
Description and Operation).
The High performance brake caliper is aligned to the brake
disc when it is first installed to the vehicle, therefore, care must
be taken not to disturb this alignment. When removing the
caliper; remove the bolts that se cure the anchor bracket to the
vertical link only. DO NOT loosen any other caliper bolts.
Open engine compartment and fit paint work protection covers
to fenders.
2. R
aise rear of vehicle an
d support on stands.
For additional information, refer to: Using the Workshop Jack
(10
0-02 Jacking and Lifting, General Procedures).
3. Remove rear wheels.
For additional information, refer to: Wheel and Tire
(20
4-04
Wheels and Tires, Remo val and Installation).
4. CAUTI
ON: Remove brake flui
d spillage immediately from
paint work, with clean water.
Loosen brake fluid reservoir-cap.
Position a cloth around the
reservoir to collect any fluid
spillage.
5. Remove brake
pads from caliper.
1. Withdraw pins from caliper.
2. Remove anti-rattle spring.
3. Discard brake pads.