1998 ISUZU TROOPER air bleeding
[x] Cancel search: air bleedingPage 295 of 3573

SERVICE INFORMATION 00 – 13
STEERING
INSPECTION
Visual check
Check the following parts:
• Oil leakage.
• Steering system for looseness or damage.
• Steering function
• Joint ball for oil leakage or damage.
• Joint ball rubber boot for damage.
MAINTENANCE
The hydraulic system should be kept clean and fluid level
in the reservoir should be checked at regular intervals and
fluid added when required. Refer to "MAINTENANCE AND
LUBRICATION" in section 0B of the manual for type of
fluid to be used and intervals for filling.
If the system contains some dirt, flush it as detailed later
in this section. If it is exceptionally dirty, both the pump
and the gear must be completely disassembled before
further usage.
All tubes, hoses, and fittings should be inspected for
leakage at regular intervals. Fittings must be tight. Make
sure the clips, clamps and supporting tubes and hoses are
in place and properly secured.
Power steering hoses and lines must not be twisted,
kinked or tightly bent. Air in the system will cause spongy
action and noisy operation. When a hose is disconnected
or when fluid is lost, for any reason, the system must be
bled after refilling. Refer to "Bleeding the Power Steering
System" in this section.
FLUID LEVEL
1. Run the engine until the power steering fluid reaches
normal operating temperature, about 55°C (130°F),
then shut the engine off.
2. Check the level of fluid in the reservoir.
3. If the fluid level is low, add power steering fluid as
specified in "MAINTENANCE AND LUBRICATION" in
section 0B to the proper level and install the receiver
cap.
4. When checking the fluid level after the steering
system has been serviced, air must be bled from the
system. Refer to "Bleeding the Power Steering
System" in this section.
SERVICING
Page 309 of 3573
POWER STEERING 2A – 7
SECTION 2A
POWER STEERING
CONTENTS
PAGE
General Description ......................................................................................................... 2A – 8
Power Steering Gear ................................................................................................... 2A – 9
Hydraulic Pump ........................................................................................................... 2A – 9
Pressure Switch (6VD1, 6VE1 Engine) ....................................................................... 2A – 9
Power Steering System Test .......................................................................................... 2A – 10
On-Vehicle Service ........................................................................................................... 2A – 12
Bleeding The Power Steering System ....................................................................... 2A – 12
Flushing The Power Steering System ....................................................................... 2A – 12
Steering Gear ............................................................................................................... 2A – 13
Power Steering Pump (6VD1, 6VE1 Engine Models) ............................................... 2A – 16
Power Steering Pump (4JG2 Engine Model) ............................................................ 2A – 18
Power Steering Pump (4JX1 Engine Model)............................................................. 2A – 20
Unit Repair........................................................................................................................ 2A – 22
Steering Gear ............................................................................................................... 2A – 22
Power Steering Pump (6VD1, 6VE1 Engine Models) ............................................... 2A – 28
Power Steering Pump (4JG2 Engine Model) ............................................................ 2A – 32
Power Steering Pump (4JX1 Engine Model)............................................................. 2A – 36
Page 314 of 3573
BLEEDING THE POWER
STEERING SYSTEM
When a power steering pump or gear has been
installed, or an oil line has been disconnected, the
air that has entered the system must be bled out
before the vehicle is operated. If air is allowed to
remain in the power steering fluid system, noisy
and unsatisfactory operation of the system may
result.
BLEEDING PROCEDURE
When bleeding the system, and any time fluid is
added to the power steering system, be sure to use
only power steering fluid as specified in
“MAINTENANCE AND LUBRICATION” in section
0B.
1. Fill the pump fluid reservoir to the proper
level and let the fluid settle for at least two
minutes.
2. Start the engine and let it run for a few
seconds.
Do not turn the steering wheel. Then turn the
engine off.
3. Add fluid if necessary.
4. Repeat the above procedure until the fluid
level remains constant after running the
engine.
5. Raise the front end of the vehicle so that the
wheels are off the ground.
6. Start the engine. Slowly turn the steering
wheel right and left, lightly contacting the
wheel stops.
7. Add power steering fluid if necessary.
8. Bring down the vehicle, set the steering wheel
at the straight forward position after turning it
to its full steer positions 2 or 3 times, and stop
the engine.
9. Stop the engine. Check the fluid level and
refill as required.
10. If the fluid is extremely foamy, allow the
vehicle to stand a few minutes and repeat the
above procedure.
INSPECT
•Belt for tightness.
•Pulley for looseness or damage. The pulley
should not wobble with the engine running.
•Make sure that hose and pipes are properly
fitted.
•Fluid level and fill to the proper level.
FLUSHING THE POWER
STEERING SYSTEM
1. Raise the front end of the vehicle off the
ground until the wheels are free to turn.
2. Remove the fluid return line at the reservoir
inlet connector and plug the connector.
Position the line toward a large container to
catch the draining fluid.
3. While running the engine at idle, fill the
reservoir with new power steering fluid. Turn
the steering wheel in both directions. Do not
contact wheel stops or hold the wheel in a
corner, or fluid will stop and the pump will be
in pressure relief mode. A sudden overflow
from the reservoir may develop if the wheel is
held at a stop.
4. While refilling the reservoir, check the
draining fluid for contamination. If foreign
material is still evident, replace all lines,
disassemble and clean or replace the power
steering system components. Do not re-use
any drained power steering fluid.
5. Install all the lines and hoses. Fill the system
with new power steering fluid and bleed the
system as described in “Bleeding The Power
Steering System”. Operate the engine for
about 15 minutes. 2A – 12 POWER STEERING
ON-VEHICLE SERVICE
Page 319 of 3573
POWER STEERING 2A – 17
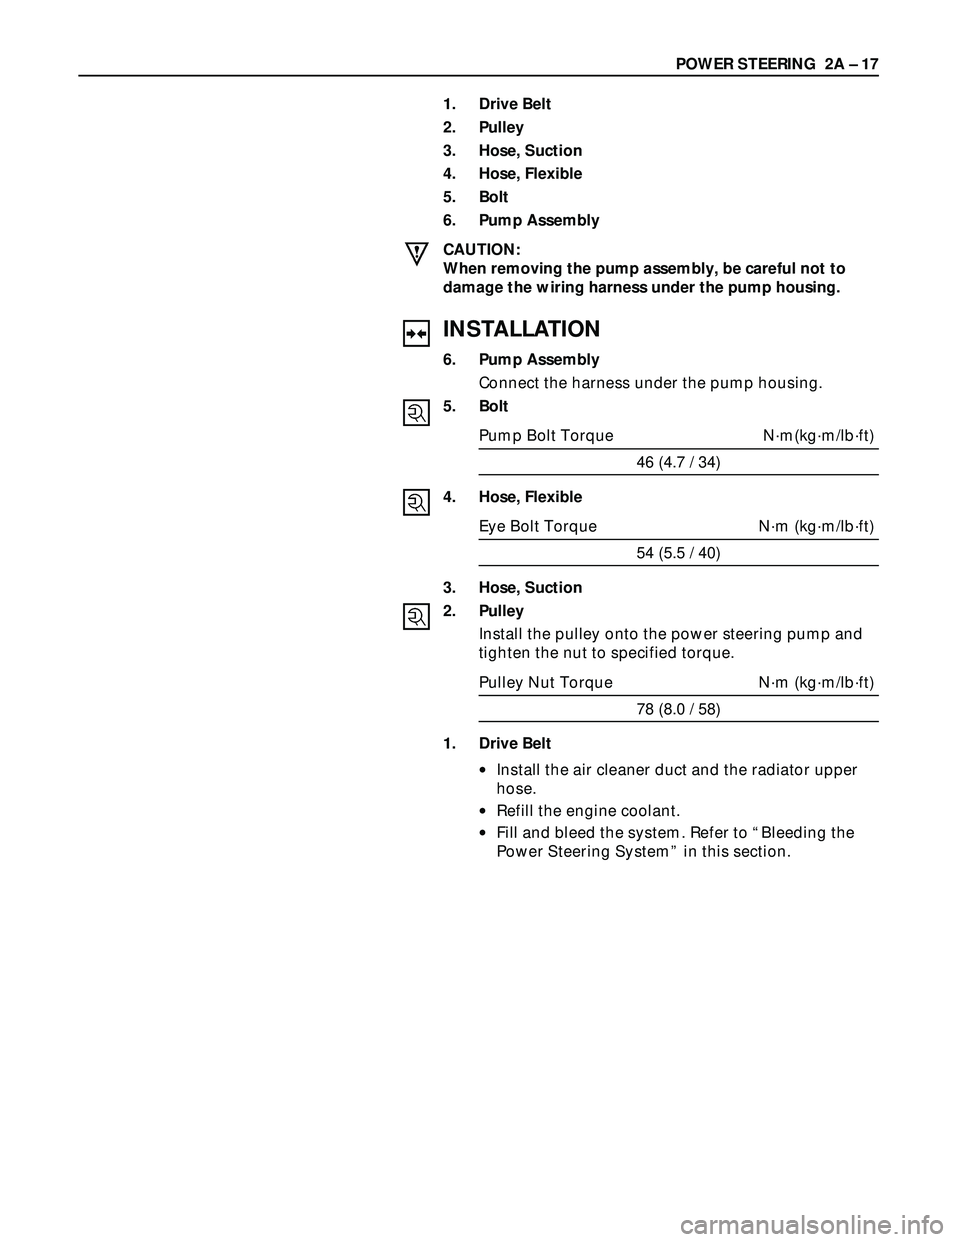
1. Drive Belt
2. Pulley
3. Hose, Suction
4. Hose, Flexible
5. Bolt
6. Pump Assembly
CAUTION:
When removing the pump assembly, be careful not to
damage the wiring harness under the pump housing.
INSTALLATION
6. Pump Assembly
Connect the harness under the pump housing.
5. Bolt
Pump Bolt Torque N·m(kg·m/lb·ft)
46 (4.7 / 34)
4. Hose, Flexible
Eye Bolt Torque N·m (kg·m/lb·ft)
54 (5.5 / 40)
3. Hose, Suction
2. Pulley
Install the pulley onto the power steering pump and
tighten the nut to specified torque.
Pulley Nut Torque N·m (kg·m/lb·ft)
78 (8.0 / 58)
1. Drive Belt
•Install the air cleaner duct and the radiator upper
hose.
•Refill the engine coolant.
•Fill and bleed the system. Refer to “Bleeding the
Power Steering System” in this section.
Page 888 of 3573
5C – 10 POWER ASSISTED BRAKE SYSTEM
BLEEDING BRAKE HYDRAULIC SYSTEM
A bleeding operation is necessary to remove air from
the hydraulic brake system whenever air is introduced
into the hydraulic system. It may be necessary to
bleed the hydraulic system at all four brakes if air has
been introduced through a low fluid level or by
disconnecting brake pipes at the master cylinder. If a
brake pipe is disconneted at one wheel, only that
wheel cylinder/caliper needs to be bled. If pipes are
disconnected at any fitting located between master
cylinder and brakes, then the brake system served by
the disconnected pipe must be bled.
1. For 4-wheel Antilock Brake System (ABS)
equipped vehicle, be sure to remove the ABS main
fuse 40A located at the relay and fuse box before
bleeding air. If you attempt to bleed air without
removing the main fuse, air cannot be let out
thoroughly, and this may cause damage to the
hydraulic unit. After bleeding air, be sure to
replace the ABS main fuse back to its original
position.
2. Set the parking brake completely, then start the
engine.
NOTE:
The vacuum booster will be damaged if the bleeding
operation is performed with the engine off.
3. Remove the master cylinder reservoir cap.
4. Fill the master cylinder reservoir with brake fluid.
Keep the reservoir at least half full during the air
bleeding operation.
5. Always use new brake fluid for replenishment.
6. In replenishing brake fluid, take care that air
bubbles do not enter the brake fluid.
•When the master cylinder is replaced or
overhauled, first bleed the air from the master
cylinder, then from each wheel cylinder and
caliper following the procedures described
below.
Bleeding the Master Cylinder
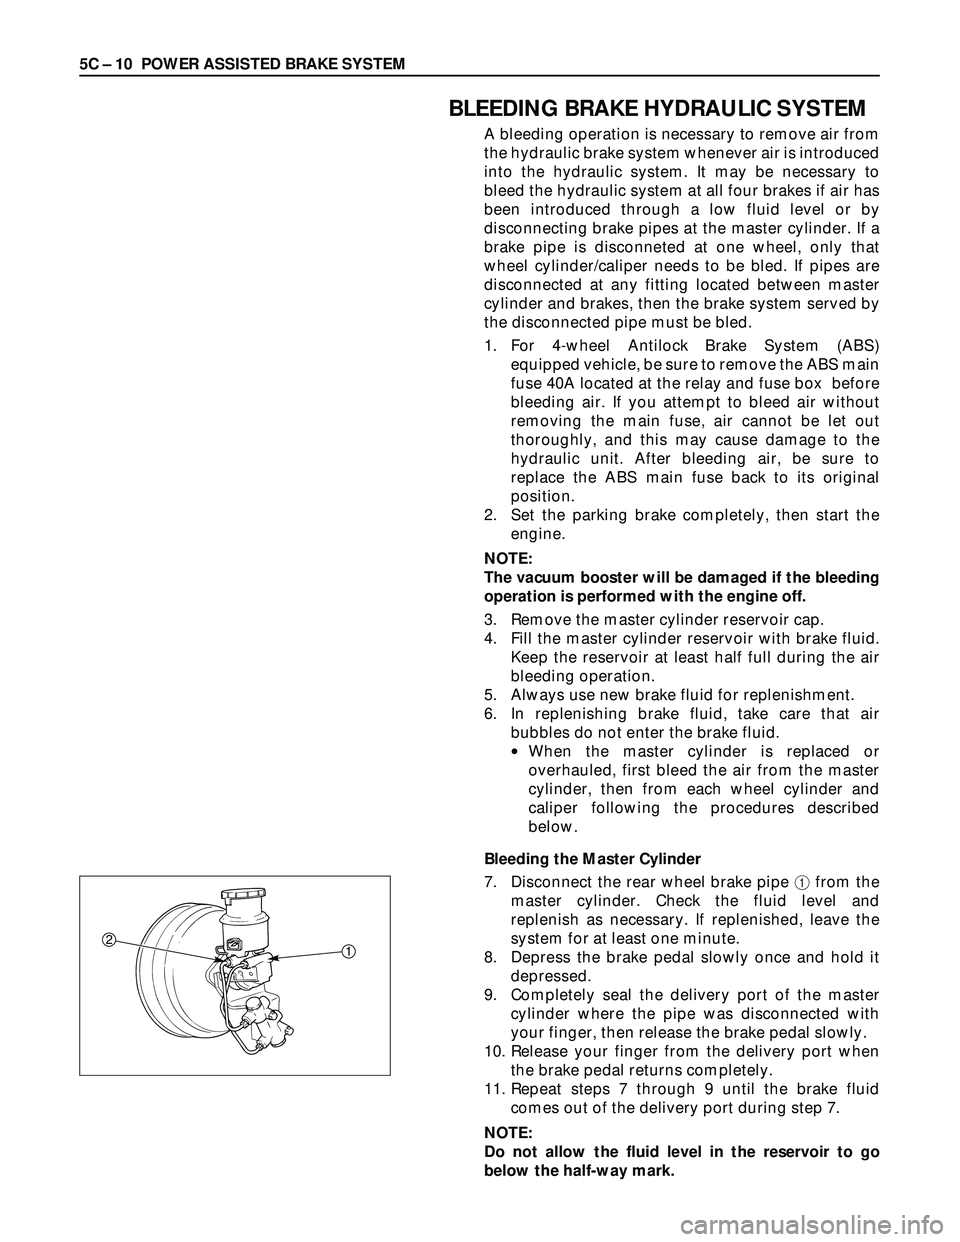
7. Disconnect the rear wheel brake pipe 1from the
master cylinder. Check the fluid level and
replenish as necessary. If replenished, leave the
system for at least one minute.
8. Depress the brake pedal slowly once and hold it
depressed.
9. Completely seal the delivery port of the master
cylinder where the pipe was disconnected with
your finger, then release the brake pedal slowly.
10. Release your finger from the delivery port when
the brake pedal returns completely.
11. Repeat steps 7 through 9 until the brake fluid
comes out of the delivery port during step 7.
NOTE:
Do not allow the fluid level in the reservoir to go
below the half-way mark.
21
Page 889 of 3573
POWER ASSISTED BRAKE SYSTEM 5C – 11
12. Reconnect the brake pipe 1to the master cylinder
and tighten the pipe.
13. Depress the brake pedal slowly once and hold it
depressed.
14. Loosen the rear wheel brake pipe 1at the master
cylinder.
15. Retighten the brake pipe, then release the brake
pedal slowly.
16. Repeat steps 13 through 15 until no air comes out
from the port when the brake pipe is loosened.
NOTE:
Be very careful not to allow the brake fluid to come in
contact with painted surfaces.
17. Bleed the air from the front wheel brake pipe
connection 2by repeating steps 7 through 16.
Bleeding the Caliper
18. Bleed the air from each wheel in the order listed
below.
LHD models:
1) Right rear caliper
2) Left rear caliper
3) Load sensing proportioning valve (only for
Europe and South Africa)
4) Right front caliper
5) Left front caliper
RHD models:
1) Left rear caliper
2) Right rear caliper
3) Load sensing proportioning valve (only for
Europe and South Africa)
4) Left front caliper
5) Right front caliper
Conduct air bleeding from the wheels in the above
order. If no brake fluid comes out, it suggests that air
is mixed in the master cylinder. In this case, bleed air
from the master cylinder in accordance with Steps 7
through 17, and then bleed air from the caliper.
19. Place the proper size box end wrench over the
bleeder screw.
20. Cover the bleeder screw with a transparent tube,
and submerge the free end of the transparent tube
in a transparent container containing brake fluid.
21. Pump the brake pedal slowly three (3) times
(once/sec), then hold it depressed.
22. Loose the bleeder screw until fluid flows through
the tube.
23. Retighten the bleeder screw.
24. Release the brake pedal slowly.
25. Repeat step 21 through 24 until the air is
compeletely removed. It may be necessary to
repeat the bleeding procedure 10 or more times
for front wheels and 15 or more times for rear
wheels.
26. Go to the next wheel in the sequence after each
wheels is bled. Be sure to monitor reservoir fluid
level.
Page 890 of 3573
5C – 12 POWER ASSISTED BRAKE SYSTEM
27. Depress the brake pedal to check if you feel
“sponginess” after the air has been removed from
all wheel cylinders and calipers. If the pedal feels
“spongy”, the entire bleeding procedure must be
repeated.
28. After the bleeding operation is completed on each
individual wheel, check the level of brake fluid in
the reservoir and replenish up to the “MAX” level if
necessary.
29. Attach the reservoir cap.
•If the diaphragm inside the cap is deformed,
reform it and install.
30. Stop the engine.
FLUSHING BRAKE HYDRAULIC SYSTEM
It is recommended that the entire hydraulic system be
thoroughly flushed with clean brake fluid whenever
new parts are installed in the hydraluic system.
Approximately one quart of fluid is required to flush
the hydraulic system.
The system must be flushed if there is any doubt as to
the grade of fluid in the system or if fluid has been
used which contains the slightest trace of mineral oil.
All rubber parts that have been subjected to a
contaminated fluid must be replaced.
BRAKE PIPES AND HOSES
The hydraulic brake system components are
interconnected by special steel piping and flexible
hoses. Flexible hoses are used between the frame and
the front calipers, the frame and rear axle case and the
rear axle and the rear calipers.
When the hydraulic pipes have been disconnected for
any reason, the brake system must be bled after
reconnecting the pipe; refer to “Bleeding Brake
Hydraulic System” in this section.
BRAKE HOSE INSPECTION
The brake hoses should be inspected at least twice a
year. The brake hose assembly should be checked for
road hazard, cracks and chafing of the outer cover,
and for leaks and blisters. Inspect for proper routing
and mounting of the hose. A brake hose that rubs on
suspension components will wear and eventually fail.
A light and mirror may be needed for an adequate
inspection. If any of the above conditions are
observed on the brake hose, adjust or replace the
hose as necessary.
CAUTION:
Never allow brake components such as calipers to
hang from the brake hoses, as damage to the hoses
may occur.
Page 892 of 3573
5C – 14 POWER ASSISTED BRAKE SYSTEM
CHECKING BRAKE PEDAL TRAVEL
1. Pedal height (L3) must be measured after starting
the engine and removing it several times to apply
vacuum to the vacuum booster fully.
NOTE:
Pedal height (L3) must be 100 mm (3.9 in)/85 mm (3.5
in) (LHD/RHD) or more when about 50 kg (110.25 lb)
of stepping force is applied.
2. If the measured value is lower than the above
range, air existing in the hydrauic system is
suspected and perform bleeding procedure.
FRONT AND REAR DISC BRAKE PADS
INSPECTION
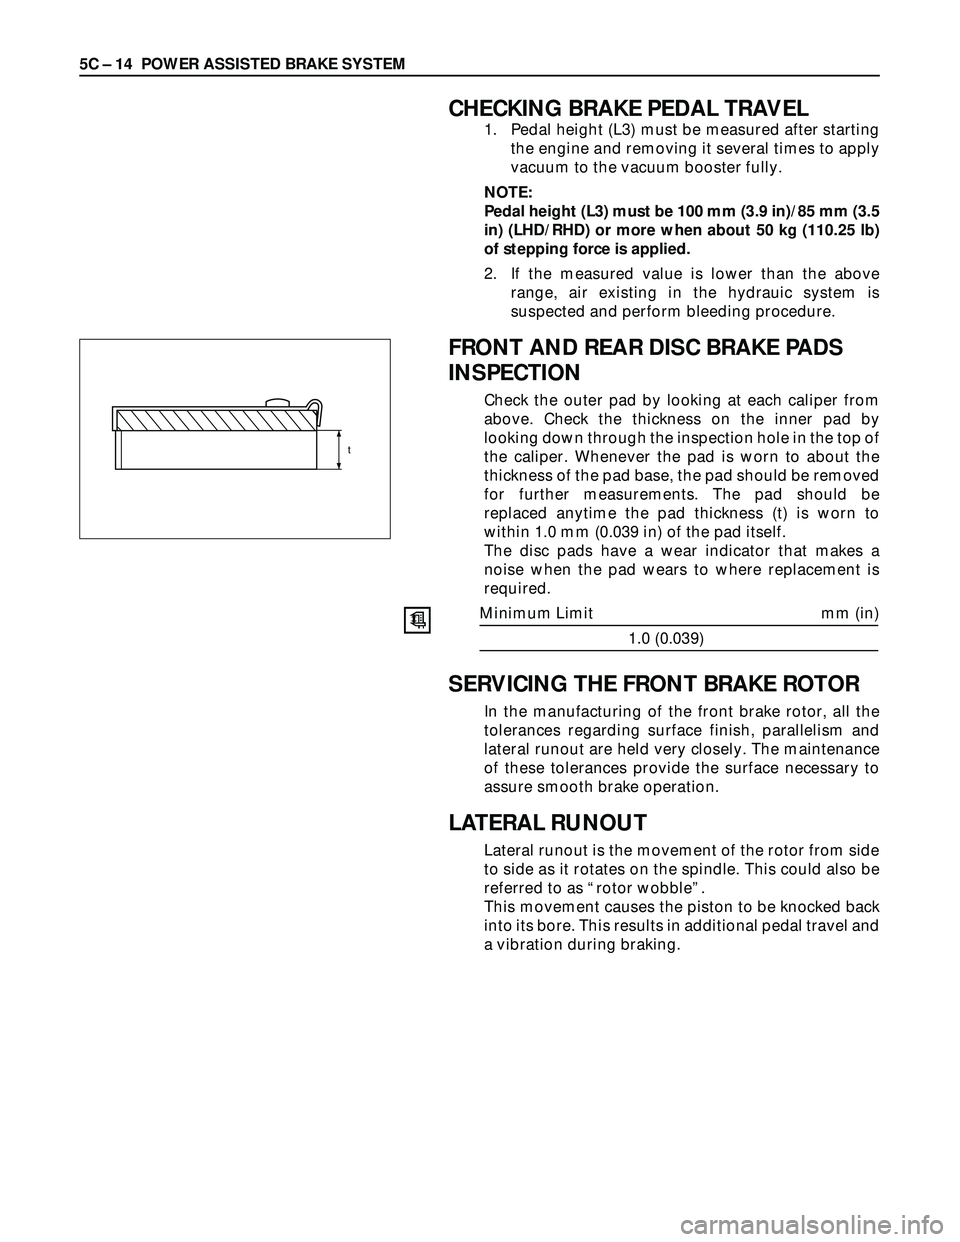
Check the outer pad by looking at each caliper from
above. Check the thickness on the inner pad by
looking down through the inspection hole in the top of
the caliper. Whenever the pad is worn to about the
thickness of the pad base, the pad should be removed
for further measurements. The pad should be
replaced anytime the pad thickness (t) is worn to
within 1.0 mm (0.039 in) of the pad itself.
The disc pads have a wear indicator that makes a
noise when the pad wears to where replacement is
required.
Minimum Limit mm (in)
1.0 (0.039)
SERVICING THE FRONT BRAKE ROTOR
In the manufacturing of the front brake rotor, all the
tolerances regarding surface finish, parallelism and
lateral runout are held very closely. The maintenance
of these tolerances provide the surface necessary to
assure smooth brake operation.
LATERAL RUNOUT
Lateral runout is the movement of the rotor from side
to side as it rotates on the spindle. This could also be
referred to as “rotor wobble”.
This movement causes the piston to be knocked back
into its bore. This results in additional pedal travel and
a vibration during braking.
t