Page 99 of 216

shudder while braking, felt mainly
in the steering wheel, the vehicle
most likely needs service.
The ABS operates by detecting the
onset of wheel lock up during
brake applications and
compensating for this tendency.
The front wheels are prevented
from locking even when the brakes
are firmly applied. The
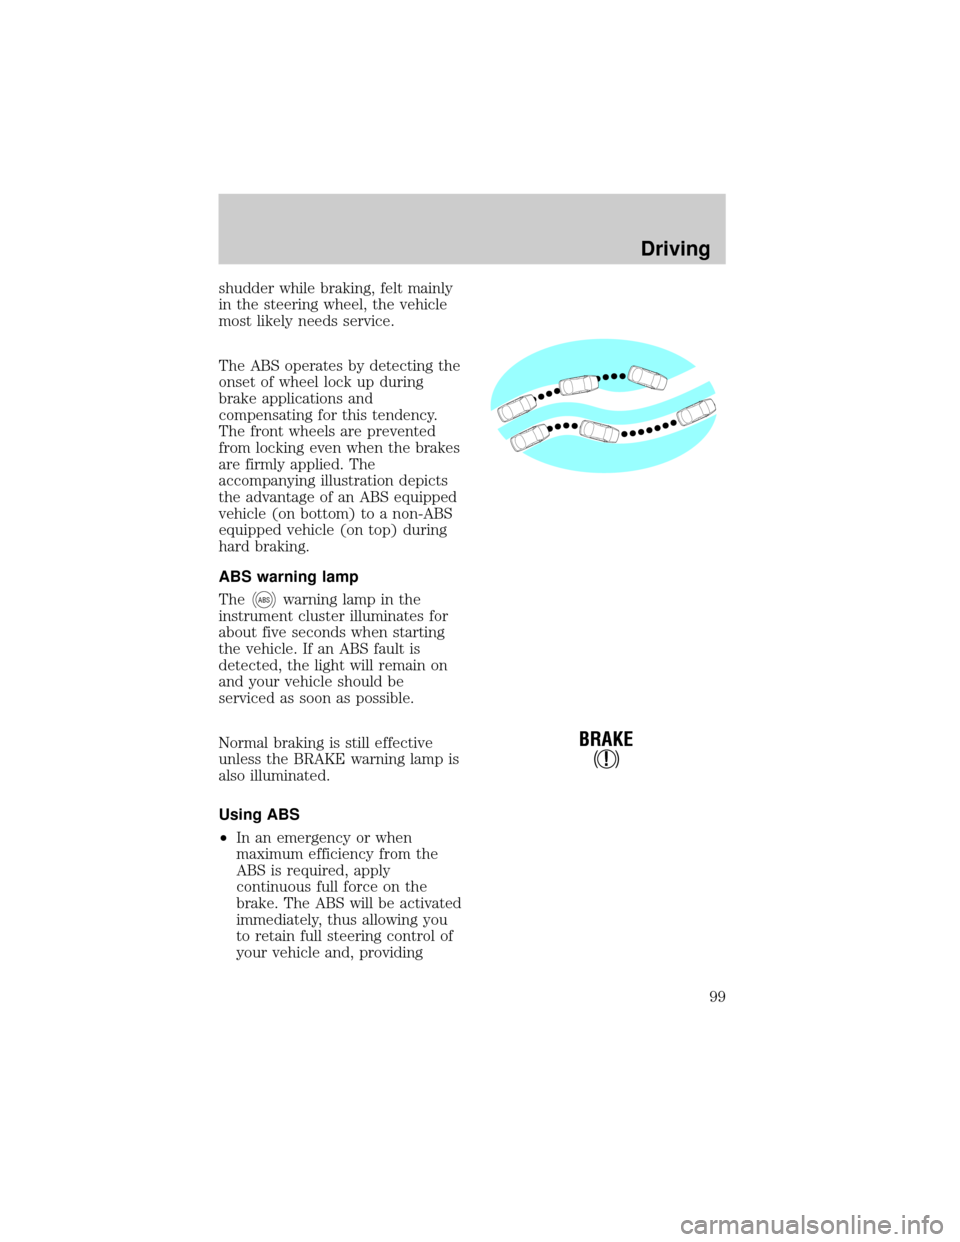
accompanying illustration depicts
the advantage of an ABS equipped
vehicle (on bottom) to a non-ABS
equipped vehicle (on top) during
hard braking.
ABS warning lamp
The
ABSwarning lamp in the
instrument cluster illuminates for
about five seconds when starting
the vehicle. If an ABS fault is
detected, the light will remain on
and your vehicle should be
serviced as soon as possible.
Normal braking is still effective
unless the BRAKE warning lamp is
also illuminated.
Using ABS
²In an emergency or when
maximum efficiency from the
ABS is required, apply
continuous full force on the
brake. The ABS will be activated
immediately, thus allowing you
to retain full steering control of
your vehicle and, providing
!
BRAKE
Driving
99
Page 104 of 216

TRANSMISSION OPERATION
Automatic transmission
operation
Brake-shift interlock
This vehicle is equipped with a
brake-shift interlock feature that
prevents the gearshift from being
moved from P (Park) unless the
brake pedal is depressed.
If you cannot move the gearshift
out of P (Park) with the brake
pedal depressed:
1. Apply the parking brake, turn
ignition key to LOCK, then remove
the key.
2. Insert the key and turn it to
OFF. Apply the brake pedal and
shift to N (Neutral).
3. Start the vehicle.
If it is necessary to use the above
procedure to move the gearshift, it
is possible that a fuse has blown
and the vehicle's brakelamps may
not be operating properly. Refer to
Fuses and relaysin theRoadside
emergencieschapter.
Do not drive your vehicle
until you verify that the
brakelamps are working.
If your vehicle gets stuck in mud
or snow it may be rocked out by
shifting from forward and reverse
gears in a steady pattern. Press
lightly on the accelerator in each
gear.
Driving
104
Page 106 of 216
R (Reverse)
With the gearshift in R (Reverse),
the vehicle will move backward.
Always come to a complete stop
before shifting into and out of R
(Reverse).
N (Neutral)
With the gearshift in N (Neutral),
the vehicle can be started and is
free to roll. Hold the brake pedal
down while in this gear.
(Overdrive)
The normal driving position for the
best fuel economy. Transmission
operates in gears one through four.
(Overdrive) can be deactivated
by pressing the transmission
control switch on the end of the
gearshift lever.
The transmission control indicator
light (TCIL) (the word OFF) on
the end of the gearshift lever will
illuminate.
Drive± Not shown on the display.
Activate by pressing the
transmission control switch on the
end of the gearshift lever with the
gearshift in the
position. The
TCIL (the word OFF) will
illuminate on the gearshift lever.
Transmission operates in gears one
through three.
(Drive) provides
OVERDRIVEOFF
OVERDRIVE
Driving
106
Page 111 of 216

the outside. Do not grip the
spokes.
Drive cautiously to avoid vehicle
damage from concealed objects
such as rocks and stumps.
You should either know the terrain
or examine maps of the area
before driving. Map out your route
before driving in the area. For
more information on driving
off-road, read the ªFour Wheelingº
supplement in your owner's
portfolio.
If your vehicle gets stuck
If the vehicle is stuck, shift the
transmission in a steady motion
between forward and reverse
gears. Allow the transmission to
engage, then press lightly on the
accelerator.
Do not rock the vehicle for
more than a few minutes. The
transmission and tires may be
damaged or the engine can
overheat.
Do not spin the wheels at
over 56 km/h (35 mph).
The tires may fail and injure a
passenger or bystander.
Sand
When driving over sand, try to
keep all four wheels on the most
solid area of the trail. Do not
reduce the tire pressures but shift
to a lower gear and drive steadily
through the terrain. Apply the
Driving
111
Page 112 of 216

accelerator slowly and avoid
spinning the wheels.
Mud and water
If you must drive through high
water, drive slowly. Traction or
brake capability may be limited.
When driving through water,
determine the depth; avoid water
higher than the bottom of the hubs
(if possible) and proceed slowly. If
the ignition system gets wet, the
vehicle may stall.
Once through water, always try the
brakes. Wet brakes do not stop the
vehicle as effectively as dry brakes.
Drying can be improved by moving
your vehicle slowly while applying
light pressure on the brake pedal.
After driving through mud, clean
off residue stuck to rotating
driveshafts and tires. Excess mud
stuck on tires and rotating
driveshafts causes an imbalance
that could damage drive
components.
If the transmission and transfer
case are submerged in water, their
fluids should be checked and
changed, if necessary.
Water intrusion into the
transmission may damage the
transmission.
If the rear axle is submerged in
water, the rear axle lubricant
should be checked and changed, if
necessary. The rear axle is filled
with a synthetic lubricant and does
not normally require a lubricant
Driving
112
Page 115 of 216

the hubs (truck)/wheel rims (car).
Once through the water, always try
the brakes. Wet brakes do not stop
the vehicle as effectively as dry
brakes. Drying can be improved by
moving your vehicle slowly while
applying light pressure on the
brake pedal.
VEHICLE LOADING
Before loading a vehicle, familiarize
yourself with the following terms:
²Base Curb Weight: Weight of
the vehicle including any
standard equipment, fluids,
lubricants, etc. It does not
include passengers or
aftermarket equipment.
²Payload: Combined maximum
allowable weight of cargo,
passengers and optional
equipment. The payload equals
the gross vehicle weight rating
minus base curb weight.
²GVW (Gross Vehicle Weight):
Base curb weight plus payload
weight. The GVW is not a limit
or a specification.
²GVWR (Gross Vehicle Weight
Rating): Maximum total weight
of the base vehicle, passengers,
optional equipment and cargo.
The GVWR is specific to each
vehicle and is listed on the
Safety Compliance Label on the
driver's door pillar.
²GAWR (Gross Axle Weight
Rating): Carrying capacity for
each axle system. The GAWR is
Driving
115
Page 127 of 216

HAZARD LIGHTS CONTROL
Use only in an emergency to warn
traffic of vehicle breakdown,
approaching danger, etc. The
hazard flashers can be operated
when the ignition is off.
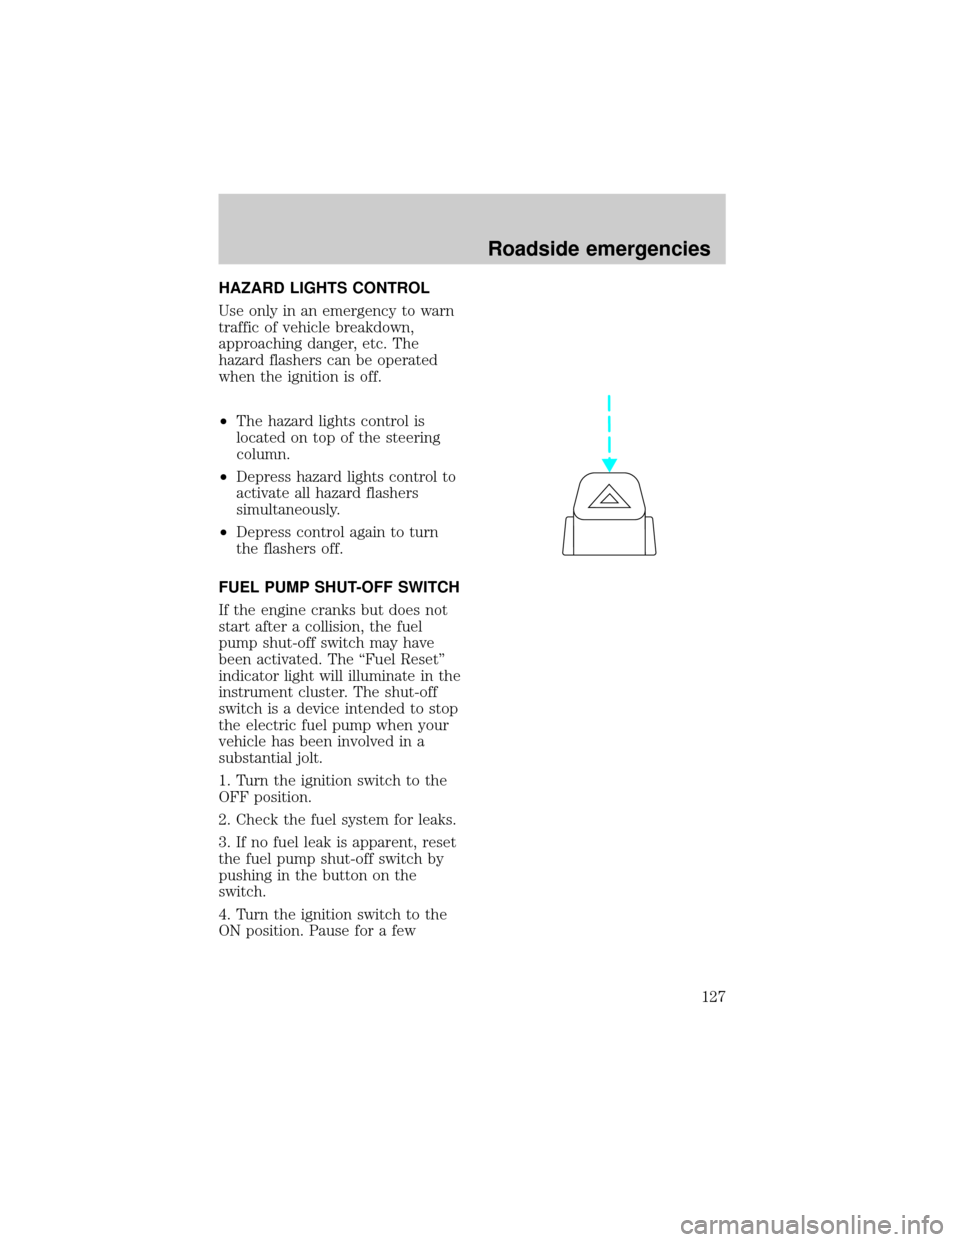
²The hazard lights control is
located on top of the steering
column.
²Depress hazard lights control to
activate all hazard flashers
simultaneously.
²Depress control again to turn
the flashers off.
FUEL PUMP SHUT-OFF SWITCH
If the engine cranks but does not
start after a collision, the fuel
pump shut-off switch may have
been activated. The ªFuel Resetº
indicator light will illuminate in the
instrument cluster. The shut-off
switch is a device intended to stop
the electric fuel pump when your
vehicle has been involved in a
substantial jolt.
1. Turn the ignition switch to the
OFF position.
2. Check the fuel system for leaks.
3. If no fuel leak is apparent, reset
the fuel pump shut-off switch by
pushing in the button on the
switch.
4. Turn the ignition switch to the
ON position. Pause for a few
Roadside emergencies
127
Page 129 of 216
Always replace a fuse with
one that has the specified
amperage rating. Using a fuse
with a higher amperage rating
can cause severe wire damage
and could start a fire.
Standard fuse amperage rating
and color
Fuse rating Color
5 amp Tan
7.5 amp Brown
10 amp Red
15 amp Light blue
20 amp Yellow
20 amp fuse link Light blue
25 amp Natural
30 amp Light green
30 amp fuse link Pink
40 amp fuse link Green
50 amp fuse link Red
60 amp fuse link Yellow
80 amp fuse link Black
100 amp fuse link Dark blue
Passenger compartment fuse
panel
The fuse panel is located below
and to the left of the steering
wheel by the brake pedal. Pull the
panel cover outward to access the
fuses.
To remove a fuse use the fuse
puller tool provided on the fuse
panel cover.
Roadside emergencies
129