1998 CADILLAC SEVILLE check engine
[x] Cancel search: check enginePage 94 of 378
Downloaded from www.Manualslib.com manuals search engine Turn SignaVMultifunction Lever
’hrn and Lane Change Signals
To signal a turn, move the lever on the left side of the
steering wheel all the
way up or down. The lever returns
automatically when the turn is complete.
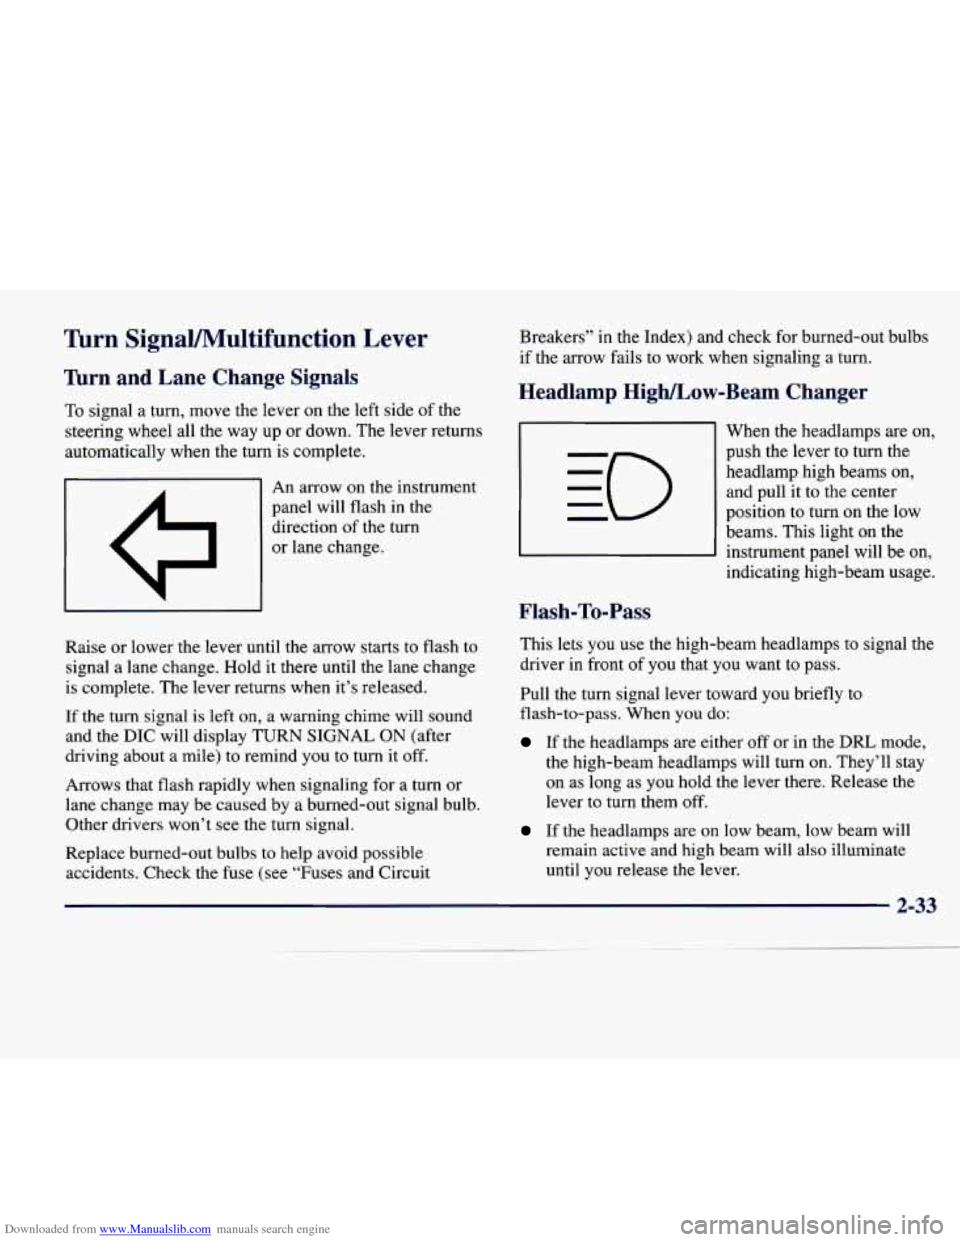
I A I An arrow on the instrument
panel will flash in the
direction of the turn
or lane change.
Raise or lower the lever until the arrow starts to flash to
signal a lane change. Hold it there until the lane change
is complete. The lever returns when it’s released.
If the turn signal is left
on, a warning chime will sound
and the
DIC will display TURN SIGNAL ON (after
driving about a mile) to remind you to turn it off.
Arrows that flash rapidly when signaling for
a turn or
lane change may be caused by a burned-out signal bulb. Other drivers won’t see the turn signal.
Replace burned-out bulbs
to help avoid possible
accidents. Check the fuse (see “Fuses and Circuit Breakers”
in the Index) and check
for burned-out bulbs
if the arrow fails to work when signaling
a turn.
Headlamp High/Low-Beam Changer
Flash-To-Pass
When the headlamps are on,
push the lever to turn the headlamp high beams on, and pull it to the center
position
to turn on the low
beams. This light on the
instrument panel will be on,
indicating high-beam usage.
This lets
you use the high-beam headlamps to signal the
driver in front
of you that you want to pass.
Pull the turn signal lever toward you briefly to
flash-to-pass. When
you do:
If the headlamps are either off or in the DRL mode,
the high-beam headlamps will turn
on. They’ll stay
on as long as you hold the lever there. Release the
lever to turn them off.
If the headlamps are on low beam, low beam will
remain active and high beam will also illuminate
until you release the lever.
Page 97 of 378
Downloaded from www.Manualslib.com manuals search engine Windshield Washer Cruise Contr-1
In freezing weather, don’t use your washer until
the windshield is warmed. Otherwise the washer
fluid can
form ice on the windshield, blocking
your vision.
The windshield washer has both a “demand” mode and a “programmed” mode, depending on the amount
of
windshield washer fluid you need.
For programmed mode, press and release the button on
the tip
of the lever. The washer will provide a measured
amount
of fluid to the windshield and the wiper will
either stop or return
to your original wiping speed. For
demand mode, press and hold the button until you have
enough fluid, and the wipers will either stop or return to
your original wiping speed.
CHECK
WASHER FLUID will be displayed on the DIC
when the washer fluid reaches a low level.
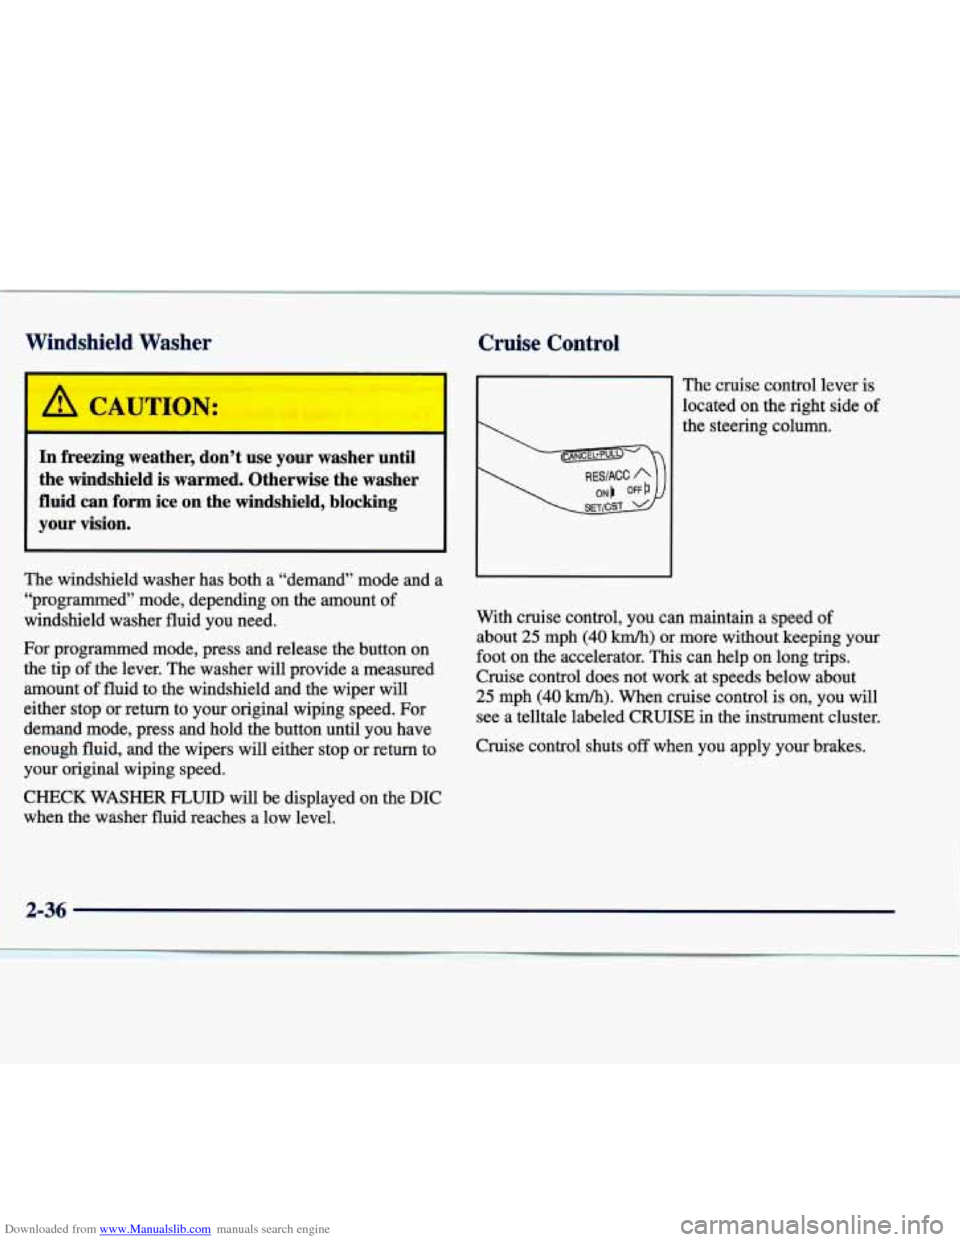
The cruise control lever is
located
on the right side of
the steering column.
With cruise control, you can maintain a speed
of
about 25 mph (40 km/h) or more without keeping your
foot on the accelerator. This can help on long trips.
Cruise control does not work at speeds below about
25 mph (40 km/h). When cruise control is on, you will
see
a telltale labeled CRUISE in the instrument cluster.
Cruise control shuts
off when you apply your brakes.
2-36
Page 111 of 378
Downloaded from www.Manualslib.com manuals search engine PowedHeated Remote Control Mirror
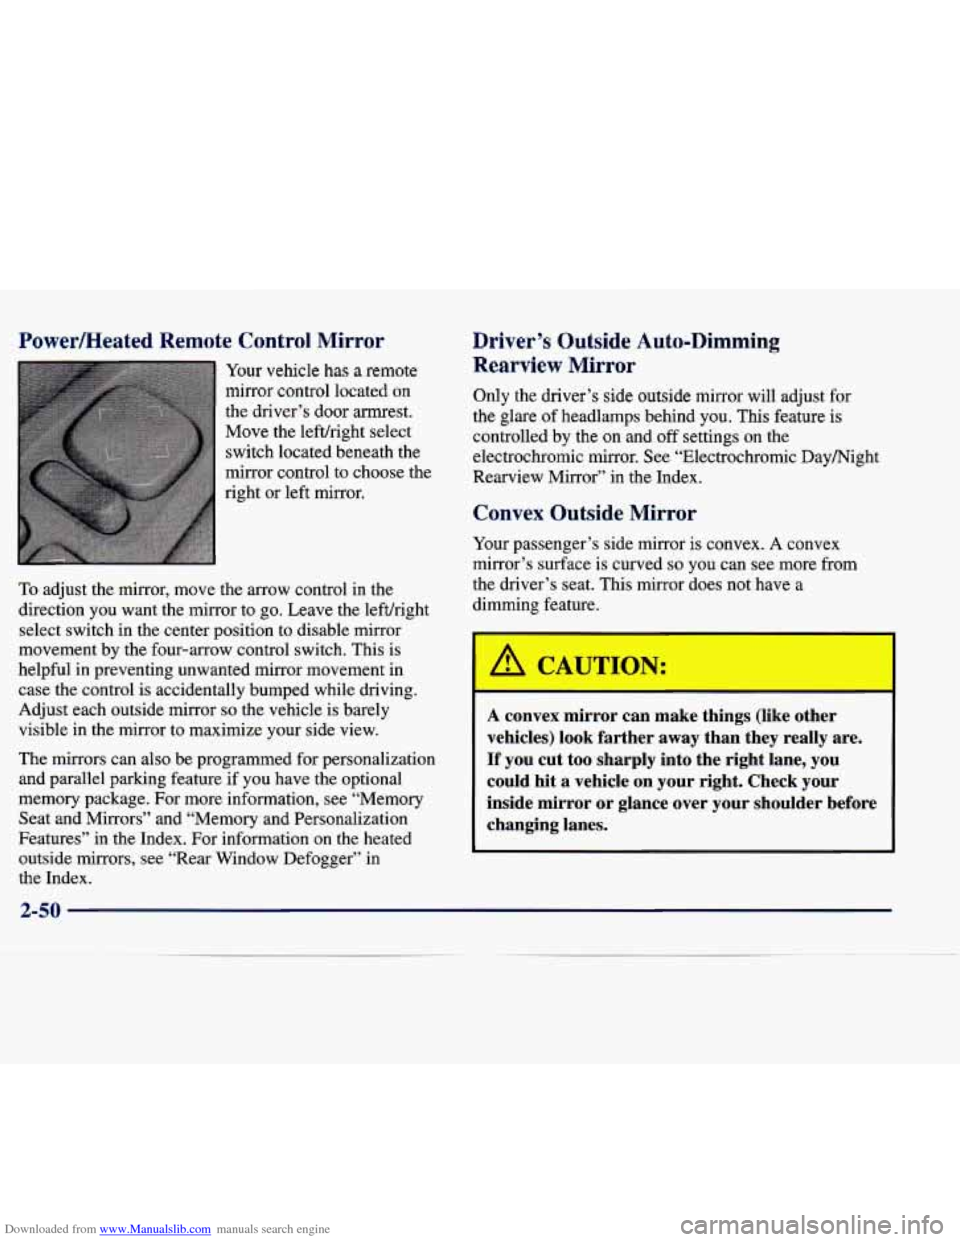
Your vehicle has a remote
mirror control located on
the driver’s door armrest.
Move the lefthight select
switch located beneath
the
mirror control to choose the
right or left mirror.
To adjust the mirror, move the arrow control in the
direction you want the mirror to
go. Leave the lefuright
select switch in the center position to disable mirror
movement by the four-arrow control switch. This is
helpful in preventing unwanted mirror movement in case the control is accidentally bumped while driving.
Adjust each outside mirror so the vehicle is barely
visible in the mirror to maximize your side view.
The mirrors can also be programmed for personalizauon
and parallel parking feature if you have the optional
memory package. For more information, see “Memory Seat and Mirrors” and “Memory and Personalization
Features” in the Index. For infomation on the heated
outside mirrors, see “Rear Window Defogger’’ in the Index.
Driver’s Outside Auto-Dimming Rearview
Mirror
Only the driver’s side outside mirror will adjust for
the glare of headlamps behind you. This feature is
controlled by the on and off settings on the
electrochromic mirror. See “Electrochromic Daymight
Rearview Mirror” in the Index.
Convex Outside Mirror
Your passenger’s side mirror is convex. A convex
mirror’s surface is curved
so you can see more from
the driver’s seat. This mirror does not have a
dimming feature.
A CAUTIC) r:
I
A convex mirror can make things (like other
vehicles) look farther away than they really are.
If you cut too sharply into the right lane,
you
could hit a vehicle on your right. Check your
inside mirror or glance over your shoulder before
changing lanes.
2-50
Page 120 of 378
Downloaded from www.Manualslib.com manuals search engine Training a Garage Door Opener with
“Rolling Codes”
(If Equipped)
If you have not previously programmed the hand-held
transmitter to the universal transmitter, see
“Programming the Transmitter” in the Index. If you
have completed this programming,
you need to train the
garage door opener receiver to recognize the universal
transmitter. Refer to
your garage door opener owner’s
manual for the proper transmitter training procedure for
your garage door opener brand.
1.
2.
3. Locate
the training button
on the garage door opener
receiver. The exact location and color of the button
may vary by garage door opener brand. If you have difficulty locating the training button, refer to your
garage door opener manual.
Press the training button on the garage door opener
receiver for one or
two seconds. A light indicator will
begin to
flash when the receiver enters the train mode.
Return to the universal transmitter
in your vehicle
and press the universal transmitter button you have
already programmed for two to three seconds. Press
the button again to make sure that the universal
transmitter has been trained to the garage door opener receiver. Check that the train was successful.
The receiver light should no longer be flashing. The
garage door opener should now recognize the
universal transmitter.
You may either use the universal
transmitter
or the hand-held transmitter to open the
garage door.
If after following these instructions you still have
problems training the garage door opener, consult
your dealer.
Erasing Chan--
To erase all three programmed channels, hold down the
two outside buttons until the red light begins to flash.
Individual channels cannot be erased, but can be
reprogrammed using the procedure for programming the
transmitter explained earlier.
-
Accessories
Accessories for the universal transmitter are available
from the manufacturer
of the unit. If you would like
additional information, please call 1-800-355-35
15.
2-59
Page 126 of 378
Downloaded from www.Manualslib.com manuals search engine Gages can indicate when there may be or is a problem
with one of your vehicle’s functions. Often gages and
warning lights work together to let you know when
there’s a problem with your vehicle.
When one
of the warning lights comes on and stays on
when you are driving, or when one
of the gages shows
there may be
a problem, check the section that tells you
what to do about it. Please follow
this manual’s advice.
Waiting to do repairs can be costly
-- and even
dangerous.
So please get to know your warning lights
and gages. They’re a big help.
Your vehicle also has a Driver Information Center that
works along with the warning lights and gages. See “Driver Information Center” in the Index.
Safety Belt Reminder Light
When the key is turned to ON or START, a chime will
come on for about eight seconds to remind people to
fasten their safety belts.
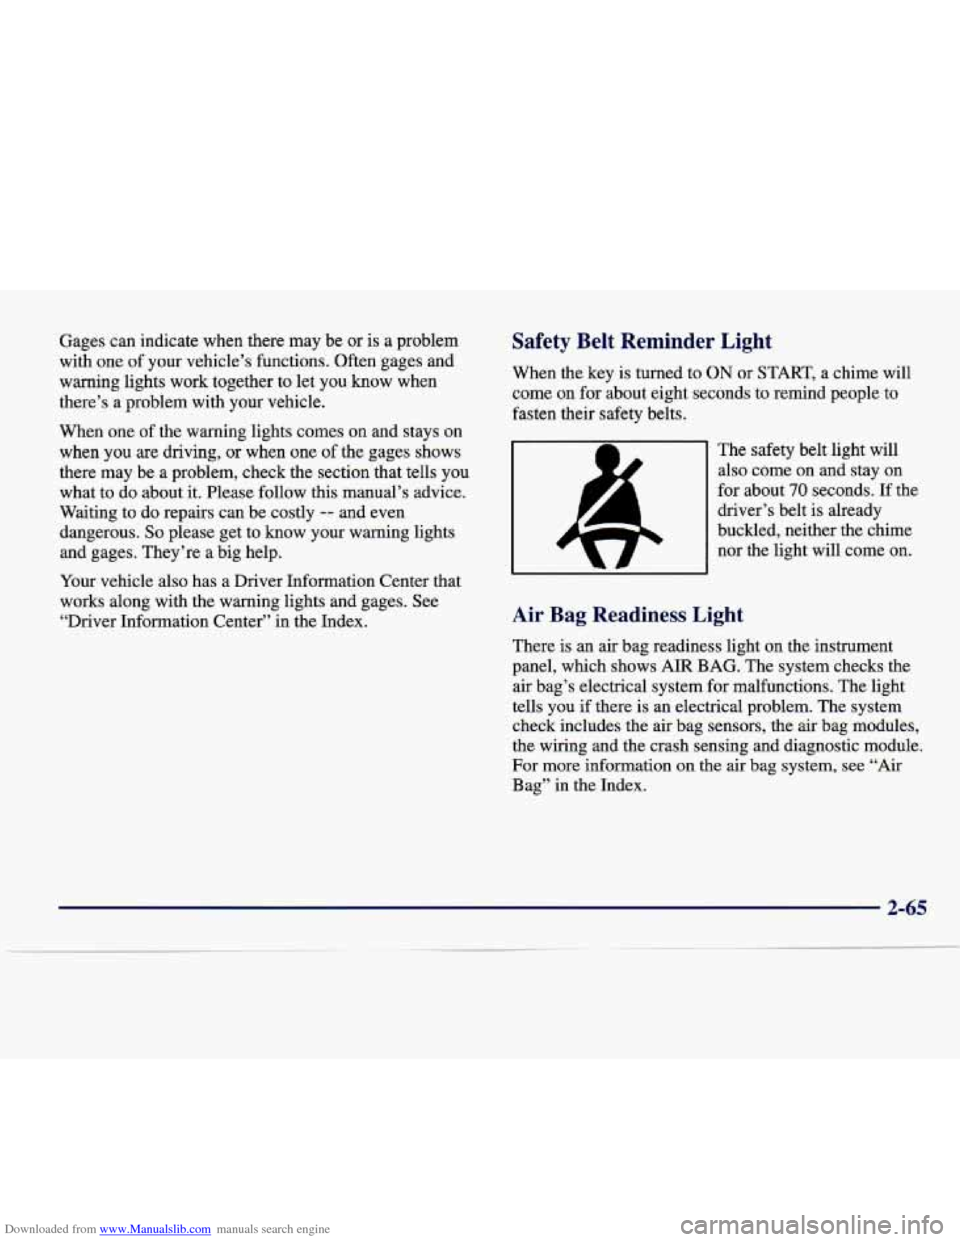
The safety belt light will also come on and stay on
for about
70 seconds. If the
driver’s belt is already
buckled, neither the chime
nor the light will come
on.
Air Bag Readiness Light
There is an air bag readiness light on the instrument
panel, which shows
AIR BAG. The system checks the
air bag’s electrical system for malfunctions. The light
tells you if there is an electrical problem. The system
check includes the air bag sensors, the air bag modules,
the wiring and the crash sensing and diagnostic module.
For more information on the air bag system, see “Air
Bag” in the Index.
2-6 -
Page 127 of 378
Downloaded from www.Manualslib.com manuals search engine United States Canada
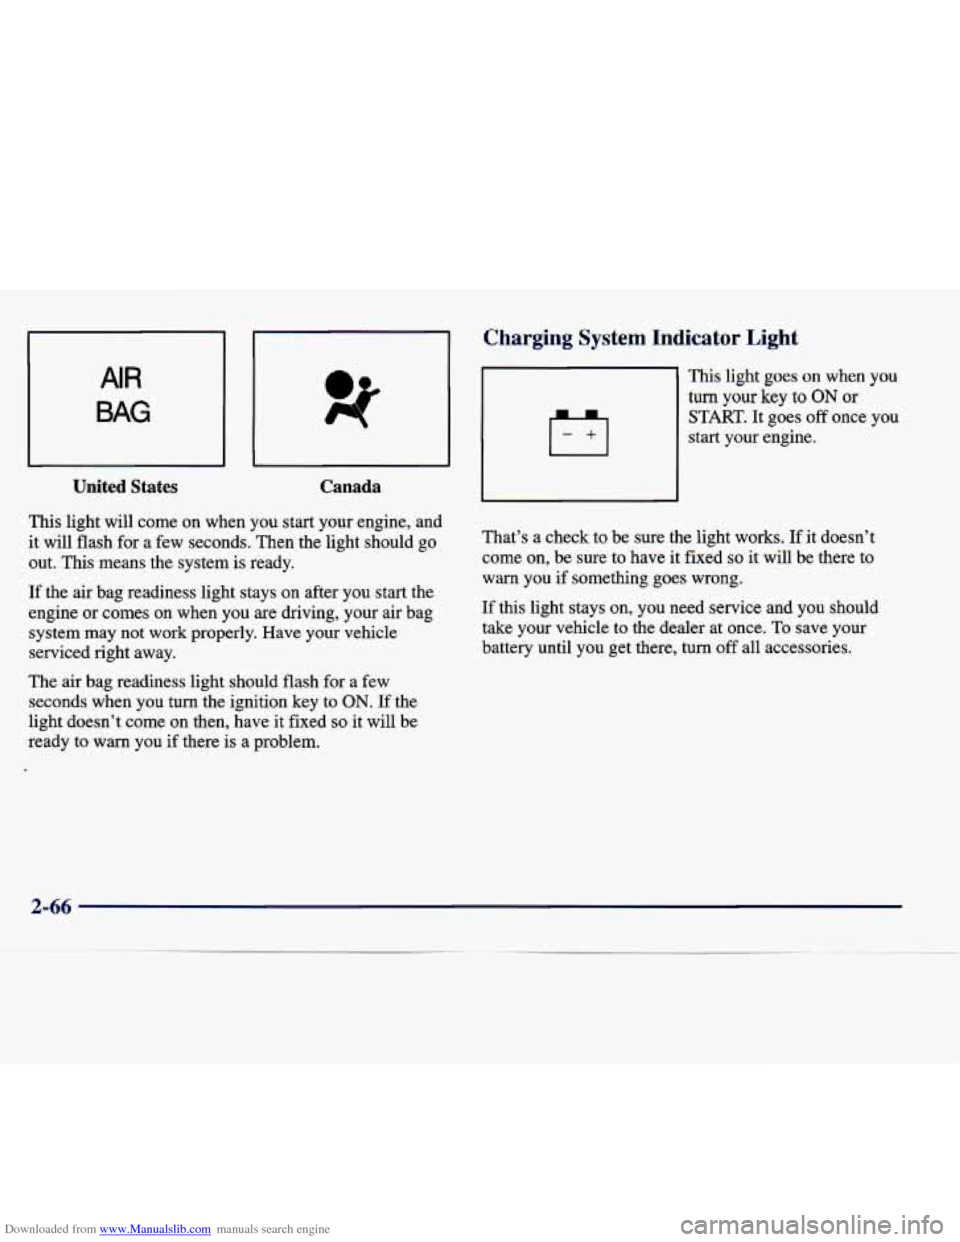
This light will come on when you start your engine, and
it will flash for a few seconds. Then the light should go
out. This means the system
is ready.
If the air bag readiness light stays on after you start the
engine or comes
on when you are driving, your air bag
system may not work properly. Have your vehicle
serviced right away.
The air bag readiness light should flash for a few
seconds when you turn the ignition key
to ON. If the
light doesn’t come on then, have it fixed
so it will be
ready
to warn you if there is a problem.
-
Charging system Indicator Light
This light goes on when you
turn your key to ON or
START. It goes off once you
start your engine.
That’s a check to be sure the light works.
If it doesn’t
come on, be sure to have it fixed
so it will be there to
warn you if something goes wrong.
If this light stays
on, you need service and you should
take your vehicle to the dealer at once. To save your
battery until you get there, turn off all accessories.
2-66
Page 130 of 378
Downloaded from www.Manualslib.com manuals search engine If the traction control system is affected by an
engine-related problem, the system will turn off and
the warning light will come on.
If the traction control system warning light comes on and stays on for an extended period of time when the
system is turned on, your vehicle needs service.
Engine Coolant Temperature
Warning Light
This light tells you that the
engine has overheated. You
should stop the car and turn
the engine off as soon
as possible.
A warning chime should also sound if this light comes
on.
As a check, the light should come on for a few
seconds when
you start your engine. In the section
“Problems on the Road,” this manual explains what to
do. See “Engine Overheating” in the Index.
Engine Coolant Temperature Gage
United States
- c.w IF -TEMP
Canada
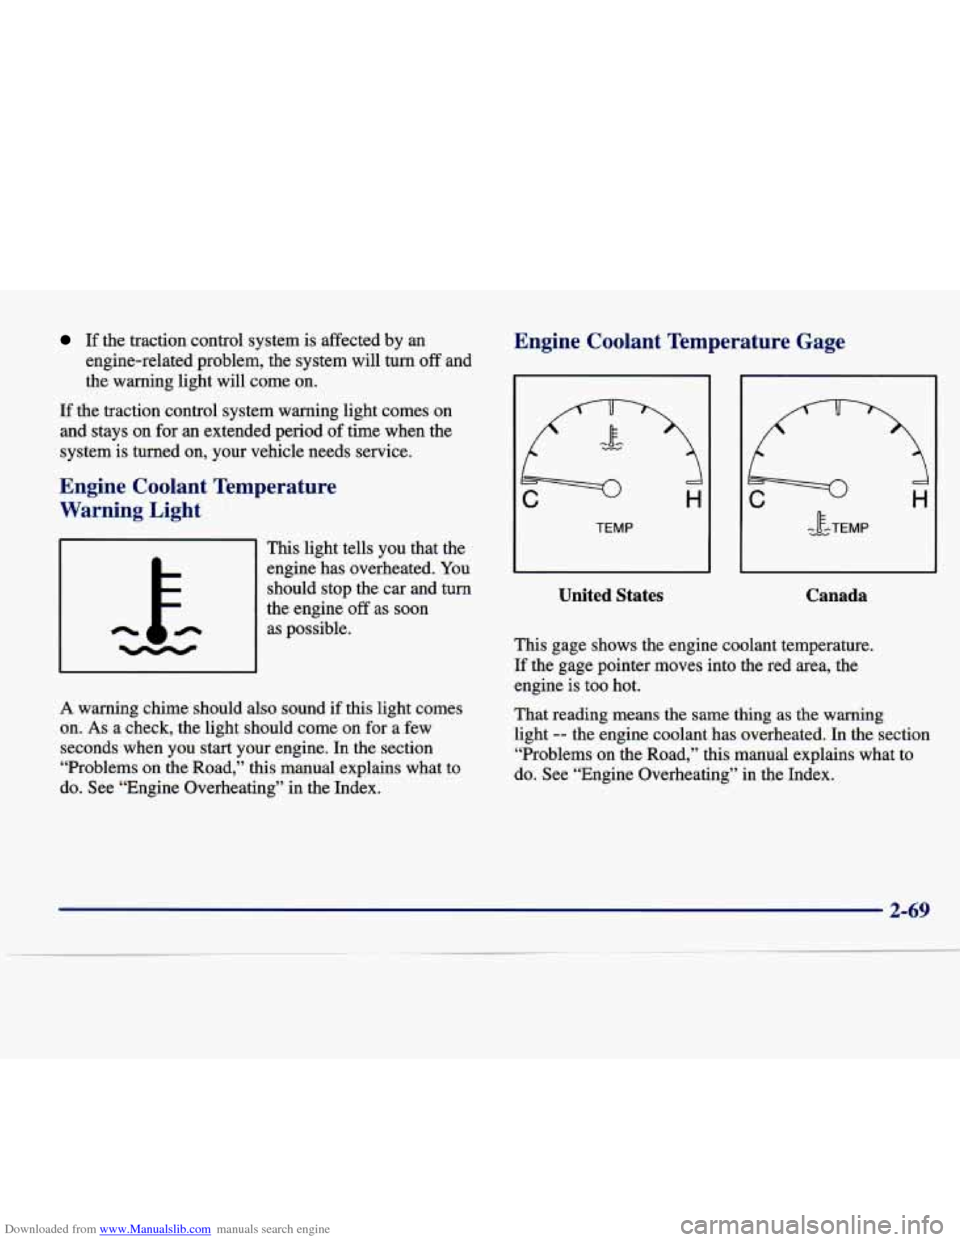
This gage shows the engine coolant temperature.
If the gage pointer moves into the red area, the engine is too hot.
That reading means the same thing
as the warning
light
-- the engine coolant has overheated. In the section
“Problems on the Road,” this manual explains what to
do. See “Engine Overheating” in the Index.
2-69
Page 131 of 378
Downloaded from www.Manualslib.com manuals search engine Malfunction Indicator Lamp (Service Engine Soon Light)
SERVICE
ENGINE
SOON
United States Canada
Your
vehicle is equipped with a computer which
monitors operation of the fuel, ignition and emission
control systems.
This system is called OBD 11 (On-Board
Diagnostics-Second Generation) and is intended to
assure that emissions
are at acceptable levels for the
life
of the vehicle, helping to produce a cleaner
environment. The
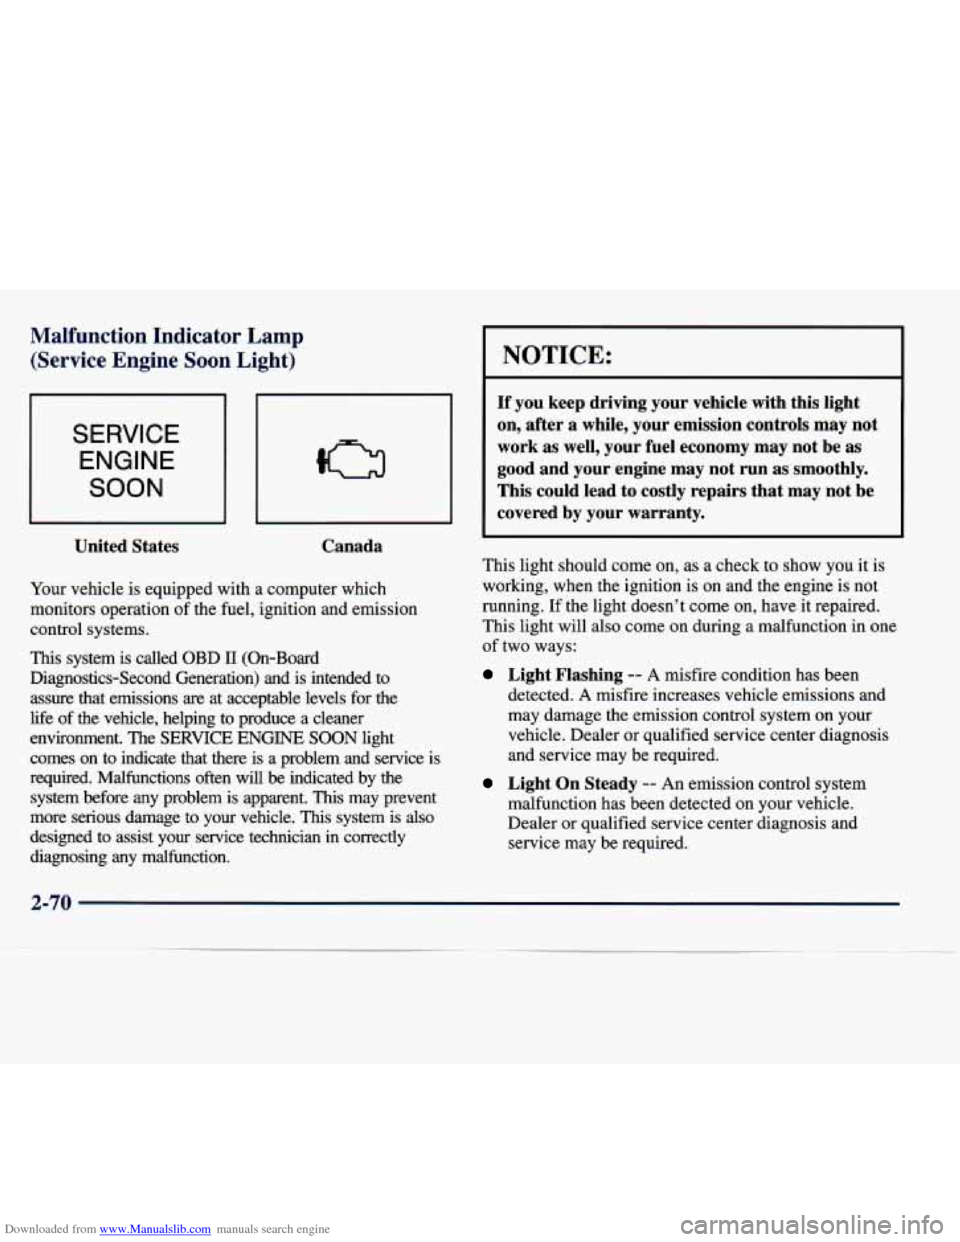
SERVICE ENGINE SOON light
comes on to indicate that there is a problem and service is
required. Malfunctions often will
be indicated by the
system before any problem is apparent.
This may prevent
more serious damage to your vehicle.
This system is also
designed to assist your service technician in correctly
diagnosing any malfunction.
I NOTICE:
If you keep driving your vehicle with this light
on, after a while, your emission controls may not
work as well, your fuel economy may not be as
good and your engine may not run as smoothly.
This could lead to costly repairs that may not be
covered by your warranty.
This light should come on, as a check to show you it is
working, when the ignition is on and the engine is not
running.
If the light doesn’t come on, have it repaired.
This light will also come on during a malfunction in one
of two ways:
Light Flashing -- A misfire condition has been
detected.
A misfire increases vehicle emissions and
may damage the emission control system on your
vehicle. Dealer or qualified service center diagnosis
and service may be required.
Light On Steady -- An emission control system
malfunction has been detected on your vehicle.
Dealer or qualified service center diagnosis and
service may be required.