Page 11 of 426
CAUSPlC
BURNS
SPARK OR ql!,
COULD
FUME
EXPLODE
BATTERY
I F
1 :
f
I
1
These symbols
are important
for you and
your passengers whenever your
vehicle
is
driver.:
DOOR LOCK
UNLOCK
POWER
WINDOW
These symbols
have to do with
your lamps:
I. These symbols i These symbols
are on some of ' are used OR
your controls: wming and
[ indicator lights: i
WEWTkATIMG
FAN
BRAKE
ANTI-LOCK (e)
BRAKES
Here xe some
other symbols
you may see:
SPEAKER
FUEL
ProCarManuals.com
Page 15 of 426
I
8 Raise or Bower the entire seat cushion by holding the
whole
horizonhl control up or down.
@ hsh the vertical control forward to bring the seat to
a more upright position. Push it rearward to recline
the seatback.
Raise
or lower the shoulder belt aamd head rest by
pushing the vertical contro1 to the top or bottom.
You can use this memory €unction to save your seat
cushion (mintas the head restraint), optional lumbar,
mirror adjustment, window lockout, HVAc and radio
settings by using the foltlowing procedure:
1. You must first program the SEAT RECALL feature
to be
ON when this choice appears on the DHC.
See “Memory Seat Recall” in the hdex fop
programming instructions.
ProCarManuals.com
Page 16 of 426

a. P
4.
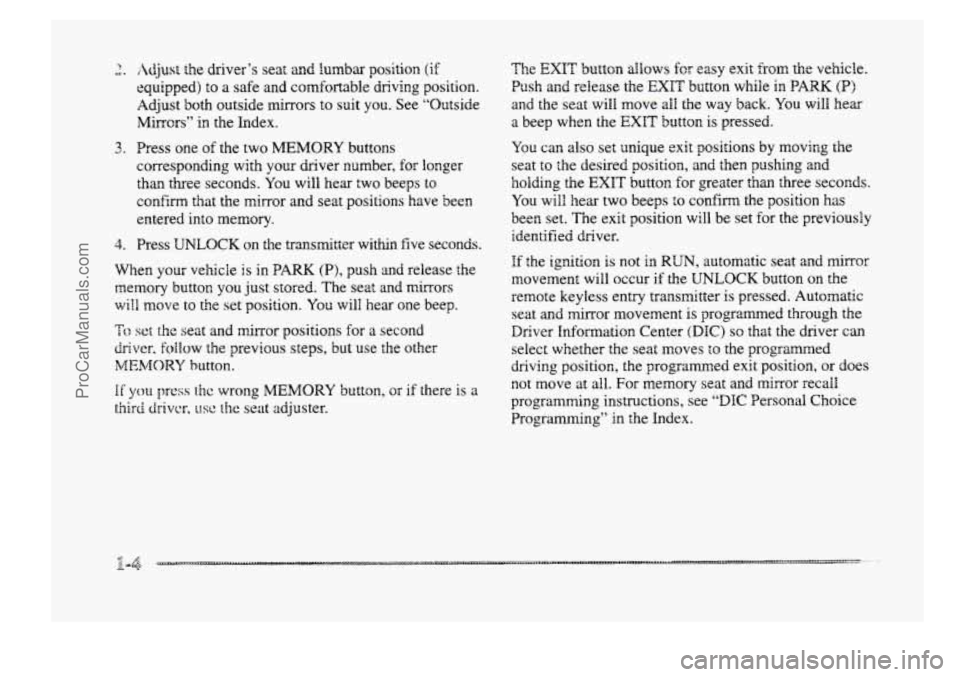
Adjust the driver’s seat and lumbar position (if
equipped) to a safe and comfortable driving position.
Adjust both outside mirrors to suit you. See “Outside
Mirrors”
in the Index.
Press
one of the two MEMORY buttons
corresponding with
your driver number, for longer
than three seconds. You will hear two beeps to
confirm
that the mirror and seat positions have been
entered into memory.
Press
WLOCK on the transmitter within five seconds.
When your vehicle
is in PARK (P), push and release the
memory button you just stored. The
seat and mirrors
will move to the set position. You will hear one beep.
‘To sct the seat and mirror positions for a second
driver, foilow the previous steps, but use the other
MEMORY button.
If you press thc wrong MEMORY button, or if there is a
third ~iriver, USC t.tre: seat adjuster. The
EXIT button ~BQWS for easy exit from the
vehicle.
Push and release the EXIT button while in PARK (a>
and the seat will move all the way back. You will hear
a beep when the
EXIT button is pressed.
You can also set unique exit positions by moving the
seat to the desired position, and then pushing and
holding the EXIT button for greater than three seconds.
You will hear two beeps to confirm the position has
been set. The exit position will be set €or the previously
identified driver.
If the ignition is not in RUN, automatic seat and III~IX-Q~
movement will occur if the UNLOCK button on the
remote keyless entry transmitter
is pressed. Automatic
seat
and mirror movement is programmed through the
Driver Information Center
(DIC) so that the driver can
select whether the seat moves to the programmed
driving position, the programmed exit
position, or does
not move at all. For memory seat and mirror recall
programming instructions, see “DIC Personal Choice
Programming”
in the Index.
4 -4, . . . . , . .
ProCarManuals.com
Page 19 of 426

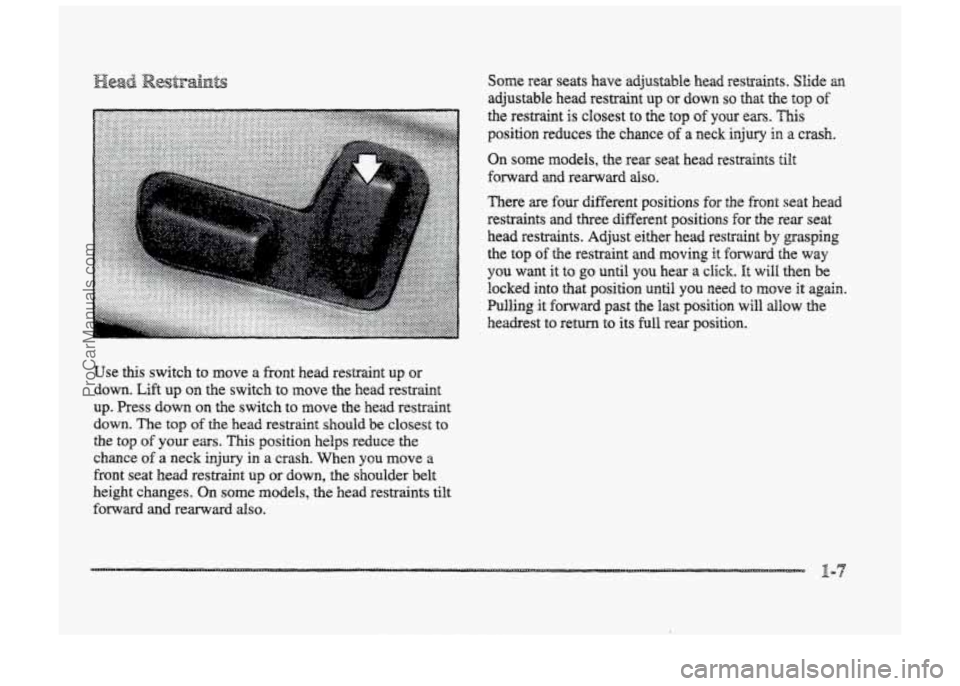
Use this switch to move a front head restraint up or
down.
Lift up on the switch to move the head restraint
up. Press down on the switch to move the
%led restraint
down. The top of the head restraint should be closest to
the top of
your ears. This position helps reduce the
chance
of a neck injury in a crash. When you move a
Eront seat head restraint up or down, the shoulder belt
height changes. On some models, the head restraints tilt
forward and rearward also.
Some rear seats have adjustable head restraints. Slide an
adjustable head restraint up or down so that the top of
the restraint is closest to the top of your ears. "his
position reduces the chace of a neck injury in a crash.
On some models, the rear seat head restraints tilt
f~r~ad md rearward dso.
There are four different p~sitions for the front seat head
restraints
and three different positions for elme rear seat
head restraints. Adjust either head
restsaint by grasping
the top
of the restraint and moving it f~l7;~lmd the way
you want it to go until YOU hear a click. It will then be
locked into that position until you need to move it again.
Pulling it
forward past the last position will allow the
headrest to return
to its full rear position.
ProCarManuals.com
Page 26 of 426
The driver has a lap-shoulder belt. Here’s how to wear
it properly.
1. Close and lock the door.
2. Adjust the seat (to see how, see “Seats” in the Index)
so you can sit up straight.
3. Pick up the Batch plate and pull the belt across you.
Don’t let it get twisted.
4. Push the latch plate into the buckle until it clicks.
Pull up on the latch plate to make sure it is secure.
E
the belt isn’t long enough, see “Safety Belt
Extender” at the end. of
this section.
Make sure the release
button on the buckle is
positioned so you would be able to unbuckle the
‘safety belt quickly i€ you ever had to.
ProCarManuals.com
Page 33 of 426

The best way to protect the fetus is to protect the
mother.
When a safety belt is worn properly, it’s more
likely that
the fetus won’t be hurt in a crash. For
pregnane women,
as for anyone, the key to making
safety belts effective
is wearing them properly.
To Bern how io wear the right front passenger’s
safety belt properly, see “Driver
Po~itiod’ earlier in
this section.
The right
front passenger’s safety beit works the same
way as the driver’s safety belt -- except for one thing. If
you ever pull the lap p~rtio~~ of the belt out all the way,
you will engage the child restraint locking feature. If
this happens, just let the belt go back all the way and
stat again.
hf your vehicle has a center passenger position, be sure
to use the correct buckie when buckhg your
fap-shoulder belt.
If you find that the latch plate will not
go fully irrto the buckle, see if you are using the buckle
for the center passenger position.
This part explains the Supplemental Restraint System
(SRS) or ais bag system. Your vehicle
has “Next Generation” reduced-force
frontal air bags -- one air bag ~QI“ Fhe driver 2nd another
air bag
for the right front passenger. Reduced-force
frontal
air bags are designed to help seduce the risk of
injury from the force of an inflating frontal air bag. Bst
even these air bags xmst inflate very quickly if they ae
to do their job and comply with federal regulations.
Here are the most important things to know about the
air bag system:
ProCarManuals.com
Page 42 of 426
3. TQ make the lap part tight, pull down on the buckle
end of the belt as you pull, .up on the shoulder part. The lap
part of the belt should be worn low and
snug on
the hips, just touching the thighs.
In a crash, this applies
force
to the strong peIvic bones. And you'd be less likely
to slide under
the lap belt. If you slid under it, the belt
would apply force at YOIN abdomen. This could cause
serious or even fatal injuries.
The shoulder belt should go
over the shoulder and ~C~QSS the chest. These parts of the
body are best able to take belt restraining forces.
The safety belt locks
if there's a sudden stop or a crash.
_____..________._____ .....-.......
I
ProCarManuals.com
Page 60 of 426
4. Buckle the belt. Make sure the release button is
positioned so you would be able to unbuckle the
safety belt quickly if you ever had to.
5. Pull the rest of the kip belt dl the way out of the
retractor to set the lock.
ProCarManuals.com