1997 PONTIAC GRAND AM reset
[x] Cancel search: resetPage 96 of 371
Resuming a Set Speed
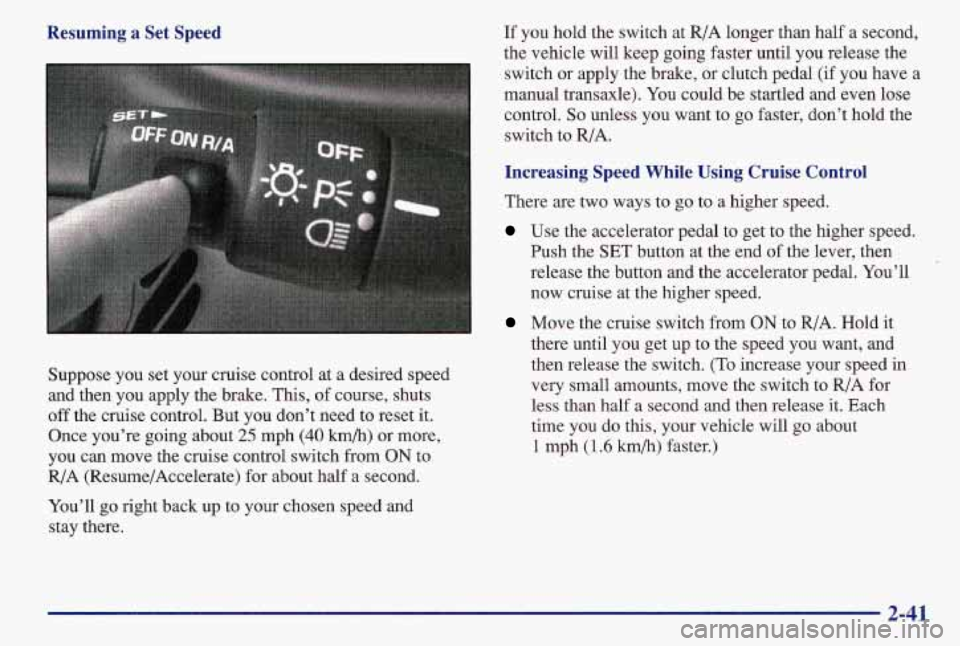
Suppose you set your cruise control at a desired speed
and then you apply the brake. This, of course, shuts
off the cruise control. But you don’t need to reset it.
Once you’re going about
25 mph (40 h/h) or more,
you can move the cruise control switch from
ON to
R/A (Resume/Accelerate) for about half a second.
You’ll go right back up to your chosen speed and stay there. If you
hold the switch at R/A longer than half a second,
the vehicle will keep going faster until you release the
switch or apply the brake, or clutch pedal (if you have a
manual transaxle).
You could be startled and even lose
control,
So unless you want to go faster, don’t hold the
switch to R/A.
Increasing Speed While Using Cruise Control
There are two ways to go to a higher speed.
Use the accelerator pedal to get to the higher speed. Push the
SET button at the end of the lever, then
release the button and the accelerator pedal. You’ll now cruise at the higher speed.
Move the cruise switch from ON to R/A. Hold it
there until you get up to the speed you want, and
then release the switch.
(To increase your speed in
very small amounts, move the switch to R/A for
less than half a second and then release it. Each
time you do this, your vehicle will go about
1 mph (1.6 km/h) faster.)
2-41
Page 102 of 371
Front Map Lamps (If Equipped)
If your vehicle has a sunroof, it will have a rearview
mirror with lamps built in. The lamps go on when you
open the doors. When the
doors are closed, turn the
lamps on and off with the switches located below the
face of the mirror.
Rear Reading Lamps (If Equipped)
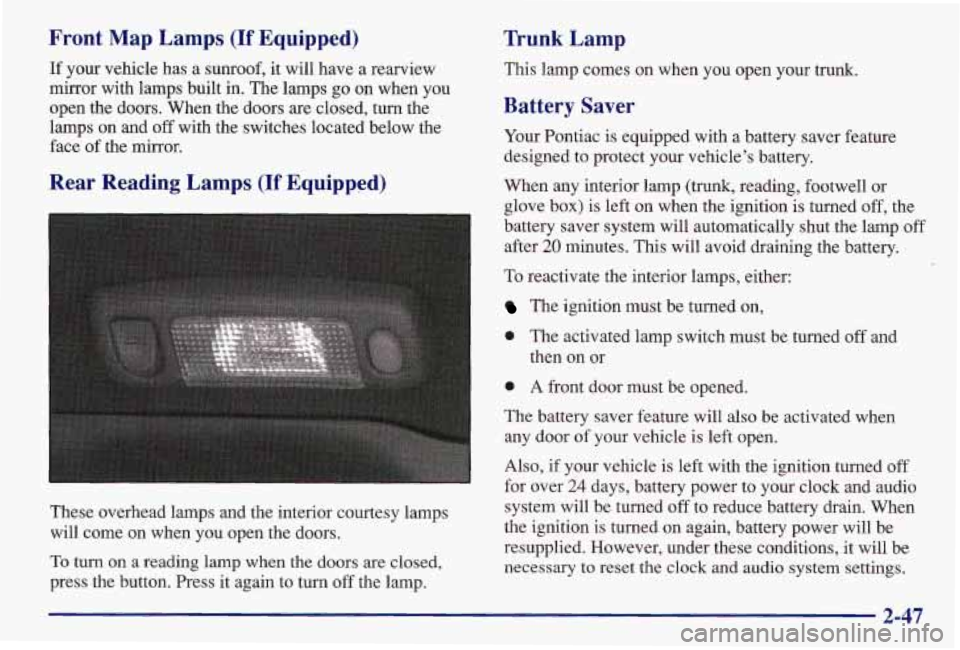
These overhead lamps and the interior courtesy lamps
will come on when you open the doors.
To turn on a reading lamp when the doors are closed,
press the button. Press it again to turn off the lamp.
Trunk Lamp
This lamp comes on when you open your trunk.
Battery Saver
Your Pontiac is equipped with a battery saver feature
designed to protect your vehicle’s battery.
When any interior lamp (trunk, reading, footwell or
glove box) is left on when the ignition is turned off, the
battery saver system will automatically shut the lamp off
after
20 minutes. This will avoid draining the battery.
To reactivate the interior lamps, either:
The ignition must be turned on,
0 The activated lamp switch must be turned off and
then on or
0 A front door must be opened.
The battery saver feature will also be activated when
any door of your vehicle is left open.
Also, if your vehicle is left with the ignition turned off
for over
24 days, battery power to your clock and audio
system will be turned off to reduce battery drain. When
the ignition
is turned on again, battery power will be
resupplied. However, under these conditions, it will be
necessary to reset the clock and audio system settings.
2-47
Page 112 of 371
Speedometer and Odometer
Your speedometer lets you see your speed in both miles
per hour (mph) and kilometers per hour
(lun/h). Your
odometer shows how
far your vehicle has been driven,
in either miles (used in the United States) or kilometers
(used in Canada).
Your Pontiac also has a tamper-resistant odometer.
If
you see silver lines between the numbers, you’ll know
that someone has probably tried to turn
it back, so the
numbers may not be true.
You may wonder what happens
if your vehicle needs a
new odometer installed. If the new one can be set to the
mileage total of the old odometer, then it must be. But if
it can’t, then it’s set at zero and a label must be put on
the driver’s door to show the old mileage reading when
the new odometer was installed.
Trip Odometer
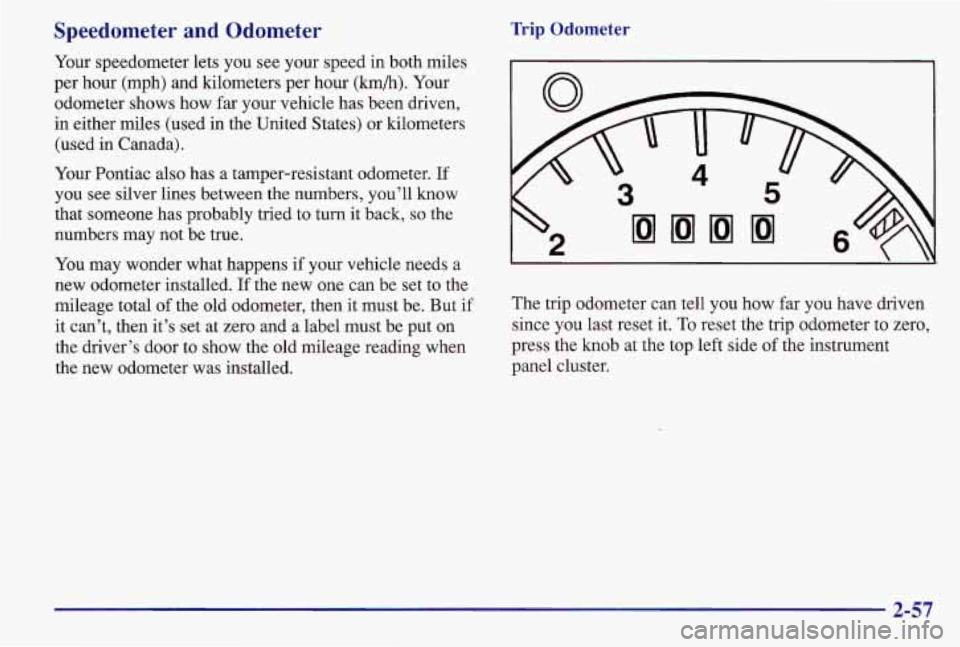
The trip odometer can tell you how far you have driven
since you last reset it.
To reset the trip odometer to zero,
press the knob at the top left side
of the instrument
panel cluster.
2-57
Page 116 of 371
If the light comes on while you are driving, pull off the
road and stop carefully. You may notice that the pedal is
harder to push. Or, the pedal may go closer to the floor.
It may take longer to stop.
If the light is still on, have the
vehicle towed for service. (See “Towing Your Vehicle”
in the Index.)
A CAUTION:
Your brake system may not be working properly
if the brake system warning light is
on. Driving
with the brake system warning light on can lead
to an accident. If the light is still on after you’ve
pulled off the road and stopped carefully, have
the vehicle towed for service.
When the ignition is on, the brake system warning light
will also come on when you set your parking brake. The
light will stay on
if your parking brake doesn’t release
fully. If it stays on after your parking brake is fully
released, it means you have a brake problem.
Anti-Lock Brake System Warning Light
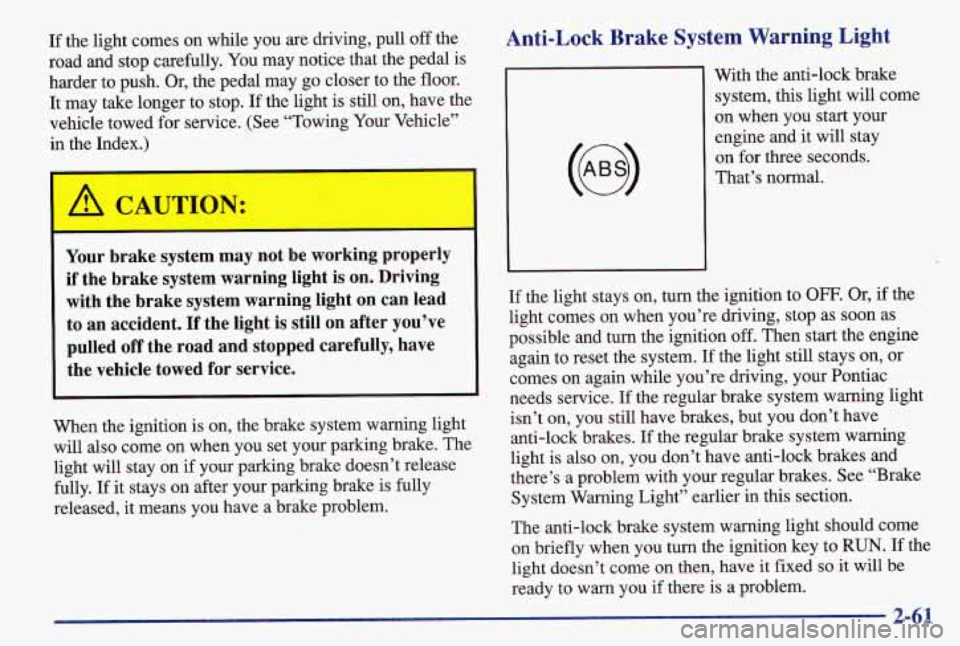
With the anti-lock brake
system, this light will come
on when you start your
engine and it will stay
on for three seconds.
That’s normal.
If the light stays on, turn the ignition to OFF. Or, if the
light comes on when you’re driving, stop as soon as
possible and turn the ignition off. Then start the engine
again to reset the system. If the light still stays on, or
comes on again while you’re driving, your Pontiac
needs service.
If the regular brake system warning light
isn’t on, you still have brakes, but you don’t have
anti-lock brakes.
If the regular brake system warning
light is also on, you don’t have anti-lock brakes and
there’s a problem with your regular brakes. See “Brake
System Warning Light” earlier in this section.
The anti-lock brake system warning light should come on briefly when you turn the ignition key to
RUN. If the
light doesn’t come on then, have
it fixed so it will be
ready to warn you
if there is a problem.
2-61
Page 134 of 371
Finding a Station
AM-FM:
Press this button to switch between AM and
FM. The display shows your selection.
TUNE: Turn the lower knob to choose radio stations.
SEEK: Press the up or down arrow to go to the next
higher or lower station and stay there.
PUSHBUTTONS: The four numbered pushbuttons let
you return to your favorite stations. You can set up to
14 stations (seven AM and seven FM). Just:
1. Turn the radio on.
2. Press AM-FM to select the band.
3. Tune in the desired station.
4. Press SET. (SET will appear on the display.)
5. Press one of the four numbered pushbuttons, within
five seconds. Whenever you press that numbered
pushbutton, the station you set will return.
6. Repeat the steps for each pushbutton.
In addition to the four stations already set, up to three
more stations may be preset on each band by pressing
two adjoining buttons at the same time. Just:
1. Tune in the desired station.
l. Press SET. (SET will appear on the display.)
3. Press any two adjoining pushbuttons at the same
time, within five seconds. Whenever you press the
same buttons, the station you set will return.
4. Repeat the steps for each pair of pushbuttons.
Setting the Tone
BASS:
Slide the lever up or down to increase or
decrease bass.
TREB: Slide the lever up or down to increase or
decrease treble.
If a station is weak or noisy, you may
want to decrease the treble.
Adjusting the Speakers
BALANCE:
Turn the control behind the upper knob to
move the sound to the left or right speakers. The middle
position balances the sound between the speakers.
FADE: Turn the control behind the lower knob to move
the sound to the front or rear speakers. The middle
position balances the sound between the speakers.
3-9
Page 138 of 371
CLN: If this message appears on the display, the
cassette tape player needs to be cleaned. It will still play
tapes, but you should clean it as soon as possible to
prevent damage to the tapes and player. See “Care of
Your Cassette Tape Player” in the Index. After you clean
the player, press and hold EJECT for five seconds to
reset the
CLN indicator. The radio will display --- to
show the indicator was reset.
CD Adapter Kits
It is possible to use a CD adapter kit with your cassette
tape player after activating the bypass feature on your
tape player.
To activate the bypass feature, the ignition must be
on.
Turn your radio off. Press TAPEPLAY and hold for
three seconds. After three seconds, the tape symbol in the display will flash for two seconds indicating the feature is
active. Turn
the radio on and insert the adapter.
This override feature will remain active until EJECT
is pressed.
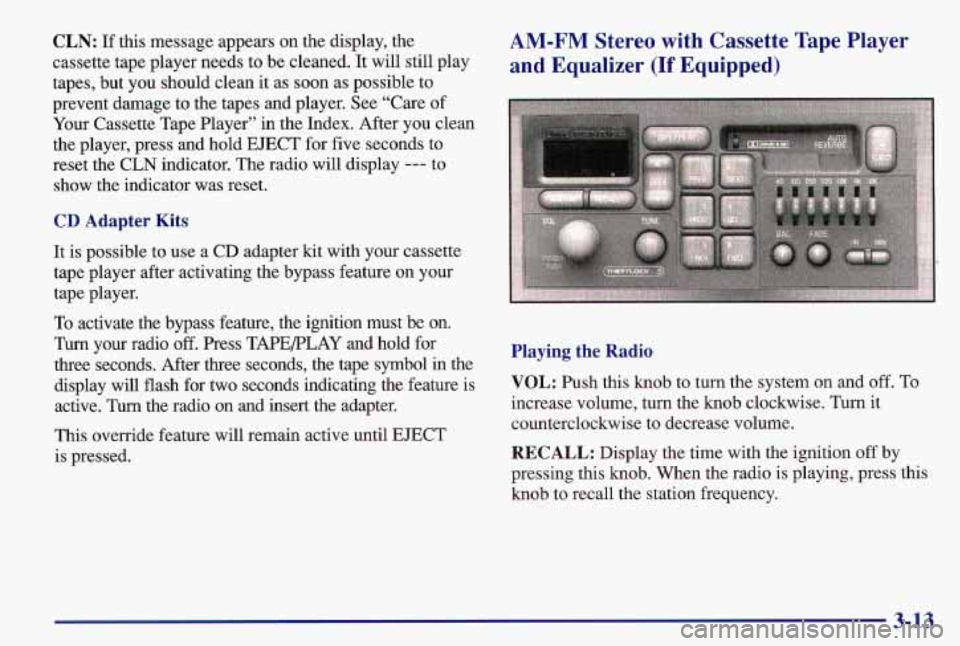
AM-FM Stereo with Cassette Tape Player
and Equalizer
(If Equipped)
Playing the Radio
VOL: Push this knob to turn the system on and off. To
increase volume, turn the knob clockwise. Turn it
counterclockwise to decrease volume.
RECALL: Display the time with the ignition off by
pressing this knob.’When the radio is playing, press this
knob to recall the station frequency.
3-13
Page 141 of 371
00 (4): Press this button to reduce background noise.
Note that the double-D symbol will appear on the display.
Dolbymm Noise Reduction is manufactured under a
license from Dolby Laboratories Licensing Corporation.
Dolby and the double-D symbol are trademarks of
Dolby Laboratories Licensing Corporation.
REV (5): Press this button to reverse the tape rapidly.
Press it again to return to playing speed. The radio will
play the last-selected station while the tape reverses.
You may select stations during REV operation by using
SEEK or
TUNE.
FWD (6): Press this button to advance quickly to
another part of the tape. Press the button again to return
to playing speed. The radio will play the last-selected
station while the tape advances.
You may select stations
during FWD operation by using SEEK or TUNE.
AM-FM: Press this button to play the radio when a tape
is in the player.
TAPEIPLAY: Press this button to change to the tape
function when the radio is on. The tape symbol with an
arrow will appear on the display when the tape is active.
To return to playing the radio, press the AM-FM button.
EJECT Press this button to remove the tape. The radio
will play. EJECT may be activated with either the ignition or radio off. Cassettes may be loaded
with the
radio off if this button is pressed first.
If you leave a
cassette tape in the player while listening to the radio,
it
may become warm.
CLN: If this message appears on the display, the
cassette tape player needs to be cleaned.
It will still play
tapes, but you should clean it as soon as possible to
prevent damage to the tapes and player. See “Care
of
Your Cassette Tape Player” in the Index. After you clean
the player, press and hold EJECT for five seconds to
reset the
CLN indicator. The radio will display --- to
show the indicator was reset.
CD Adapter Kits
It is possible to use a CD adapter kit with your cassette
tape player after activating the bypass feature on your
tape player.
To activate the bypass feature, the ignition must be on.
Turn your radio
off. Press TAPEPLAY and hold for
three seconds. After three seconds, the tape symbol in the display will flash for two seconds indicating the feature is
active. Turn the radio on and insert the adapter.
This override feature will remain active until EJECT
is pressed.
3-16
Page 145 of 371
PREV (1): Press PREV or the SEEK down arrow
to search for the previous selection.
A minimum
three-second blank gap is needed for the player to stop
at the beginning
of the selection. The tape direction
arrow will blink during the SEEK operation and the
sound will mute in this mode.
NEXT (2): Press NEXT or the SEEK up arrow to
search for the next selection. The tape direction
arrow
will blink during the SEEK operation and the sound
will mute in this mode.
(4): Press this button to reduce background tape noise
(noise reduction is only available in the cassette mode).
The double-D symbol will appear on the display.
REV (5): Press this button to rapidly reverse the tape.
The tape
will rapidly reverse to the beginning of the
cassette reel or until you press REV again. Use the
SEEK button
or the TUNE knob to play the radio
during REV. The radio plays the last selected station.
FWD (6): Press this button to rapidly advance the tape.
The tape will rapidly advance to the end of the cassette
reel or until you press FWD again. Use the SEEK button
or the TUNE knob to play the radio during FWD. The
radio plays the last selected station.
PROG: Press this button on the remote cassette player
to go from one side
of the tape to the other.
CD/PLAY: After a cassette tape and a CD have been
inserted, press the CD/PLAY button to switch between
the
CD player and the cassette tape player. Both features
cannot be played at the same time.
EJECT Press this button on the remote cassette player
to remove the tape. EJECT can be used with either the
ignition or radio off.
Also, you must press EJECT before
loading
a cassette with the radio off to allow loading. If
you leave a cassette tape in the player while listening to
the radio, it may become warm.
CLN: If this message appears on the display, the
cassette tape player needs to be cleaned. It will still play
tapes, but you should clean it as
soon as possible to
prevent damage to the tapes
and player. See “Care of
Your Cassette Tape Player’’ in the Index. After you clean
the player, press and hold EJECT for five seconds to
reset the CLN indicator. The radio will display
--- to
show the indicator was reset.
3-20