1997 OLDSMOBILE CUTLASS warning
[x] Cancel search: warningPage 4 of 353

Index
A good place to look for what you need is the Index in
the back of the manual. It’s an alphabetical list of all
what’s in the manual, and the page number where you’ll
find it.
Safety Warnings and Symbols
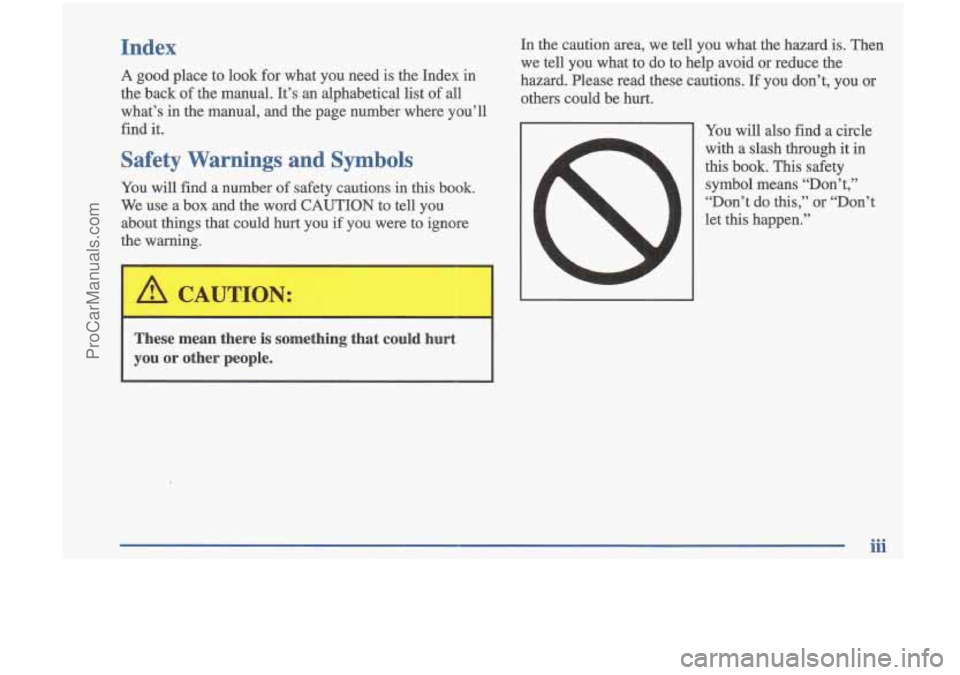
You will find a number of safety cautions in this book.
We use a box and the word
CAUTION to tell you
about things that could hurt you if you were to ignore
the warning.
I
These mean there is something that could hurt
you or other people.
In the caution area, we tell you what the hazard is. Then
we tell you what to do to help avoid or reduce the
hazard. Please read these cautions.
If you don’t, you or
others could be hurt.
You will also find a circle
with a slash through it in
this book. This safety symbol means ‘Don’t,”
“Don’t do this,”
or “Don’t
let this happen.”
iii
ProCarManuals.com
Page 5 of 353

Vehicle Damage Warnings
Also in this book you will fimd these notices:
NOTICE:
In the notice area, we tell you about something that can
damage your vehicle. Many times,
this damage would
not
be covered by your warranty, and it could be costly.
But the notice will tell you what to
do to help avoid
the damage.
These mean there is something that could
damage
your vehicle.
When you read other manuals, you might see CAUTION
and NOTICE warnings
in different colors or in
different words.
You’ll also see warning labels on your vehicle. They use
the same words, CAUTION or NOTICE.
iv
ProCarManuals.com
Page 6 of 353

Vehicle Symbols
These are some of the symbols you may find on your vehicle.
For example,
these symbols
are used
on an
original battery:
POSSIBLE A
CAUTION
INJURY
PROTECT EYES BY
SHIELDING
CAUSTIC
ACID COULD BAllERY
CAUSE
BURNS
AVOID
SPARKS
OR
FLAMES
SPARK
OR ,\I/,
COULD FLAME
EXPLODE BATIERY
These symbols
are important
for you and
your passengers
whenever your vehicle is
driven:
DOOR LOCK
UNLOCK
FASTEN SEAT
BELTS
These symbols
have to do with
your lamps:
SIGNALS e
TURN
FOG LAMPS
# 0
These symbols
are on some
of
your controls:
WINDSHIELD
WIPER
WINDSHIELD DEFROSTER
WINDOW
DEFOGGER
VENTILATING FAN
(
These symbols
are used on
warning
and
indicator lights:
COOLANT -
TEMP -
CHARGING BAllERY
SYSTEM
BRAKE
(0)
COOLANT a
ENGINE OIL e,
PRESSURE
ANTI-LOCK
(@)
BRAKES
Here are some
other symbols
you may see:
FUSE
P
LIGHTER
HORN
)cr
SPEAKER
b
FUEL B
V
ProCarManuals.com
Page 58 of 353

Section 2 Features and Controls
2-3
2-4
2-5
2-6
2-8
2-11
2-13
2-13
2- 14
2-
15
2- 17
2-2
1
2-21
2-25
2-26
Here
you can learn about the many standard and optional features on your Oldsmobile, and infomation on starting,
shifting and braking.
Also explained are the instrument panel and the warning systems that tell you if everything is
working properly
-- and what to do if you have a problem.
Important Information About Keys
Door Locks Operation of Child Security Locks
Remote Lock Control
Battery Replacement for Remote
Lock Control
Preventing Theft of Your Vehicle
New Vehicle “Break-In”
Ignition Positions
Tips on Starting Your Engine
Using the Engine Coolant Heater
Automatic Transaxle Operation
Second-Gear Start
Parking Brake Guidelines Important Information on Engine Exhaust
Operation of Your Windows 2-27
2-28
2-29
2-30
2-32
2-35
2-36
2- 37
2-39
2-41
2-45
2-46
2-50 Adjusting
the Tilt Steering Wheel
Functions of the Multifunction Lever
How to Use the High/Low-Beam
Headlamp Changer
Windshield Wipers and Fluid Using Cruise Control
Exterior Lamps
Daytime Running Lamps (Dm) and
Automatic Light Control
(ALC)
Interior Lamps
Rearview Mirrors Storage Compartments
Sunroof
Instrument Panel Overview
All About Your Warning Lights and Gages
2-1
~
ProCarManuals.com
Page 70 of 353

New Vehicle “Break-In” Ignition
Positions
NOTICE:
Your modern Oldsmobile doesn’t need an
elaborate “break-in.” But
it will perform better
in the long run if you follow these guidelines:
0
0
0 Don’t drive at any one speed -- fast or
slow
-- for the first 500 miles (805 km).
Don’t make full-throttle
starts.
Avoid making hard stops for the first
200 miles (322 km) or so. During this time
your new brake linings aren’t yet broken
in. Hard stops with new linings can mean
premature wear and earlier replacement.
Follow this breaking-in guideline every
time you get new brake linings.
Don’t tow
a trailer during break-in. See
“Towing
a Trailer” in the Index for more
information.
A
With the ignition key in the ignition switch, you can turn
the switch to four positions.
OFF (A): Before you put the key into the ignition
switch, the switch is
off. It is the only position from
which you can remove the key. This position locks your
ignition and transaxle.
A warning chime will sound if
you open the driver’s door when the ignition is off
and
the key’is in the ignition:
2-13
ProCarManuals.com
Page 71 of 353

ACC (Accessory) (B): This position unlocks the
transaxle. It
also lets you use things like the radio and
windshield wipers when the engine is not running.
To
use ACC, push in the key and turn it to the right. Use
this position if your vehicle must be pushed or towed,
but never
try to push-start your vehicle.
ON (C): This position unlocks the ignition and
transaxle.
This position is also where the key returns
after you start your engine and release the switch. The
switch stays in ON when the engine is running. But even
when the engine
is not running, you can use ON to
operate your electrical power accessories, and to display some instrument panel warning lights.
START (D): This position starts the engine. When the
engine starts, release the key. The ignition switch will
return to
ON for normal driving.
Starting Your Engine
Move your shift lever to PARK (P) or NEUTRAL (N).
Your engine won’t start in any other position
-- that’s a
safety feature. To restart when you’re already moving,
use NEUTRAL
(N) only.
NOTICE:
Don’t try to shift to PARK (P) if your Oldsmobile
is moving. If you do, you could damage the
transaxle. Shift to PARK
(P) only when your
vehicle is stopped.
Starting Your 3100 Engine
1. Without pushing the accelerator pedal, turn your
ignition key to
START. When the engine starts, let
go of the key. The idle speed will go down as your
engine gets warm.
NOTICE:
Holding your key in START for longer than
15 seconds at a time will cause your battery to
be drained much sooner. And the excessive heat
can damage your starter motor.
ProCarManuals.com
Page 78 of 353

Second-Gear Start
Your vehicle is equipped with a second-gear start
feature. Place the shift lever in SECOND
(2) gear to
provide more traction when you are starting on ice
or other slippery surfaces. The transaxle will be in
SECOND
(2) gear when the vehicle begins to move.
After starting in SECOND
(2) gear, place the shift lever
in THIRD
(3) or DRIVE (D).
This feature is only for improved traction only when
the road surface is slippery and
is not intended for
continuous use or when the vehicle is stuck in sand,
mud, ice, snow
or gravel.
Parking Brake
To set the parking brake,
hold the regular brake pedal
down with your right foot.
Push down the parking
brake pedal with your left
foot. If the ignition is on,
the brake system warning
light will come on. To
release the parking brake, hold the regular brake
pedal down with your right foot. Push down on the
parking brake pedal with your left foot.
If the parking
brake
is not released when you begin to drive, a chime
will sound warning you that the parking brake is still on.
NOTICE:
Driving with the parking brake on can cause
your rear brakes to overheat. You may have to
replace them, and you could
also damage other
parts
of your vehicle.
If you are towing a trailer and are parking on a hill, see
“Towing a Trailer” in the Index. That section shows
what to do first to keep the trailer from moving.
2-21
ProCarManuals.com
Page 86 of 353

To signal a lane change, just raise or lower the lever
until the arrow starts to flash. Hold it there until you
complete your lane change. The lever will return by
itself when you release it.
A warning chime signal will come on if you have left
your turn signal on for more than
3/4 mile (1 km).
As you signal a turn or a lane change, if the arrow
flashes rapidly, a signal bulb may be burned out and other drivers won’t see your turn signal.
If a bulb is burned out, replace it to help avoid an
accident. If the arrow doesn’t go on at all when you
signal a turn, check for burned-out bulbs and then check
the fuse (see “Fuses and Circuit Breakers” in the Index).
Headlamp High/Low Beam
To change the headlamps
from low beam to high
beam, push forward on the
turn signaUmultifunction
lever.
To change the
headlamps from high beam
to low beam, pull the turn
signal lever backward.
When the high bearns are
I I on, a light on the instrument
panel also will be on.
Flash to Pass
This feature lets you use your high-beam headlamps to
signal a driver
in front of you that you want to pass.
To use it, pull the turn signaYmultifunction lever toward
you until the high-beam headlamps come on, then
release the lever to turn them
off.
ProCarManuals.com