1997 OLDSMOBILE BRAVADA warning
[x] Cancel search: warningPage 5 of 358

How to Use this Manual
Many people read their owner’s manual from beginning
to end when they first receive their new vehicle.
If you
do this, it will help you learn about the features and
controls for your vehicle.
In this 111anua1, you’ll find
that pictures
and words work together to explain
things quicklv.
Index
A good place to look for what you need is the Index in
the back of the manual. It‘s an alphabetical list of all
that’s in the manual, and the page number where you’ll
find it.
Safety Warnings and Symbols
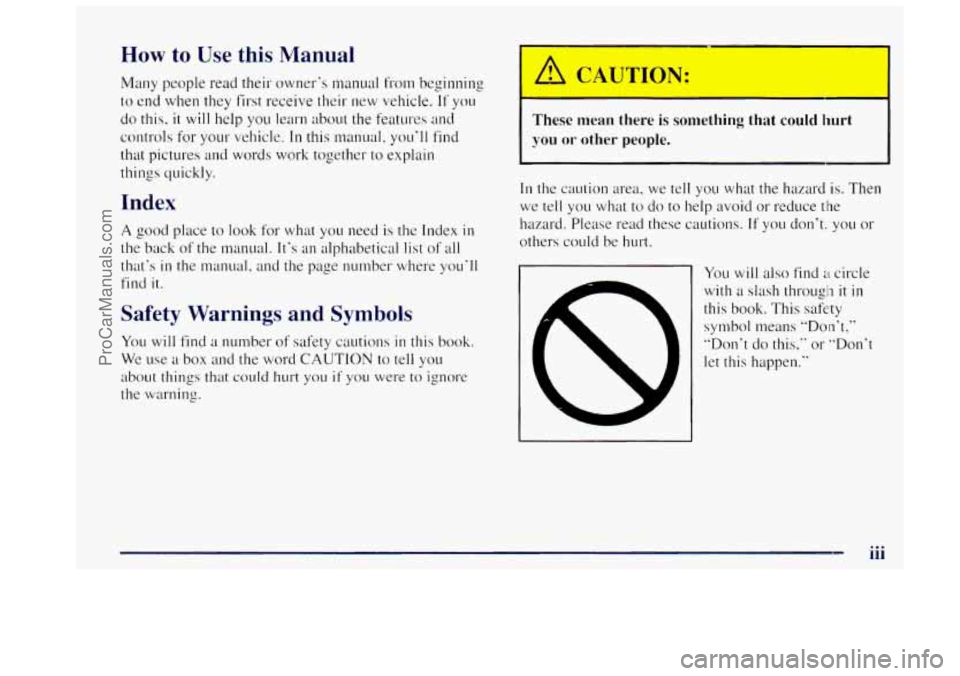
You will find a number of safety cautions in this book.
We use a box and the word CAUTION to tell you
about things
that could hurt you if you were to ignore
the warning.
I
These mean there is something that could hurt
you or other people.
In the caution area, we tell you what the hazard is. Then
we
tell you what to do to help avoid or reduce the
hazxd. Please read these cautions.
If you don’t: you or
others could be hurt.
You will also find a circle
with a slash througln it in
this book. This safe:ty
symbol means “Don’t,’’
”Don’t do this.‘‘ or “Don‘t
let this happen.“
iii
ProCarManuals.com
Page 6 of 358

Vehicle Damage Warnings
Also in this book you will find these not.ices:
I NOTICE:
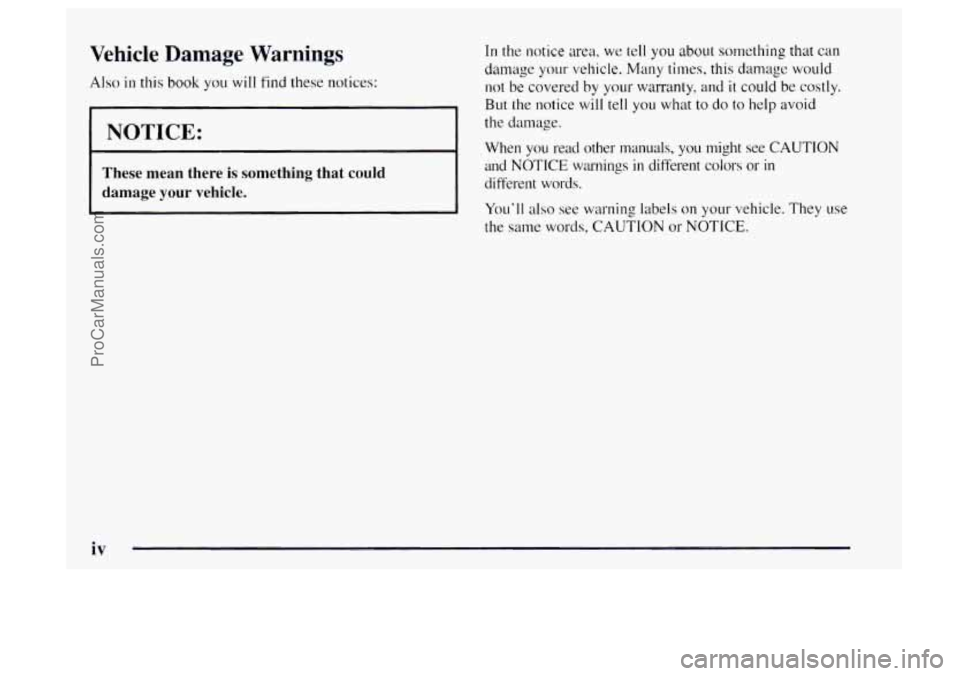
These mean there is something that could
damage
your vehicle.
In the notice area, we tell you about something that can
darnage your vehicle. Many times, this damage would
not be covered by your warranty, and it could be costly.
But the notice will tell
you what to do to help avoid
the damage.
When you read other manuals,
you might see CAUTION
and NOTICE warnings in different colors or in
different words.
You’ll also see warning labels on your vehicle.
They use
the same words,
CAUTION or NOTICE.
iv
ProCarManuals.com
Page 7 of 358

Vehicle Symbols
These are some of the symbols you may find on your vehicle.
For exumple,
thesc bymbols
aIe used on an
original battery:
POSSIBLE A
CAUTION
INJURY
PROTECT EYES BY
SHIELDING
CAUSTIC
ACID COULD
BATTERY
CAUSE
BURNS
AVOID
SPARKS
OR
FLAMES
SPARK
OR ,111,
COULD FLAME
EXPLODE BATTERY DOOR
LOCK
UNLOCK
FASTEN
&
BELTS SEAT
WINDOW
f j
POWER '* __ I
SIGNALS 6 @
TURN
RUNNING
* 0 DAYTIME . .
LAMPS *'*
FOG LAMPS # 0
WINDSHIELD
WIPER
WINDSHIELD DEFROSTER
WINDOW
DEFOGGER
VENTILATING
**
These sylnbols
are used on
warning and
indicator lights:
COOLANT -
TEMP -
CHARGING I-1
BATTERY SYSTEM
BRAKE
(a)
COOLANT a
ENGINE OIL
PRESSURE
Wb
ANTI-LOCK (@)
BRAKES
Here are some
other synbols
you may see:
FUSE
P
LIGHTER
HORN
)tr
SPEAKER
b
FUEL I&
V
ProCarManuals.com
Page 55 of 358

a Section 2 Features and Controls
Here you can learn about the many standard and optional features on your Oldsnwbile, and information on starting,
shifting and braking. Also explained are the instrument panel and the warning systems that tell you
if everything is
working properly
-- and what to do if you have a problem.
2-2
2 -4
2-5
2-6
2-7
2-
IO
2-1 1
2- 12
2-13
2-
14
2-15
2-18
2-22
2-34 Important Information
About Keys
Door Locks
Operation of Child Security Locks
Remote Keyless Entry
Battery Replacement for RKE
Preventing
Theft of Your Vehicle
New Vehicle "Break-In"
Ignition Positions
Tips
on Starting Your Engine
Using the Engine Coolant Heater
Automatic Transmission Operation
Parking Brake Guidelines
Important Information
on Engine Exhaust
Operation of Your Windows 2-2s
2-25
2-26
2-27
2-28
2-3
1
2-32
2-33
2-34
2-35
2-48 2-52
Adjusting the Tilt Steering Wheel
Functions
of the Multifunction Lever
How
to Use the HighLow Beam
Headlamp Changer
Windshield Wipers and Fluid
Using Cruise Control
Exterior Lamps Daytime Running Lamps (DRL)
Rearview Mirrors
Storage Compartments
Instrument Panel Overview
All About Your Warning Lights and Gages
Interior
Lamps
ProCarManuals.com
Page 72 of 358

You can also use SECOND (2) for starting your vehicle
from a stop on slippery road surfaces.
FIRST (1): This position gives you even more power
(but lower fuel economy) than
SECOND (2). You can
use
it on very steep hills, or in deep snow or mud. If the
selector lever is
put in FIRST (1) while the vehicle is
moving forward, the transmission won’t shift into
FIRST
(1) until the vehicle is going slowly enough.
NOTICE:
If your rear wheels can’t rotate, don’t try to
drive. This might happen if you were stuck in
very deep sand
or mud or were up against a solid
object. You could damage your transmission.
Also, if you stop when going uphill, don’t hold
your vehicle there with only the accelerator
pedal. This
could overheat and damage the
transmission. Use your brakes or shift into
PARK (P) to hold your vehicle in position
on a hill.
Locking Rear Axle
Your rear axle can give you additional traction on snow,
mud, ice,
sand or gravel. It works like a standard axle
most of the time, but when one of the rear wheels has no
traction and the other does, the locking feature will
allow the wheel
with traction to move the vehicle.
All-Wheel Drive
Your engine’s driving power is sent to all four wheels
for extra traction. All-wheel drive is like four-wheel
drive, but there
is no lever or switch to engage or
disengage the front axle. It is
fully automatic and adjusts
itself as needed
for road conditions.
Parking Brake
To set the parking brake, hold the regular brake pedal
down with your right foot. Push down the parking brake
pedal
with your left foot. If the ignition is on, the brake
system warning light
will come on.
To release the parking brake, hold the regular brake
pedal
down.
2-18
ProCarManuals.com
Page 91 of 358

Driver Information System
This system displays the outside air temperature, compass
direction and trip information in the overhead console.
The USNET (United States/metric) button allows you to
switch the display between the English and metric system.
The MODE button can be used to toggle between three
modes of operation:
OFF, COMPREMP and TRIP.
OFF: This turns the system off.
COMP/TEMP: The display provides the outside
temperature and one of eight compass readings to
indicate the direction the vehicle is facing.
Before you turn on the ignition and move the vehicle,
the temperature indicated will be the last outside
temperature recorded with the ignition on. If the outside
temperature is
37 "F (3 " C) or lower, the display will
toggle between the word ICE and the current
temperature every eight seconds. This is a warning to
the driver that road conditions may be icy, and that
appropriate precautions should be taken. The
compass is self-calibrating,
so it does not need to be
manually set. However,
if C (Calibration) is displayed, the
compass will need to
be calibrated. You may also place the
compass in a noncalibrated mode by pressing and holding
the MODE and USMET buttons simultaneously while
in
the COMPmEMP mode. After about 10 seconds, the
compass will display
C and you can release the buttons.
Drive the vehicle in a complete 360" circle three times at
a speed of less than
5 mph (8 km/h), and the compass will
function normally. Once the calibration is complete, the
display will return to
a compass reading.
2-37
ProCarManuals.com
Page 105 of 358

Speedometer and Odometer
Your speedometer lets you see your speed in both miles
per hour (mph) and kilometers per hour (km/h).
Your odometer shows how far your vehicle has been
driven,
in miles.
Your odometer is tamper resistant. It will show silver
lines between the numbers
if someone tries to turn
it back.
You may wonder what happens
if your vehicle needs a
new odometer installed.
If the new one can be set to the
mileage total of the old odometer, then
it must be. But if
it can’t, then it’s set at zero, and a label must be put on
the driver’s door to show the old mileage reading when
the new odometer was installed.
Trip Odometer
The trip odometer can tell you how far your vehicle has
been driven since you last set the trip odometer to zero.
To set the trip odometer to zero, press the button near
the readout.
Tachometer
The tachometer displays the engine speed in revolutions
per minute (rpm).
Each tachometer has a different
limit depending on the
powertrain
in your vehicle. The tachometer has three
areas: normal operating range, red warning range and
red danger range.
The normal operating range shows your engine speed
during normal driving conditions. For example, when
the needle points to
2, it means the engine is running at
2,000 revolutions per minute (rpm). The tachometer
needle will vary all the time that the engine is running.
The shaded red warning range tells you that your engine
speed is reaching its upper limits. Don’t drive very long
with the tachometer
in the red warning range. Lift your
foot off of the accelerator pedal.
The solid red danger range tells you that your engine speed is
at its upper limits. You should immediately shift to a higher
gear, or lift your foot
off‘ of the accelerator pedal.
I NOTICE:
Do not operate the engine with the tachometer in
the red range, or engine damage
will occur.
2-51
ProCarManuals.com
Page 106 of 358

Warning Lights, Gages and Indicators
This part describes the warning lights and gages that
may be
on your vehicle. The pictures will help you
locate them.
Warning lights and gages can signal that something is
wrong before
it becomes serious enough to cause an
expensive repair or replacement. Paying attention to
your warning lights and gages could
also save you or
others from injury.
Warning lights come on when there may be or is
a
problem with one of your vehicle’s functions. As you
will see
in the details on the next few pages, some
warning lights come
on briefly when you start the
engine just to let you
know they’re working. If you are
familiar with this section, you should not be alarmed
when this happens.
Gages can indicate when there may be or
is a problem
with one
of your vehicle’s functions. Often gages and
warning lights work together
to let you know when
there’s a problem
with your vehicle.
When one
of the warning lights comes on and stays on
when you are driving,
or when one of the gages shows
there [nay be
a problem, check the section that tells you what
to do about
it. Please follow this manual’s advice.
Waiting to do repairs can be costly
-- and even
dangerous.
So please get to know your warning lights
and gages. They’re a big help.
Your vehicle also has
a driver information system that
works along
with the warning lights and gages. See
“Driver Information System”
in the Index.
Safety Belt Reminder Light
When the key is turned to RUN or START, a tone will
come on for about eight seconds to remind people to
fasten their safety belts, unless the driver’s safety belt is
already buckled.
The safety belt
light will
also come on and stay on
for about
20 seconds, then it
will flash for about
55
seconds. If the driver’s belt
is already buckled, neither
the tone nor the light will
come on.
2-52
ProCarManuals.com