Page 14 of 204

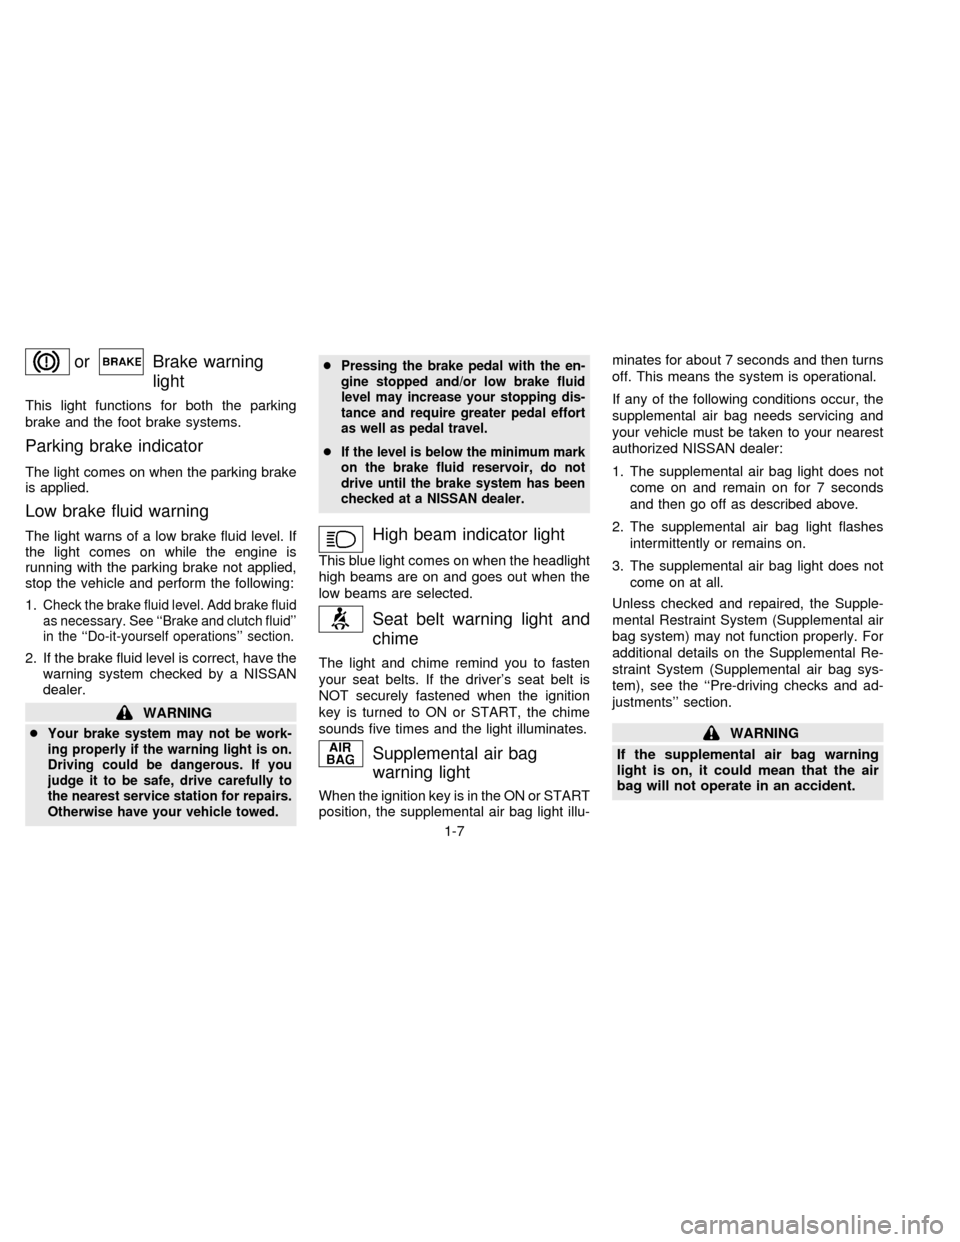
orBrake warning
light
This light functions for both the parking
brake and the foot brake systems.
Parking brake indicator
The light comes on when the parking brake
is applied.
Low brake fluid warning
The light warns of a low brake fluid level. If
the light comes on while the engine is
running with the parking brake not applied,
stop the vehicle and perform the following:
1.
Check the brake fluid level. Add brake fluid
as necessary. See ``Brake and clutch fluid''
in the ``Do-it-yourself operations'' section.
2. If the brake fluid level is correct, have the
warning system checked by a NISSAN
dealer.
WARNING
c
Your brake system may not be work-
ing properly if the warning light is on.
Driving could be dangerous. If you
judge it to be safe, drive carefully to
the nearest service station for repairs.
Otherwise have your vehicle towed.c
Pressing the brake pedal with the en-
gine stopped and/or low brake fluid
level may increase your stopping dis-
tance and require greater pedal effort
as well as pedal travel.
cIf the level is below the minimum mark
on the brake fluid reservoir, do not
drive until the brake system has been
checked at a NISSAN dealer.
High beam indicator light
This blue light comes on when the headlight
high beams are on and goes out when the
low beams are selected.
Seat belt warning light and
chime
The light and chime remind you to fasten
your seat belts. If the driver's seat belt is
NOT securely fastened when the ignition
key is turned to ON or START, the chime
sounds five times and the light illuminates.
Supplemental air bag
warning light
When the ignition key is in the ON or START
position, the supplemental air bag light illu-minates for about 7 seconds and then turns
off. This means the system is operational.
If any of the following conditions occur, the
supplemental air bag needs servicing and
your vehicle must be taken to your nearest
authorized NISSAN dealer:
1. The supplemental air bag light does not
come on and remain on for 7 seconds
and then go off as described above.
2. The supplemental air bag light flashes
intermittently or remains on.
3. The supplemental air bag light does not
come on at all.
Unless checked and repaired, the Supple-
mental Restraint System (Supplemental air
bag system) may not function properly. For
additional details on the Supplemental Re-
straint System (Supplemental air bag sys-
tem), see the ``Pre-driving checks and ad-
justments'' section.
WARNING
If the supplemental air bag warning
light is on, it could mean that the air
bag will not operate in an accident.
1-7
ZX
Page 26 of 204
Removing the sunroof
1. Remove the sun shade before removing
the sunroof.
2. Tilt the sunroof.
3. Push the knob located on each end of the
handle and push the sunroof upwards to
disengage the handle linkage.
4. Pull the sunroof up from outside of the
vehicle until it is perpendicular to the roof
panel.5. Slide the sunroof to the left and remove
it.WARNING
Do not remove the sunroof while driv-
ing so that full attention may be given
to the driving operation.
Installing the sunroof
1. While placing the sunroof perpendicular
to the roof panel, position the sunroof
and engage the retainer with the hinge.
2. Slide the sunroof to the right until the red
mark on the hinge disappears.
3. Carefully lower the sunroof, making sure
it is in line with the roof opening.
4. Engage the handle linkage.
Be sure the sunroof is securely installed.
SIC0072SIC0073
1-19
ZX
Page 32 of 204

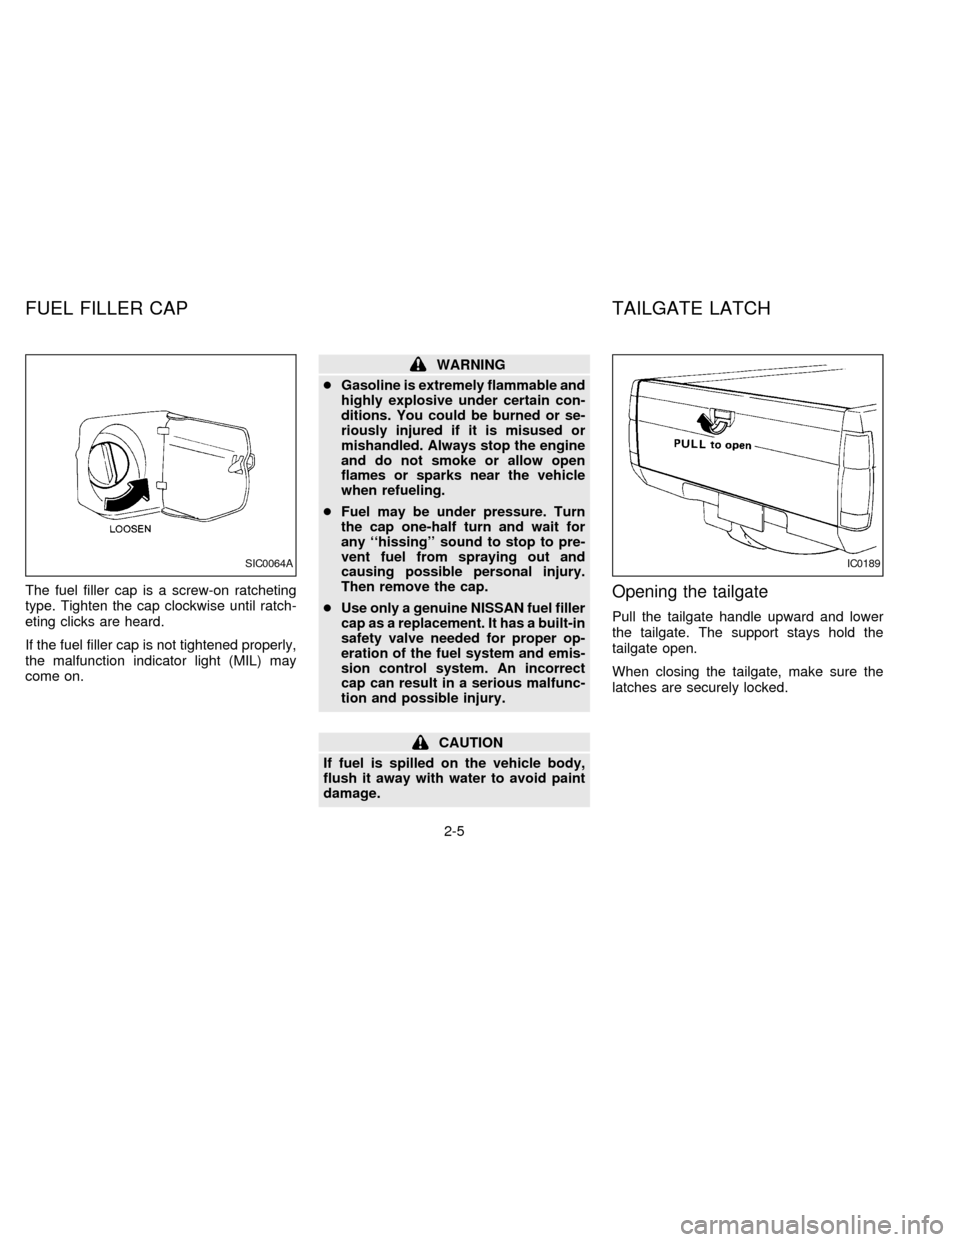
The fuel filler cap is a screw-on ratcheting
type. Tighten the cap clockwise until ratch-
eting clicks are heard.
If the fuel filler cap is not tightened properly,
the malfunction indicator light (MIL) may
come on.
WARNING
cGasoline is extremely flammable and
highly explosive under certain con-
ditions. You could be burned or se-
riously injured if it is misused or
mishandled. Always stop the engine
and do not smoke or allow open
flames or sparks near the vehicle
when refueling.
cFuel may be under pressure. Turn
the cap one-half turn and wait for
any ``hissing'' sound to stop to pre-
vent fuel from spraying out and
causing possible personal injury.
Then remove the cap.
cUse only a genuine NISSAN fuel filler
cap as a replacement. It has a built-in
safety valve needed for proper op-
eration of the fuel system and emis-
sion control system. An incorrect
cap can result in a serious malfunc-
tion and possible injury.
CAUTION
If fuel is spilled on the vehicle body,
flush it away with water to avoid paint
damage.
Opening the tailgate
Pull the tailgate handle upward and lower
the tailgate. The support stays hold the
tailgate open.
When closing the tailgate, make sure the
latches are securely locked.
SIC0064AIC0189
FUEL FILLER CAP TAILGATE LATCH
2-5
ZX
Page 34 of 204
For your convenience, tie down hooks are
placed at each corner of the truck box.
These may be used to help secure cargo
loaded into the truck box.
cThe weight of the cargo load must be
evenly distributed over both the front and
rear axles.
cAll cargo should be securely fastened
with ropes or straps to prevent it from
shifting or sliding within the vehicle.
WARNING
cProperly secure all cargo with ropes
or straps to help prevent it from
sliding or shifting. In a sudden stop
or collision, unsecured cargo could
cause personal injury.
cDo not place cargo higher than the
seatbacks. In a sudden stop or colli-
sion, unsecured cargo could cause
personal injury.
STI0049
TIE DOWN HOOKS
2-7
ZX
Page 35 of 204
SEAT ADJUSTMENT
WARNING
cDo not adjust the driver's seat while
driving. The seat may move sud-
denly and could cause loss of con-
trol of the vehicle.
c
After adjustment, gently rock in the
seat to make sure it is securely locked.
Forward and backward
Pull the lever up and hold it while you slide
the seat forward or backward to the desired
position. Release the lever to lock the seat
in position.
APD0712
FRONT SEPARATE SEATS
2-8
ZX
Page 38 of 204
HEAD RESTRAINTS
Adjust the top of the head restraint even
with the top of your ears.
To raise the head restraint, pull it up. To
lower, push the lock knob and move the
head restraint down.
WARNING
Head restraints should be adjusted
properly as they may provide significant
protection against injury in an accident.
Do not remove them. Check the adjust-
ment after someone else uses the seat.
NOTE:
The head restraints on the bench-type
seats are not adjustable.
TILTING FRONT SEPARATE SEAT
The front passenger's seat can be tilted to
make it easier for jump seat passengers to
get in and out.
To tilt the seatback, pull the reclining lever
up or pull the tilt lever. The seat automati-
cally moves forward.
To return the seat, push the seatback up and
move the whole seat backward until it locks.
WARNING
After adjustment, gently rock in the
seat to make sure it is securely locked.
MPA0001IC0204
2-11
ZX
Page 39 of 204
SEAT ADJUSTMENT
WARNING
cDo not adjust the bench seat while
driving. The seat may move sud-
denly and could cause loss of con-
trol of the vehicle.
cAfter adjustment, gently rock in the
seat to make sure it is securely
locked.
Forward and Backward
Pull the lever up and hold it while you slide
the seat forward or backward to the desired
position. Release the lever to lock the seat
in position.
TILTING BENCH SEAT
The bench seat can be tilted to make it
easier to remove the jacking tools from the
storage area.
To tilt the seatback, push the tilting lever
AIC0720
APD0703
BENCH SEAT
2-12
ZX
Page 40 of 204
downward, then pull the seatback forward.
WARNING
After adjustment, gently rock in the
seat to make sure it is securely locked.
Detach the strap and pull down the folded
jump seat.
WARNING
cDo not use a child restraint on the
jump seat (King Cab model). These
seats are not suitable for child re-
straint installation.
cWhen folding the jump seat, be care-
ful not to squeeze your finger be-
tween the seat cushion and the body
side.
IC1312M
JUMP SEAT
2-13
ZX