Page 3562 of 4133
Instrument panel
Fig. 40: Identifying Torx Bit Set (000 589 01 10 00)
DISASSEMBLING AND ASSEMBLING CENTER CONSOLE - AR68.20-P-2150GH
MODEL 163.113 /136 /154 /172 /174 up to 31.8.01
18
Remove bracket between
instrument panel center part and
transmission tunnel
*BA68.10-P-
1003-01A
19Pull out floor covering (1) in area
of C-pillar and remove
Do not damage electrical leads.
Installation: Align floor covering at
attachment points for seats and thread electric
wires through corresponding cutouts.
20Install in the reverse order
NumberDesignationMODEL Series 163
BA68.10-P-1003-01AScrew, dashboard to transmission tunnelNm30
2001 Mercedes-Benz ML320
1998-2005 ACCESSORIES & BODY, CAB Interior Equipment - 163 Chassis
me
Saturday, October 02, 2010 3:35:22 PMPage 44 © 2006 Mitchell Repair Information Company, LLC.
Page 3577 of 4133
Fig. 60: Identifying Paneling On A-Pillar
Remove/install
1
Remove door rubber
seal (2) in area of A-
pillar
2.1Remove cap (3)Up to 08/98.
3.1Unscrew screw (4)Up to 08/98.
4Remove A-pillar
paneling (1) The paneling is fastened in the instrument panel at the bottom
with lugs and will be fastened with a clip at top as of 09/98.
Installation: Replace clip
Long wedgeFig.
6
5Install in the reverse
order
On vehicles up to 08/98, on which a new paneling should be
installed, the upper area of the fixing opening at the top of the A-
pillar must be enlarged so that the clip retainer of the paneling can
be installed in the A-pillar.
2001 Mercedes-Benz ML320
1998-2005 ACCESSORIES & BODY, CAB Interior Equipment - 163 Chassis
me
Saturday, October 02, 2010 3:35:22 PMPage 59 © 2006 Mitchell Repair Information Company, LLC.
Page 3595 of 4133

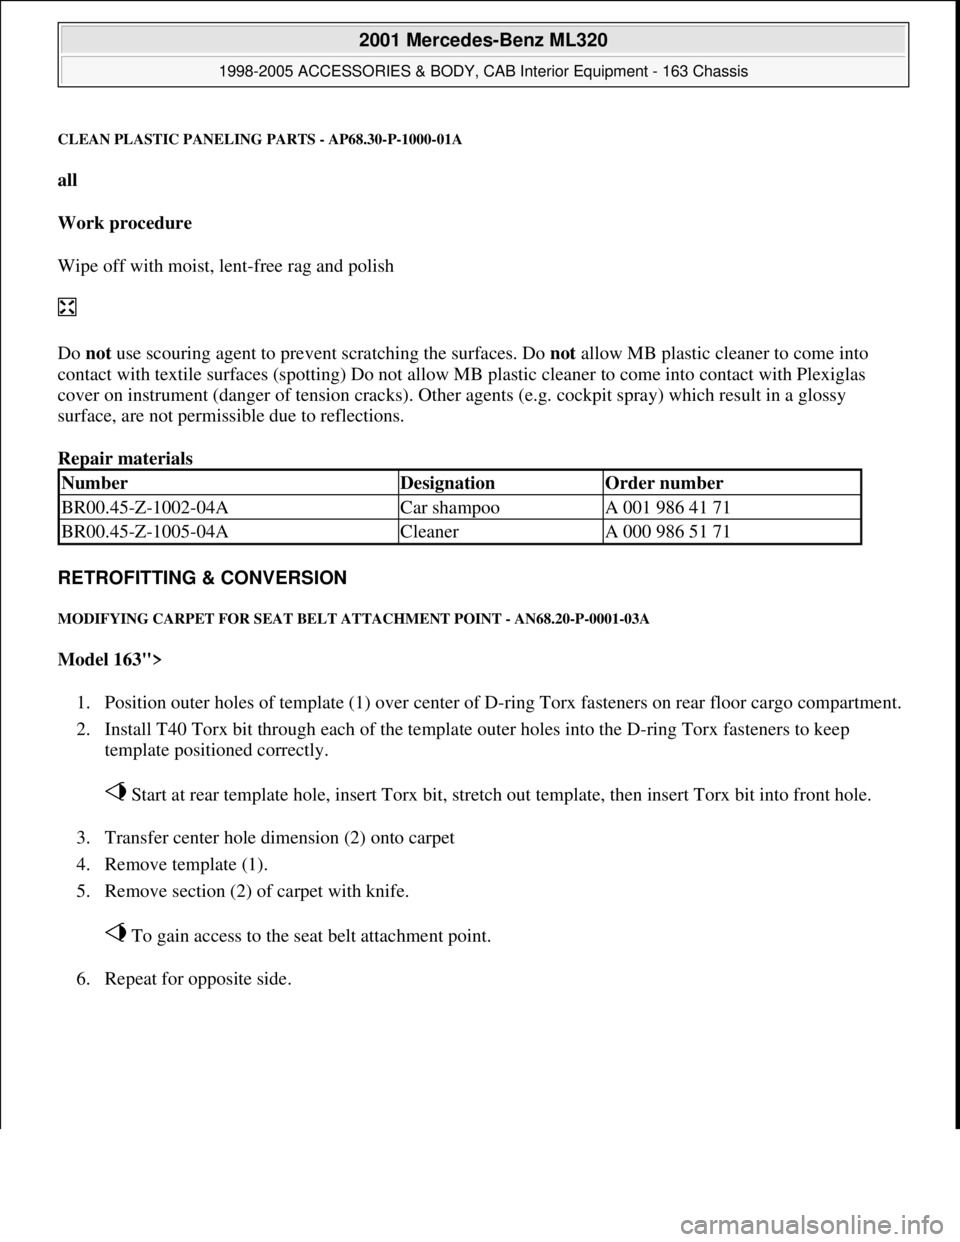
CLEAN PLASTIC PANELING PARTS - AP68.30-P-1000-01A
all
Work procedure
Wipe off with moist, lent-free rag and polish
Do not use scouring agent to prevent scratching the surfaces. Do not allow MB plastic cleaner to come into
contact with textile surfaces (spotting) Do not allow MB plastic cleaner to come into contact with Plexiglas
cover on instrument (danger of tension cracks). Other agents (e.g. cockpit spray) which result in a glossy
surface, are not permissible due to reflections.
Repair materials
RETROFITTING & CONVERSION
MODIFYING CARPET FOR SEAT BELT ATTACHMENT POINT - AN68.20-P-0001-03A
Model 163">
1. Position outer holes of template (1) over center of D-ring Torx fasteners on rear floor cargo compartment.
2. Install T40 Torx bit through each of the template outer holes into the D-ring Torx fasteners to keep
template positioned correctly.
Start at rear template hole, insert Torx bit, stretch out template, then insert Torx bit into front hole.
3. Transfer center hole dimension (2) onto carpet
4. Remove template (1).
5. Remove section (2) of carpet with knife.
To gain access to the seat belt attachment point.
6. Repeat for opposite side.
NumberDesignationOrder number
BR00.45-Z-1002-04ACar shampooA 001 986 41 71
BR00.45-Z-1005-04ACleanerA 000 986 51 71
2001 Mercedes-Benz ML320
1998-2005 ACCESSORIES & BODY, CAB Interior Equipment - 163 Chassis
me
Saturday, October 02, 2010 3:35:22 PMPage 77 © 2006 Mitchell Repair Information Company, LLC.
Page 3873 of 4133
ENGINE 112.942 in MODEL 163.154
ENGINE 112.970 in MODEL 163.157
ENGINE 113.942 in MODEL 163.172
ENGINE 113.981 in MODEL 163.174
ENGINE 113.965 in MODEL 163.175
Fig. 19: Identifying Throttle Control Components
- Shown On Engine 112.942 In Model 163.154
Remove, Install
1.1Remove fender liner in right front fender Only on vehicles with right-hand
drive.AR88.10-P-
1300GH
2Detach control cable (32) at ball head
3
Push plastic clip (30/4) together and pull out
of fixed lever (10) together with control cable
(32)
4Remove cover below instrument panel (left) AR68.10-P-
1500GH
5Unclip control cable holder (arrow) from
accelerator pedal (24) Installation: Expanding wedge
pin (24/1) must securely latch.
2001 Mercedes-Benz ML320
1998-2005 ACCESSORIES & BODY CAB Throttle Control, Speed Control Systems - 163 Chassis
me
Saturday, October 02, 2010 3:36:28 PMPage 33 © 2006 Mitchell Repair Information Company, LLC.
Page 3883 of 4133

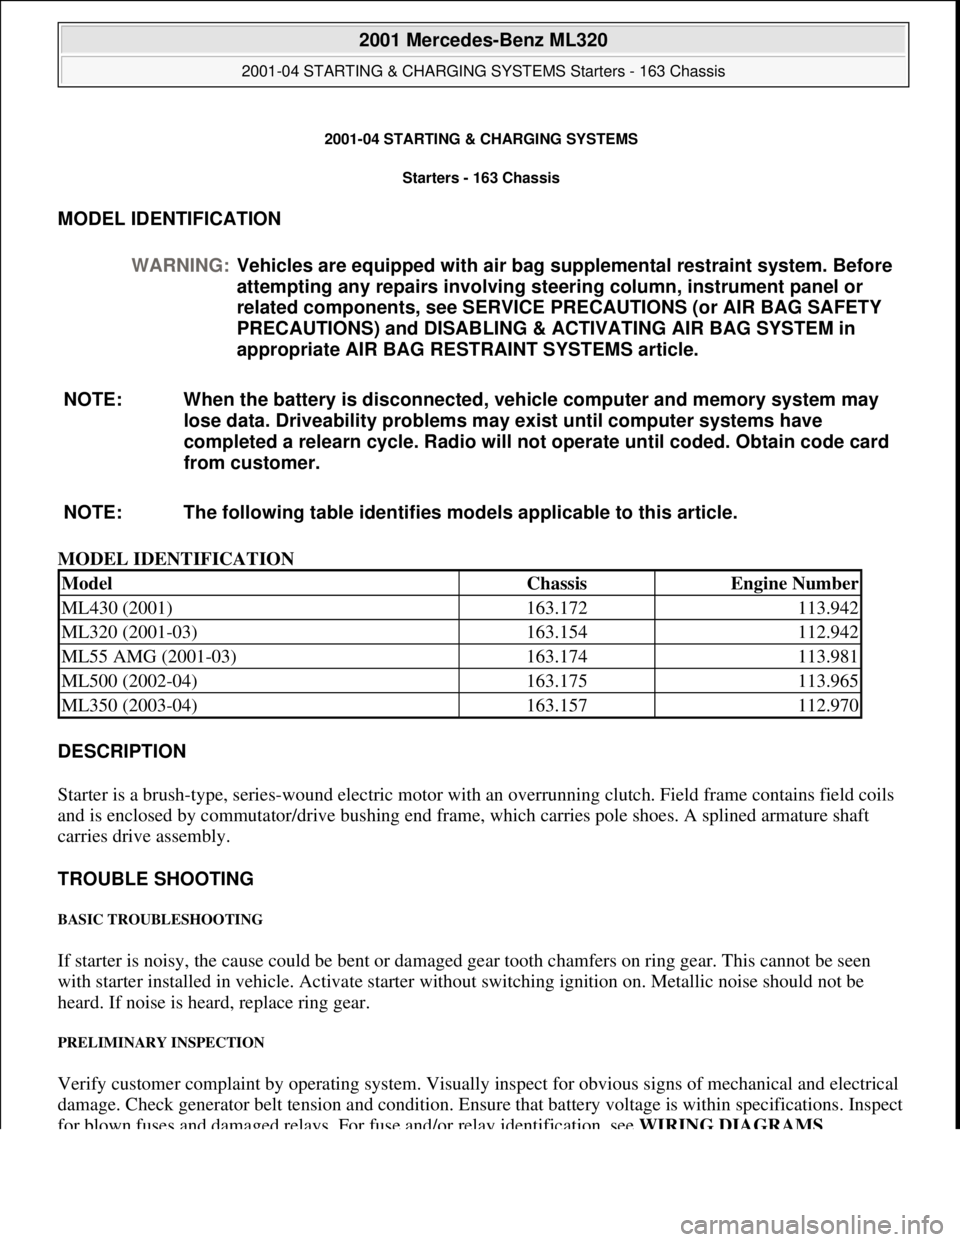
2001-04 STARTING & CHARGING SYSTEMS Starters - 163 Chassis
MODEL IDENTIFICATION
MODEL IDENTIFICATION
DESCRIPTION
Starter is a brush-type, series-wound el ectric motor with an overrunning clutch. Field frame contains field coils
and is enclosed by commutator/drive bushing end frame, which carries pole shoes. A splined armature shaft
carries drive assembly.
TROUBLE SHOOTING
BASIC TROUBLESHOOTING
If starter is noisy, the cause could be bent or damaged gear tooth chamfers on ring gear. This cannot be seen
with starter installed in ve hicle. Activate starter without switching ignition on. Me tallic noise should not be
heard. If noise is he ard, replace ring gear.
PRELIMINARY INSPECTION
Verify customer complaint by operating system. Visually inspect for obvious signs of mechanical and electrical
damage. Check generator belt tension and condition. Ensure that battery voltage is within specifications. Inspect
for blown fuses and damaged relays. For fuse and/or relay identification, see WIRING DIAGRAMS
.
WARNING:
Vehicles are equipped with air bag supplemental restraint system. Before
attempting any repairs involving steer ing column, instrument panel or
related components, see SERVICE PRECAUTIONS (or AIR BAG SAFETY
PRECAUTIONS) and DISABLING & ACTIVATING AIR BAG SYSTEM in
appropriate AIR BAG REST RAINT SYSTEMS article.
NOTE: When the battery is di sconnected, vehicle computer and memory system may
lose data. Driveability problems may exist until computer systems have
completed a relearn cycle. Radio will not operate until coded. Obtain code card
from customer.
NOTE: The following table identifies mo dels applicable to this article.
ModelChassisEngine Number
ML430 (2001)163.172113.942
ML320 (2001-03)163.154112.942
ML55 AMG (2001-03)163.174113.981
ML500 (2002-04)163.175113.965
ML350 (2003-04)163.157112.970
2001 Mercedes-Benz ML320
2001-04 STARTING & CHARGING SYSTEMS Starters - 163 Chassis
2001 Mercedes-Benz ML320
2001-04 STARTING & CHARGING SYSTEMS Starters - 163 Chassis
me
Saturday, October 02, 2010 3:19:47 PMPage 1 © 2006 Mitchell Repair Information Company, LLC.
me
Saturday, October 02, 2010 3:19:50 PMPage 1 © 2006 Mitchell Repair Information Company, LLC.