1997 HONDA ODYSSEY check engine light
[x] Cancel search: check engine lightPage 17 of 241
Supplemental Restraint System
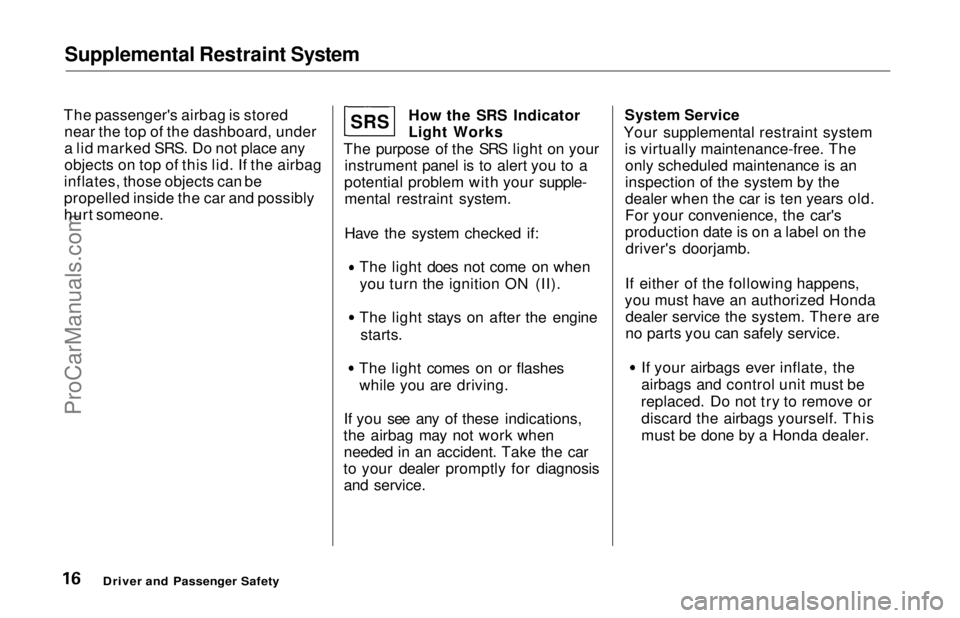
The passenger's airbag is stored near the top of the dashboard, under
a lid marked SRS. Do not place any
objects on top of this lid. If the airbag
inflates, those objects can be
propelled inside the car and possibly
hurt someone. How the SRS Indicator
Light Works
The purpose of the SRS light on your instrument panel is to alert you to a
potential problem with your supple- mental restraint system.
Have the system checked if: The light does not come on when
you turn the ignition ON (II). The light stays on after the engine
starts. The light comes on or flashes
while you are driving.
If you see any of these indications,
the airbag may not work when needed in an accident. Take the car
to your dealer promptly for diagnosis and service.
System Service
Your supplemental restraint system is virtually maintenance-free. Theonly scheduled maintenance is an
inspection of the system by the
dealer when the car is ten years old.
For your convenience, the car's
production date is on a label on thedriver's doorjamb.
If either of the following happens,
you must have an authorized Honda dealer service the system. There are
no parts you can safely service. If your airbags ever inflate, the
airbags and control unit must be
replaced. Do not try to remove or discard the airbags yourself. This
must be done by a Honda dealer.
Driver and Passenger Safety
S R S
ProCarManuals.comMain Menu Table of Contents s t
Page 35 of 241
Indicator Lights
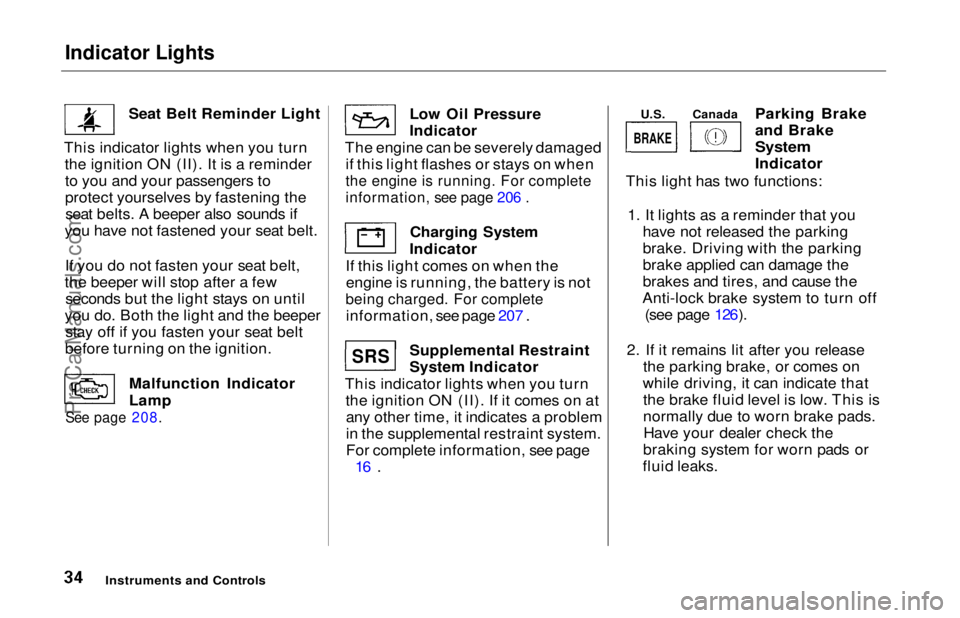
Seat Belt Reminder Light
This indicator lights when you turn the ignition ON (II). It is a reminderto you and your passengers to
protect yourselves by fastening theseat belts. A beeper also sounds if
you have not fastened your seat belt.
If you do not fasten your seat belt,
the beeper will stop after a few seconds but the light stays on until
you do. Both the light and the beeper stay off if you fasten your seat belt
before turning on the ignition.
Malfunction Indicator
Lamp
See page 208.
Low Oil Pressure
Indicator
The engine can be severely damaged if this light flashes or stays on when
the engine is running. For complete
information, see page 206 .
Charging System
Indicator
If this light comes on when the engine is running, the battery is not
being charged. For complete
information, see page 207 .
Supplemental Restraint
System Indicator
This indicator lights when you turn the ignition ON (II). If it comes on atany other time, it indicates a problem
in the supplemental restraint system.
For complete information, see page 16 . Parking Brake
and Brake
System
Indicator
This light has two functions:
1. It lights as a reminder that you have not released the parking
brake. Driving with the parking
brake applied can damage the
brakes and tires, and cause the
Anti-lock brake system to turn off (see page 126).
2. If it remains lit after you release the parking brake, or comes on
while driving, it can indicate that the brake fluid level is low. This is
normally due to worn brake pads.Have your dealer check the
braking system for worn pads or
fluid leaks.
Instruments and Controls
U.S.
Canada
SRS
BRAKE
ProCarManuals.comMain Menu Table of Contents s t
Page 36 of 241
Indicator Lights
U.S.
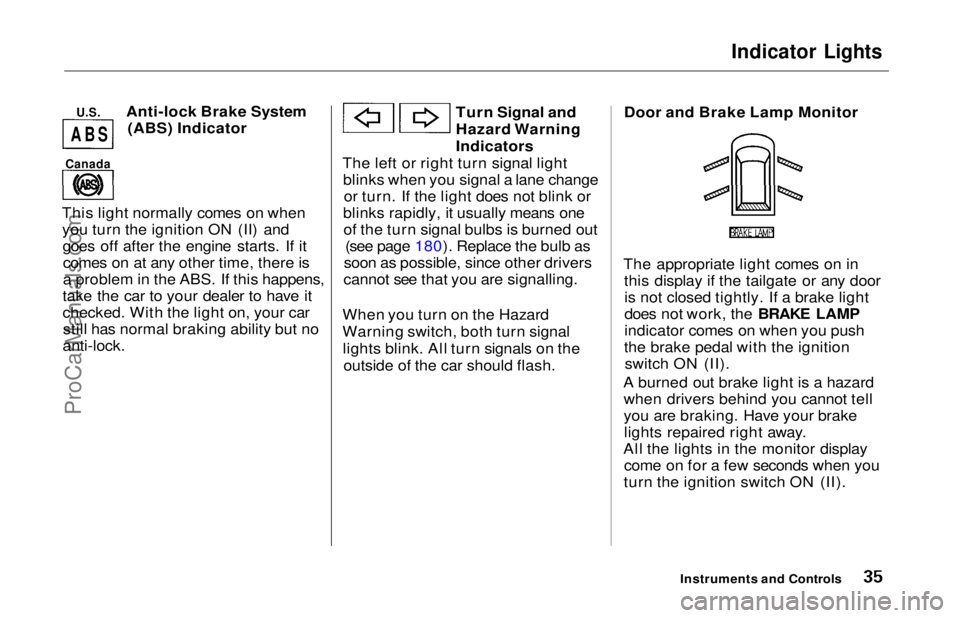
Anti-lock Brake System
(ABS) Indicator
This light normally comes on when you turn the ignition ON (II) andgoes off after the engine starts. If itcomes on at any other time, there is
a problem in the ABS. If this happens,
take the car to your dealer to have it
checked. With the light on, your car still has normal braking ability but no
anti-lock.
Turn Signal and
Hazard Warning
Indicators
The left or right turn signal light blinks when you signal a lane changeor turn. If the light does not blink or
blinks rapidly, it usually means one of the turn signal bulbs is burned out (see page 180). Replace the bulb as
soon as possible, since other drivers
cannot see that you are signalling.
When you turn on the Hazard
Warning switch, both turn signal lights blink. All turn signals on the outside of the car should flash. Door and Brake Lamp Monitor
The appropriate light comes on in this display if the tailgate or any dooris not closed tightly. If a brake light
does not work, the BRAKE LAMP
indicator comes on when you push
the brake pedal with the ignition switch ON (II).
A burned out brake light is a hazard when drivers behind you cannot tell
you are braking. Have your brakelights repaired right away.
All the lights in the monitor display come on for a few seconds when you
turn the ignition switch ON (II).
Instruments and Controls
Canada
A
B SProCarManuals.comMain Menu Table of Contents s t
Page 39 of 241
Gauges
Temperature Gauge
This shows the temperature of the engine's coolant. During normal
operation, the pointer should rise
from the bottom white mark to about the middle white mark. In severedriving conditions, such as very hot
weather or a long period of uphill driving, the pointer may rise to the
upper white mark. If it reaches the
red (Hot) mark, pull safely to the side of the road. Turn to page 204 for
instructions and precautions on checking the engine's cooling
system.
Fuel Gauge
This shows how much fuel you have. It is most accurate when the car is on
level ground. It may show slightly
more or less than the actual amount
when you are driving on curvy or hilly roads. The gauge stays at the same fuel
level reading after you turn off the
ignition. When you add fuel, the
gauge slowly changes to the new
reading after you turn the ignition
back ON (II).
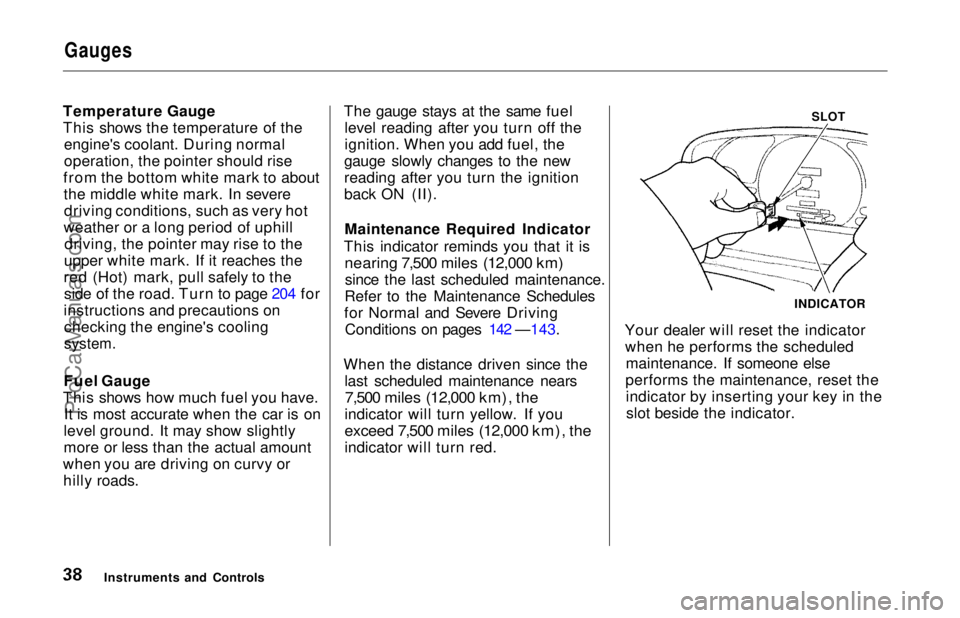
Maintenance Required Indicator
This indicator reminds you that it is
nearing 7,500 miles (12,000 km)
since the last scheduled maintenance.
Refer to the Maintenance Schedules
for Normal and Severe Driving Conditions on pages 142 —143.
When the distance driven since the last scheduled maintenance nears
7,500 miles (12,000 km), the
indicator will turn yellow. If you
exceed 7,500 miles (12,000 km), the
indicator will turn red.
SLOT
Your dealer will reset the indicator when he performs the scheduled maintenance. If someone else
performs the maintenance, reset the indicator by inserting your key in theslot beside the indicator.
Instruments and Controls INDICATORProCarManuals.comMain Menu Table of Contents s t
Page 118 of 241
Preparing to Drive
You should do the following checks and adjustments every day before
you drive your car.
1. Make sure all windows, mirrors, and outside lights are clean and
unobstructed. Remove frost, snow,or ice.
2. Check that the hood and tailgate are fully closed.
3. Visually check the tires. If a tire looks low, use a gauge to check its
pressure.
4. Check that any items you may be carrying with you inside are stored
properly or fastened down securely. 5. Check the adjustment of the seat
(see page 54).
6. Check the adjustment of the inside and outside mirrors (see
page 64).
7. Check the adjustment of the steering wheel (see page 44).
8. Make sure the doors are securely
closed and locked.
9. Fasten your seat belt. Check that your passengers have fastenedtheir seat belts (see page 7). 10.Turn the ignition ON (II). Check
the indicator lights in the instru-
ment panel.
11. Start the engine (see page 119).
12. Check the gauges and indicator lights in the instrument panel (seepage 33).
DrivingProCarManuals.comMain Menu Table of Contents s t
Page 125 of 241
The Braking System
Your Honda is equipped with disc brakes at all four wheels. Thebraking system is power-assisted to
reduce the effort needed on the
brake pedal.
Put your foot on the brake pedal only
when you intend to brake. Resting
your foot on the pedal keeps the
brakes applied lightly, causing them
to build up heat. Heat build-up can
reduce how well your brakes work. It also keeps your brake lights on all
the time, confusing drivers behind
you.
Constant application of the brakes
when going down a long hill builds up heat and reduces their effective-
ness. Use the engine to assist the
brakes by downshifting to a lower
gear and taking your foot off the accelerator pedal. Check your brakes after driving
through deep water. Apply the
brakes moderately to see if they feel
normal. If not, apply them gently and
frequently until they do. Since a
longer distance is needed to stop
with wet brakes, be extra cautious and alert in your driving.
Brake Wear Indicators
All four brakes have audible brake wear indicators.
When the brake pads need replacing, you will hear a distinctive metallic "screeching" sound when you apply
the brakes. If you do not have the
brake pads replaced, they will begin screeching all the time.
Your brakes may sometimes squeal or squeak when you apply them
lightly. Do not confuse this with the
brake wear indicators. They make a
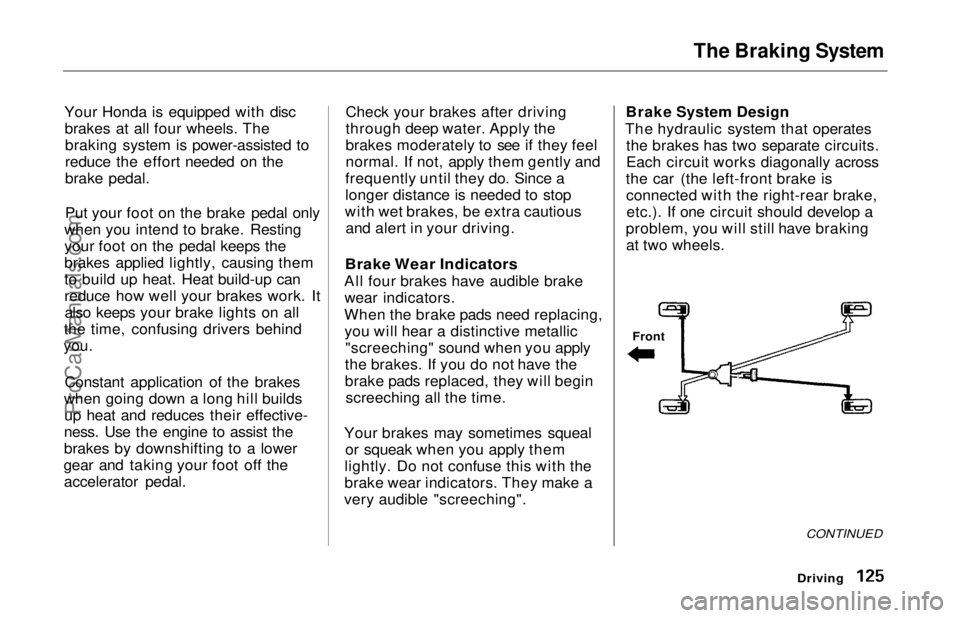
very audible "screeching". Brake System Design
The hydraulic system that operates the brakes has two separate circuits.
Each circuit works diagonally across
the car (the left-front brake is connected with the right-rear brake,etc.). If one circuit should develop a
problem, you will still have braking at two wheels.
Driving
Front
CONTINUEDProCarManuals.comMain Menu Table of Contents s t
Page 127 of 241
The Braking System
Important Safety Reminders
ABS does not reduce the time or distance it takes to stop the car, it
only helps with steering control
during braking. You should always
maintain a safe following distance
from other vehicles.
ABS will not prevent a skid that results from changing direction
abruptly, such as trying to take a
corner too fast or making a sudden
lane change. Always drive at a safe,
prudent speed for the road and
weather conditions.
ABS cannot prevent a loss of stability. Always steer moderately
when you are braking hard. Severe or sharp steering wheel movement
can still cause your vehicle to veer
into oncoming traffic or off the road. A vehicle with ABS may require a
longer distance to stop on loose or
uneven surfaces, such as gravel orsnow, than a vehicle without anti-
lock. Slow down and allow a greater distance between vehicles under
those conditions.
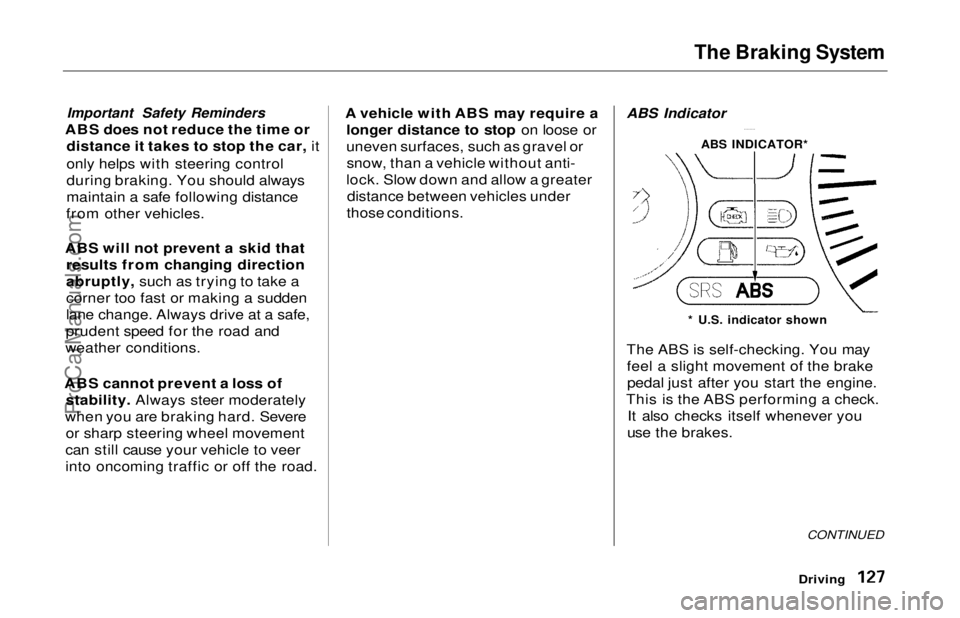
ABS Indicator
The ABS is self-checking. You may
feel a slight movement of the brakepedal just after you start the engine.
This is the ABS performing a check. It also checks itself whenever you
use the brakes.
Driving
ABS INDICATOR*
* U.S. indicator shown
CONTINUEDProCarManuals.comMain Menu Table of Contents s t
Page 136 of 241
Maintenance
This section explains why it is important to keep your car well
maintained and to follow basic
maintenance safety precautions.
This section also includes Maintenance Schedules for normaldriving and severe driving conditions,
a Maintenance Record, and instruc-
tions for simple maintenance tasks
you may want to take care of
yourself.
If you have the skills and tools to per-
form more complex maintenance
tasks on your Honda, you may want to purchase the Service Manual. See
page 235 for information on how toobtain a copy, or see your Honda
dealer.
Maintenance Safety....................... 138
Important Safety Precautions.. 139
Maintenance Schedule.................. 140
Maintenance Record..................... 144
Owner Maintenance Checks........ 146
Fluid Locations............................... 147
Engine Oil....................................... 148
Adding Oil................................... 148Recommended Oil..................... 148
Synthetic Oil............................... 149
Additives..................................... 150
Changing the Oil and Filter...... 150
Cooling System.............................. 152
Adding Engine Coolant............. 152Replacing Engine Coolant........ 154
Windshield Washers..................... 156
Automatic Transmission Fluid..... 157
Brake Fluid..................................... 158
Brake System............................. 158
Anti-lock Brake System............ 159
Power Steering............................... 159
Air Cleaner Element...................... 160
Spark Plugs..................................... 162
Replacement............................... 162
Specifications............................. 163
Battery............................................ 164
Windshield Wipers........................ 166
Air Conditioning System............... 169
Drive Belts...................................... 170
Timing Belt..................................... 170
Tires................................................ 171 Inflation....................................... 171
Inspection................................... 173
Maintenance............................... 173
Tire Rotation.............................. 174 Replacing Tires and Wheels .... 174
Wheels and Tires....................... 175
Winter Driving........................... 175 Snow Tires.............................. 176
Tire Chains............................. 176
Lights.............................................. 177
Headlight Aiming...................... 177
Replacing Bulbs......................... 179
Storing Your Car............................ 184
MaintenanceProCarManuals.comMain Menu s t