1997 GMC SIERRA turn signal bulb
[x] Cancel search: turn signal bulbPage 111 of 436
nrn Signal and Lane Change Signals
The turn signal has two upward (for right) and two
downward (for left) positions. These positions allow you
to signal a turn or a lane change.
To signal a
tum, move the lever all the way up or down.
When the
tum is finished, the lever will return automatically.
CII
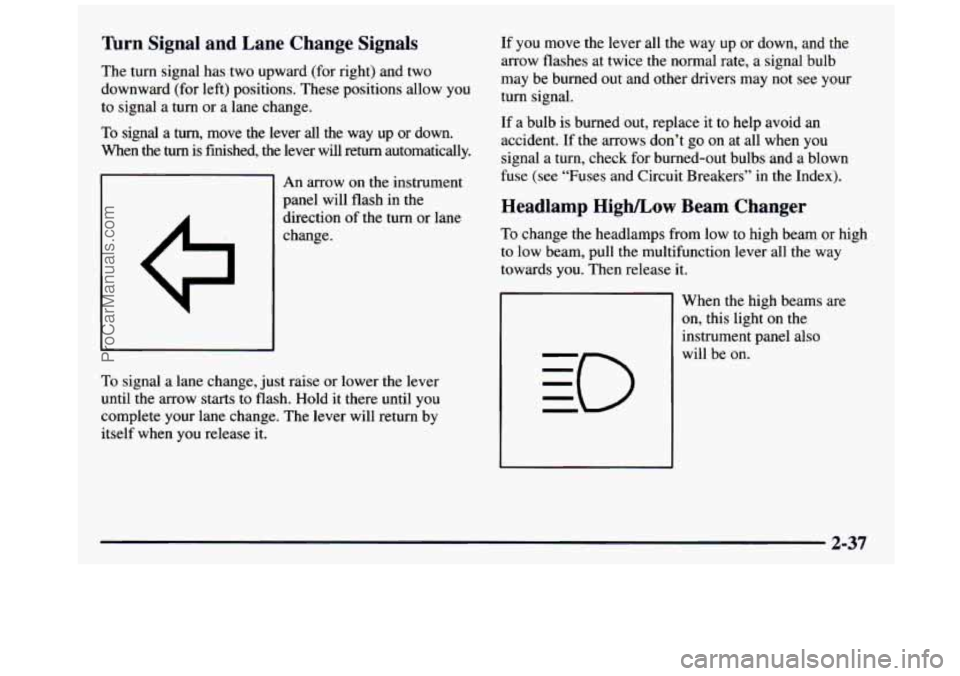
An arrow on the instrument
panel will flash in
the
direction of the turn or lane
change.
To signal a lane change, just raise or lower the lever
until the arrow starts to flash.
Hold it there until you
complete your lane change. The lever will return by
itself when you release it. If you
move the lever all the way up or down, and
the
arrow flashes at twice the normal rate, a signal bulb
may be burned out and other drivers may not see your
turn signal.
If a bulb is burned out, replace it to help avoid an
accident. If
the arrows don’t go on at all when you
signal a turn, check for burned-out bulbs and a blown
fuse (see “Fuses and Circuit Breakers” in the Index).
Headlamp High/Low Beam Changer
To change the headlamps from low to high beam or high
to low beam, pull the multifunction lever all the way
towards you. Then release it.
When the high beams are
on, this light on the
instrument panel also
will be on.
2-37
ProCarManuals.com
Page 234 of 436
Turn Signals When Towing a Trailer
The arrows on your instrument panel will flash
whenever you signal a turn or lane change. Properly
hooked up, the trailer lamps will also flash, telling other
drivers you’re about to turn, change lanes or stop.
When towing a trailer, the arrows on your instrument
panel will flash for turns even if the bulbs
on the trailer
are burned out. Thus, you may think drivers behind you
are seeing your signal when they are not. It’s important
to check occasionally to be sure the trailer bulbs are
still working.
Driving On Grades
Reduce speed and shift to a lower gear before you start
down a long or steep downgrade. If you don’t shift
down,
you might have to use your brakes so much that
they would get hot and no longer work well.
On
a long uphill grade, shift down and reduce your
speed
to around 45 mph (70 km/h) to reduce the
possibility of engine and transmission overheating. If you have an automatic transmission, you can tow
in
AUTOMATIC OVERDRIVE (a). You
may want to
shift the transmission to THIRD
(3) or, if necessary, a
lower gear selection if the transmission shifts too often
(e.g., under heavy loads and/or hilly conditions).
If you have a manual transmission and you are towing a
trailer, it’s better not to use
FIFTH (5) gear. Just drive in
FOURTH
(4) gear (or, as you need to, a lower gear).
When towing at high altitude on steep uphill grades,
consider the following: Engine coolant will boil at a
lower temperature than at normal altitudes. If
you turn
your engine off immediately after towing at high altitude
on steep uphill grades, your vehicle may show signs
similar to engine overheating.
To avoid this, let the
engine run while parked (preferably on level ground)
with the automatic transmission in
PARK (P) (or the
manual transmission out of gear and the parking brake
applied) for a few minutes before turning the engine
off.
If you do get the overheat warning, see “Engine
Overheating”
in the Index.
4-56
ProCarManuals.com
Page 318 of 436

Front lhm Signal Lamps
(Sealed Beam Headlamps)
I 1. Remove the two screws
at the inside edge of
the parking/turn signal
lamp assembly.
2. Remove the lamp assembly by swinging it out from
the inside edge and sliding it out at the outside edge.
3. Squeeze the tab on the side of the lamp socket while
turning the socket counterclockwise.
4. Pull the socket out of the
lamp assembly.
5. Push in gently on the bulb, turn it counterclockwise
and remove it from the socket.
6. Put the new bulb into the socket, gently press in on
the bulb and turn it to the right until it is tight.
7. Put the socket back into the lamp assembly and turn
it to the right until it locks.
8. Put the parkinghum signal lamp assembly back into
the vehicle and tighten the screws.
6-42
ProCarManuals.com
Page 319 of 436

Front 'hrn Signal Lamps
(Composite Headlamps)
1. Remove the screws and
take out the parkingkurn
signal lamp assembly.
2. Squeeze the tab on the side of the lamp socket while
turning the socket counterclockwise.
4. Push in gently on the bulb, turn it counterclockwise
and remove it from the socket.
5. Put the new bulb into the socket, gently press in on
the bulb and turn it
to the right until it is tight.
6. Put the socket back into the lamp assembly and turn
it
to the right until it locks.
7. Put the parkinghurn signal lamp assembly back into
the vehicle and tighten the screws.
ProCarManuals.com
Page 321 of 436

Sidemarker Lamps
1. Remove the screws and
pull out the parkinghum
signal lamp assembly.
2. Reach through the opening and turn the sidemarker
bulb socket counterclockwise and remove
it.
3. Pull the bulb straight out
of the socket.
4. Put a new bulb into the socket and push it in until it
is tight.
5. Put the socket back into the sidemarker assembly
and turn it clockwise to tighten it.
6. Replace the parkinghurn signal lamp assembly and
tighten the screws.
ProCarManuals.com
Page 426 of 436
Electrical System ............................... 6-70
Engine
.................................. 6-10. 6-12
Electrochromic
Daymight Rearview Mirror
.......... 2-48
Coolant
..................................... 6-29
Coolant Heater
............................... 2- 14
Coolant Level Check
.......................... 7-45
Coolant Temperature Gage
..................... 2-72
Cooling System Capacity
....................... 6-78
Exhaust
..................................... 2-32
FuseBlocks
............................ 6-71, 6-73
Identification
................................ 6-69
OilLevelCheck
.............................. 7-45
Overheating
................................. 5-11
Running While Parked
......................... 2-32
Specifications
................................ 6-76
StartingYour
................................ 2-13
Underhood Fuse/Relay Center
................... 6-73
Engineoil
.................................... 6-15
Adding
..................................... 6-15
Additives
................................... 6-18
Checking
................................... 6-15
Used
....................................... 6-18
Whentochange
.............................. 6-18
Exhaust. Engine
................................ 2-32
Pressure Gage
................................ 2-75
Fabric Cleaning
............................... 6-60
Fan Control. Climate Control System ............ 3.2. 3.3
Fender Marker Lamp
Bulb Replacement ............. 6-44
FillingYourTank
................................ 6-5
Filter. Air ..................................... 6-19
Finish Care
.................................... 6-64
Finish Damage
................................. 6-66
Flashers. Hazard Warning
......................... 5-2
Flat Tire. Changing
............................. 5-22
Fluid Capacities
................................ 6-78
Fluids and Lubricants
............................ 7-51
Fog Lamps
.................................... 2-45
Foreign Countries. Fuel
........................... 6-4
Four-wheel Drive
......................... 2-22. 6-27
French LanguageManual
11
Front Axle .................................... 6-28
Front Axle Locking Feature
....................... 2-23
FrontTowing
.................................. 5-10
Front Turn Signal Lamp Bulb Replacement ..... 6-42. 6-43
Fuel
.......................................... 6-3
Filling Your Tank
.............................. 6-5
Gage ....................................... 2-78
In Foreign Countries ........................... 6-4
Tank Capacity
............................... 6-78
Fuses and Circuit Breakers
....................... 6-71
FusibleLinks
.................................. 6-71
.. ...........................
bages Engine Coolant Temperature
.................... 2-72
Engine Oil Pressure
........................... 2-75 "
Fuel ....................................... 2-78
Speedometer
................................. 2-65
Tachometer
.................................. 2-65
Voltmeter
................................... 2-70
9-4
ProCarManuals.com
Page 431 of 436

Safety Defects. Reporting ........................ 8- 10
Safety Warnings and Symbols ....................... 111
Scheduled Maintenance Services .................... 7-4
Seatback. Latches
................................ 1-6
Seatbacks. Reclining
............................. 1-4
Seats
EasyEntry
................................... 1-7
ManualFront
................................. 1-2
Power Driver’s
................................ 1-3
Power Lumbar Control
.......................... 1-4
Rear
.................................... 1.8. 1.9
Restraint Systems
.............................. I . 1
Seatcontrols ................................. 1-2
Securing a Child Restraint
. . 1.48. 1.50. 1.52. 1.54. 1-57
Securing a Child Restraint
in the
Right Front Seat Position
.................. 1.54. 1-57
Service
........................................ 6-2
Bulletins. Ordering
....................... 8- 1 1. 8. 12
EngineSoonLight
............................ 2-73
Manuals. Ordering
....................... 8- 11. 8. 12
Parts Identification Label
....................... 6-69
Publications. Ordering
.................... 8- 1 1. 8. 12
Work. Doing Your Own
......................... 6-2
Service and Appearance Care ...................... 6- 1
Service and Owner Publications .............. 8- 1 1. 8- 12
Service Publications
........................ 8- 1 1. 8. 12
Servicing Your Air Bag-Equipped Vehicle
........... 1-30
Sheet Metal Damage
............................ 6-66
Shift Lever .......................... 2.15.2.19. 2.20
Shift Light
............................... 2.22. 2.76
Shifting Into Park (P)
............................ 2-28
...
Shiftspeeds ................................... 2-21 Shifting.
Manual Transmission
............... 2- 19. 2-20
Shifting Out of Park
(P) .......................... 2-30
Shoulder Belt Height Adjuster
..................... 1-16
Sidemarker Lamp Bulb Replacement
............... 6-45
SignalingTurns
................................ 2-37
Skidding
...................................... 4-13
Sound Equipment. Adding
........................ 3-24
Specifications and Capacities
...................... 6-76
Specifications. Engine
........................... 6-76
Speech Impaired. Customer Assistance
............... 8-4
Speedometer
................................... 2-65
Stains. Cleaning
................................ 6-61
Starter Switch Check
............................ 7-44
Starting Your Engine
............................ 2-13
Steam
........................................ 5-12
Steering
....................................... 4-9
In Emergencies ............................... 4-10
Power
....................................... 4-9
Tips
......................................... 4-9
Variable Effort
................................ 4-9
Wheel. Tilt
.................................. 2-36
Step-BumperPad
............................... 4-61
StorageAreas
.................................. 2-52
Storage. Overhead
.............................. 2-52
Storage. Vehicle
................................ 6-39
Stuck: In Sand. Mud. Ice or Snow
.................. 5-34
Sunvisors
.................................... 2-61
Sunglasses Storage
.............................. 2-54
Supplemental Inflatable Restraint
.................. 1-23
Symbols. Vehicle
.................................. v
SIR .......................................... 1-23
ProCarManuals.com