Page 75 of 436

Section 2 Features and Controls
-
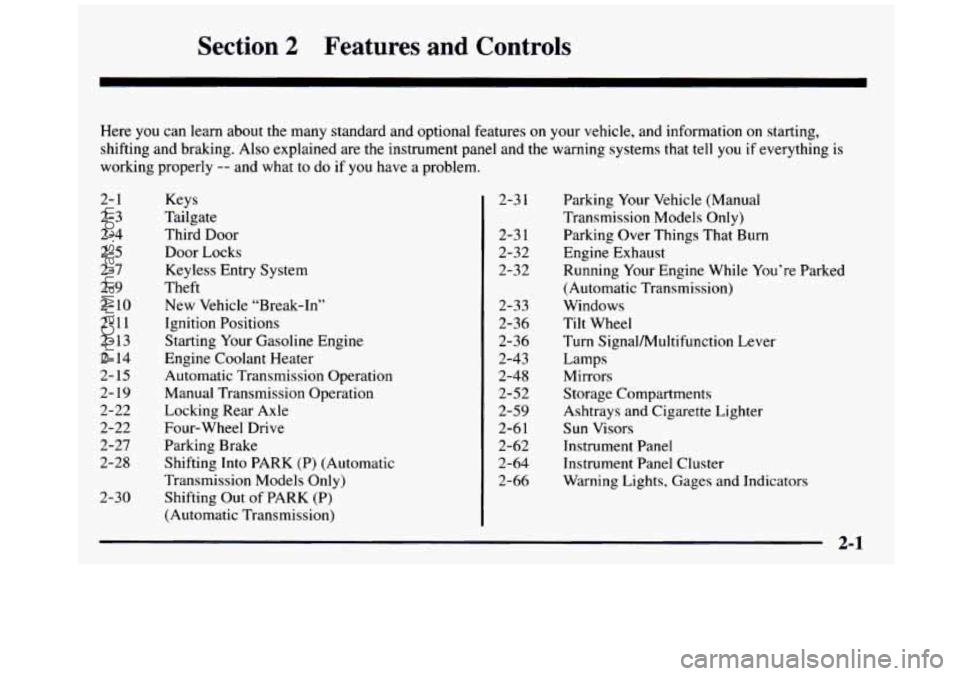
Here you can learn about the many standard and optional features on your vehicle, and information on starting,
shifting and braking. Also explained
are the instrument panel and the warning systems that tell you if everything is
working properly
-- and what to do if you have a problem.
2- 1
2-3
2-4
2-5
2-7 2-9
2- 10
2-11
2- 13
2- 14
2- 15
2- 19
2-22
2-22
2-27
2-28
2-30
Keys
Tailgate
Third Door
Door Locks
Keyless Entry System
Theft
New Vehicle “Break-In” Ignition Positions
Starting Your Gasoline Engine
Engine Coolant Heater
Automatic Transmission Operation
Manual Transmission Operation
Locking Rear Axle
Four-wheel Drive
Parking Brake
Shifting Into PARK
(P) (Automatic
Transmission Models Only)
Shifting Out
of PARK (P)
(Automatic Transmission) 2-3
1
2-3 1
2-32
2-32
2-33
2-36
2-36
2-43 2-48
2-52
2-59
2-6
1
2-62
2-64 2-66 Parking
Your Vehicle (Manual
Transmission Models Only)
Parking Over Things That Burn
Engine Exhaust
Running Your Engine While You’re Parked
(Automatic Transmission)
Windows
Tilt Wheel
Turn SignalAUultifunction Lever
Lamps
Mirrors Storage Compartments
Ashtrays and Cigarette Lighter
Sun Visors
Instrument Panel
Instrument Panel Cluster
Warning Lights, Gages and Indicators
ProCarManuals.com
Page 77 of 436
Your vehicle has one
double-sided key for the
ignition and all door locks.
If you ever lose your keys, your dealer will be able to
assist you with obtaining new ones.
I NOTICE:
Your vehicle has a number of new features that
can help prevent theft. But you can have a lot of
trouble getting into your vehicle if you ever lock
your key inside.
You may even have to damage
your vehicle to get in.
So be sure you have an
extra key.
Tailgate
You can open the tailgate by lifting up on its handle
while pulling the tailgate toward you.
TO shut the tailgate, firmly push it away from you into
the latch.
After you put the tailgate back up, pull it back toward
you, to be sure that it latches securely.
Tailgate Removal
The tailgate on your vehicle can be removed to allow for
different loading situations. Although the tailgate can
be
removed without assistance, you may want someone to assist
you with the removal to avoid possible finish damage.
2-3
ProCarManuals.com
Page 78 of 436
4 I
I
I
I
I
To remove the tailgate:
Raise the tailgate
slightly and release both
retaining cable clips.
To
release the cable clips,
lift the cable
so it points
straight out and push the
cable clips forward.
With the tailgate at a
slight upward angle, pull
back on the tailgate at
the right edge and then move the tailgate to
the right to release
the left edge.
Third Door (If Equipped)
Reverse the above procedure to reinstall. Make sure the
tailgate is secure. Your
vehicle may be equipped with a third door that
allows easier access to the rear area of an extended cab.
To open the third door, first open the passenger's side
front door. Then, use the handle located on the front
edge of the rear door to open it. You must close and latch the third door before you can
close the front passenger door.
2-4
ProCarManuals.com
Page 323 of 436
Roof Marker Lamps
1. Remove the screws and lift off the lens.
2. Pull the bulb straight out of the socket.
3. Put a new bulb into the socket and push it in until it
is tight.
4. Replace the lens and tighten the screws.
Tailgate Marker Lamps
1. Use a screwdriver to gently pry the lensbulb
assembly from the lens holder.
2. Unplug the lensbulb assembly at the connector wire.
3. Plug in a new lensbulb assembly and push the
connector wire into the hole in the tailgate.
4. Snap the lensbulb assembly into the lens holder.
Taillamps (Pickup Models)
1. Open the tailgate.
n
2. Remove the two rear
lamp assembly screws
near the tailgate
latch and pull
out
the lamp assembly.
3. Remove the screws
from the bulb retainer
and take it off the lamp assembly.
ProCarManuals.com
Page 324 of 436
4. Pull the old bulb straight
out
of the socket.
5. Put in a new bulb and push it in until it is tight.
6. Replace the bulb retainer.
7. Replace the rear lamp assembly and tighten
8. Close the tailgate. the screws.
Taillamps (Chassis Cab Models)
1. Using your hands, peel the rubber seal away from
the lens.
2. Lift the lens off the lamp assembly.
P
3. Slide the socket out of the lamp assembly.
6-48
ProCarManuals.com
Page 348 of 436
2
3
J
D
07
U13
OiQ
03 04
FusdCircuit Breaker Usage
1 Stop/TCC Switch, Buzzer, CHMSL,
Hazard Lamps, Stoplamps
Transfer Case
Courtesy Lamps, Cargo Lamp, Glove
Box Lamp, DomeReading Lamps,
Vanity Mirrors, Power Mirrors
FuseEircuit Breaker
4
10
11
12
13
14
Usage
Instrument Cluster, DRL Relay,
Lamp Switch, Keyless Entry, Low
Coolant Module, Illuminated Entry
Module, DRAC (Diesel Engine)
Not Used
Cruise Control
Auxiliary Power Outlet
Air Bag System
License Lamp, Parking Lamps,
Taillamps,
Roof Marker Lamps,
Tailgate Lamps, Front Sidemarkers,
Fog Lamp Relay, Door Switch
Illumination, Fender Lamps,
Headlamp Switch Illumination
Air Bag System
Wiper Motor, Washer Pump
A/C, A/C Blower, High
Blower Relay
Power Amp, Cigarette Lighter, Door
Lock Relay, Power Lumbar Seat
4WD Indicator, Cluster, Comfort
Controls, Instrument Switches,
Radio Illumination, Chime Module
6-72
ProCarManuals.com
Page 401 of 436

Body Lubrication Service
Lubricate all fuel doors, body hood and body door
hinges, tailgate and tailgate handle pivot points, latches,
locks and folding seat hardware. Part
D tells you what to
use. More frequent lubrication may be required when
exposed
to a corrosive environment.
Starter Switch Check
’ A CAUTION:
When you are doing this check, the vehicle could
move suddenly.
If it does, you or others could be
injured. Follow the steps below.
3. On automatic transmission vehicles, try to start the
engine
in each gear. The starter should work only in
PARK (P) or NEUTRAL (N). If the starter works in
any other position, your vehicle needs service.
On manual transmission vehicles, put
the shift lever
in NEUTRAL (N), push the clutch down halfway
and try
to start the engine. The starter should work
only when the clutch
is pushed down all the way to
the floor. If the starter works when the clutch isn’t
pushed all the way down, your vehicle needs service.
1. Before you start, be sure you have enough room
2. Firmly apply both the parking brake (see “Parking
around the vehicle.
Brake” in
the Index if necessary) and the
regular brake.
NOTE: Do not use the accelerator pedal, and be
ready
to turn off the engine immediately if it starts.
Brake-’Ikansmission Shift Interlock (BTSI) Check
(Automatic Transmission)
I A CAUTION:
When you are doing this check, the vehicle could
move suddenly. If it does,
you or others could be
injured. Follow the steps below.
1. Before you start, be sure you have enough room
around the vehicle. It should be parked on a
level surface.
7-47
ProCarManuals.com
Page 407 of 436
USAGE
Hood Latch
Assembly,
Pivots, Spring
Anchor and
Release Pawl
~~ ~ ~~
Hood and Door
Hinges
Body Door
Hinge Pins,
Tailgate Hinge and Linkage,
Folding Seat and
Fuel Door Hinee
FLUID/LUBRICANT
Lubriplate lubricant aerosol
(GM Part
No. 12346293 or
equivalent) or lubricant meeting
requirements
of NLGI # 2,
Category LB or GC-LB.
Multi-purpose lubricant, Superlube@ (GM
Part No. 12346241
or equivalent).
Multi-purpose lubricant, Superlube@
(GM Part No. 12346241
or equivalent).
I USAGE
Tailgate Handle Pivot Points,
Hinges, Latch
Bolt and L.inkage
Weatherstrip
Squeaks
See “Replacement
replacement filters
FLUID/LUBRICANT
Multi-Pwpose lubricant, Superlube@
(GM
Part No. 12346241
or equivalent).
Dielectric Silicone Grease (GM
Part
No. 12345579 or equivalent).
Multi-purpose lubricant, Superlube
@
(GM Part No. 12346241
or euuivalent).
’arts” in the Index for recommended
valves and spark plugs.
7-53
ProCarManuals.com