1997 GMC SIERRA oil pressure
[x] Cancel search: oil pressurePage 7 of 436
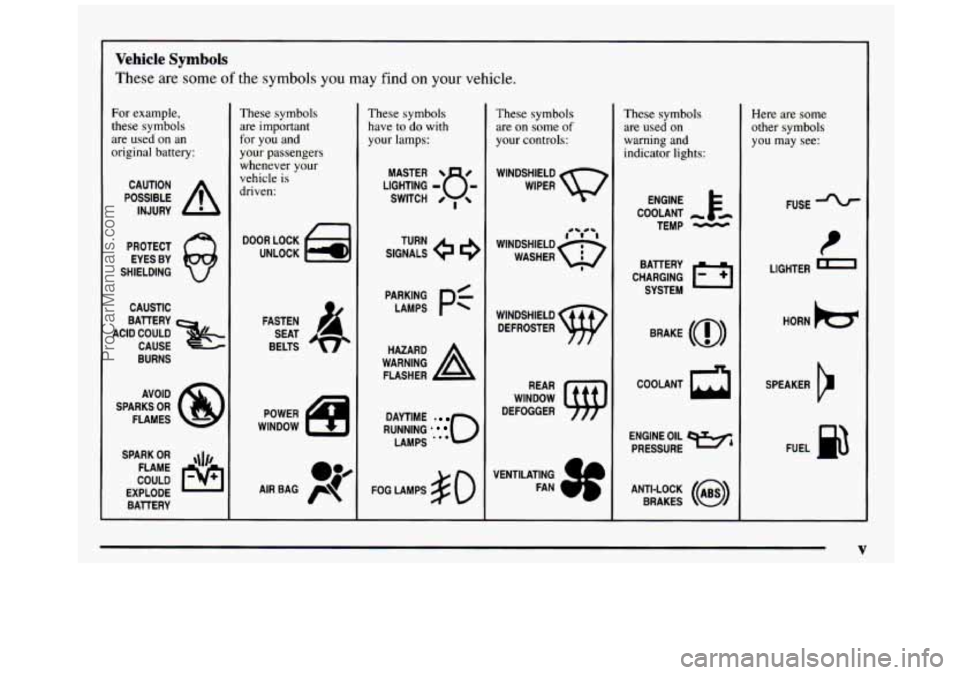
Vehicle Symbols
These are some of the symbols you may find on your vehicle.
For example,
these symbols
are used on an
original battery:
POSSIBLE A
CAUTION
INJURY
PROTECT EYES BY
SHIELDING
Q
CAUSTIC
ACID COULD BAllERY
CAUSE
BURNS
SPARK
OR qJ/,
COULD FLAME
EXPLODE BAllERY
These symbols
are important
for you and
your passengers
whenever your
vehicle is
driven:
DOOR LOCK
UNLOCK
FASTEN SEAT
BELTS
POWER
WINDOW
These symbols have to
do with
your lamps:
SIGNALS e
TURN
WARNING
A
HAZARD
FLASHER
RUNNING
* 0
DAYTIME -
LAMPS **'
FOG LAMPS $0
These symbols
are on
some of
your controls:
WINDSHIELD
WIPER
WINDSHIELD DEFROSTER
WINDOW
DEFOGGER
VENTILATING FAN
c
These symbols
are used on
warning and
indicator lights:
COOLANT -
TEMP -
CHARGING I-1
BAllERY
SYSTEM
BRAKE
(a)
COOLANT a
ENGINE OIL e,
PRESSURE
ANTI-LOCK
(@)
BRAKES
Here are some
other symbols you may see:
FUSE
LIGHTER
e
HORN )cr
SPEAKER
b
FUEL la
V
ProCarManuals.com
Page 149 of 436
Have you recently changed brands of fuel?
If so, be sure to fuel your vehicle with quality fuel (see
“Fuel” in the Index). Poor fuel quality will cause your
engine not to run as efficiently as designed. You
may
notice this as stalling after start-up, stalling when you
put the vehicle into gear, misfiring, hesitation on
acceleration
or stumbling on acceleration. (These
conditions may go away once the engine is warmed up.)
This will be detected by the system and cause the light
to turn
on.
If you experience one or more of these conditions,
change the
fuel brand you use. It will require at least
one full tank
of the proper fuel to turn the light off.
If none of the above steps have made the light turn off,
have your dealer
or qualified service center check the
vehicle. Your dealer has the proper test equipment and
diagnostic tools
to fix any mechanical or electrical
problems that may have developed.
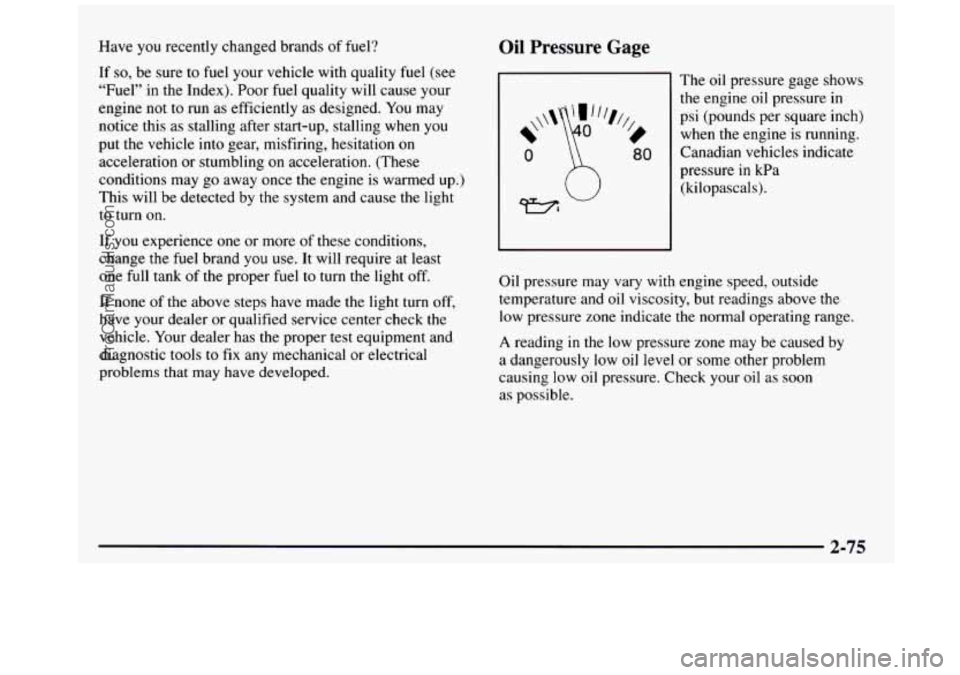
Oil Pressure Gage
The oil pressure gage shows
the engine oil pressure in
psi (pounds per square inch)
when the engine is running.
Canadian vehicles indicate
pressure in kPa
(kilopascals).
Oil pressure may vary
with engine speed, outside
temperature and oil viscosity, but readings above
the
low pressure zone indicate the normal operating range.
A reading in the low pressure zone may be caused by
a dangerously low oil level or some other problem
causing low oil pressure. Check your oil as soon
as possible.
2-75
ProCarManuals.com
Page 150 of 436
I !!i GL1U ION:
Don’t keep driving if the oil pressure is low. If
you do, your engine can become so hot that it
catches fire.
You or others could be burned.
Check your
oil as soon as possible and have your
vehicle serviced.
I NOTICE:
Damage to your engine from neglected oil
problems can be costly and is not covered by
your warranty.
Up Shift Light (If Equipped)
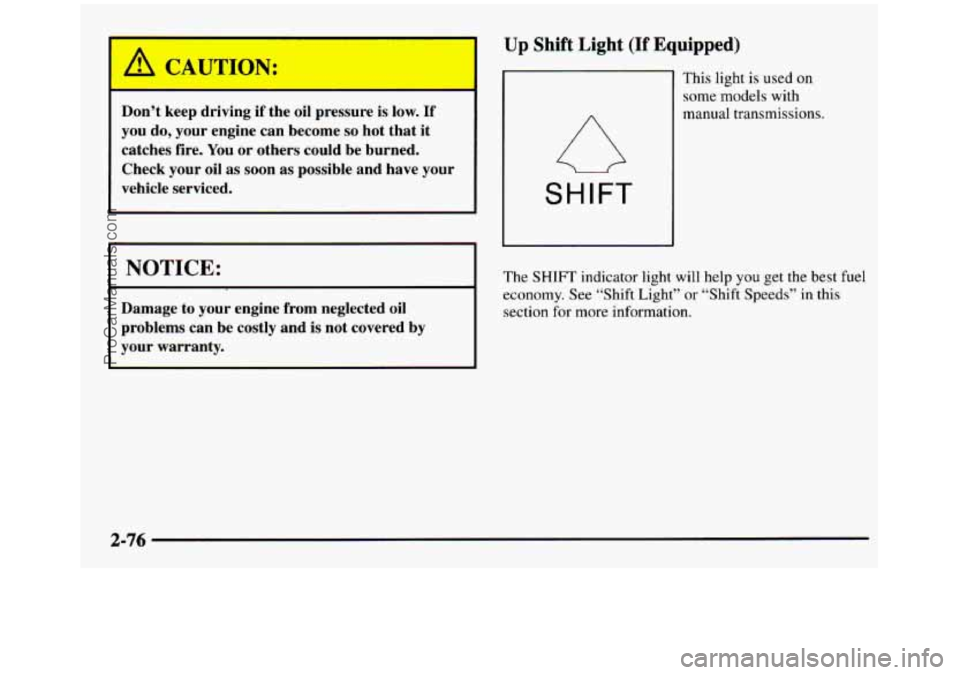
This light is used on
some models with
manual transmissions,
SHIFT
The SHIFT’ indicator light will help you get the best fuel
economy. See “Shift Light”
or “Shift Speeds” in this
section for more information.
2-76
.. .
ProCarManuals.com
Page 151 of 436
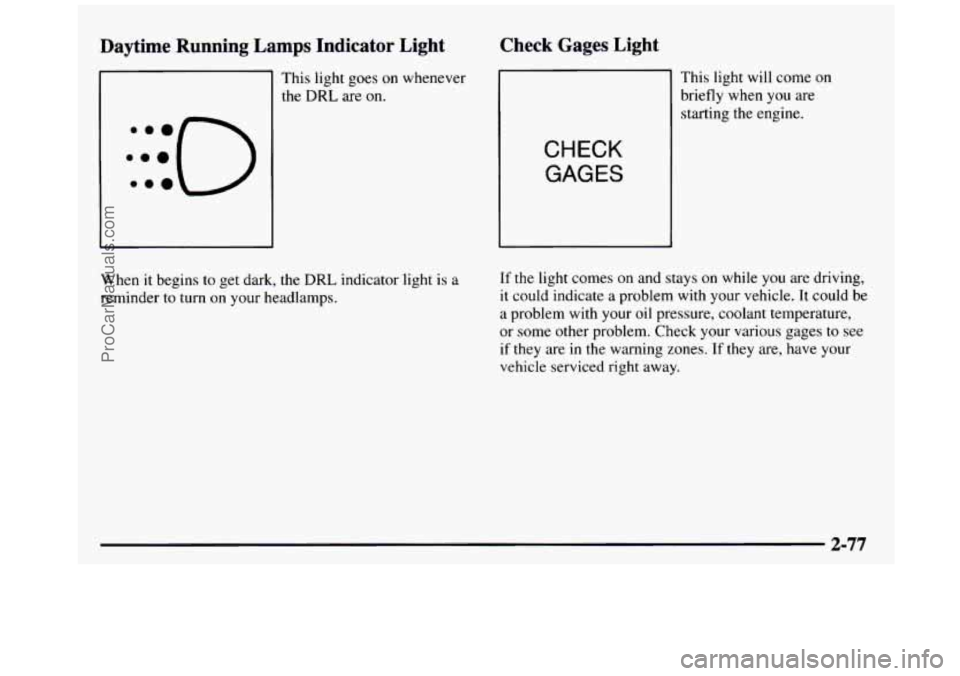
Daytime Running Lamps Indicator Light
:::O e..
This light goes on whenever
the DRL are
on.
Check Gages Light
I
CHECK
GAGES
This light will come on
briefly when
you are
starting the engine.
When it begins to get dark, the DRL indicator light is a
reminder
to turn on your headlamps.
If the light comes on and stays on while you are driving,
it could indicate a problem with your vehicle. It could be
a problem with your oil pressure, coolant temperature,
or some other problem. Check your various gages
to see
if they are
in the warning zones. If they are, have your
vehicle serviced right
away.
ProCarManuals.com
Page 212 of 436
When you want to leave the freeway, move to the proper
lane well in advance. If you miss your exit, do not,
under any circumstances,
stop and back up. Drive on
to the next exit.
The exit ramp can be curved, sometimes quite sharply.
The exit speed is usually posted.
Reduce your speed according to your speedometer, not
to your sense of motion. After driving for any distance
at higher speeds,
you may tend to think you are going
slower than you actually are.
Before Leaving on a Long Trip
Make sure you’re ready. Try to be well rested. If you
must
start when you’re not fresh -- such as after a day’s
work
-- don’t plan to make too many miles that first part
of the journey. Wear comfortable clothing and shoes you
can easily drive in.
Is your vehicle ready for a long trip?
If you keep it
serviced and maintained, it’s ready to go. If it needs
service, have
it done before starting out. Of course,
you’ll find experienced and able service experts in
GM
dealerships all across North America. They’ll be ready
and willing to help
if you need it.
Here are some things you can check before a trip:
0
0
0
0
a
Windshield Washer Fluid: Is the reservoir full?
Are all windows clean inside and outside?
Wiper Blades: Are they in good shape?
Fuel, Engine Oil, Other Fluids: Have you checked
all levels?
Lamps: Are they all working? Are the lenses clean?
Tires: They are vitally important to a safe,
trouble-free trip. Is the tread good enough for
long-distance driving? Are the tires all inflated to the
recommended pressure?
Weather Forecasts: What’s the weather outlook
along your route? Should you delay your trip a short
time to avoid
a major storm system?
Maps: Do you have up-to-date maps?
ProCarManuals.com
Page 277 of 436
Section 6 Service and Appearance Care
Here you will find information about the care of your vehicle. This section begins with service and fuel information,
and then it shows how
to check important fluid and lubricant levels. There is also technical information about your
vehicle, and a part devoted to its appearance care.
6-2
6-
3
6-4
6-5
6-8
6- 14
6- 15
6- 19
6-2 1
6-25
6-26
6-26 6-27
6-29
6-32
6-32 Service
Fuel (Gasoline Engine)
Fuels
in Foreign Countries - - Gasoline
Engines
Filling Your Tank
Checking Things Under the Hood
Noise Control System
Engine Oil (Gasoline Engine)
Air Cleaner Filter (Gasoline Engines)
Automatic Transmission Fluid
Manual Transmission Fluid
Hydraulic Clutch
Rear Axle
Four-wheel Drive
Engine Coolant Radiator Pressure Cap (Gasoline Engine)
Thermostat 6-33
6-33 6-35
6-39
6-39
6-49 6-50
6-59
6-60
6-64
6-68
6-69
6-70 6-75
6-76
6-78 Power Steering Fluid
Windshield Washer Fluid
Brakes
Battery
Bulb Replacement
Windshield Wiper Blade
R
Tires
Appearance Care .eplacement
Cleaning the Inside
of Your Vehicle
Cleaning
the Outside of Your Vehicle
Appearance Care Materials
Chart
Vehicle Identification Number (VIN)
Electrical System Replacement Bulbs
Capacities and Specifications
Air Conditioning Specifications
ProCarManuals.com
Page 337 of 436
Using Solvent-Type Cleaner on Fabric
First, see if you have to use solvent-type cleaner at all.
Some spots and stains will clean off better with just
water and mild soap.
If you need to use a solvent:
1.
2.
3.
4.
Gently scrape excess soil from the trim material with
a clean, dull knife or scraper.
Use very little cleaner, light pressure and clean cloths
(preferably cheesecloth). Cleaning should start at the
outside of the stain, “feathering” toward the center.
Keep changing to a clean section
of the cloth.
When you clean a stain from fabric, immediately
dry the area with a blow dryer to help prevent a
cleaning ring.
Fabric Protection
Your vehicle has upholstery and carpet that has been
treated with Scotchgard” Fabric Protector, a
3M
product. It protects fabrics by repelling oil and water,
which are the carriers of most stains. Even with this
protection,
you still need to clean your upholstery and
carpet often to keep it looking new.
Further information on cleaning is available by calling 1-800-433-3296 (in Minnesota,
1-800-642-6 167).
Special Cleaning Problems
Greasy or Oily Stains
Stains caused by grease, oil, butter, margarine, shoe
polish, coffee with cream, chewing gum, cosmetic
creams, vegetable oils, wax crayon, tar and asphalt can
be removed as follows:
1. Carefully scrape off excess stain.
2. Follow the solvent-type instructions described earlier.
Shoe polish, wax crayon, tar and asphalt will stain if left
on a vehicle’s seat fabric. They should be removed as
soon as possible. Be careful, because the cleaner will
dissolve them and may cause them to spread.
6-61
ProCarManuals.com
Page 399 of 436
Part B: Owner Checks and Services
Listed below are owner checks and services which
should be performed at the intervals specified
to help
ensure the safety, dependability and emission control
performance
of your vehicle.
Be sure any necessary repairs are completed at once.
Whenever any fluids or lubricants are added
to your
vehicle, make sure they are the proper ones,
as shown
in Part
D.
At the First 100, 1,000 and 6,000 Miles
(160,1600 and 10 000 km)
For vehicles with dual wheels, check dual wheel nut
torque. For proper torque, see “Wheel Nut Torque” in
the Index.
At Each Fuel Fill
It is important for you or ~1 service station attendant to
per$orm these underhood
checks ut eachjbtelfiE1.
Engine Oil Level Check Engine Coolant Level Check
Check the
engine coolant level and add the proper
coolant mix if necessary. See “Engine Coolant’’ in the
Index for further details.
Windshield Washer Fluid Level Check
Check the windshield washer fluid level in the
windshield washer tank and add
the proper fluid if
necessary. See “Windshield Washer Fluid”
in the Index
for further details.
At Least Once a Month
Tire Inflation Check
Make sure tires are inflated to the correct pressures. See
“Tires”
in the Index for further details.
Cassette Deck Service
Clean cassette deck. Cleaning should be done every
50 hours of tape play. See “Audio Systems” in the Index
for further details.
Check
the engine oil level and add the proper oil if
necessary. See “Engine Oil” in the Index for
further details.
7-45
ProCarManuals.com