Page 57 of 236
Power mirrors (if equipped)
To adjust the power outside
mirrors:
1. Select the mirror you want to
adjust:
LeftDriver side mirror
RightPassenger side mirror
2. Move the mirror control in the
desired direction.
3. Lock the mirror by moving the
selector to the center position.
Heated outside mirrors
(if equipped)
Both mirrors are heated
automatically to remove ice, mist
and fog when the rear window
defrost is activated.
Do not remove ice from the
mirrors with a scraper or attempt
to readjust the mirror glass if it is
frozen in place. These actions
could cause damage to the glass
and mirrors.
CONSOLES
Center console features
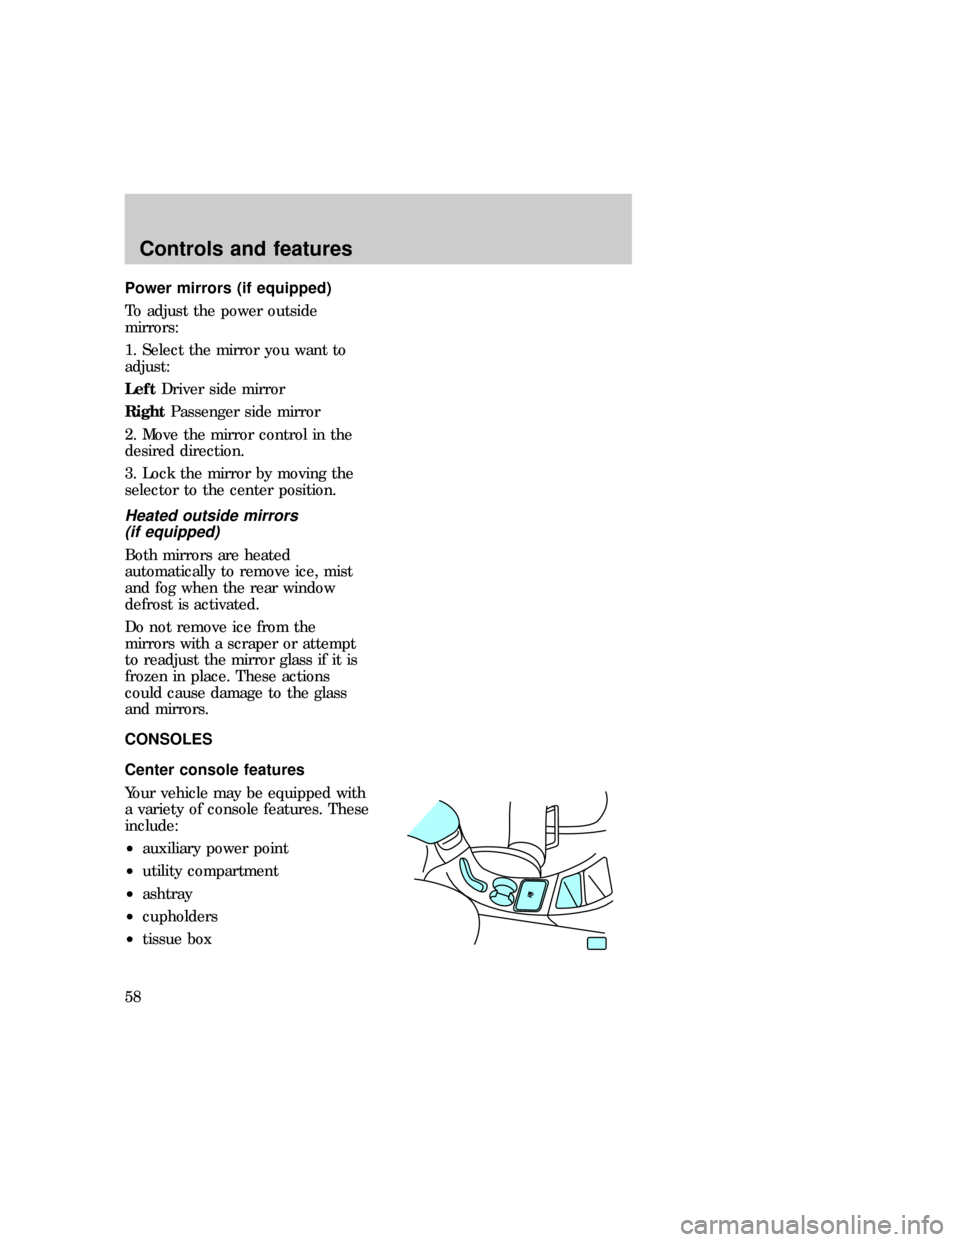
Your vehicle may be equipped with
a variety of console features. These
include:
²auxiliary power point
²utility compartment
²ashtray
²cupholders
²tissue box
uno_center_console_title
Controls and features
58
Page 58 of 236
²utility compartment with
cassette/compact disc storage
and coinholder
²compact disc changer
²cellular phone
Use only soft cups in the
cupholder. Hard objects
can injure you in a collision.
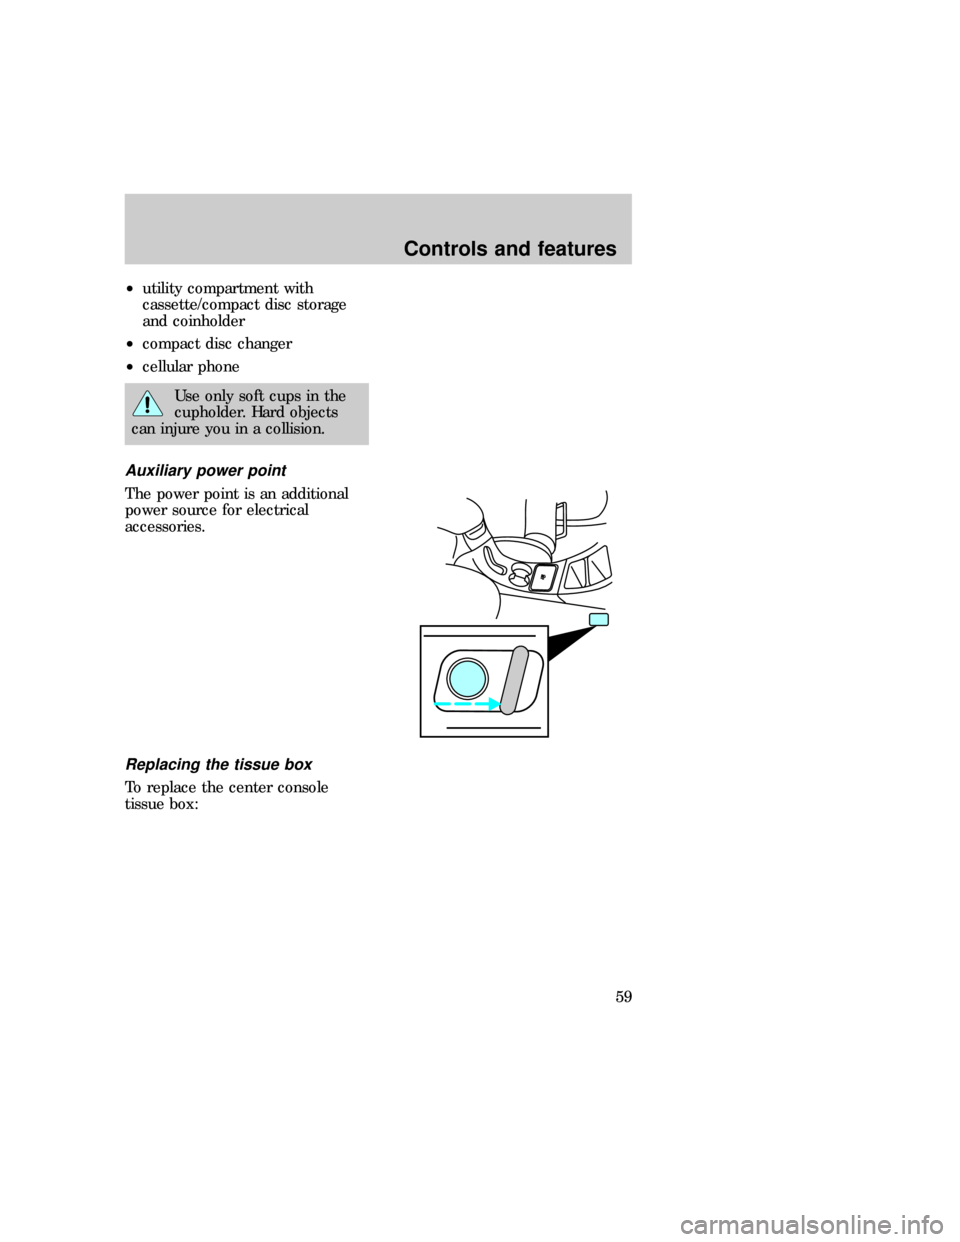
Auxiliary power point
The power point is an additional
power source for electrical
accessories.
Replacing the tissue box
To replace the center console
tissue box:
uno_aux_power_point uno_tissue_box
Controls and features
59
Page 59 of 236
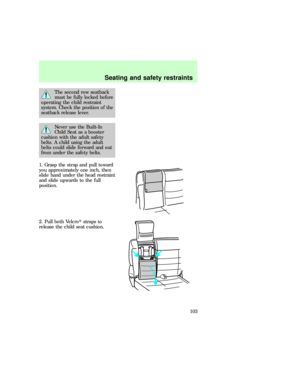
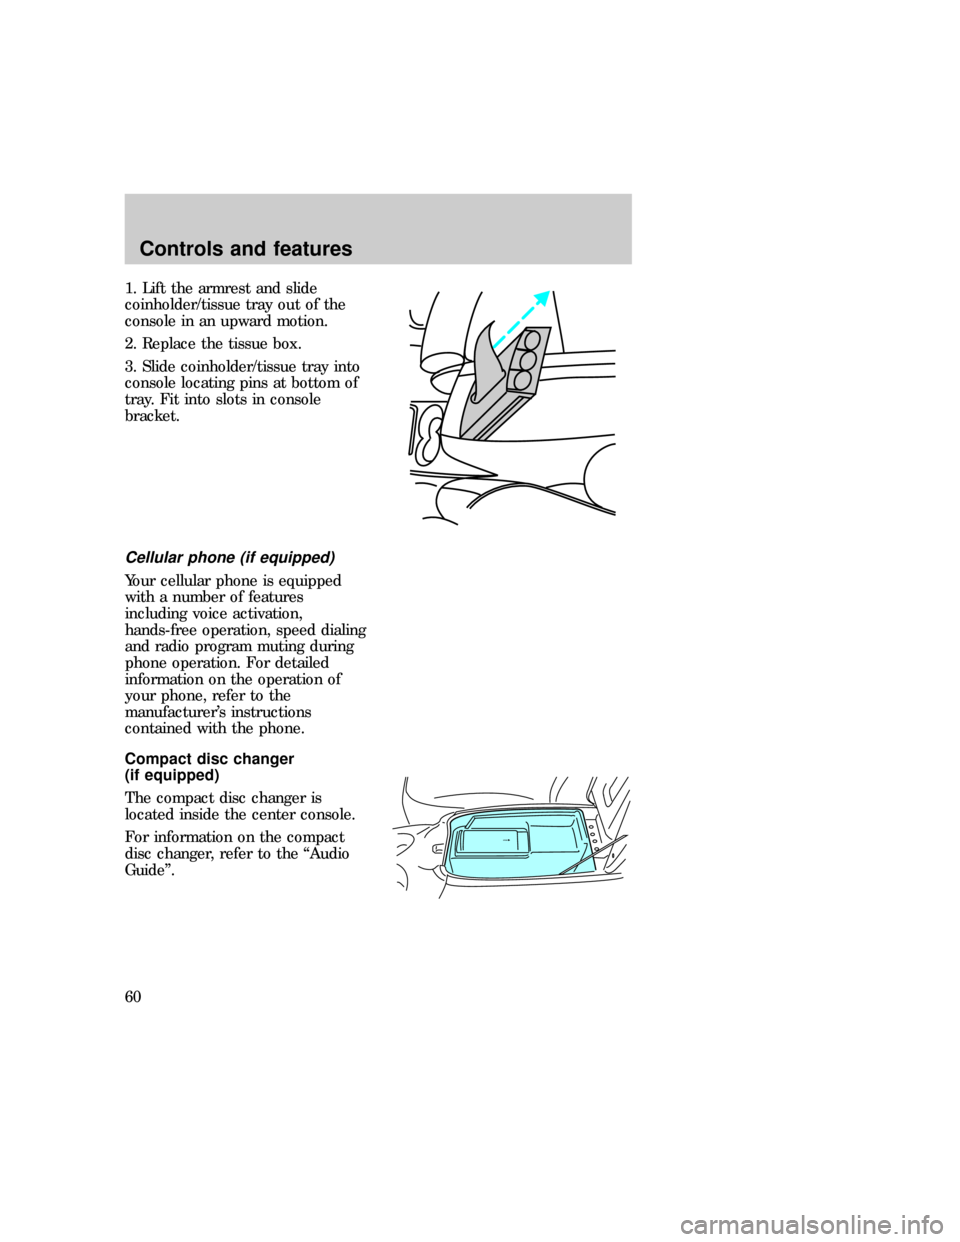
1. Lift the armrest and slide
coinholder/tissue tray out of the
console in an upward motion.
2. Replace the tissue box.
3. Slide coinholder/tissue tray into
console locating pins at bottom of
tray. Fit into slots in console
bracket.
Cellular phone (if equipped)
Your cellular phone is equipped
with a number of features
including voice activation,
hands-free operation, speed dialing
and radio program muting during
phone operation. For detailed
information on the operation of
your phone, refer to the
manufacturer's instructions
contained with the phone.
Compact disc changer
(if equipped)
The compact disc changer is
located inside the center console.
For information on the compact
disc changer, refer to the ``Audio
Guide''.
OPEN
uno_cell_phone
uno_rear_console_features
Controls and features
60
Page 60 of 236
Rear console features
The rear console incorporates the
following features:
²air vents
²audio system controls
²rear seat climate controls
²cupholders
Refer to the ªAudio Guideº for
more information on the rear
console audio system controls.
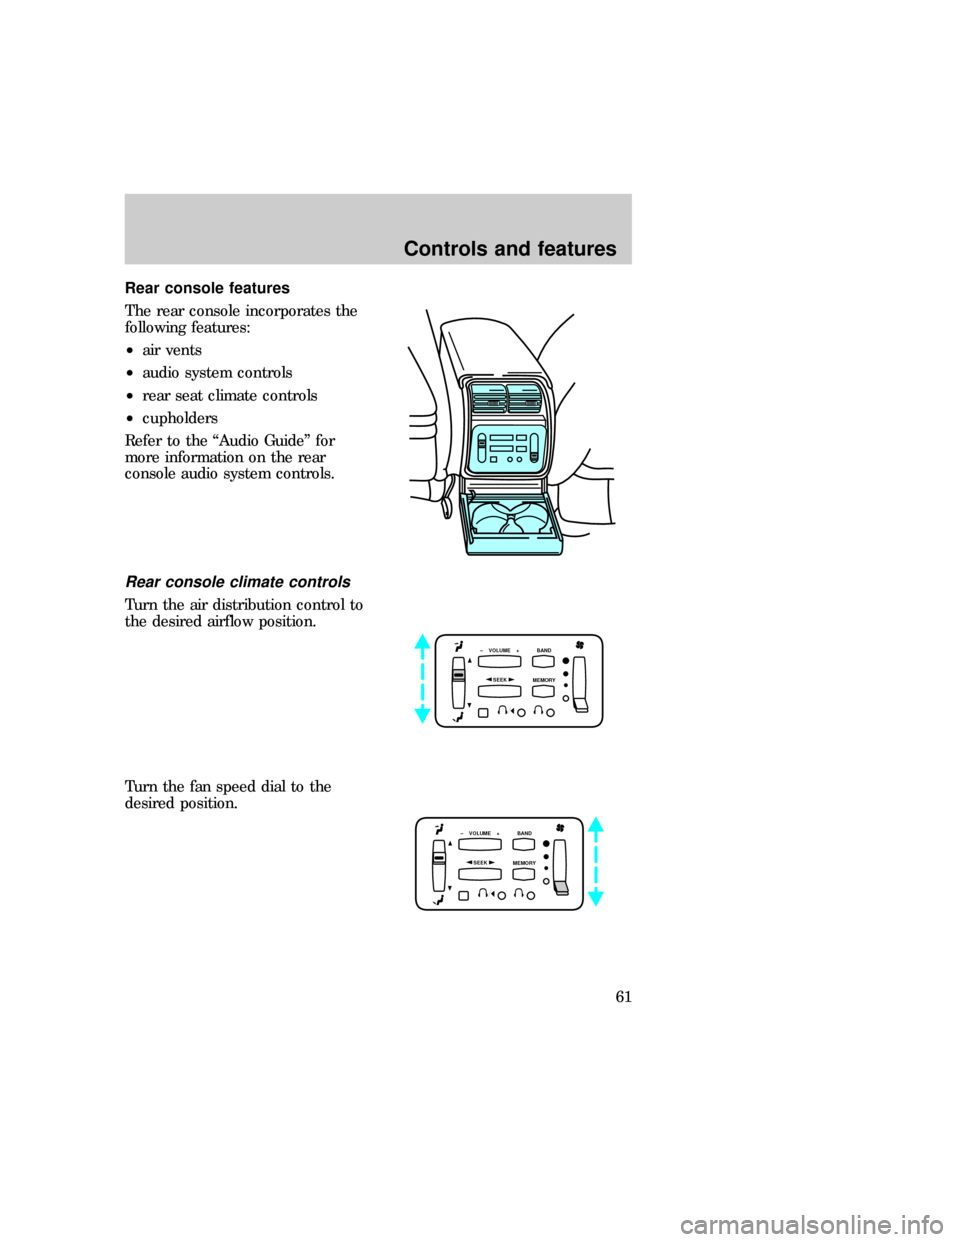
Rear console climate controls
Turn the air distribution control to
the desired airflow position.
Turn the fan speed dial to the
desired position.
SEEK
– VOLUME + BAND
MEMORY
SEEK
– VOLUME + BAND
MEMORY
uno_climate_controls_rear
Controls and features
61
Page 61 of 236
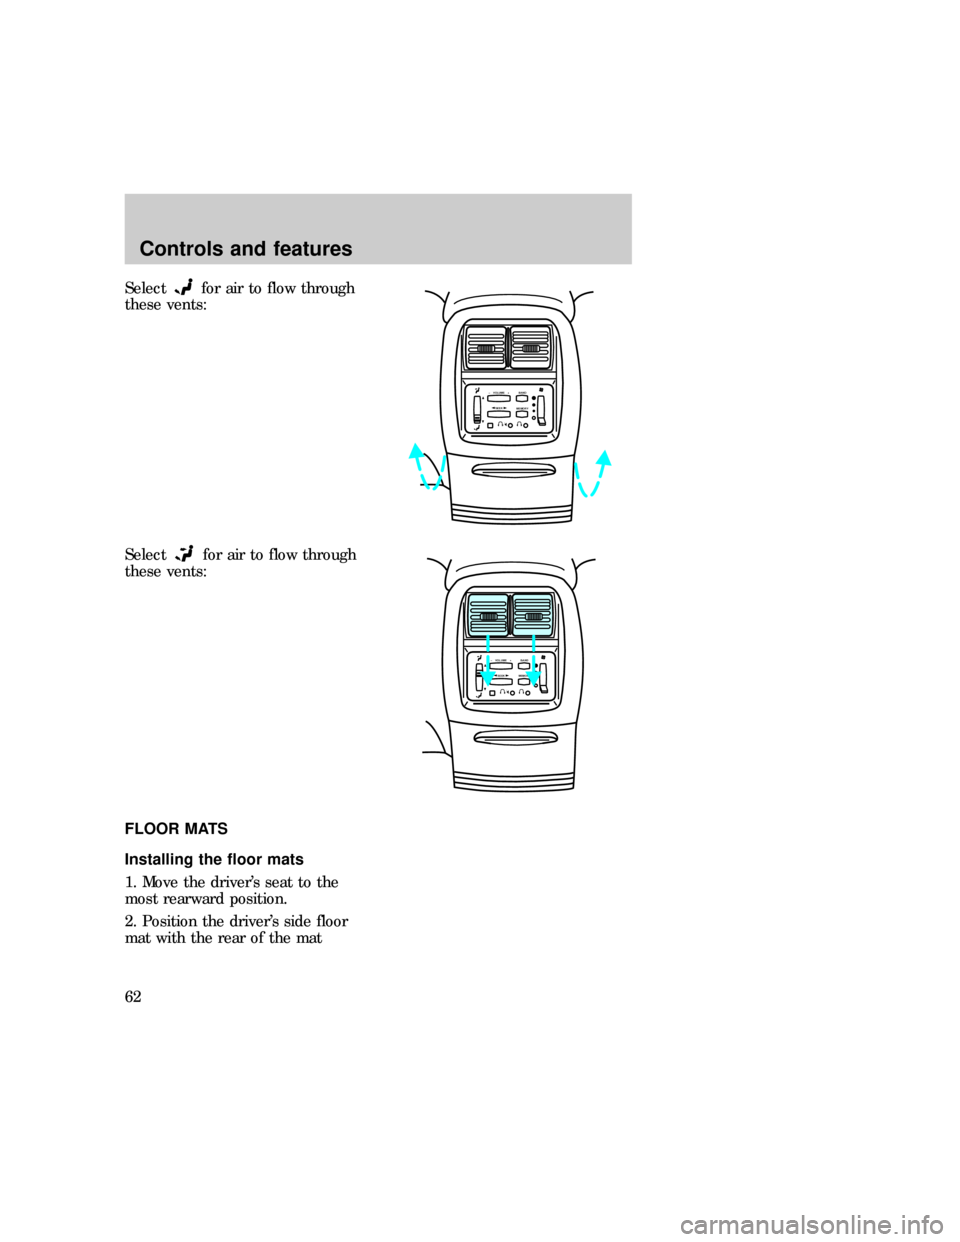
Selectfor air to flow through
these vents:
Select
for air to flow through
these vents:
FLOOR MATS
Installing the floor mats
1. Move the driver's seat to the
most rearward position.
2. Position the driver's side floor
mat with the rear of the mat
SEEK– VOLUME + BAND
MEMORY
SEEK– VOLUME + BAND
MEMORY
uno_mats-for-floors
uno_hooking_floor_mat
Controls and features
62
Page 62 of 236
against left (outboard) front edge
of seat track mounting bracket.
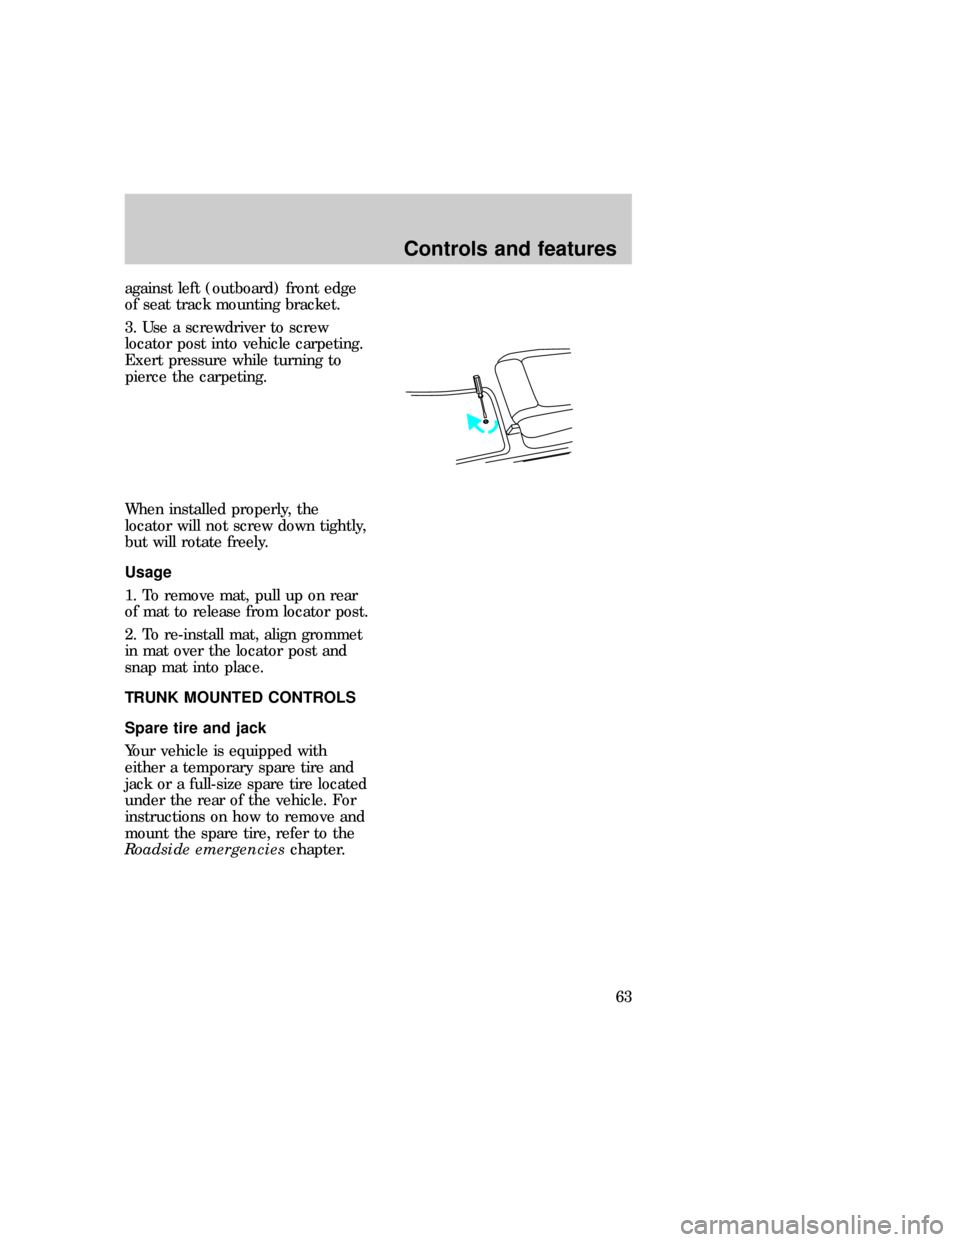
3. Use a screwdriver to screw
locator post into vehicle carpeting.
Exert pressure while turning to
pierce the carpeting.
When installed properly, the
locator will not screw down tightly,
but will rotate freely.
Usage
1. To remove mat, pull up on rear
of mat to release from locator post.
2. To re-install mat, align grommet
in mat over the locator post and
snap mat into place.
TRUNK MOUNTED CONTROLS
Spare tire and jack
Your vehicle is equipped with
either a temporary spare tire and
jack or a full-size spare tire located
under the rear of the vehicle. For
instructions on how to remove and
mount the spare tire, refer to the
Roadside emergencieschapter.
uno_remove-mat
uno_trunk_title
uno_spare_tire
uno_cargo_shade_intro
Controls and features
63
Page 63 of 236
Cargo cover (if equipped)
Your vehicle is equipped with a
cargo area shade that covers the
luggage compartment of your
vehicle.
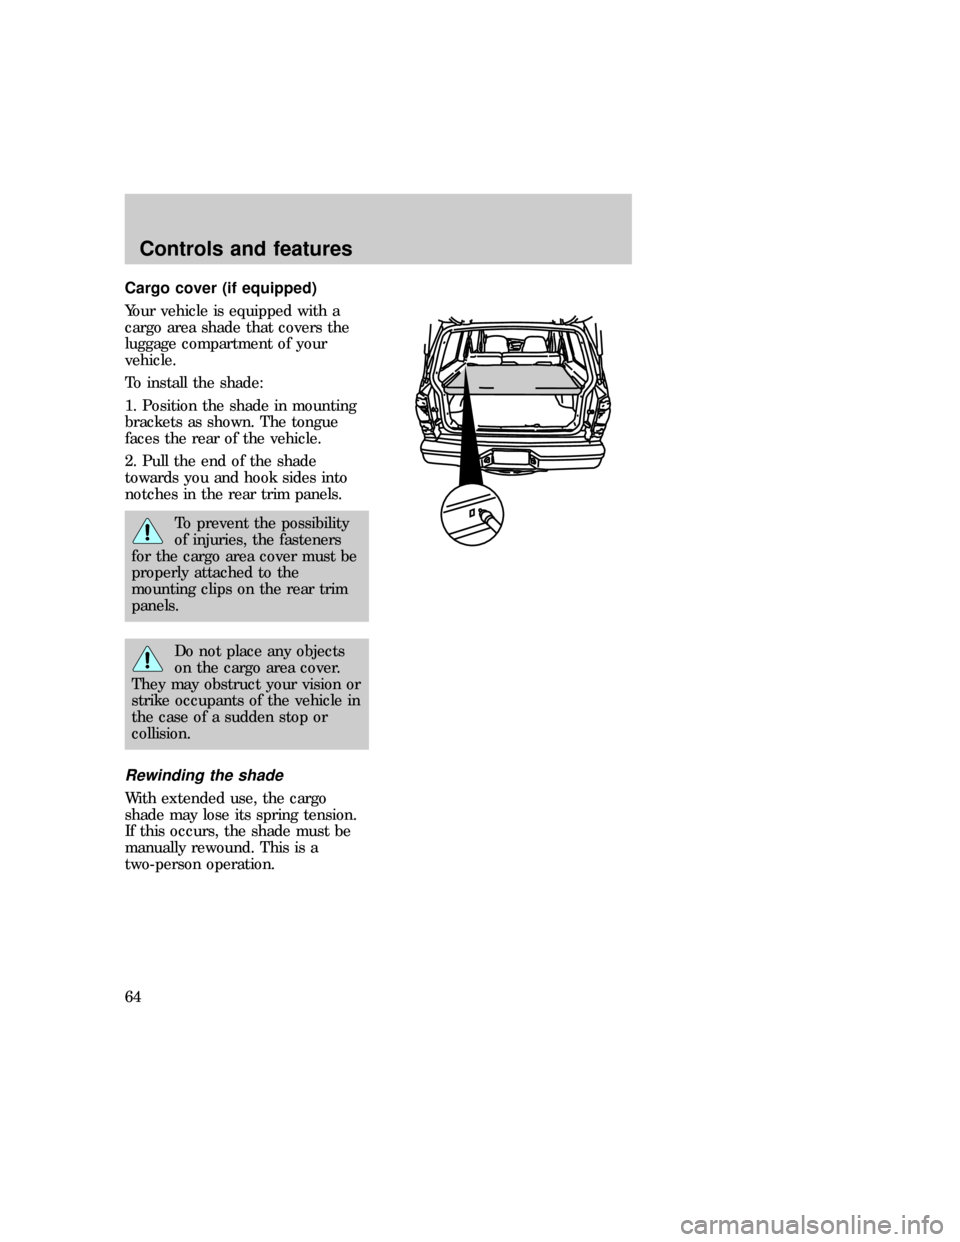
To install the shade:
1. Position the shade in mounting
brackets as shown. The tongue
faces the rear of the vehicle.
2. Pull the end of the shade
towards you and hook sides into
notches in the rear trim panels.
To prevent the possibility
of injuries, the fasteners
for the cargo area cover must be
properly attached to the
mounting clips on the rear trim
panels.
Do not place any objects
on the cargo area cover.
They may obstruct your vision or
strike occupants of the vehicle in
the case of a sudden stop or
collision.
Rewinding the shade
With extended use, the cargo
shade may lose its spring tension.
If this occurs, the shade must be
manually rewound. This is a
two-person operation.
uno_rewinding_shade
Controls and features
64
Page 64 of 236
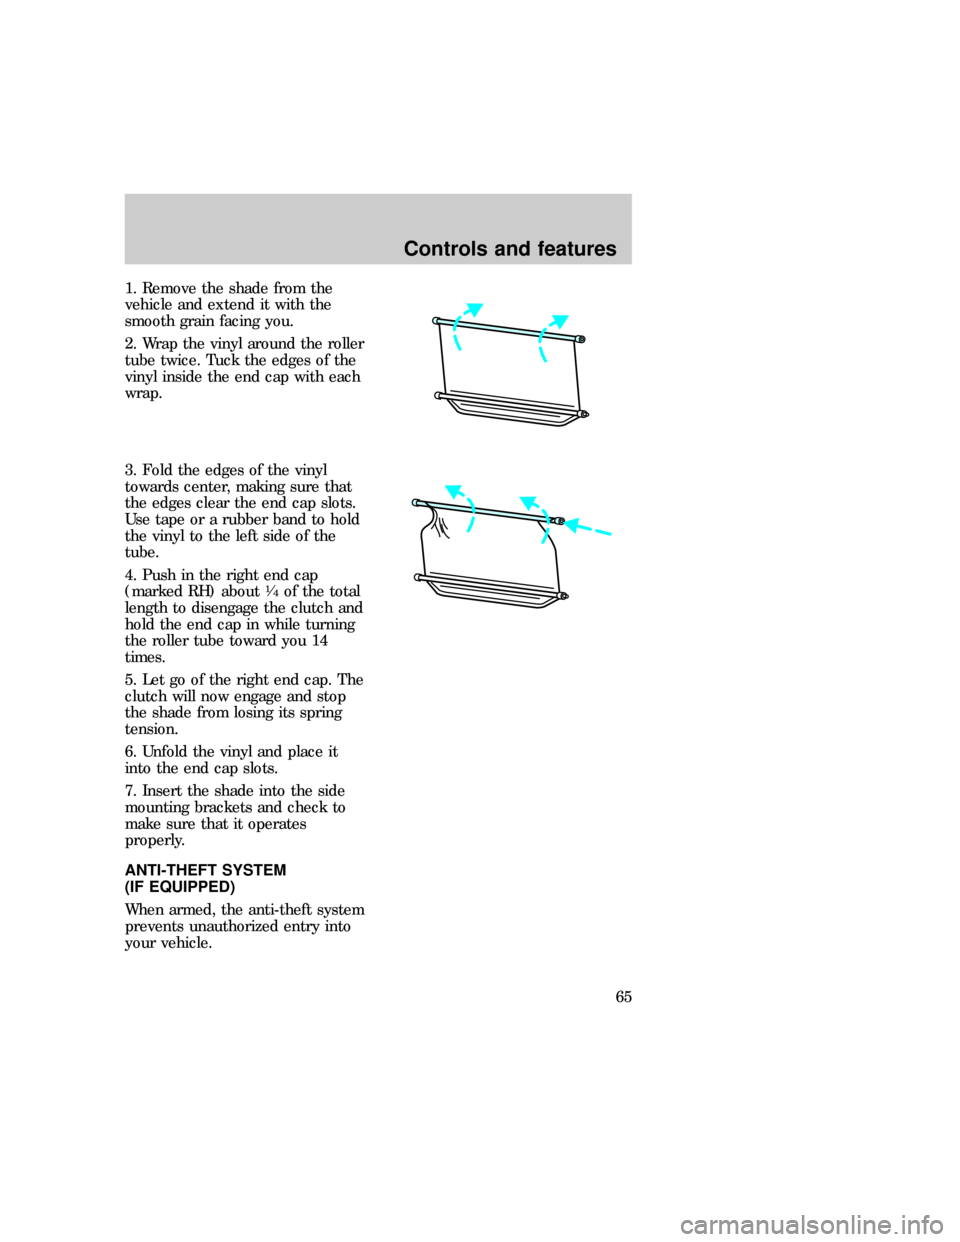
1. Remove the shade from the
vehicle and extend it with the
smooth grain facing you.
2. Wrap the vinyl around the roller
tube twice. Tuck the edges of the
vinyl inside the end cap with each
wrap.
3. Fold the edges of the vinyl
towards center, making sure that
the edges clear the end cap slots.
Use tape or a rubber band to hold
the vinyl to the left side of the
tube.
4. Push in the right end cap
(marked RH) about
1¤4of the total
length to disengage the clutch and
hold the end cap in while turning
the roller tube toward you 14
times.
5. Let go of the right end cap. The
clutch will now engage and stop
the shade from losing its spring
tension.
6. Unfold the vinyl and place it
into the end cap slots.
7. Insert the shade into the side
mounting brackets and check to
make sure that it operates
properly.
ANTI-THEFT SYSTEM
(IF EQUIPPED)
When armed, the anti-theft system
prevents unauthorized entry into
your vehicle.
com_anti-theft.01
uno_illuminated_entry
Controls and features
65