Page 152 of 224
3. Once the engine has been
started, run both vehicles for a
further three minutes before
disconnecting the leads.
Removing the jumper cables
1. Remove the jumper cables in
reverse order. Take the cable off
the metallic surface (1) first,
followed by the cable on the
negative (-) booster battery
terminal (2).
2. Remove the cable from the
positive (+) terminal of the booster
battery (3) and then the
discharged battery (4).
3. After the disabled vehicle has
been started, allow it to idle for a
while so the engine can ªrelearnº
its idle conditions.
+–
+–
2
3
4
1
com_removing_cables.01
exd_wrecker_towing
Roadside emergencies
153
Page 154 of 224

Precautions when servicing
your vehicle
Be especially careful when
inspecting or servicing your
vehicle. Here are some general
precautions for your safety:
²Do not work on a hot engine.
²If you must work with the
engine running, avoid wearing
loose clothing or jewelry that
could get caught in moving
parts. Take precautions with
long hair.
²Do not work on a vehicle with
the engine running in an
enclosed space, unless you are
sure you have enough
ventilation.
²Keep all lit cigarettes, open
flames and other lit material
away from the battery and all
fuel related parts.
If you disconnect the battery, the
engine must ªrelearnº its idle
conditions before your vehicle will
drive properly, as explained in
Batteryin this chapter.
Service recommendations
To help you service your vehicle:
²We highlight do-it-yourself items
in the engine compartment for
easy location.
²As possible, we design parts that
can be replaced without tools.
com_precautions_servicing.02
com_service_recommendations.01
Maintenance and care
155
Page 156 of 224
1. Inside the vehicle, pull the hood
release handle located under the
bottom left corner of the
instrument panel.
2. Outside the vehicle, release the
auxiliary latch located under the
center of the hood.
3. Lift the hood.
4. To close the hood, shut it so
that the auxiliary latch is closed.
After closing the hood, try lifting it
to ensure that it is closed securely.
Working with the engine off
1. Set the parking brake fully and
ensure the gearshift is securely
latched in P (Park).
2. Turn off the engine and remove
the key.
3. Block the wheels to prevent the
vehicle from moving unexpectedly.
exd_working_off
exd_working_on
Maintenance and care
157
Page 157 of 224
Working with the engine on
1. Set the parking brake fully and
ensure the gearshift is securely
latched in P (Park).
2. Block the wheels to prevent
your vehicle from moving
unexpectedly.
Do not start your engine
with the air cleaner
removed and do not remove it
while the engine is running.
IDENTIFYING COMPONENTS IN
THE ENGINE COMPARTMENT
4.6 / 5.4 L engine
1. Battery
2. Automatic transmission dipstick
12
107869
345
exd_title_engine_compartments
exd_2_engine_compartment
Maintenance and care
158
Page 158 of 224

3. Engine oil dipstick (For more
information on the engine oil
dipstick location and maintenance,
refer toChecking and adding
engine oilin this chapter.)
4. Brake fluid reservoir
5. Engine compartment fuse panel
6. Engine coolant reservoir
7. Air cleaner filter
8. Power steering fluid reservoir
9. Engine oil filler cap
10. Washer fluid reservoir
CHECKING AND ADDING
ENGINE OIL
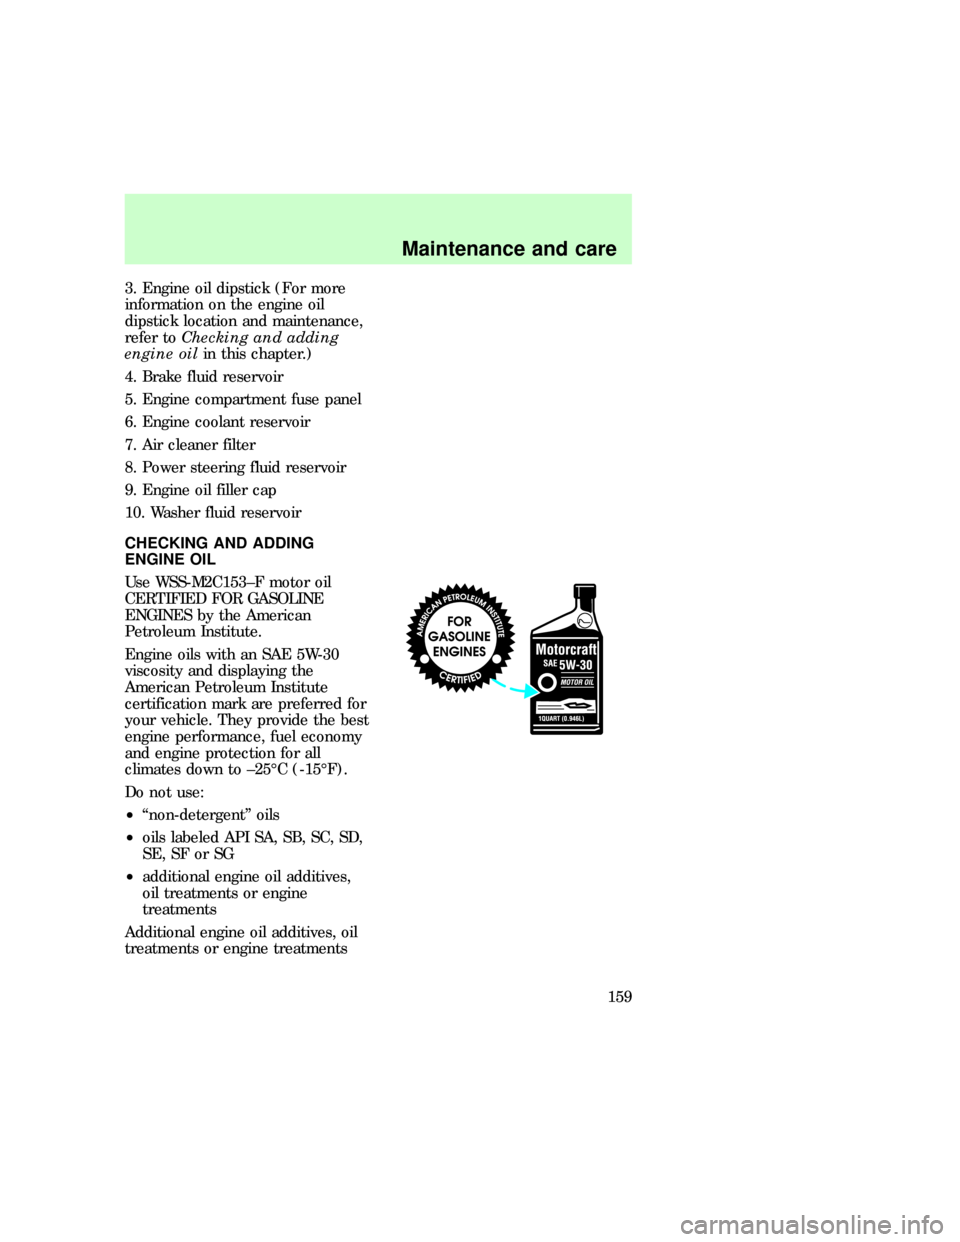
Use WSS-M2C153±F motor oil
CERTIFIED FOR GASOLINE
ENGINES by the American
Petroleum Institute.
Engine oils with an SAE 5W-30
viscosity and displaying the
American Petroleum Institute
certification mark are preferred for
your vehicle. They provide the best
engine performance, fuel economy
and engine protection for all
climates down to ±25ÉC (-15ÉF).
Do not use:
²ªnon-detergentº oils
²oils labeled API SA, SB, SC, SD,
SE, SF or SG
²additional engine oil additives,
oil treatments or engine
treatments
Additional engine oil additives, oil
treatments or engine treatments
com_check-add_oil.01
Maintenance and care
159
Page 159 of 224
are never needed and could, under
certain conditions, lead to engine
damage which is not covered by
your Ford warranty.
Synthetic engine oils which are
CERTIFIED and of the preferred
viscosity may be used in your
engine. The engine oil and oil filter
must still be changed according to
the ªService Guideº.
Checking the engine oil
Check the engine oil each time you
fuel your vehicle.
To check the oil:
1. Make sure the vehicle is on level
ground. If the engine is running,
turn the engine off and wait a few
minutes for the oil to drain into
the oil pan.
2. Set the parking brake and
ensure the gearshift is securely
latched in P.
3. Open the hood. Protect yourself
from engine heat.
exd_checking_engine_oil
Maintenance and care
160
Page 160 of 224

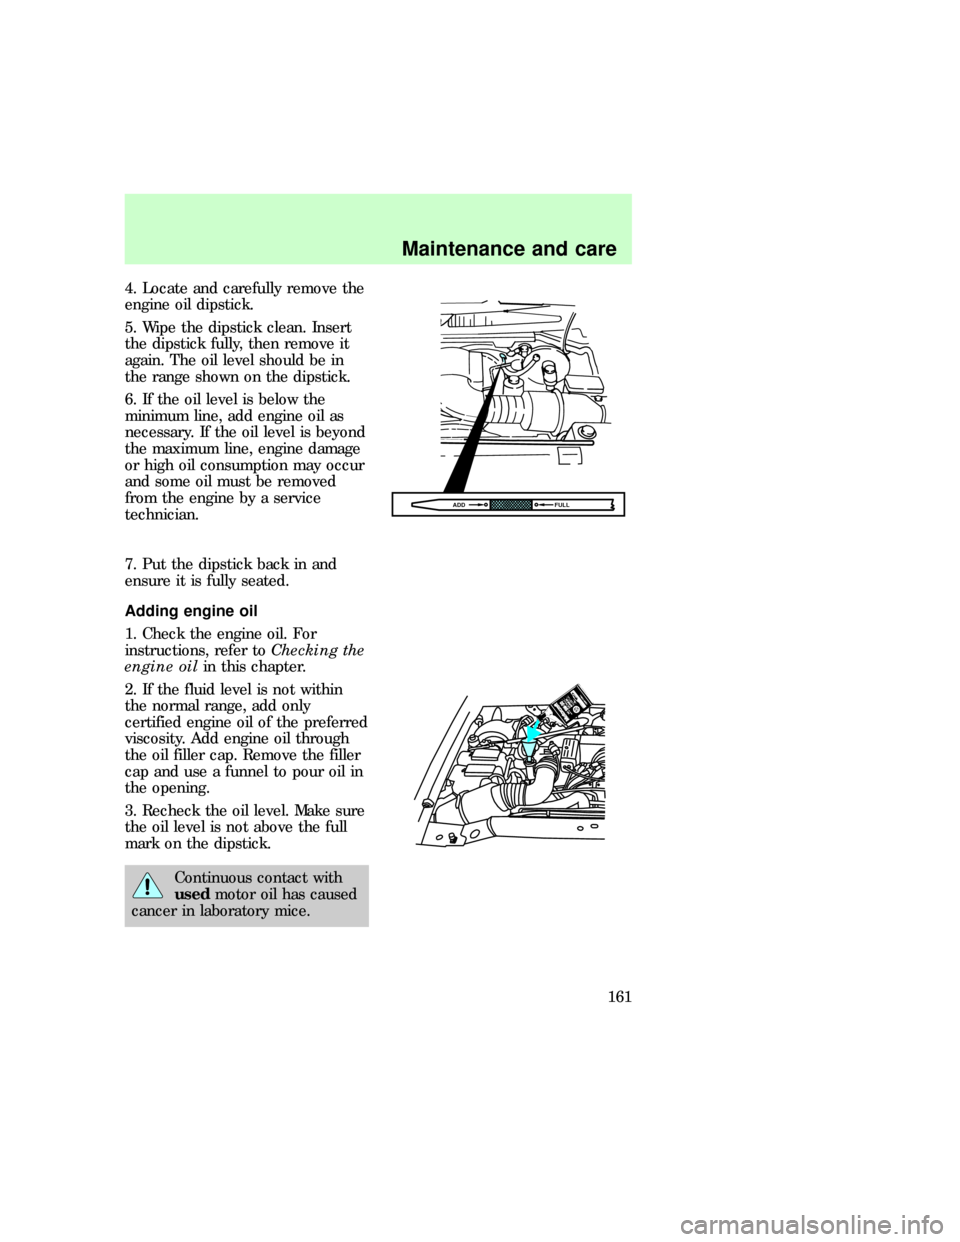
4. Locate and carefully remove the
engine oil dipstick.
5. Wipe the dipstick clean. Insert
the dipstick fully, then remove it
again. The oil level should be in
the range shown on the dipstick.
6. If the oil level is below the
minimum line, add engine oil as
necessary. If the oil level is beyond
the maximum line, engine damage
or high oil consumption may occur
and some oil must be removed
from the engine by a service
technician.
7. Put the dipstick back in and
ensure it is fully seated.
Adding engine oil
1. Check the engine oil. For
instructions, refer toChecking the
engine oilin this chapter.
2. If the fluid level is not within
the normal range, add only
certified engine oil of the preferred
viscosity. Add engine oil through
the oil filler cap. Remove the filler
cap and use a funnel to pour oil in
the opening.
3. Recheck the oil level. Make sure
the oil level is not above the full
mark on the dipstick.
Continuous contact with
usedmotor oil has caused
cancer in laboratory mice.
FULL ADD
com_adding_engine_oil.01
com_oil_and_filter_change.01
Maintenance and care
161
Page 161 of 224

Changing the engine oil and
filter
Change your engine oil and filter
according to the following
kilometers (mileage) and time
requirements, whichever occurs
first:
²Normal Schedule ± 8,000 km
(5,000 miles) or six months.
²Severe Duty Schedule ± 5,000
km (3,000 miles) or three
months. Severe duty operation
would include extensive idling,
trailer towing, driving in severe
dust and police, taxi or delivery
service.
Ford production and aftermarket
(Motorcraft) oil filters are designed
for added engine protection and
long life. If a replacement oil filter
is used that does not meet Ford
material and design specifications,
startup engine noises or knock
may be experienced.
It is recommended you use the
appropriate Motorcraft oil filter (or
another brand meeting Ford
specifications) for your engine
application.
Checking and adding brake
fluid
Brake fluid should be checked and
refilled as needed at least once
each year:
exd_fix-me
com_checking-adding_fluid.01
Maintenance and care
162