Page 131 of 358

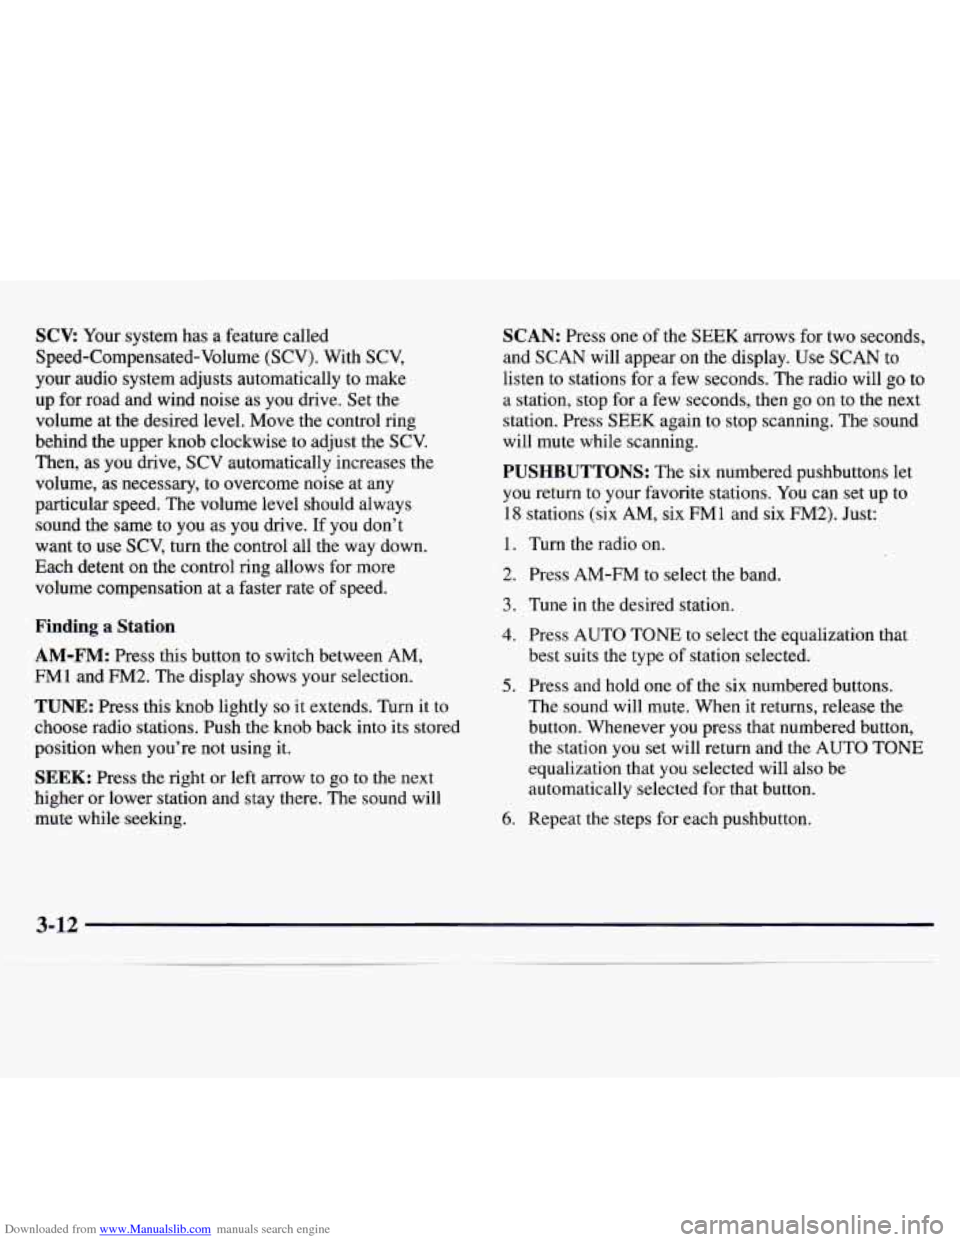
Downloaded from www.Manualslib.com manuals search engine SCV: Your system has a feature called
Speed-Compensated-Volume (SCV). With SCV,
your audio system adjusts automatically to make
up for road and wind noise as you drive.
Set the
volume at
the desired level. Move the control ring
behind the upper knob clockwise to adjust the
SCV.
Then, as you drive, SCV automatically increases the
volume, as necessary, to overcome noise at any
particular speed. The volume level should always
sound the same to
you as you drive. If you don’t
want to use SCV, turn the control all the way down.
Each detent on the control ring allows for more
volume compensation at
a faster rate of speed.
Finding a Station
AM-FM: Press this button to switch between AM,
FMl and
FM2. The display shows your selection.
TUNE: Press this knob lightly so it extends. Turn it to
choose radio stations. Push the knob back into its stored
position when you’re not using it.
SEEK: Press the right or left arrow to go to the next
higher
or lower station and stay there. The sound will
mute while seeking.
SCAN: Press one of the SEEK arrows for two seconds,
and
SCAN will appear on the display. Use SCAN to
listen to stations for a few seconds. The radio will
go to
a station, stop for a few seconds, then go on to the next
station. Press
SEEK again to stop scanning. The sound
will mute while scanning.
PUSHBUTTONS: The six numbered pushbuttons let
you return to your favorite stations. You can set up to
18 stations (six AM, six FM1 and six FM2). Just:
1. Turn the radio on.
2. Press AM-FM to select the band.
3. Tune in the desired station.
4. Press AUTO TONE to select the equalization that
best suits
the type of station selected.
5. Press and hold one of the six numbered buttons.
The sound will mute. When it returns, release the
button. Whenever you press that numbered button,
the station you set will return and the
AUTO TONE
equalization that
you selected will also be
automatically selected for that button.
6. Repeat the steps for each pushbutton.
Page 132 of 358

Downloaded from www.Manualslib.com manuals search engine P.SCAN: Press this button to listen to each of your
favorite stations stored on your pushbuttons for a
few seconds. The radio will scan through each of the
stations stored on your pushbuttons, except those
stations with weak reception. The AUTO TONE
setting stored for that pushbutton will be automatically
chosen. Press PSCAN or one of the pushbuttons again
to stop scanning. P.SCAN will be displayed whenever
the tuner is in the P.SCAN mode. The channel number
(PI-P6) will appear momentarily just before the
frequency is displayed.
Setting the Tone
BASS: Press this knob lightly so it extends. Turn the
knob clockwise to increase bass and counterclockwise
to decrease bass. When you use this control, the radio’s
AUTO TONE setting will switch to manual and the
AUTO TONE display will go blank.
TREB: Press this knob lightly so it extends. Turn the
knob clockwise to increase treble and counterclockwise to decrease treble. When you use this control, the radio’s
AUTO TONE setting will switch to manual and the
AUTO TONE display will go blank. If a station is
weak
or noisy, you may want to decrease the treble.
Push these knobs back into their stored positions when
you’re not using them.
AUTO TONE: This feature allows you to choose
preset bass and treble equalization settings designed
for classical, news, rock, pop, country/western and jazz
stations.
C/W will appear on the display when you first
press AUTO TONE. Each time you press it, another
setting will appear on the display. Press it again after
JAZZ appears and the AUTO TONE display will go
blank. Tone control will return to the BASS and TREB
knobs. Also, if you use the BASS and TREB knobs,
control
will return to them and the AUTO TONE
display will
go blank.
Adjusting the Speakers
BAL:
Press this knob lightly so it extends. Turn
the knob clockwise for the right speakers and
counterclockwise for the left speakers. The middle
position balances the sound between the speakers.
FADE: Press this knob lightly so it extends. Turn the
knob clockwise to adjust the sound to the front speakers and counterclockwise for the rear speakers. The middle
position balances the sound between the speakers.
Push these knobs back into their stored positions when
you’re not using them.
Page 150 of 358

Downloaded from www.Manualslib.com manuals search engine Off-Road Recovery
An emergency like this requires close attention and a
quick decision. If you are holding the steering wheel at
the recommended
9 and 3 o’clock positions, you can
turn
it a full 180 degrees very quickly without removing
either hand. But
you have to act fast, steer quickly, and
just as quickly straighten the wheel once you have
avoided the object.
The fact that such emergency situations are always
possible is a good reason to practice defensive driving at
all times and wear safety belts properly. You
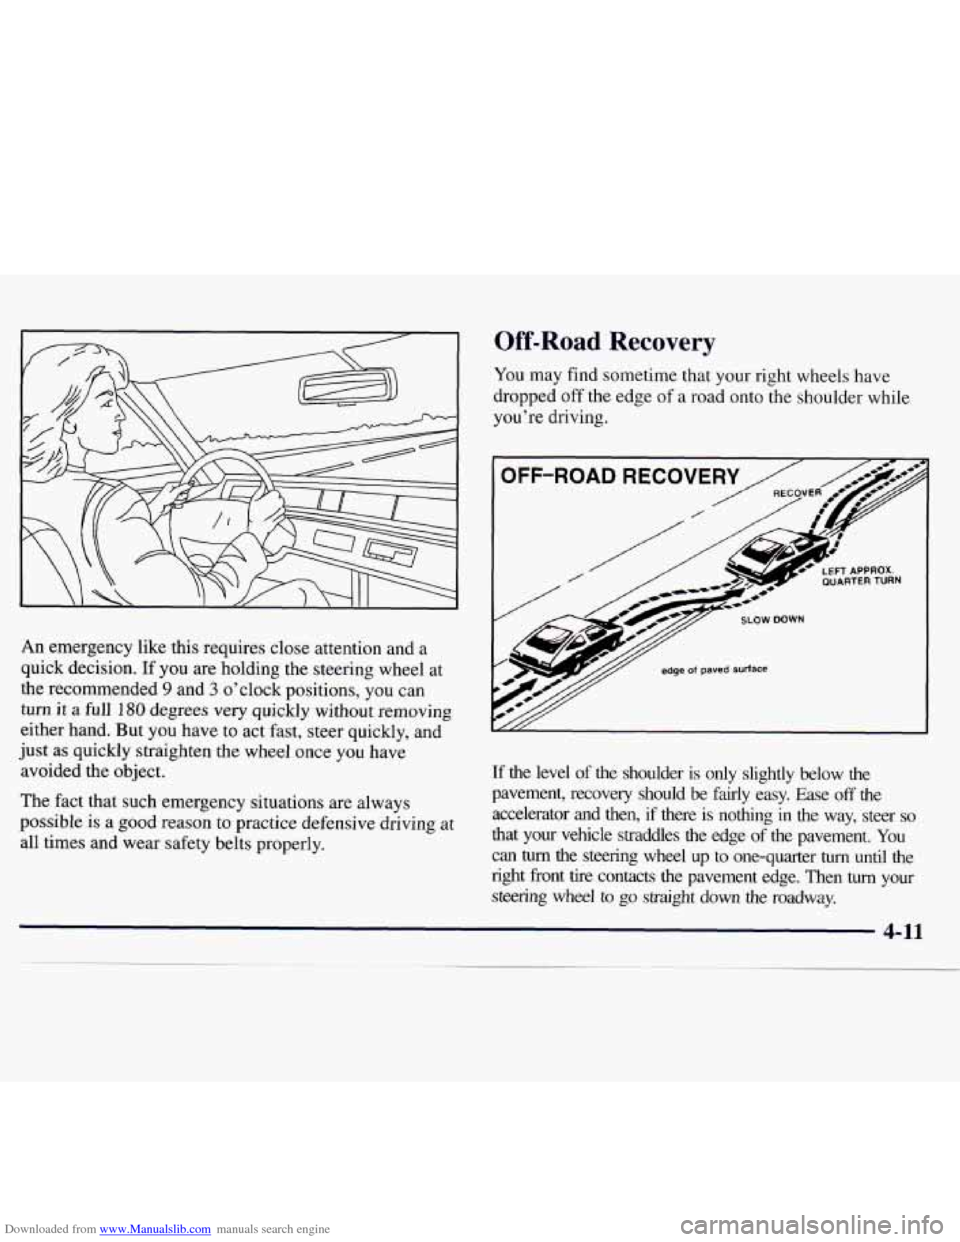
may find sometime that your right wheels have
dropped off the edge
of a road onto the shoulder while
you’re driving.
LEFT APPROX. QUARTERTURN
If the level of the shoulder is only slightly below the
pavement, recovery should be
fairly easy. Ease off the
accelerator and then,
if there is nothing in the way, steer so
that your vehicle straddles the edge of the pavement. You
can
turn the steering wheel up to one-quarter turn until the
right front tire contacts the pavement edge. Then
turn your
steering wheel
to go straight down the roadway.
Page 197 of 358
Downloaded from www.Manualslib.com manuals search engine How to Add Coolant to the Radiator
INOTICE:
~~
Your engine has a specific radiator fill procedure.
Failure to follow this procedure could cause your
engine to overheat and be severely damaged.
1. You can remove the
radiator pressure cap
when the cooling
system, including the
radiator pressure cap and
upper radiator hose, is
no longer hot. Turn the
pressure cap slowly
counterclockwise until it
first stops. (Don’t press
down while turning the
pressure cap.)
If
you hear a hiss, wait for that to stop. A hiss means
there
is still some pressure left.
2. Then keep turning
the pressure cap, but
now push down
as you
turn it. Remove the
pressure cap.
You can be burned if you spill coolant on hot
engine parts. Coolant contains ethylene glycol
and it will burn if the engine parts are hot
enough. Don’t spill coolant on
a hot engine.
Page 202 of 358

Downloaded from www.Manualslib.com manuals search engine ........................................................................\
...... ........................................................................\
....... ........................................................................\
...... ............................................. .................... ............................................. ................ ............................................ ................. .......................................... ................. ........................................... ................... ............................................ .._. .............. m
.................. ...................
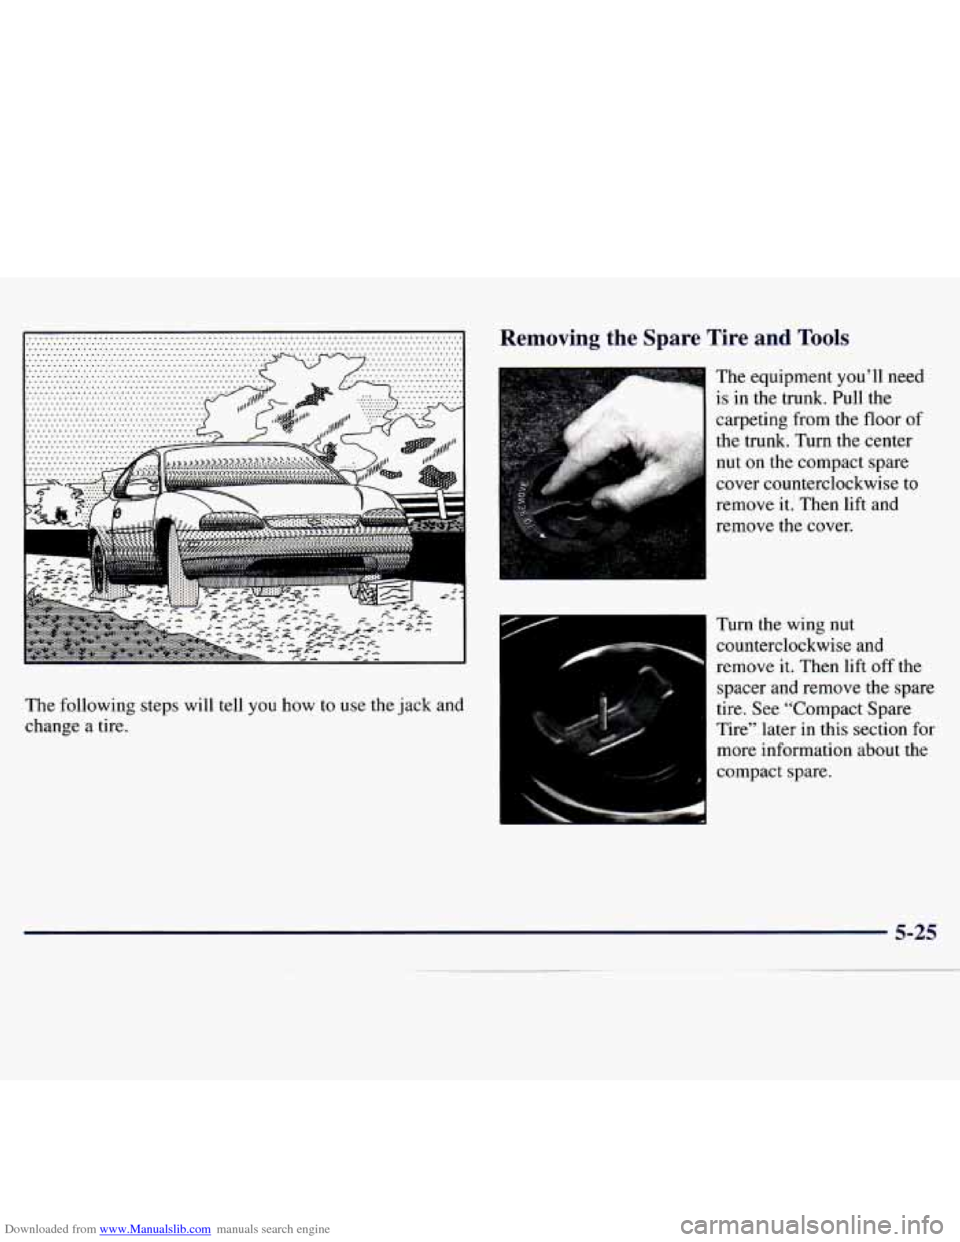
The following steps will tell you how to use the jack and
change a tire.
Removing the Spare Tire and Tools
I The equipment you’ll need
is in the trunk. Pull the
carpeting from the floor of
the trunk. Turn the center
nut on the compact spare
cover counterclockwise to
remove it. Then lift and
remove the cover.
Turn
the wing nut
counterclockwise and
remove it. Then lift
off the
spacer and remove the spare
tire. See “Compact Spare
Tire” later in this section for
more information about the
compact spare.
Page 203 of 358
Downloaded from www.Manualslib.com manuals search engine F '1
" .A
Turn the nut holding the jack and wrench
counterclockwise and remove it. Then remove the jack
and wrench. The
tools you'll be using include the jack (A),
socket (B) and wheel wrench (C).
5-26
Page 205 of 358
Downloaded from www.Manualslib.com manuals search engine Removing the Flat Tire and Installing the
Spare Tire
1. Using the wheel wrench, loosen all the wheel nuts.
Don't remove them yet.
2. Turn the jack handle clockwise to raise the jack lift
head a few inches.
3. Position the jack under
the vehicle and raise the
jack lift head until it fits
firmly into
the notch in
the vehicle's frame
nearest the flat tire.
Put the compact
spare
tire near you.
A CAUTION:
Getting under a vehicle when it is jacked up is I
dangerous. If the vehicle slips off the jack, you !
could be badly injured or killed. Never get under i
a vehicle when it is supported only by a jack.
Page 206 of 358
Downloaded from www.Manualslib.com manuals search engine A CAUTION:
Raising your vehicle with the jack improperly
positioned can damage the vehicle and even make
the vehicle fall.
To help avoid personal injury
and vehicle damage, be sure to fit the jack lift
head into the proper location before raising
the vehicle.
4.
Raise the vehicle by turning the jack handle
clockwise. Raise
the vehicle far enough off the
ground for
the spare tire to fit under the vehicle.
5. Remove all wheel nuts and take off the flat tire.