Page 101 of 356

Downloaded from www.Manualslib.com manuals search engine Interior Lamps
Instrument Panel Brightness Control
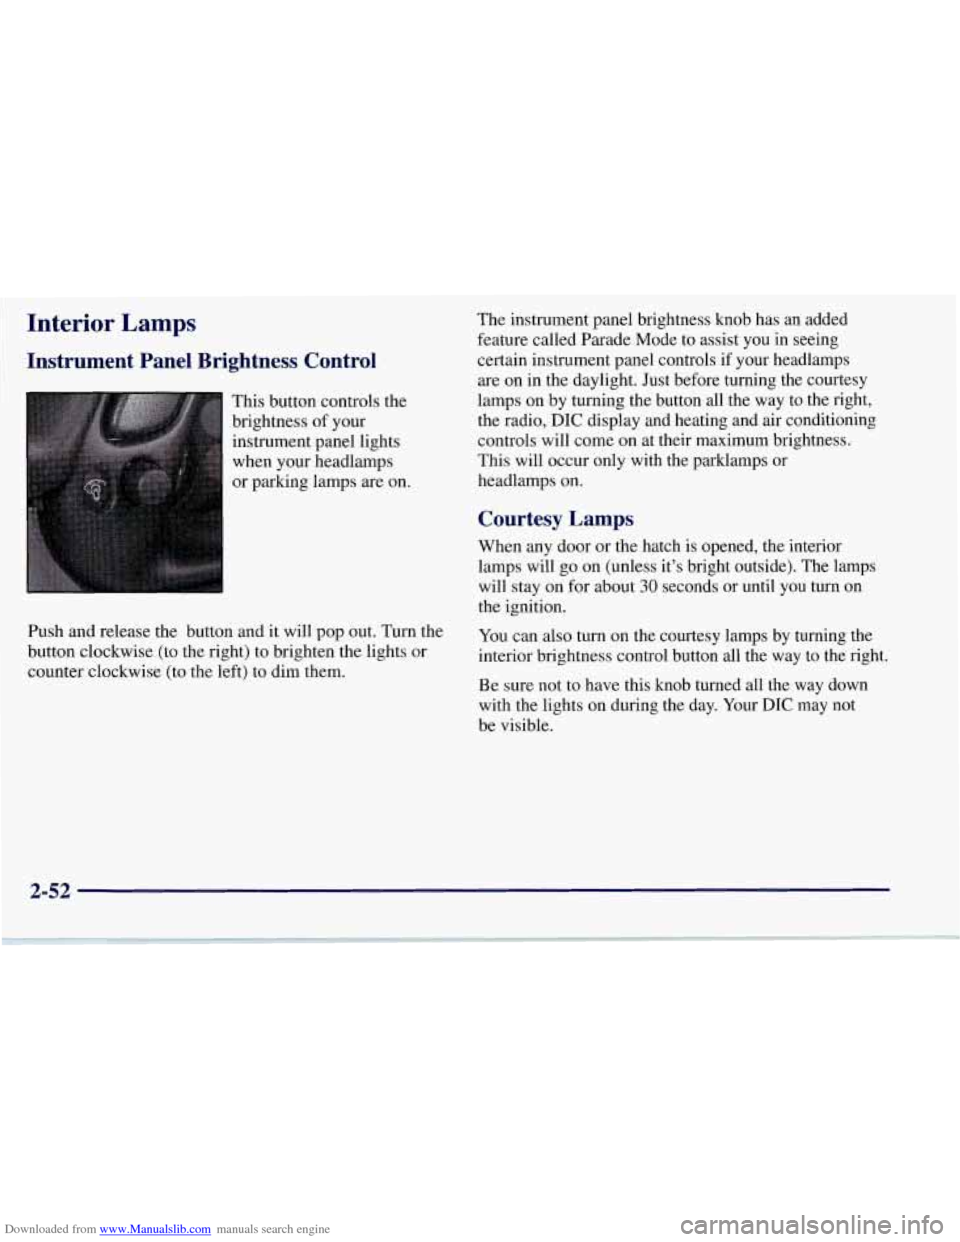
This button controls the
brightness of your
instrument panel lights
when your headlamps
or parking lamps are on.
Push and release the button and it will pop out. Turn the
button clockwise (to the right) to brighten the lights or
counter clockwise (to the left) to dim them. The
instrument panel brightness knob has an added
feature called Parade Mode to assist you in seeing
certain instrument panel controls if your headlamps
are on in the daylight. Just before turning the courtesy
lamps on by turning the button all the way to the right,
the radio,
DIC display and heating and air conditioning
controls will come on at their maximum brightness..
This will occur only with the parklamps or
headlamps on.
Courtesy Lamps
When any door or the hatch is opened, the interior
lamps will go on (unless it’s bright outside). The lamps
will stay on for about
30 seconds or until you turn on
the ignition.
You can also turn on the courtesy lamps by turning the
interior brightness control button all the way to the right.
Be sure not to have this knob turned all the way down
with the lights on during the day. Your
DIC may not
be visible.
2-52
Page 148 of 356
Downloaded from www.Manualslib.com manuals search engine e Section 3 Comfort Controls and Audio Systems
In this section, you’ll find out how to operate the comfort control and audio systems offered with your Corvette. Be
sure to read about the particular systems supplied with your vehicle.
3-2
3-2
3-5
3-1 1
3-12
3-12
3-13
3-13
3-14 Comfort Controls
Manual Comfort
Controls
Automatic Electronic Dual Climate
Control System (Option)
Air Conditioning
Heating
Defogging and Defrosting
Audio Systems
Setting the Clock for All Systems
AM-FM Stereo with Cassette Tape Player
Automatic Tone Control and 3-18
3-18
3
-22
3 -26
3 -28
3-28
3-29
3-30
3-30 CD
Adapter Kits
AM-FM Stereo with Compact Disc Player
and Automatic Tone Control (Option)
Trunk Mounted CD Changer (Option)
Theft-Deterrent Feature
Understanding Radio Reception
Tips About Your Audio System
Care of Your Cassette Tape Player
Care of Your Compact Discs
Integrated Windshield and Rear
Window Antennas
3-1
Page 163 of 356

Downloaded from www.Manualslib.com manuals search engine AUTO TONE: This feature allows you to choose preset
bass and treble equalization settings designed for
country/western, classical, news, rock, pop and jazz
stations.
C/W will appear on the display when you first
press AUTO TONE. Each time you press it, another
setting will appear on the display. Press it again after
JAZZ appears and the AUTO TONE display will go
blank. Tone control will return to the BASS and TREB
knobs. Also,
if you use the BASS and TREB knobs,
control will return to them and the AUTO TONE
display will go blank.
Adjusting the Speakers
BAL: Press this knob lightly so it extends. Turn the
knob to the right for the right speakers and to the left for
the left speakers. The middle position balances the
sound between the speakers.
FADE: Press this knob lightly so it extends. Turn the
knob to the right to adjust the sound to the front
speakers and to the left for the rear speakers. The middle
position balances the sound between the speakers.
Push these knobs back into their stored positions when
you’re not using them.
Playing a Cassette Tape
Your tape player is built to work best with tapes that are
30 to 45 minutes long on each side. Tapes longer than
that
are so thin they may not work well in this player. If
a tape is inserted when the ignition is on but the radio is
off, the tape will begin playing. A tape symbol is shown
in the center of the graphic display whenever a tape is
inserted. When a tape is active, the tape symbol will be
accompanied by a direction arrow.
While the tape is playing, use the
VOL, AUTO TONE,
BAL, FADE, BASS and TREB controls just as you do
for the radio. Other controls may have different
functions when a tape is inserted. The display will show
the tape symbol and an arrow to show which side of the
tape is playing.
If you hear nothing or hear just a garbled sound, it may
not be in squarely. Press EJECT to remove the tape and
start over.
The player is able to detect a tight or broken tape, and
will eject the tape. The radio will go back to playing the
last station selected.
The player automatically senses the cassette for metal
or
Cr02 and sets the pre-emphasis. Anytime a tape is
inserted, the top side is selected to play first.
3-16
Page 299 of 356
Downloaded from www.Manualslib.com manuals search engine /
p4mrnm
SPAREFUSES UNDER HOOD
Fuse Usage
1 Console Cigarette Lighter
2 Monitored (Inadvertent) Load Control
3 Lumbar Seat
4 Driver Seat Control Module
5 Radio
Fuse
6
7
8
9
10
11
12
13
14
15 16
17
18
19
20
21
Usage
Parking Lamps, Taillamps
Cigar Lighter
Stop Hazard Flashers
Body Control Module
Windshield Wipermasher
Accessory Power
Blank Body Control Module
Crank
Hazard/Turn Signal
Air Bag
Blank HVAC Controls
Instrument Panel Control
Cruise Control
Brake Transmission Shift Interlock
6-64
~ . . -
Page 300 of 356
Downloaded from www.Manualslib.com manuals search engine Fuse
22
23
24
25
26
27
28
29
30
31
32
33
34
35 36
37
Usage
Body Control Module - Ignition 3
Body Control Module - Ignition 2
Radio Antenna
Body Control Module
- Ignition I,
Instrument Panel Control
Hatch/Trunk Release
HVAC Controls
Bose Speakers
Diagnostic
Right Door Control Module Power Feed Door Right
Fuel Tank Door
Door Control Module Left
Power Feed Door Left
Driver Power Seat (Circuit Breaker)
Passenger Power Seat (Circuit Breaker)
Micro Relay
- Monitored (Inadvertent)
Load Control 41
42
43
44
45
46
47
48
49
50
51
52
39
40
Fuse Usage
38 Micro Relay - Right Daytime
Running Lamp
Micro Relay
- Hatch Release
Micro Relay -Left Daytime
Running Lamp
Blank
Micro Relay
- Courtesy Lamps
Bose Mini Relay
- Speakers
Mini Relay
- Rear Defogger
Maxifuse
- Ignition 2
Maxifuse - Rear Defogger
Blank
Maxifuse
- Ignition
Maxifuse
- Blower Motor
Starter
Blank Maxi Circuit Breaker
- Headlamps
6-65