1997 CHEVROLET CORVETTE buttons
[x] Cancel search: buttonsPage 55 of 356
Downloaded from www.Manualslib.com manuals search engine The MEMORY buttons are located on the driver’s side
door, above the power mirror buttons. The MEMORY
buttons can store and recall the vehicle settings for up to
three drivers. Use button “1” to store the vehicle settings
for the first driver, button
“2” for a second driver or
press buttons
1 and 2 simultaneously for a third driver.
To store your vehicle settings, press and hold a MEMORY
button. The light will glow steady for one second and then
flash once when
the settings are completed.
To recall your settings, press your MEMORY button.
The light above the button will flash until the correct
vehicle settings
are achieved, then glow for three
seconds when completed.
Your memory settings will also be recalled when
you press the active door UNLOCK button on the
key fob transmitter.
Drivers
1,2 and 3 correspond to the order in which your
key fob transmitters were programmed. (See
“Fob
Training” in the Index).
Memory recall will not
work if the vehicle is moving,
the ignition key is removed or a power seat, mirror or
memory switch is being used. Memory recall will be
temporarily interrupted during engine crank.
Remote Function Actuation System
Your Corvette has a passive/active Remote Function
Actuation (RFA) system that allows you to lock and
unlock your doors, unlock your hatch, turn the panic
alarm on and
off and disarm or arm your theft-deterrent
system. When using one of the key fob transmitters
supplied with your vehicle, the passive range distance
is as much as
30 feet (9 m) away from the vehicle on
the driver’s side and
20 feet (6 m) away on the
passenger’s side. The active range distance is as
much as
100 feet (30 m) away.
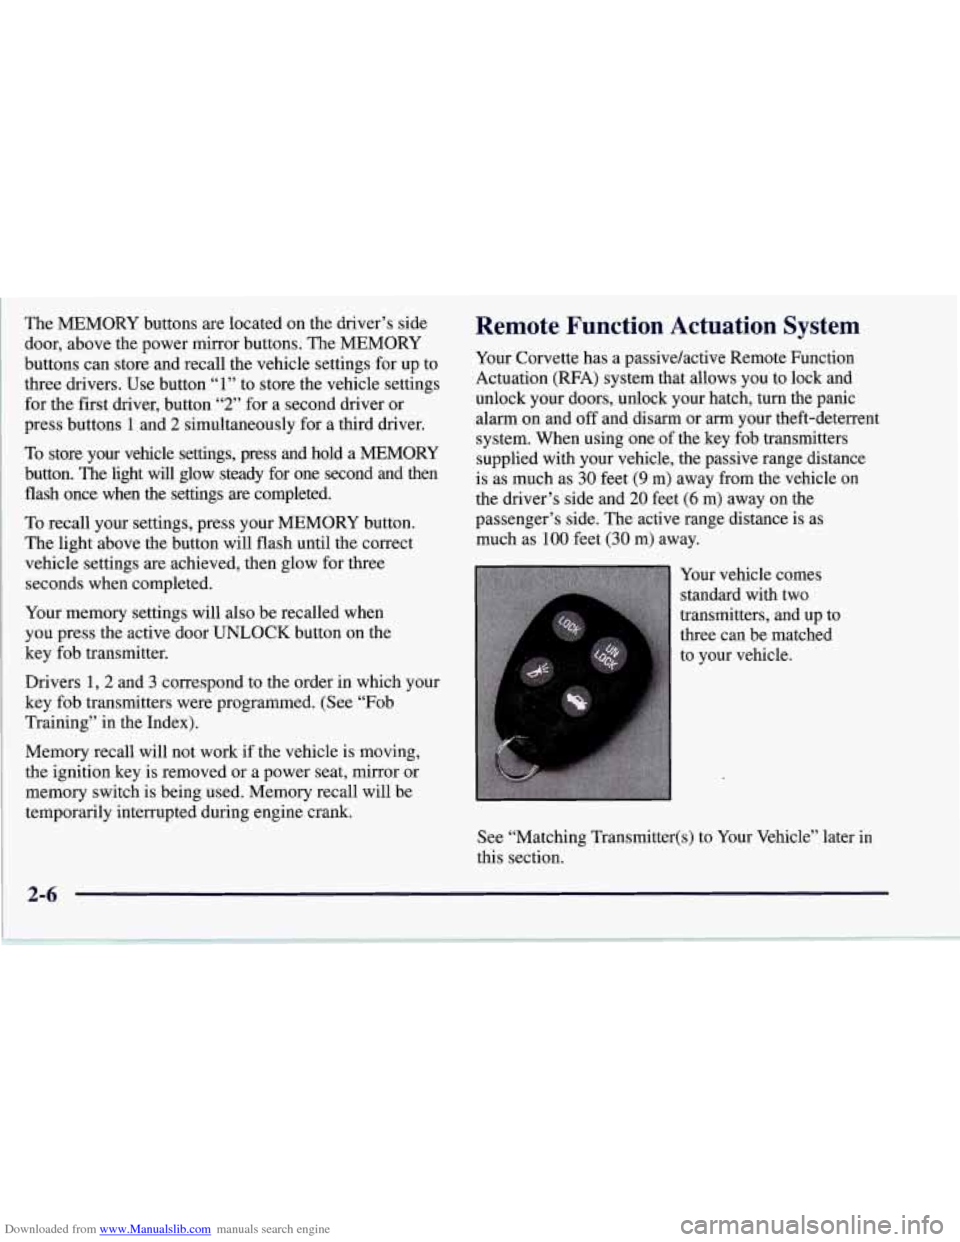
Your vehicle comes
standard with two
transmitters, and up to
three can be matched
to your vehicle.
See “Matching Transmitter(s) to Your
Ve ,
this section. .:le”
later
in
Page 56 of 356
Downloaded from www.Manualslib.com manuals search engine Your RFA system operates on a radio frequency subject
to Federal Communications Commission (FCC) Rules
and with Industry Canada.
This device complies with Part 15 of the FCC Rules.
Operation is subject to the following two conditions:
(1) this device may not cause harmful interference, and
(2) this device must accept any interference received,
including interference that may cause undesired
operation.
This device complies with RSS-210 of Industry Canada.
Operation is subject to the following two conditions:
(1) this device may not cause interference, and (2)
this device must accept any interference received,
including interference that may cause undesired
operation of the device.
If you ever notice
a decrease in the key fob transmitter
range, try doing one of the following:
0 Check to determine if battery replacement is
necessary. See the instructions that follow.
Check the distance. You may be too far from your
vehicle. You may need to stand closer during rainy
or snowy weather.
0
0
0
0
Check the location. Other vehicles or objects may be
blocking the signal. Take a few steps to the left or
right, hold the transmitter higher, and try again.
Check to make sure that an electronic device such as
a cellular phone, lap top computer or garage door
opener is not causing interference.
Try to resynchronize the transmitter by pressing and
holding the LOCK and UNLOCK buttons for seven
seconds when standing next to the vehicle.
If you’re still having trouble, see your Chevrolet
dealer or a qualified technician for service.
Changes or modifications to this system by other than an
authorized service facility could void authorization to
use this equipment.
2-7
Page 57 of 356
Downloaded from www.Manualslib.com manuals search engine Operation
You don’t have to do anything for the RFA to work
when the passive feature is ON.
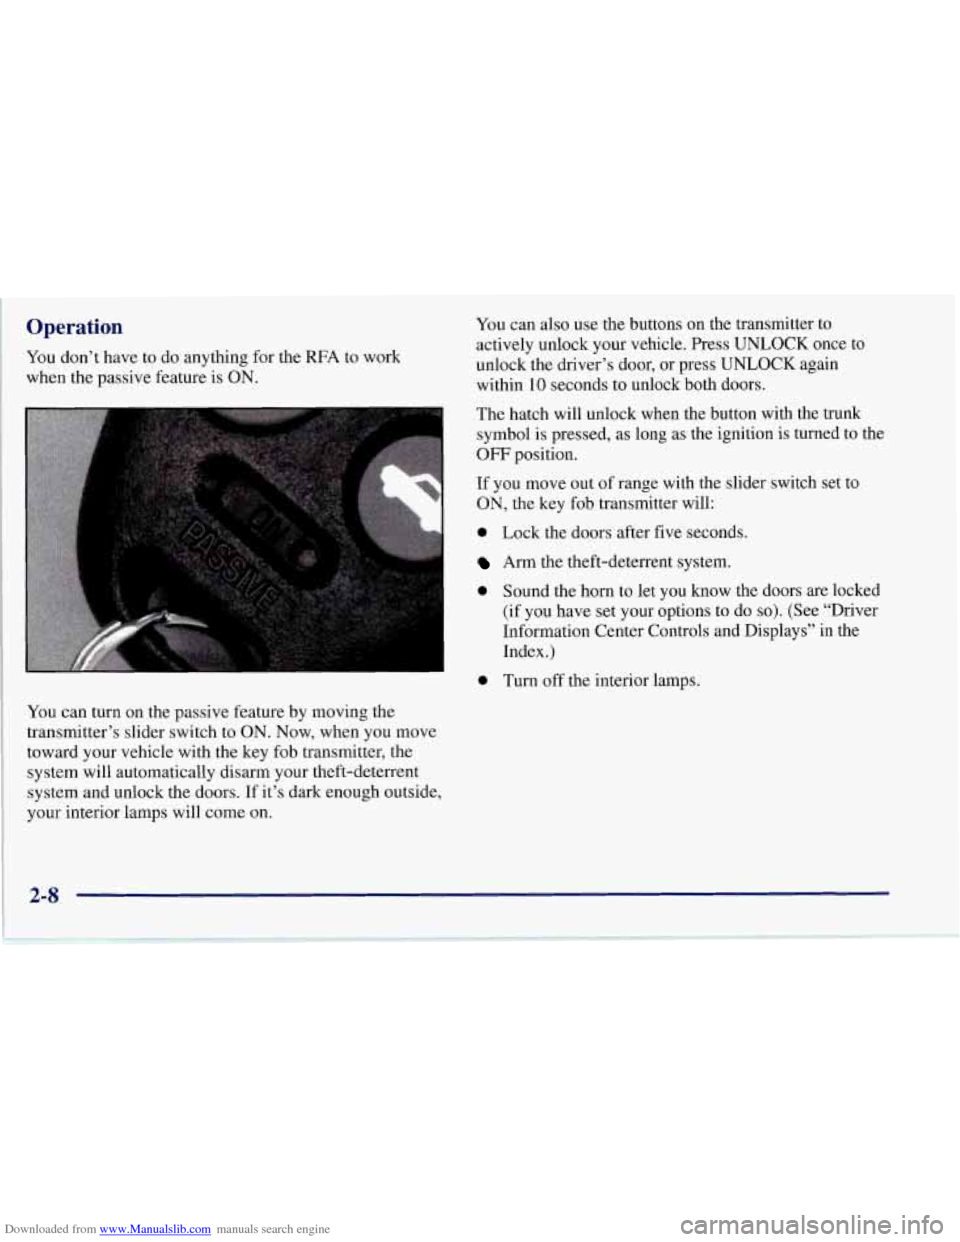
You can turn on the passive feature by moving the
transmitter’s slider switch to
ON. Now, when you move
toward your vehicle with the key fob transmitter, the
system will automatically disarm your theft-deterrent
system and unlock the doors. If it’s dark enough outside,
your interior lamps will come on.
You can also use the buttons on the transmitter to
actively unlock your vehicle. Press UNLOCK once to
unlock the driver’s door, or press UNLOCK again
within 10 seconds to unlock both doors.
The hatch will unlock when the button with the trunk
symbol is pressed, as long as the ignition is turned to the
OFF position.
If you move out of range with the slider switch set to
ON, the key fob transmitter will:
0 Lock the doors after five seconds.
Arm the theft-deterrent system.
0 Sound the horn to let you know the doors are locked
(if you have set your options to do
so). (See “Driver
Information Center Controls and Displays” in the
Index.)
0 Turn off the interior lamps.
Page 59 of 356
Downloaded from www.Manualslib.com manuals search engine Turning the Passive System Off
You can disable the passive feature by moving the
transmitter’s slider switch to
OFF. The vehicle will no
longer automatically disarm your theft-deterrent system
or unlock the doors, however, you will be able to actively
control use
of the door locks, the hatch release and the
panic alarm using the four transmitter buttons. (These
buttons
also work when the passive feature is on.)
Make
sure to fully slide the switch to either side when
turning the key fob transmitter on and off. You should feel
a double click when sliding the switch back and forth.
You can
also check whether the passive system is on
or
off by closing the door and moving away from the
vehicle with the keys and transmitter. If the doors lock,
the passive system is on.
If you are workmg around your vehicle and keeping
your keys with you, you might want to
turn the RFA
passive system off. If you don’t, the transmitter will
keep locking and unlocking your doors.
1
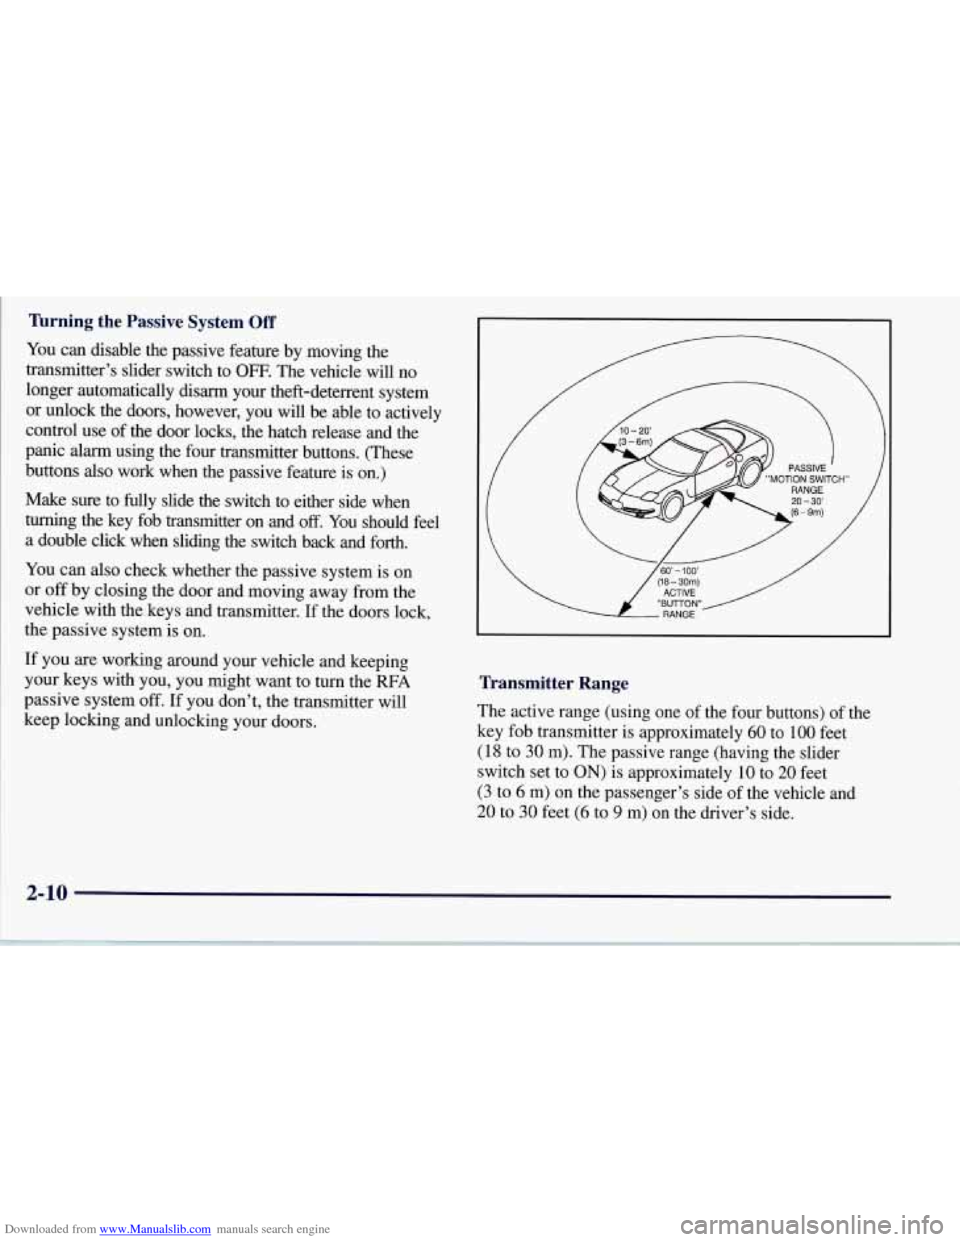
Transmitter Range
The active range (using one of the four buttons) of the
key fob transmitter is approximately
60 to 100 feet
(18 to 30 m). The passive range (having the slider
switch set to
ON) is approximately 10 to 20 feet
(3 to 6 m) on the passenger’s side of the vehicle and
20 to 30 feet (6 to 9 m) on the driver’s side.
2-10
Page 60 of 356

Downloaded from www.Manualslib.com manuals search engine Resynchronizing Your Transmitter
Your WA system uses a continually changing code
for increased security. Normally, the receiver in your
vehicle will keep track of this changing code. If your
vehicle does not respond to your transmitter, do the
following to determine what’s wrong:
1. Get closer to the vehicle and try pressing a button
again. Your battery may be low (If
so, see “Battery
Replacement” in the Index).
LOCK and UNLOCK buttons on your transmitter
at the same time and hold for seven seconds. This
will attempt to resynchronize the security code in
your RFA key fob transmitter.
2. While standing close to your vehicle, press the
3. When resynchronization is achieved, the horn
will chirp.
Loss of synchronization will occur after transmitter
battery replacement or disconnection of the
vehicle’s battery.
If attempts to resynchronize your transmitter to the
vehicle are not successful, you may need to match the
transmitter to the vehicle.
Matching Transmitter(s) To Your Vehicle
Each key fob transmitter is coded to prevent another
transmitter from unlocking your vehicle. If a transmitter
is lost or stolen, a replacement can be purchased
through your dealer. Remember to bring any remaining
transmitters with you when you go to your dealer.
When the dealer matches the replacement transmitter
to your vehicle, any remaining transmitters must also
be matched. Once your dealer has coded the new
transmitter, the lost transmitter will not unlock your
vehicle. Each vehicle can have only three transmitters
matched to it.
To match transmitters to your vehicle:
1. Turn the ignition key to the ON position.
2. Clear any warning messages on the Driver
Information Center (DIC) by pressing the
RESET button.
3. Press the OPTIONS button on the DIC several times
until the blank page is displayed, then press and hold
the RESET button for two seconds.
4. When the message FOB TRAINING is displayed,
push the RESET button once. The message HOLD
LK + UNLK 1ST FOB will be displayed.
2-11
Page 61 of 356
Downloaded from www.Manualslib.com manuals search engine 5. Press and hold the LOCK and UNLOCK buttons on
the transmitter simultaneously for
15 seconds.
6. When a transmitter is learned, the DIC will display
FOB LEARNED and then prompt you to learn the
next transmitter.
7. Repeat Steps 5 and 6 for each additional transmitter.
8. Remove the key from the ignition.
The programming mode will shut
off if
0 You don’t program any transmitters for two minutes.
You take the key out of the ignition.
0 You have programmed three transmitters.
Battery Replacement
Under normal use, the battery in your key fob
transmitter should last about
18 months.
You can tell the battery is weak if the transmitter won’t
work at the normal range in any location. If you have to
get close to your vehicle before the transmitter works,
it’s probably time to change the battery.
NOTICE:
When replacing the battery, use care not to
touch any of the circuitry. Static from your
body transferred to these surfaces may damage
the transmitter.
2-12
Page 118 of 356

Downloaded from www.Manualslib.com manuals search engine A. Turn SignalNultifunction Lever
B. Driver Information Center (DIC)
C. Instrument Panel Cluster
D. Windshield WiperNVasher Lever
E. DIC Buttons
F. Hazard Warning Flasher Button
G. Center Air Vent
H. Audio System
I. Comfort Controls
J. Fog Lamp Button (Option)
K. Remote Hatch Release Button
L. Ignition Switch
M. Shift Lever (Automatic Shown)
N. Traction Control System (TCS) Switch
0. Selective Real Time Damping (Option)
P. Instrument Panel Cupholder
Q. Ashtray & Cigarette Lighter
R. Remote Fuel Door Release Button
S. Parking Brake
T. Glove Box
U. Instrument Panel Fuse Block
V. Power Accessory Outlet
2-69
Page 130 of 356

Downloaded from www.Manualslib.com manuals search engine Driver Information Center (DIC)
The Driver Information Center (DIC) will display
information about how your vehicle is functioning, as
well as warning messages if a system problem is
detected. The DIC display area is located in the
instrument cluster below the speedometer and
tachometer, directly above the steering column.
The following buttons are on the DIC control panel
which is located to the right of the cluster:
1 FUEL: Press this button to display fuel information
such as fuel economy and range.
2 GAGES: Use this button to display gage information
like oil pressure and temperature, coolant temperature,
transmission fluid temperature, battery voltage and
fronurear tire pressures.
3 TRIP: Use this button to display your total and trip
miles, the elapsed time function, your average speed and
the oil life.
4 OPTIONS: This button allows you to choose personal
options available with your vehicle such as security,
door locks, easy entry seats and language.
5 EM: Use this button to change the display between
English and metric units.
RESET: This button, used along with the other buttons,
will reset system functions and turn off or acknowledge
messages on the DIC.
At the top
of the DIC control buttons is a light sensor.
Be sure not to block the sensor or your lighting
functions may be disrupted.
2-81