Page 266 of 356
Downloaded from www.Manualslib.com manuals search engine Brake Wear
Your Corvette has four-wheel disc brakes.
Disc brake pads have built-in wear indicators that
make a high-pitched warning sound when the brake
pads are worn and new pads are needed. The sound may
come and go or be heard all the time your vehicle is
moving (except when you
are pushing on the brake
pedal firmly).
The brake wear warning sound means that soon
your brakes won’t work well. That could lead
to
an accident. When you hear the brake wear
warning sound, have your vehicle serviced.
NOTICE:
Continuing to drive with worn-out brake pads
could result in costly brake repair.
Some driving conditions or climates may cause a brake
squeal when the brakes are first applied or lightly
applied. This does not mean something is wrong with
your brakes.
Brake linings should always be replaced as complete
axle sets.
See “Brake System Inspection” in Section
7 of this
manual under Part
C “Periodic Maintenance
Inspections.”
Brake Pedal Travel
See your dealer if the brake pedal does not return to
normal height, or if there is a rapid increase in pedal
travel. This could be a sign of brake trouble.
Brake Adjustment
As you make brake stops, your disc brakes
automatically adjust for wear.
6-31
Page 269 of 356
Downloaded from www.Manualslib.com manuals search engine 3.
4.
5.
Remove the screws on each side of the headlamp
bezel.
Open the hood.
To remove the bezel, pull the sides slightly outward
and
tilt the bezel forward. Pull the clip centered
above the lens outward. Be careful not to scratch
the paint.
6. Reach behind the lamp and turn the bulb to the
left
to remove it. Don’t touch the halogen bulbs.
The inner bulb is the high beam and the outer bulb
is the low beam.
7. Disconnect the desired bulb from the wiring harness.
8. Reverse the steps with a new bulb.
6-34
Page 281 of 356
Downloaded from www.Manualslib.com manuals search engine If you ever replace your tires with those not having a
TPC Spec number, make sure they are the same size,
load range, speed rating and construction type (bias,
bias-belted or radial) as your original tires.
I CAJTION:
Mixing tires could cause you to lose control while
driving.
If you mix tires of different sizes (other
than those originally installed on your Corvette)
or types (radial and bias-belted tires), the vehicle
may not handle properly, and you could have a
crash. Using tires of different sizes (other than
those originally installed on your Corvette) may
also cause damage to your vehicle. Be sure to use
the correct size and type tires on all four wheels.
Uniform Tire Quality Grading
The following information relates to the system
developed by the United States National Highway
Traffic Safety Administration, which grades tires by
treadwear, traction and temperature performance. (This
applies only to vehicles sold in the United States.) The
grades are molded on the sidewalls of most passenger
car tires. The Uniform Tire Quality Grading system does
not apply to deep tread, winter-type snow tires,
space-saver or temporary use spare tires, tires with
nominal rim diameters
of 10 to 12 inches (25 to 30 cm),
or to some limited-production tires.
While the tires available on General Motors passenger
cars and light trucks may vary with respect to these
grades, they must also conform to Federal safety
requirements and additional General Motors Tire
Performance Criteria
(TPC) standards.
If
you feel that winter tires are needed, see “Extended
Mobility Tires” in the Index.
Page 288 of 356
Downloaded from www.Manualslib.com manuals search engine Cleaning Coated Moldings
These moldings are around the hatch opening in your
Corvette’s rear area.
0 When lightly soiled, wipe with a sponge or soft
When heavily soiled, use warm soapy water.
lint-free cloth dampened with
water.
You can remove scratches from a coated molding by
wiping briskly with the solvent-type cleaner described
earlier. If a ring forms, repeat the procedure over a larger
area, wiping toward the center of the ring. If the ring
still remains, wipe the whole molding.
Cleaning Leather
Use a soft cloth with lukewarm water and a mild soap or
saddle soap and wipe dry with a soft cloth. Then, let the
leather dry naturally.
Do not use heat to dry.
0 For stubborn stains, use a leather cleaner. See your
Never use oils, varnishes, solvent-based or abrasive
dealer
for this product.
cleaners, furniture polish or shoe polish on leather.
immediately. If dirt
is allowed to work into the
finish, it can harm the leather.
Soiled or stained leather should be cleaned
Cleaning the Top of the Instrument Panel
Use only mild soap and water to clean the top surfaces
of the instrument panel. Sprays containing silicones or
waxes may cause annoying reflections in the windshield
and even make it difficult to see through the windshield
under certain conditions.
Cleaning Soft-Touch Paint Surfaces
Use only mild soap and water to clean the Soft-Touch
paint surfaces
in your Corvette.
Cleaning the Security Shade and
Convenience Net
Wash with warm water and mild detergent, rinse with
cold water and tumble dry on low.
Do not use chlorine
bleach.
6-53
Page 298 of 356
Downloaded from www.Manualslib.com manuals search engine Fuses and Circuit Breakers
The wiring circuits in your vehicle are protected from
short circuits by a combination of maxi-fuses,
mini-fuses and circuit breakers. This greatly reduces the
chance of fires caused by electrical problems.
Look at the silver-colored band inside the fuse. If the
band is broken or melted, replace the fuse. Be sure you
replace a bad fuse with a new one of the identical size
and rating.
If you ever have a problem on the road and don’t have a
spare fuse, you can borrow one that has the same
amperage. Just pick some feature of your vehicle that
you can get along without
-- like the radio or cigarette
lighter
-- and use its fuse, if it is the correct amperage.
Replace it as soon as you can.
Instrument Panel Fuse Block
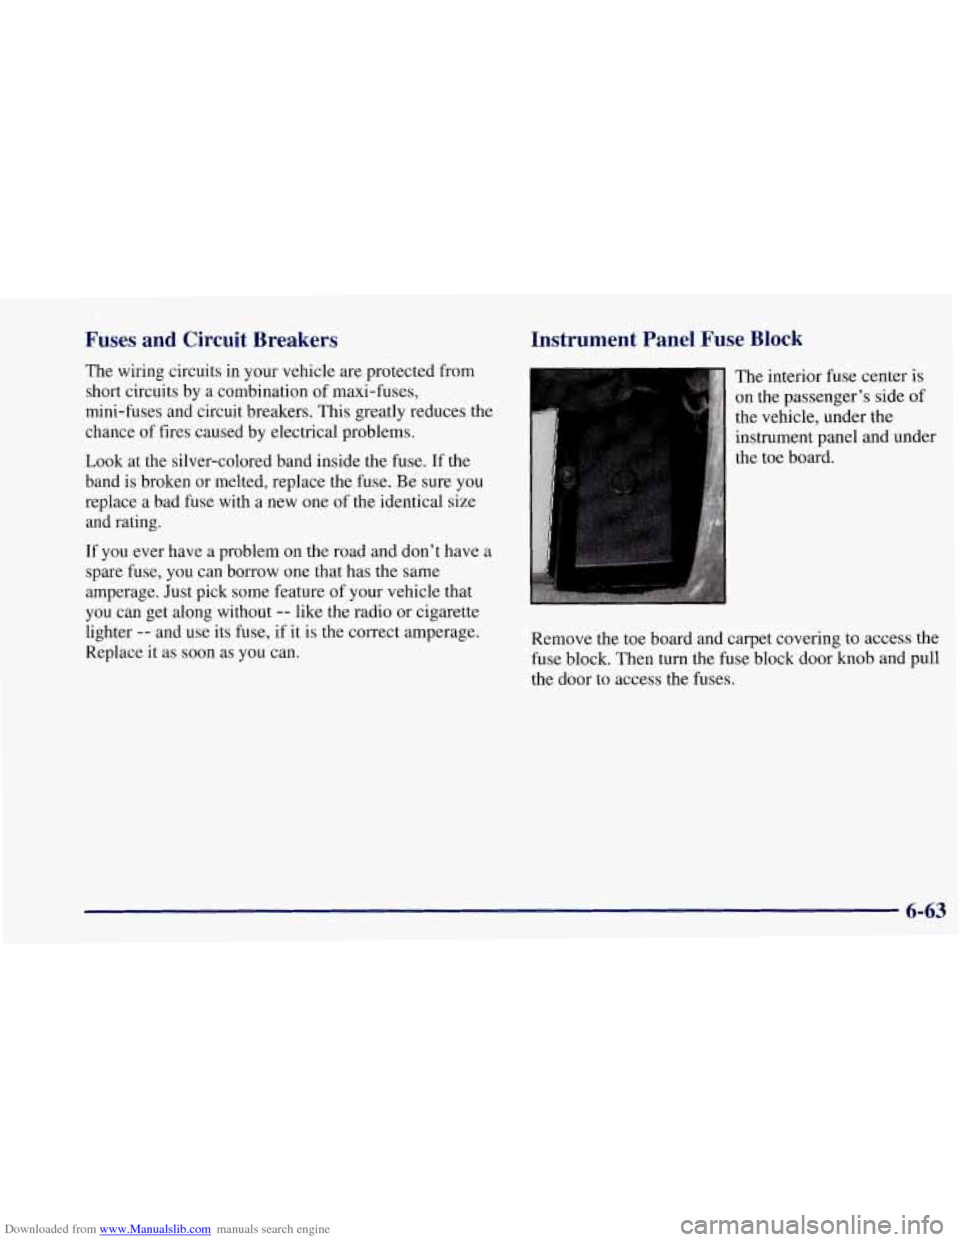
The interior fuse center is
on the passenger’s side of
the vehicle, under the
instrument panel and under
the toe board.
Remove the toe board and carpet covering
to access the
fuse block. Then turn the fuse block door
knob and pull
the door to access the fuses.
6-63
Page 299 of 356
Downloaded from www.Manualslib.com manuals search engine /
p4mrnm
SPAREFUSES UNDER HOOD
Fuse Usage
1 Console Cigarette Lighter
2 Monitored (Inadvertent) Load Control
3 Lumbar Seat
4 Driver Seat Control Module
5 Radio
Fuse
6
7
8
9
10
11
12
13
14
15 16
17
18
19
20
21
Usage
Parking Lamps, Taillamps
Cigar Lighter
Stop Hazard Flashers
Body Control Module
Windshield Wipermasher
Accessory Power
Blank Body Control Module
Crank
Hazard/Turn Signal
Air Bag
Blank HVAC Controls
Instrument Panel Control
Cruise Control
Brake Transmission Shift Interlock
6-64
~ . . -
Page 312 of 356
Downloaded from www.Manualslib.com manuals search engine Maintenance Schedule
The services shown in this schedule up to 100,000 miles
(160
000 km) should be performed after 100,000 miles
(160
000 km) at the same intervals. The services shown
at
150,000 miles (240 000 km) should be performed at
the same interval after 150,000 miles
(240 000 km).
See “Owner Checks and Services” and “Periodic
Maintenance Inspections” following.
Footnotes
f The U.S. Environmental Protection Agency or the
California Air Resources Board has determined that the
failure to perform
this maintenance item will not nullify
the emissions warranty
or limit recall liability prior to
the completion of the vehicle’s useful life. We, however,
urge that all recommended maintenance services be
performed at the indicated intervals and the maintenance
be recorded.
* Your Corvette has an Engine Oil Life Monitor. This
monitor will show you when to change the
oil -- usually
between
3,000 miles (5 000 km) and 10,000 miles
(1
6 000 km) since your last oil change. Under
severe conditions, the indicator may come on before
3,000 miles (5 000 km). Never drive your vehicle
more than
10,000 miles (16 000 km) or 12 months
without an oil change. Use engine oil meeting the
GM Standard
GM47 18M.
The Engine Oil Life Monitor won’t detect dust in the
oil.
So if you drive in a dusty area, be sure to change
your oil every
3,000 miles (5 000 km) or sooner if the
CHANGE
OIL light comes on. Remember to reset the
Oil Life Monitor when the oil has been changed. For
more information,
see “Engine Oil Life Monitor” in
the Index.
7-5
Page 321 of 356
Downloaded from www.Manualslib.com manuals search engine At Least *ice a Year
Restraint System Check
Make sure the safety belt reminder light and all your
belts, buckles, latch plates, retractors and anchorages are
working properly. Look for any other loose or damaged
safety belt system parts. If you see anything that might
keep a safety belt system from doing its job, have it
repaired. Have any torn or frayed safety belts replaced.
Also look for any opened or broken air bag coverings,
and have them repaired or replaced. (The air bag system
does not need regular maintenance.)
Wiper Blade Check
Inspect wiper blades for wear or cracking. Replace blade
inserts that appear worn or damaged or that streak or
miss areas of the windshield. Also see “Wiper Blades,
Cleaning’’
in the Index.
Manual Transmission Check
Check the transmission fluid level; add if needed. See
“Manual Transmission” in the Index. Check for leaks. A
fluid
loss may indicate a problem. Have the system
inspected and repaired if needed.
Automatic Transmission Inspection
It is not necessary to check the transmission fluid level.
A transmission fluid leak is the only reason for fluid
loss. Check for leaks. If a leak occurs, take the vehicle to
your Chevrolet dealership Service Department and have
it repaired as soon as possible.
At Least Once a Year
Key Lock Cylinders Service
Lubricate the key lock cylinders with the lubricant
specified in Part D.
Body Lubrication Service
Lubricate all body door hinges. Also lubricate all hinges
and latches, including those for the hood, rear
compartment, console door and any folding seat
hardware. Part
D tells you what to use. More frequent
lubrication may be required when exposed to a
corrosive environment.