1997 CHEVROLET CORVETTE ignition
[x] Cancel search: ignitionPage 123 of 356
Downloaded from www.Manualslib.com manuals search engine If the light comes on while you are driving, and you
have a LOW BRAKE FLUID message showing on the
DIC, pull off the road and stop carefully. You may
notice that the pedal is harder to push. Or, the pedal may
go closer to the floor. It may take longer to stop. If the
light
is still on, have the vehicle towed for service. (See
“Towing Your Vehicle” in the Index.)
A C WTION:
Your brake system may not be working properly
if the brake warning light is on. Driving with the
brake warning light
on can lead to an accident.
If the light is still on after you’ve pulled off the
road and stopped carefully, have the vehicle
towed for service.
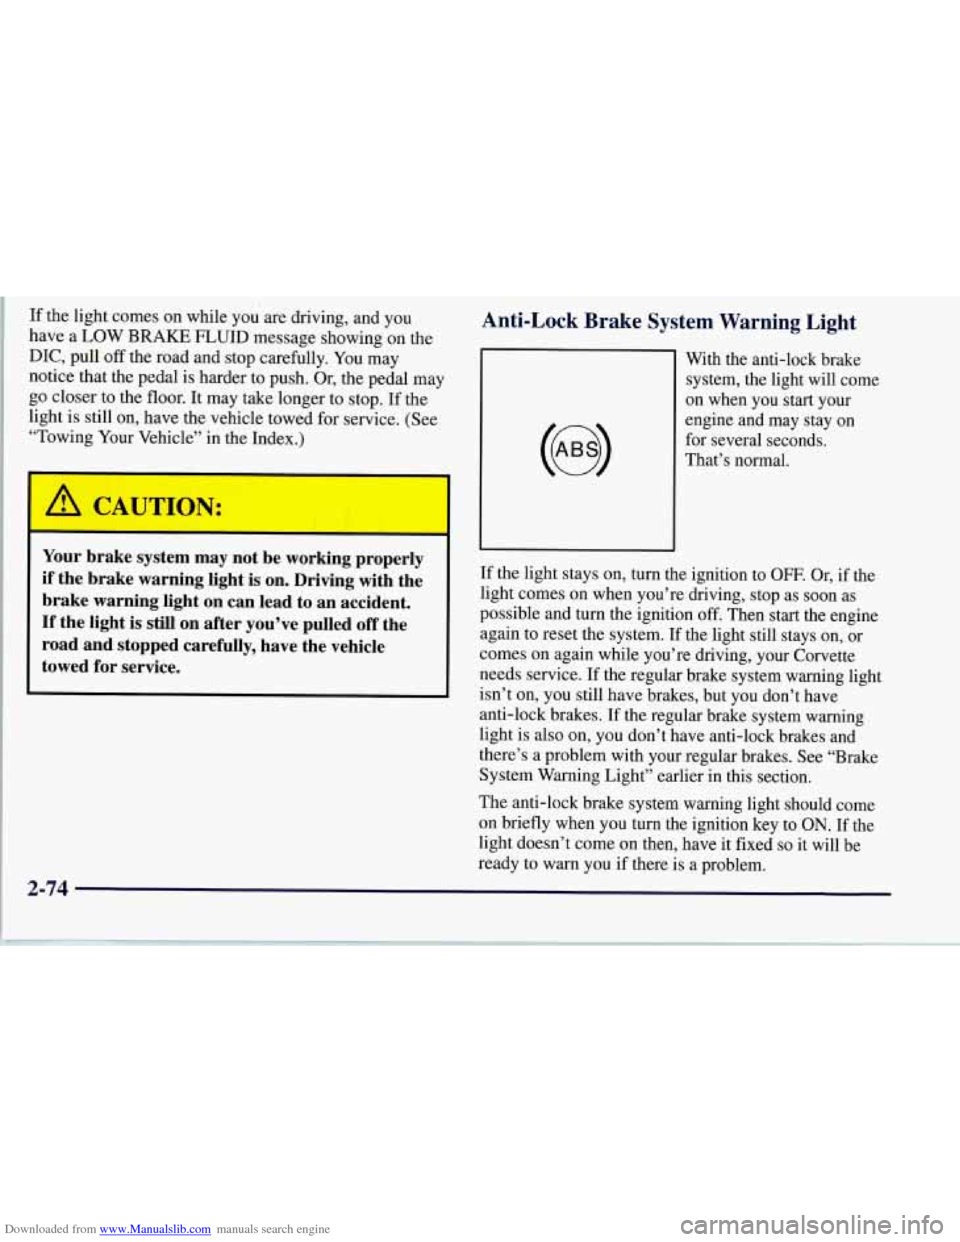
Anti-Lock Brake System Warning Light
With the anti-lock brake
system, the light will come
on when you start your
engine and may stay on
for several seconds.
That’s normal.
If the light stays on, turn the ignition to
OFF. Or, if the
light comes on when you’re driving, stop as soon as
possible and turn the ignition off. Then start the engine
again to reset the system.
If the light still stays on, or
comes on again while you’re driving, your Corvette
needs service.
If the regular brake system warning light
isn’t on, you still have brakes, but you don’t have
anti-lock brakes. If the regular brake system warning
light is also on, you don’t have anti-lock brakes and
there’s a problem with your regular brakes. See “Brake
System Warning Light” earlier in this section.
The anti-lock brake system warning light should come
on briefly when you turn the ignition key to
ON. If the
light doesn’t come on then, have it fixed
so it will be
ready to warn you if there is a problem.
2-74
Page 125 of 356
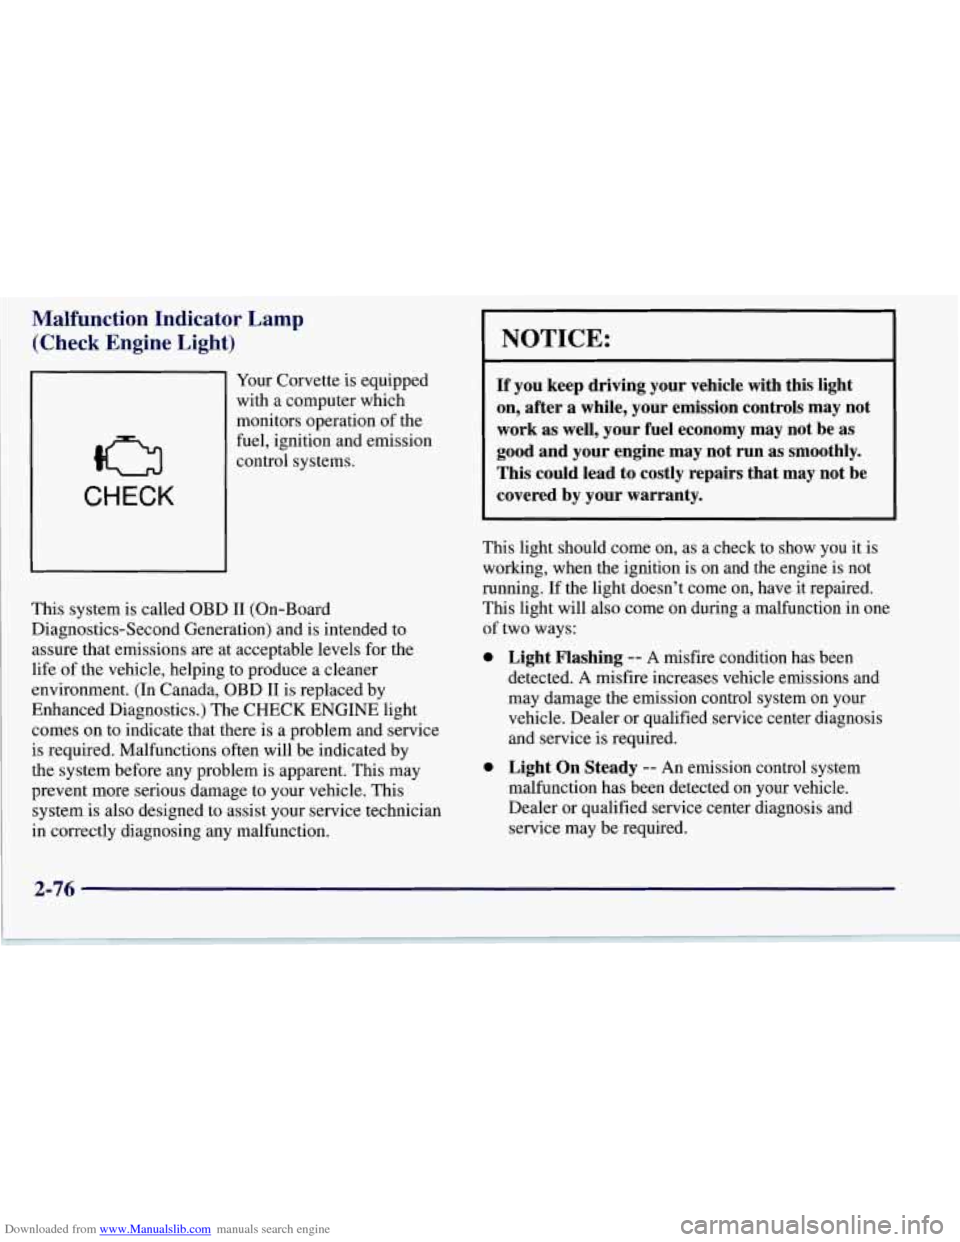
Downloaded from www.Manualslib.com manuals search engine Malfunction Indicator Lamp (Check Engine Light)
CHECK
Your Corvette is equipped
with a computer which
monitors operation of the
fuel, ignition and emission
control systems.
This system is called OBD I1 (On-Board
Diagnostics-Second Generation) and is intended to
assure that emissions are at acceptable levels for the
life of the vehicle, helping
to produce a cleaner
environment. (In Canada, OBD
I1 is replaced by
Enhanced Diagnostics.) The CHECK ENGINE light
comes on to indicate that there
is a problem and service
is required. Malfunctions often will be indicated by
the system before any problem is apparent. This may
prevent more serious damage to your vehicle. This
system
is also designed to assist your service technician
in correctly diagnosing any malfunction.
NOTICE:
If you keep driving your vehicle with this light
on, after a while, your emission controls may not
work as well, your fuel economy may not be as
good and your engine may not run as smoothly. This could lead to costly repairs that may not be
covered by your warranty.
This light should come on, as a check to show you it is
working, when the ignition is on and the engine is not
running. If the light doesn’t come on, have it repaired.
This light will also come on during a malfunction in one
of two ways:
0
0 Light Flashing -- A misfire condition has been
detected. A misfire increases vehicle emissions and
may damage the emission control system on your
vehicle. Dealer or qualified service center diagnosis
and service
is required.
Light On Steady -- An emission control system
malfunction has been detected on your vehicle.
Dealer or qualified service center diagnosis and
service may be required.
2-76
Page 128 of 356
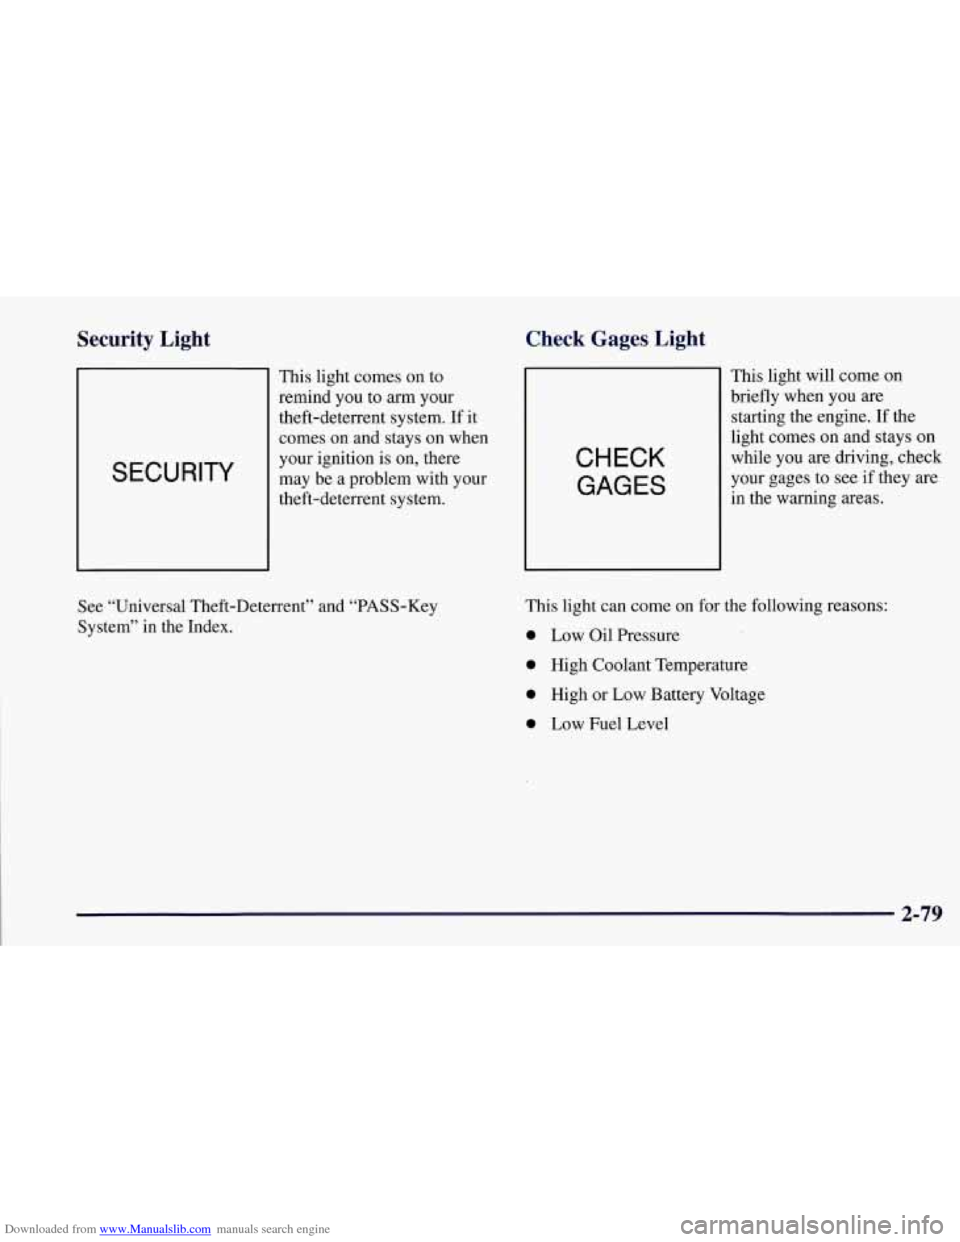
Downloaded from www.Manualslib.com manuals search engine Security Light
SECURITY
This light comes on to
remind you
to arm your
theft-deterrent system. If it
comes
on and stays on when
your ignition
is on, there
may be a problem with your
theft-deterrent system.
Check Gages Light
CHECK
GAGES
This light will come on
briefly when you
are
starting the engine. If the
light comes on and stays on
while you are driving, check
your gages to see if they are
in the warning areas.
See “Universal Theft-Deterrent” and “PASS-Key
System” in the Index. This light can
come
on for the following reasons:
0 Low Oil Pressure
0 High Coolant Temperature
0 High or Low Battery Voltage
0 Low Fuel Level
2-79
Page 131 of 356
Downloaded from www.Manualslib.com manuals search engine DIC Controls and Displays
Turn on the system by turning the ignition to ON. When
you turn on the ignition, the DIC will be in the mode last
displayed when the engine was turned off. Each DIC
button allows you to scroll through a menu. A blank
page ends each menu.
If a problem is detected, a diagnostic message will
appear on the display. Press RESET to acknowledge any
current warning or service messages. The following
pages will show the messages you can see on the DIC
display by pressing the DIC buttons.
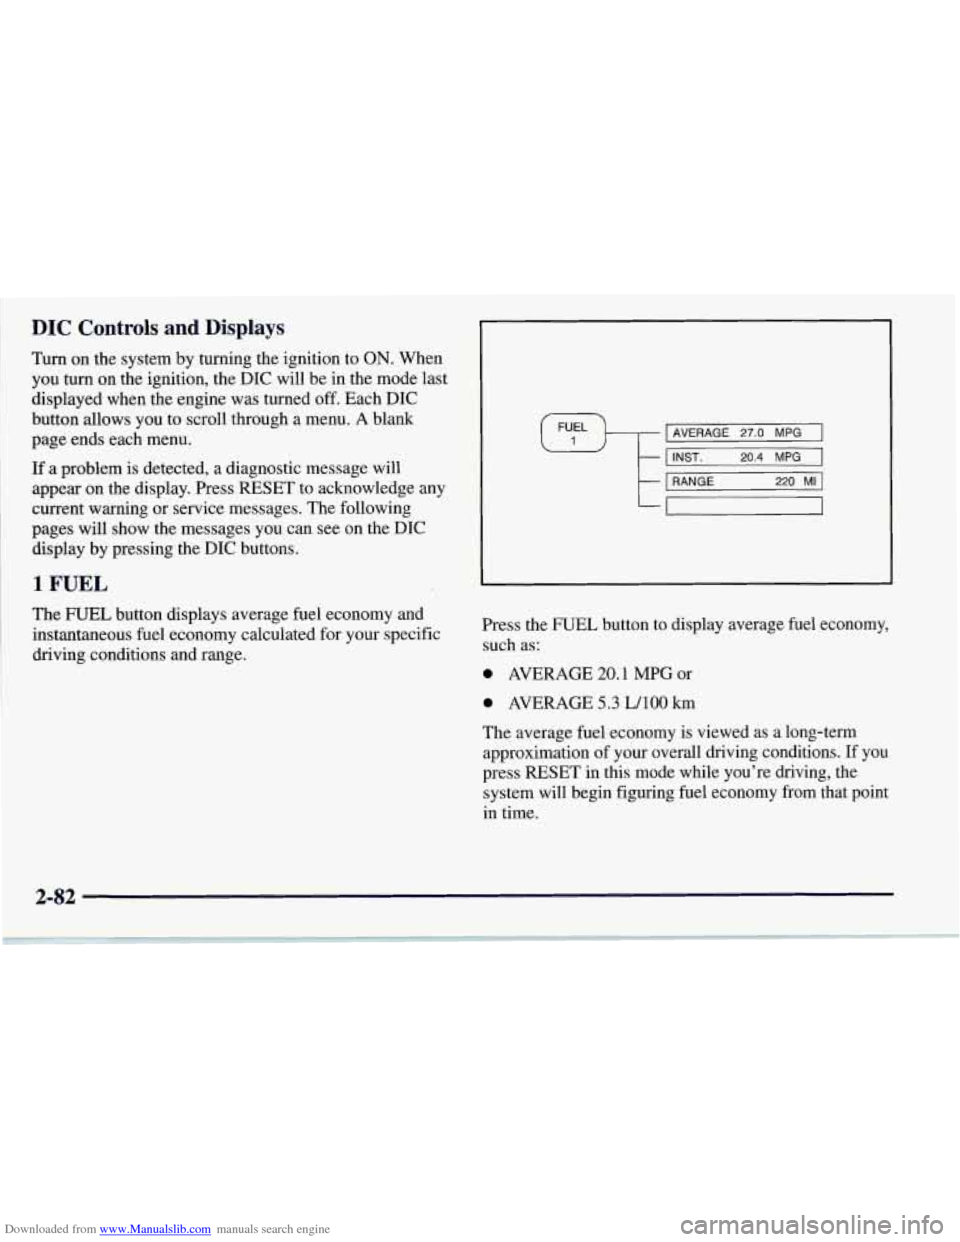
1 FUEL
The FUEL button displays average fuel economy and
instantaneous fuel economy calculated for your specific
driving conditions and range.
I AVERAGE 27.0 MPG I \#/ I I INST. 20.4 MPG 1 I I I
t
1 RANGE 220 MI 1
-
Press the FUEL button to display average fuel economy,
such as:
0 AVERAGE 20.1 MPG or
0 AVERAGE 5.3 LAO0 km
The average fuel economy is viewed as a long-term
approximation of your overall driving conditions. If you
press
RESET in this mode while you're driving, the
system will begin figuring fuel economy from that point
in time.
Page 134 of 356

Downloaded from www.Manualslib.com manuals search engine Odometer Miles Since Last Ignition Feature
You can also display number of miles driven since you
last started the car if you press and hold the RESET
button for two seconds, then release. The miles (or
kilometers) since the last ignition cycle will be set
into the trip odometer.
The odometer shows
how far your vehicle has been
driven in either miles or kilometers. Press the TRIP
button to display odometer readings such as:
0 ODOMETER 12345 MI or
0 ODOMETER 20008 km
Without the keys being in the ignition, you can also
display the odometer by turning on the parking lamps.
Trip Odometers
There are two trip odometers. Press the TRIP button
and TRIP
A will be displayed. Press it again and TRIP
B will be displayed. TRIP A could be used to track the
distance to a destination. TRIP
B could be used to track
maintenance periods.
0 TRIP A 130.5 MI or
0 TRIP A 209.9 km
0 TRIP B 300.5 MI or
0 TRIP B 483.5 km
The trip odometers can be reset by pushing the RESET
button on the DIC.
Both of the trip odometers can be
used simultaneously.
Elapsed Time
When the ignition is in the ON position, the DIC can
be used as a stopwatch. The display can show hours,
minutes, seconds and hundredths of a second. The
elapsed time indicator will record up to 99 hours,
59 minutes and 59 seconds, then it will reset to zero
and continue counting. (Hundredths
are shown up to
59 minutes, 59 seconds and 99 hundredths). The
display appears as
ELAP. TIME 00: 00 : 00 in the
elapsed time function.
You can start or stop the elapsed time by pressing
RESET. To reset the elapsed time to zero, stop the
timer by pressing RESET. Then press and hold
RESET for two seconds and release.
2-85
Page 135 of 356
Downloaded from www.Manualslib.com manuals search engine Average Speed
Press the TRIP button until the average speed is
displayed, such as:
AVERAGE SPEED 62 MPH or
AVERAGE SPEED 100 km/h
Press reset in this mode to start calculating the average
speed. Press and hold RESET to clear.
Engine Oil Life
Press the TRIP button until the engine oil life is
displayed, such as OIL LIFE REMAIN
89%.
This is an estimate of the engine oil’s remaining useful
life. It will show
99% when the system is reset after
an oil change. It will alert you to change your oil
on
a schedule consistent with your driving conditions.
When the remaining oil life is low, the system will
alert you with a message CHANGE
OIL SOON.
When the oil life is down to zero, you will receive the
message CHANGE OIL NOW. To
reset the OIL LIFE reminder after an oil change:
1. With the ignition on, press the TRIP button so the
OIL LIFE percentage is displayed.
2. Press RESET and hold for two seconds. The word
RESET will appear, then
OIL LIFE 99%.
Remember, you must reset the OIL LIFE yourself after
each oil change. It will not reset itself. Also, be careful
not to reset the
OIL LIFE accidentally at any time other
than when the oil has just been changed. It can’t be reset
accurately until the next oil change.
The DIC does not replace the need to maintain your
vehicle as recommended in the Maintenance Schedule
in this manual. Also, the oil change reminder will not
detect dusty conditions or engine malfunctions that may
affect the oil. If you drive in dusty areas, change your
oil after every
3,000 miles (5 000 km) or three months,
whichever occurs first, unless the DIC instructs you to
do
so sooner. Also, the oil change reminder does not
measure how much
oil you have in your engine, so be
sure to check your oil level often. See “Engine Oil” in
the Index.
2-86
Page 138 of 356
Downloaded from www.Manualslib.com manuals search engine Auto Lock
Press the OPTIONS button until AUTO LOCK appears
on the display, then use the RESET button to page
through the following choices:
AUTO LOCK ON
AUTO LOCK OFF
If you choose AUTO LOCK ON, both doors will
automatically lock when the vehicle exceeds
10 mph
(16 krn/h) in a manual transmission. In a vehicle with
an automatic transmission, both doors will automatically
lock when you move the shifter out of PARK (P).
Choose AUTO LOCK OFF to turn this option off.
Auto Unlock
The AUTO UNLOCK will be available only if AUTO
LOCK
is set to ON.
Press the OPTIONS button until AUTO UNLOCK
appears on the display, then use the RESET button to
page through the following choices:
AUTO UNLOCK - DRIVER
AUTO UNLOCK - BOTH
AUTO UNLOCK OFF If you
choose AUTO UNLOCK- DRIVER, the driver’s
door will automatically unlock when you turn the
vehicle
off and pull the key out of the ignition.
Choose AUTO UNLOCK
- BOTH, and both doors will
automatically unlock when you turn the vehicle
off and
pull the key out of the ignition.
AUTO UNLOCK OFF turns
off this option.
Easy Entry
The easy entry feature will only be available if the
vehicle is equipped with the memory option.
Press the OPTIONS button until SEAT EASY ENTRY
appears on the display, then use the RESET button to
page through the following choices:
SEAT EASY ENTRY ON
0 SEAT EASY ENTRY OFF
If you choose SEAT EASY ENTRY ON, when you
turn the ignition off and remove the key, the seat will
automatically move back for an easy exit or an easy
entrance when returning to the vehicle.
SEAT EASY ENTRY OFF turns
off this option.
2-89
Page 140 of 356

Downloaded from www.Manualslib.com manuals search engine ABS ACTIVE (Anti-Lock Brake System Active):
When your anti-lock system is adjusting brake pressure
to help avoid a braking skid, the ABS ACTIVE message
will be displayed.
Slippery road conditions may exist
if this message is
displayed,
so adjust your driving accordingly. The
message will stay on for a few seconds after the system
stops adjusting brake pressure.
SERVICE ABS (Anti-Lock Brake System): If the
SERVICE ABS message is displayed when you are
driving, stop as soon as possible and turn the ignition
off. Then start the engine again to reset the system. If
the message stays on, or comes back on again while you
are driving, your vehicle is in need of service.
If the
regular brake system warning light isn’t on, you still
have brakes, but don’t have anti-lock brakes. If the
regular brake system light is also on, you don’t have
anti-lock brakes and there is a problem with your
brakes. See “Brake System Warning Light” earlier in
this section.
SERVICE COLUMN LOCK: The system that
controls the locking and unlocking of the steering
column may
not work properly. Have the vehicle
towed to a dealer for service.
LOW OIL PRESSURE: You will hear four chimes
and the CHECK GAGES telltale will come
on when
this message is displayed. To acknowledge the warning,
press the RESET button. After you press the RESET
button, a message will be displayed and you will hear a
chime every minute until the vehicle
is serviced. If you
do not press RESET, the message will remain on the
digital display until the vehicle
is serviced.
Low oil pressure may be the result of a combination
of low oil level and abrupt changes in the vehicle’s
direction. When this warning
is displayed, you should
not operate
the engine at high RPM or make fast abrupt
moves. When convenient, you should check the oil
level. See “Engine Oil” in the Index.
LOW OIL LEVEL: Press RESET to acknowledge that
you have read the message and to remove it from the
display. The message will reappear every
10 minutes
until this condition changes.
You will hear two chimes when this message is
displayed.
If this message appears after starting your
engine, your engine oil level may be too low. You may
need to add oil. See “Engine Overheating” in the Index.
2-91