1997 CHEVROLET CORVETTE check engine
[x] Cancel search: check enginePage 144 of 356
Downloaded from www.Manualslib.com manuals search engine If the transmission fluid temperature rises above 263 OF
(1 28 O C) or rises rapidly, this message is displayed.
The transmission may shift gears or apply the torque
converter clutch to reduce the fluid temperature.
Driving aggressively or driving on long hills can cause
the transmission fluid temperature to be higher than
normal. If this message appears, you may continue to
drive at a slower speed.
You should also monitor the
transmission fluid temperature and allow it to cool to at
least
230°F (1 10OC). The transmission fluid temperature
can be monitored with the GAGES button on the DIC.
See “Automatic Transmission Fluid” in the Index. You
should also check the engine coolant temperature.
If it is
also hot, see “Engine Overheating” in the Index.
If the HIGH TRANS TEMP message is displayed
during normal vehicle operation on flat roads, your
vehicle may need service. See your Chevrolet dealer
for an inspection.
LOW TIRE PRESSURE - (LF, LR, RF, RR): YOU
will hear two chimes when this message is displayed.
To acknowledge the warning, press RESET. After you
press RESET, a message will reappear and you will hear
a chime every
10 minutes until this condition changes.
This message indicates that the pressure in one of your
tires is less than
25 psi (172 kPa). Next to the LOW
TIRE PRESSURE message, you can see either LF (left
front), LR (left rear),
RF (right front) or RR (right rear) to indicate to
you which tire is low on pressure. You can
receive more than one tire pressure message at a time.
To read other messages that may have been sent at the
same time, press RESET.
If a tire pressure message
appears on the DIC, stop as soon as you can. Have the
tire pressures checked and set to those shown on your
Tire Loading Information Label. See “Extended
Mobility Tires” in the Index.
When the LOW TIRE PRESSURE or FLAT
TIRE message is displayed on the Driver
Information Center, your vehicle’s handling
capabilities will be reduced during severe
maneuvers.
If you drive too fast, you could lose
control
of your vehicle. You or others could be
injured. Don’t drive over
55 mph (90 km/h) when
the LOW TIRE PRESSURE or FLAT TIRE
message is displayed. Drive cautiously, and check
your tire pressures as soon as you can.
-1
2-95
Page 145 of 356
Downloaded from www.Manualslib.com manuals search engine FLAT TIRE - (LF, LR, RF, RR): You will hear two
chimes when this message is displayed. To acknowledge
the warning, press RESET. After you press RESET, a
message will reappear and you will hear a chime every
10 minutes until this condition changes. This message
indicates that the pressure in one of your tires is lower
than
5 psi (34 Wa). Next to the FLAT TIRE message,
you can see either LF (left front), LR (left rear),
RF
(right front) or RR (right rear) to indicate to you which
tire is flat. You can receive more than one tire pressure
message at a time. To read other messages that may
have been sent at the same time, press RESET. If a tire
pressure message appears on the DIC, stop as soon
as
you can. Have the tire pressures checked and set to
those shown on your Tire Loading Information Label.
See “Extended Mobility Tires” and “Tire Inflation” in
the Index.
When the LOW TIRE PRESSURE or FLAT
TIRE message is displayed on the Driver
Information Center, your vehicle’s handling
CAUTION: (Continued)
I
capabilities will be reduced during severe
maneuvers. If you drive too fast, you could lose control of your vehicle.
You or others could be
injured. Don’t drive over
55 mph (90 km/h) when
the LOW TIRE PRESSURE or FLAT TIRE
message is displayed. Drive cautiously, and check
your tire pressures as soon as
you can.
HIGH TIRE PRESSURE
- (LF, LR, RF, RR): YOU
will hear two chimes when this message is displayed. To
acknowledge the warning, press RESET. After you press
RESET, a message will reappear and you will hear a
chime every
10 minutes until this condition changes.
This message indicates that the pressure in one of your
tires is higher than 42 psi (290 Wa). Next to the HIGH
TIRE PRESSURE message, you can see either LF (left
front), LR (left rear),
RF (right front) or RR (right rear)
to indicate to you which tire is flat. You can receive
more than one tire pressure message at a time. To read
other messages that may have been sent at the same
time, press RESET. If a tire pressure message appears
on the DIC, stop as soon as you can. Have the tire
pressures checked and set to those shown on your Tire
Loading Information Label. See “Extended Mobility
Tires” and “Tire Inflation’’ in the Index.
Page 170 of 356
Downloaded from www.Manualslib.com manuals search engine b
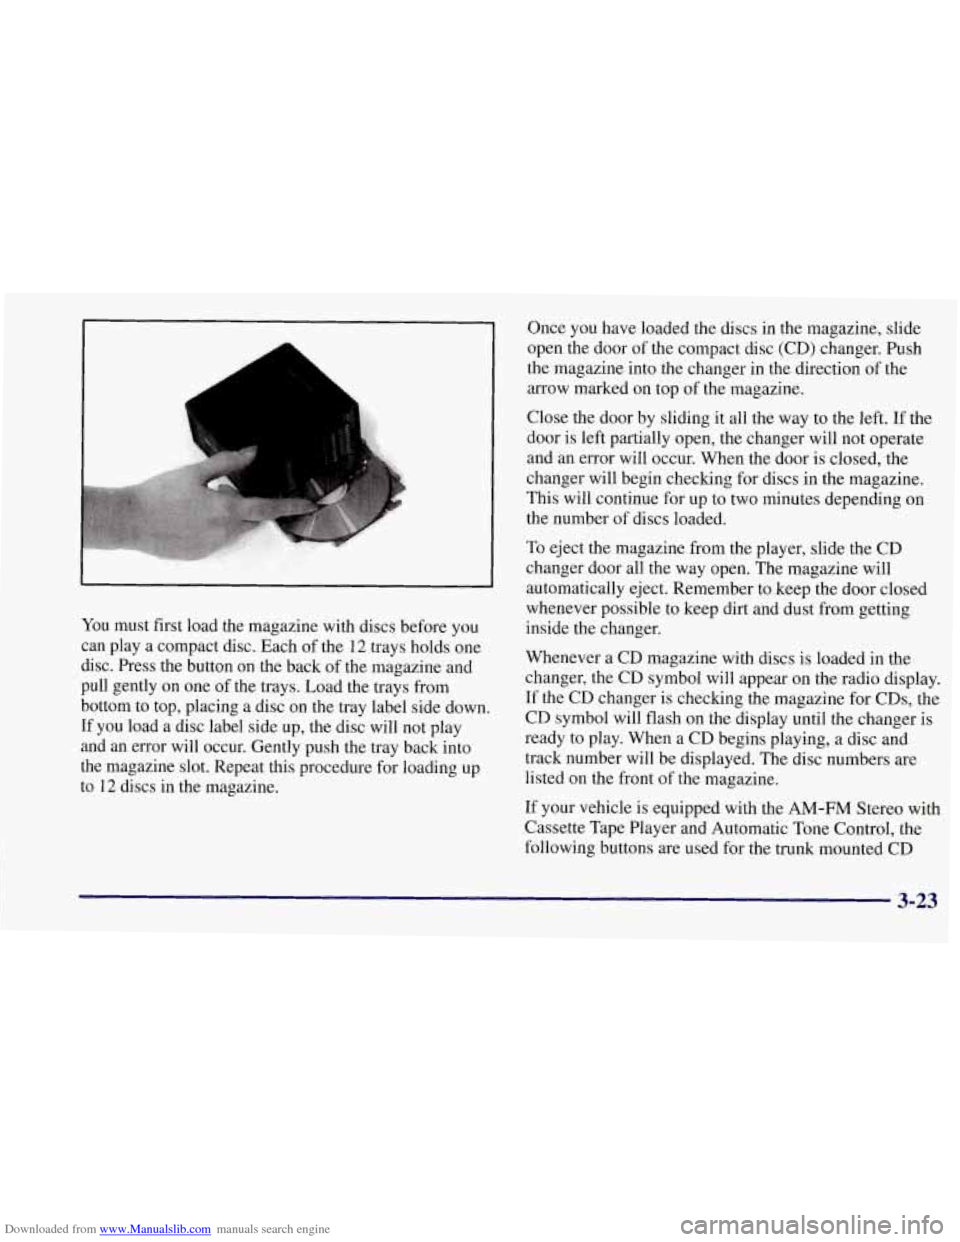
You must first load the magazine with discs before you
can play a compact disc. Each of the
12 trays holds one
disc. Press the button on the back of the magazine and
pull gently on one of the trays. Load the trays from
bottom to top, placing a disc on the tray label side down.
If you load a disc label side up, the disc will not play
and an error will occur. Gently push the tray back into
the magazine slot. Repeat this procedure for loading up
to
12 discs in the magazine. Once you have loaded the discs
in the magazine, slide
open the door of the compact disc (CD) changer. Push
the magazine into the changer in the direction of the
arrow marked on top of the magazine.
Close the door by sliding it all the way to the left. If the
door is left partially open, the changer will
not operate
and an error will occur. When the door is closed, the
changer will begin checking for discs in the magazine.
This will continue for up to two minutes depending on
the number of discs loaded.
To eject the magazine from the player, slide the CD
changer door all the way open. The magazine will
automatically eject. Remember to keep the door closed
whenever possible to keep dirt and dust from getting
inside the changer.
Whenever a CD magazine with discs is loaded in the
changer, the CD symbol will appear on the radio display.
If the CD changer is checking the magazine for CDs, the
CD symbol will flash on the display until the changer is
ready
to play. When a CD begins playing, a disc and
track number will be displayed. The disc numbers are
listed on the front of the magazine.
If your vehicle is equipped with the
AM-FM Stereo with
Cassette Tape Player and Automatic Tone Control, the
following buttons are used for the trunk mounted CD
3-23
Page 176 of 356
Downloaded from www.Manualslib.com manuals search engine To help avoid hearing loss or damage:
Adjust the volume control to the lowest setting.
Increase volume slowly until you hear comfortably
and clearly.
NOTICE:
Before you add any sound equipment to your
vehicle
-- like a tape player, CB radio, mobile
telephone
or two-way radio -- be sure you
can add what you want.
If you can, it’s very
important to do it properly. Added sound
equipment may interfere with the operation
of your vehicle’s engine, Delco radio or other
systems, and even damage them. Your
vehicle’s systems may interfere with the
operation
of sound equipment that has been
added improperly.
So, before adding sound equipment, check with
your dealer and be sure to check Federal rules
covering mobile radio and telephone units.
Care of Your C.assette Tape Player
A tape player that is not cleaned regularly can cause
reduced sound quality, ruined cassettes or a damaged
mechanism. Cassette tapes should be stored in their
cases away from contaminants, direct sunlight and
extreme heat.
If they aren’t, they may not operate
properly or may cause failure of the tape player.
Your tape player should be cleaned regularly after every
50 hours of use. Your radio may display CLN to indicate
that you have used your tape player for
50 hours without
resetting the tape clean timer.
If this message appears
on the display, your cassette tape player needs to be
cleaned. It will still play tapes, but you should clean it
as soon as possible to prevent damage to your tapes and
player. If you notice a reduction in sound quality, try a
known good cassette to see if it
is the tape or the tape
player at fault. If this other cassette has no improvement
in sound quality, clean the tape player.
3-29
Page 186 of 356
Downloaded from www.Manualslib.com manuals search engine Avoid needless heavy braking. Some people drive in
spurts
-- heavy acceleration followed by heavy braking
-- rather than keeping pace with traffic. This is a
mistake. Your brakes may not have time to cool between
hard stops. Your brakes will wear out much faster if you
do a lot of heavy braking. If you keep pace with the
traffic and allow realistic following distances, you will
eliminate a lot of unnecessary braking. That means
better braking and longer brake life.
If your engine ever stops while you’re driving, brake
normally but don’t pump your brakes. If you do, the
pedal may get harder to push down. If your engine
stops, you will still have some power brake assist. But
you will use it when you brake. Once the power assist
is
used up, it may take longer to stop and the brake pedal
will be harder to push.
Anti-Lock Brakes (ABS)
Your vehicle has anti-lock brakes (ABS). ABS is an
advanced electronic braking system that will help
prevent a braking skid.
When you start your engine and begin to drive away,
your anti-lock brake system will check itself. You may
hear a momentary motor or clicking noise while this test
is going on, and you may even notice that your brake
pedal moves a little. This
is normal.
If there’s a problem with the
anti-lock brake system, this
warning light will stay on.
See “Anti-Lock Brake
4-7
Page 193 of 356
Downloaded from www.Manualslib.com manuals search engine Do not get too close to the vehicle you want to pass
while you’re awaiting an opportunity.
For one thing,
following too closely reduces your area of vision,
especially if you’re following a larger vehicle.
Also, you won’t have adequate space if the vehicle
ahead suddenly slows
or stops. Keep back a
reasonable distance.
0 When it looks like a chance to pass is coming up,
start to accelerate but stay in the right lane and don’t
get too close. Time your move
so you will be
increasing speed as the time comes to move into the
other lane. If the way
is clear to pass, you will have a
“running start” that more than makes up for the
distance you would lose by dropping back. And if
something happens to cause you to cancel your pass,
you need only slow down and drop back again and
wait for another opportunity.
If other cars are lined up to pass a slow vehicle, wait
your turn. But take care that someone isn’t trying to
pass you as you pull out to pass the slow vehicle.
Remember to glance over your shoulder and check
the blind spot.
Check your mirrors, glance over your shoulder, and
start your left lane change signal before moving out
of the right lane to pass. When you are far enough
ahead of the passed vehicle to see its front in your
inside mirror, activate your right lane change signal
and move back into the right lane. (Remember that
your right outside mirror is convex. The vehicle you
just passed may seem to be farther away from you
than it really is.)
0 Try not to pass more than one vehicle at a time on
two-lane roads. Reconsider before passing the
next vehicle.
0 Don’t overtake a slowly moving vehicle too rapidly.
Even though the brake lamps
are not flashing, it may
be slowing down or starting to turn.
If you’re being passed, make it easy for the
following driver to get ahead of you. Perhaps you
can ease a little to the right.
4-14
Page 196 of 356
Downloaded from www.Manualslib.com manuals search engine Night Vision
No one can see as well at night as in the daytime. But as
we get older these differences increase.
A 50-year-old
driver may require at least twice as much light to see the
same thing at night as a 20-year-old.
What you do in the daytime can also affect your night
vision. For example, if you spend the day in bright
sunshine you are wise to wear sunglasses. Your eyes will
have less trouble adjusting to night. But if you’re
driving, don’t wear sunglasses at night. They may cut
down
on glare from headlamps, but they also make a lot
of things invisible.
You can be temporarily blinded by approaching
headlamps. It can take a second or two, or even several
seconds, for your eyes to readjust to the dark. When you
are faced with severe glare
(as from a driver who
doesn’t lower the high beams, or a vehicle with
misaimed headlamps), slow down a little. Avoid staring
directly into the approaching headlamps. Keep your windshield and all
the glass on your vehicle
clean
-- inside and out. Glare at night is made much
worse by dirt
on the glass. Even the inside of the glass
can build
up a film caused by dust. Dirty glass makes
lights dazzle and flash more than clean glass would,
making the pupils of your eyes contract repeatedly.
Remember that your headlamps light
up far less of a
roadway when you are in a turn or curve. Keep your
eyes moving; that way, it’s easier to pick out dimly
lighted objects. Just as your headlamps should be
checked regularly for proper aim,
so should your eyes
be examined regularly. Some drivers suffer from night
blindness
-- the inability to see in dim light -- and
aren’t even aware of it.
4-17
Page 200 of 356
Downloaded from www.Manualslib.com manuals search engine City Driving
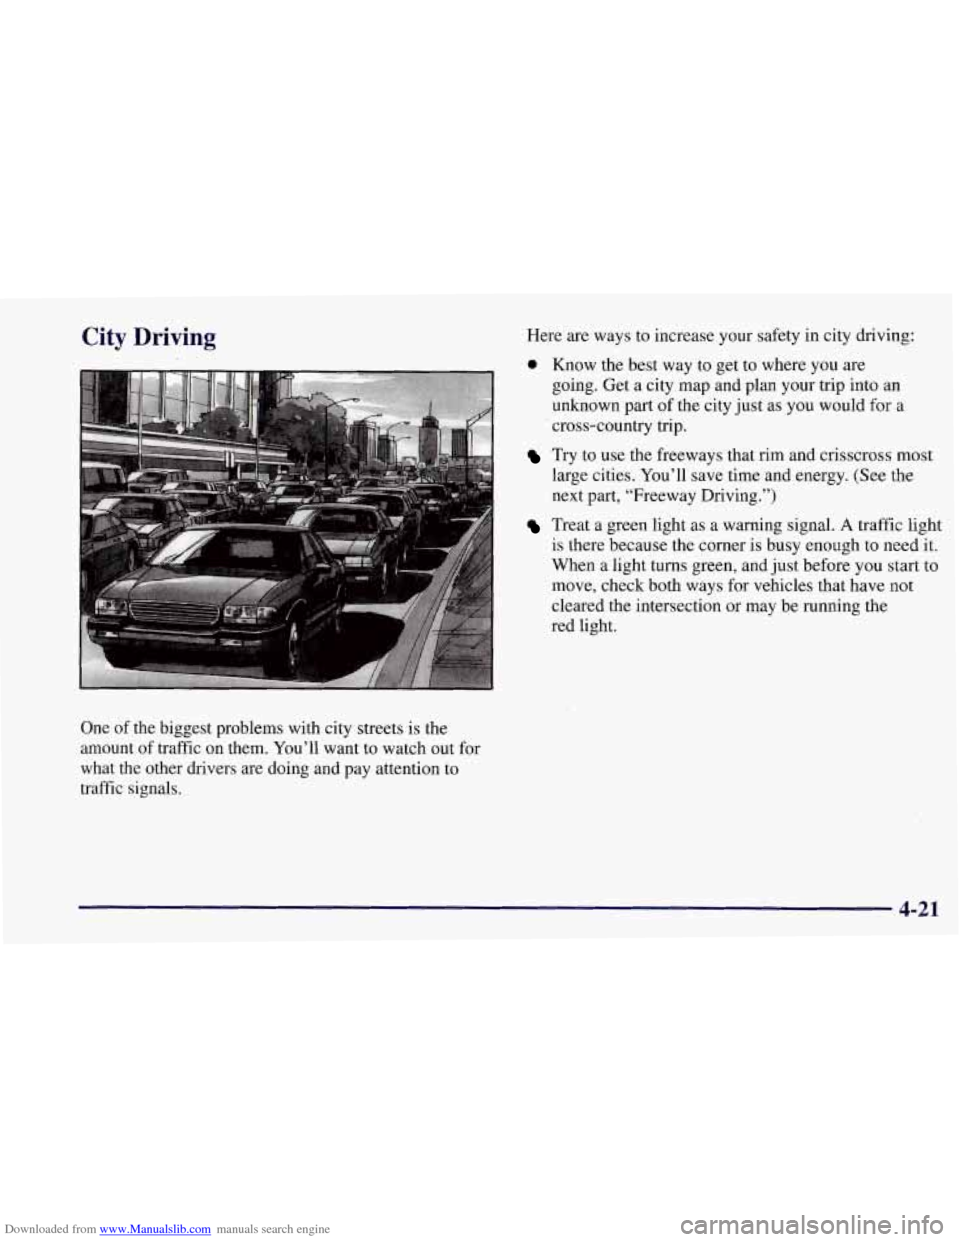
One of the biggest problems with city streets is the
amount of traffic on them. You’ll want to watch out for
what the other drivers are doing and pay attention to
traffic signals. Here
are ways to increase your safety in city driving:
0 Know the best way to get to where you are
going. Get a city map and plan your trip into an
unknown
part of the city just as you would for a
cross-country trip.
Try to use the freeways that rim and crisscross most
large cities. You’ll save time and energy. (See the
next part, “Freeway Driving.”)
Treat a green light as a warning signal. A traffic light
is there because the corner
is busy enough to need it.
When a light turns green, and just before
YOU start to
move, check both ways for vehicles that have not
cleared the intersection or may be running the
red light.
4-21