1997 CHEVROLET CORVETTE mirror
[x] Cancel search: mirrorPage 50 of 356
Downloaded from www.Manualslib.com manuals search engine e Section 2 Features and Controls
~~ ~~
Here you can learn about the many standard and optional features on your Corvette, and information on starting,
shifting and braking. Also explained are the instrument panel and the warning systems that tell you if everything
is working properly
-- and what to do if you have a problem.
2-2
2-4
2-5
2-6
2- 14
2-15
2- 16
2-18
2-19
2-20
2-22
2-24
2-26
2-29
2-32
2-33
2-35
2-36 Keys
Door
Locks
Memory (Option)
Remote Function Actuation System
Remote Hatch Release
Theft
Universal Theft-Deterrent System
PASS-Key@
New Vehicle “Break-In”
Ignition Switch Starting Your Engine
Engine Coolant Heater (Canada Only)
Automatic Transmission Operation
Manual Transmission Operation
Parking Brake
Shifting Into PARK (P)
(Automatic Transmission Models Only)
Shifting Out
of PARK (P)
(Automatic Transmission)
Parking Your Vehicle (Manual Transmission) 2-36
2-37
2-37
2-38
2-38
2-40
2-4 1
2-4
1
2-50
2-52
2-53
2-54
2-59
2-6
1
2-68 2-70
2-7
1
2-8 1
2-90 Parking
Over Things That Bum
Engine Exhaust
Running Your Engine While You’re Parked
(Automatic Transmission)
Limited-Slip Rear Axle
Selective Real Time Damping (Option)
Windows
Tilt Wheel Turn Signal/Multifunction Lever
Lamps
Interior Lamps
Mirrors Storage Compartments
Floor Mats (Option)
Roof Panel
Instrument Panel
Instrument Panel Cluster
Warning Lights, Gages and Messages
Driver Information Center (DIC)
DIC Warnings and Messages
2-1
Page 54 of 356
Downloaded from www.Manualslib.com manuals search engine Power Door Locks
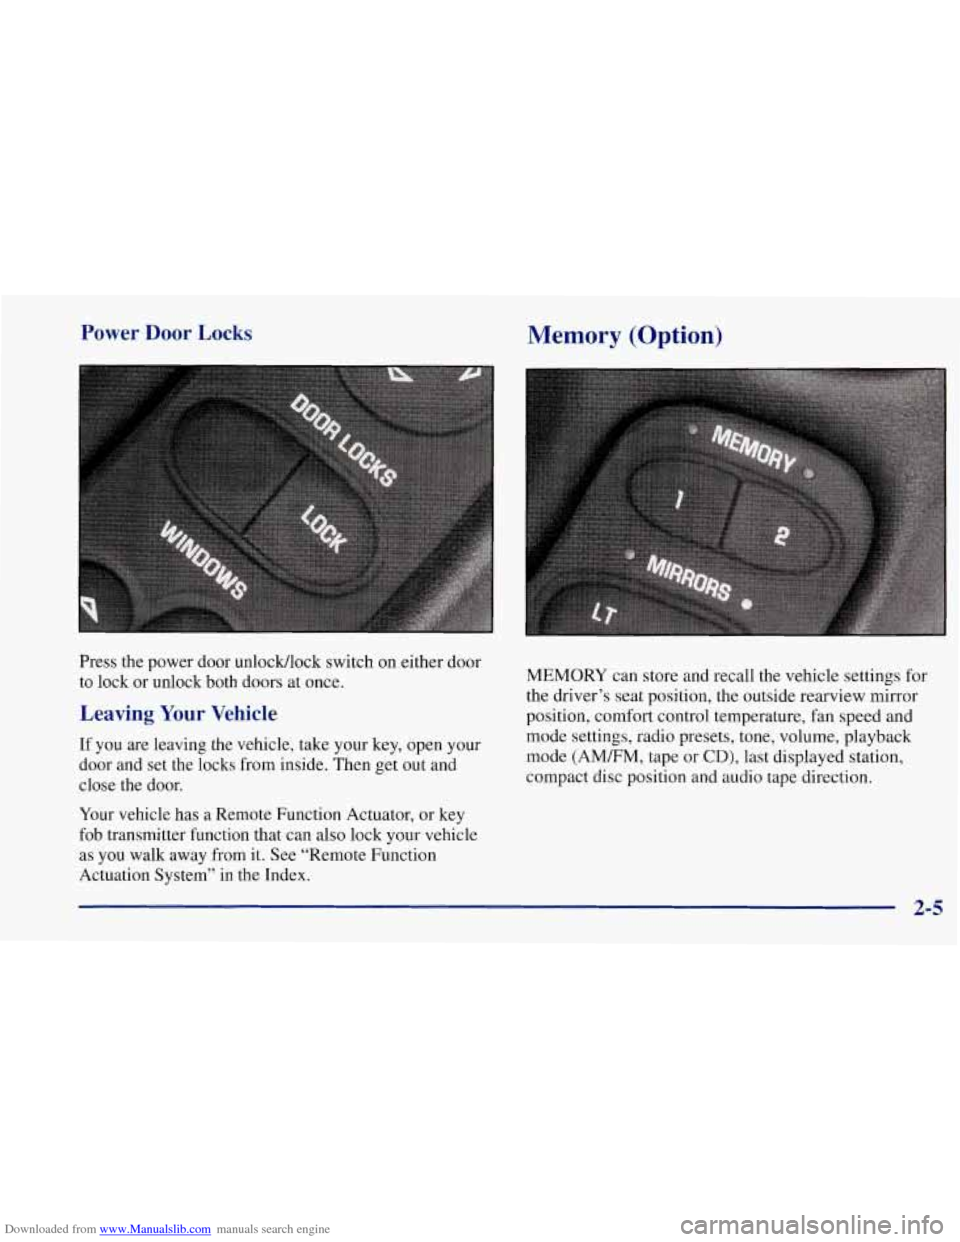
Press the power door unlocMlock switch on either door
to lock or unlock both doors at once.
Leaving Your Vehicle
If you are leaving the vehicle, take your key, open your
door and set the locks from inside. Then get out and
close the door.
Your vehicle has a Remote Function Actuator, or key
fob transmitter function that can also lock your vehicle
as you walk away from it. See “Remote Function
Actuation System” in the Index.
Memory (Option)
MEMORY can store and recall the vehicle settings for
the driver’s seat position, the outside rearview mirror
position, comfort control temperature, fan speed and
mode settings, radio presets, tone, volume, playback
mode
(AMEM, tape or CD), last displayed station,
compact disc position and audio tape direction.
Page 55 of 356
Downloaded from www.Manualslib.com manuals search engine The MEMORY buttons are located on the driver’s side
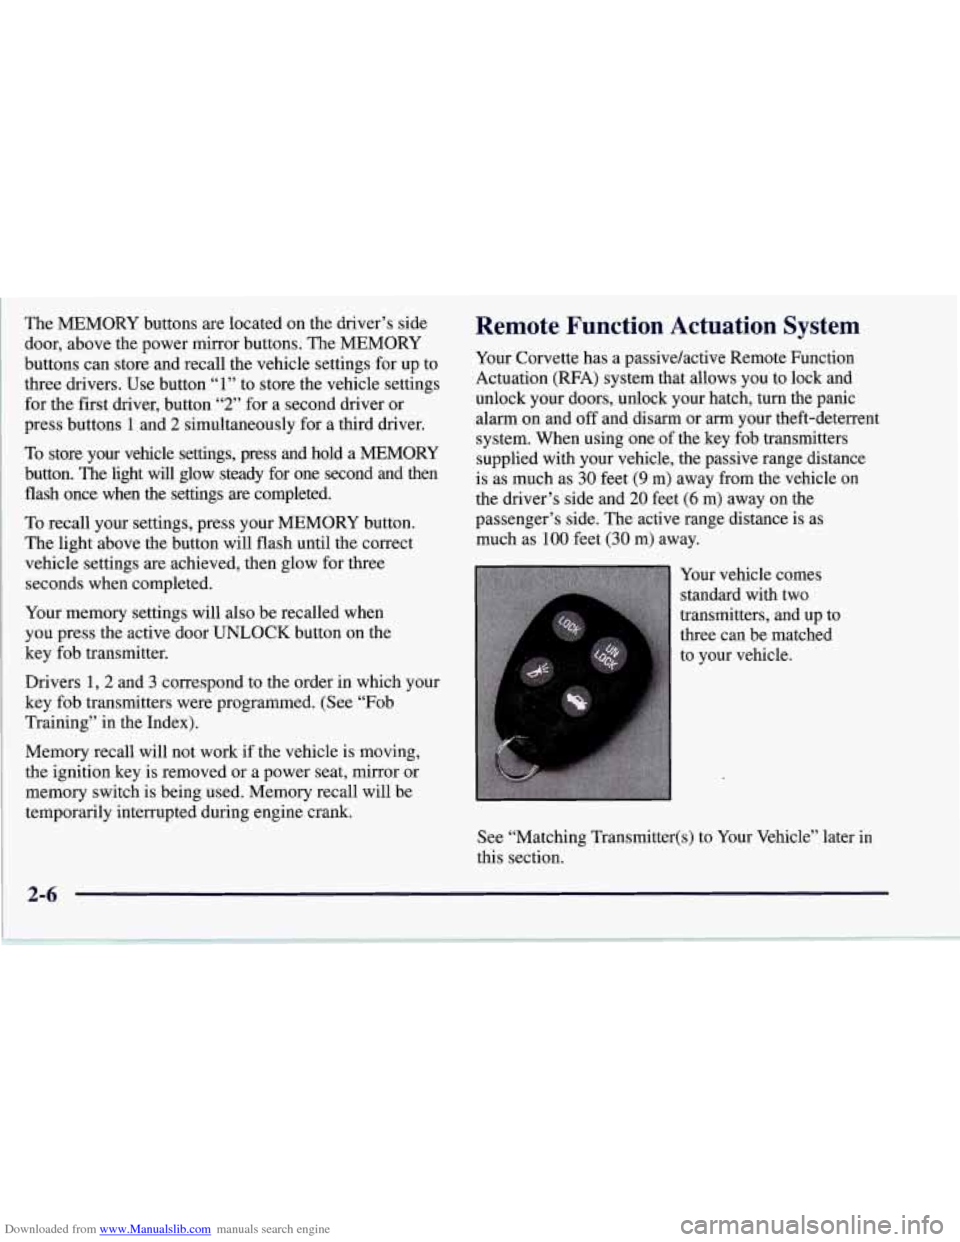
door, above the power mirror buttons. The MEMORY
buttons can store and recall the vehicle settings for up to
three drivers. Use button “1” to store the vehicle settings
for the first driver, button
“2” for a second driver or
press buttons
1 and 2 simultaneously for a third driver.
To store your vehicle settings, press and hold a MEMORY
button. The light will glow steady for one second and then
flash once when
the settings are completed.
To recall your settings, press your MEMORY button.
The light above the button will flash until the correct
vehicle settings
are achieved, then glow for three
seconds when completed.
Your memory settings will also be recalled when
you press the active door UNLOCK button on the
key fob transmitter.
Drivers
1,2 and 3 correspond to the order in which your
key fob transmitters were programmed. (See
“Fob
Training” in the Index).
Memory recall will not
work if the vehicle is moving,
the ignition key is removed or a power seat, mirror or
memory switch is being used. Memory recall will be
temporarily interrupted during engine crank.
Remote Function Actuation System
Your Corvette has a passive/active Remote Function
Actuation (RFA) system that allows you to lock and
unlock your doors, unlock your hatch, turn the panic
alarm on and
off and disarm or arm your theft-deterrent
system. When using one of the key fob transmitters
supplied with your vehicle, the passive range distance
is as much as
30 feet (9 m) away from the vehicle on
the driver’s side and
20 feet (6 m) away on the
passenger’s side. The active range distance is as
much as
100 feet (30 m) away.
Your vehicle comes
standard with two
transmitters, and up to
three can be matched
to your vehicle.
See “Matching Transmitter(s) to Your
Ve ,
this section. .:le”
later
in
Page 102 of 356
Downloaded from www.Manualslib.com manuals search engine Reading Lamps
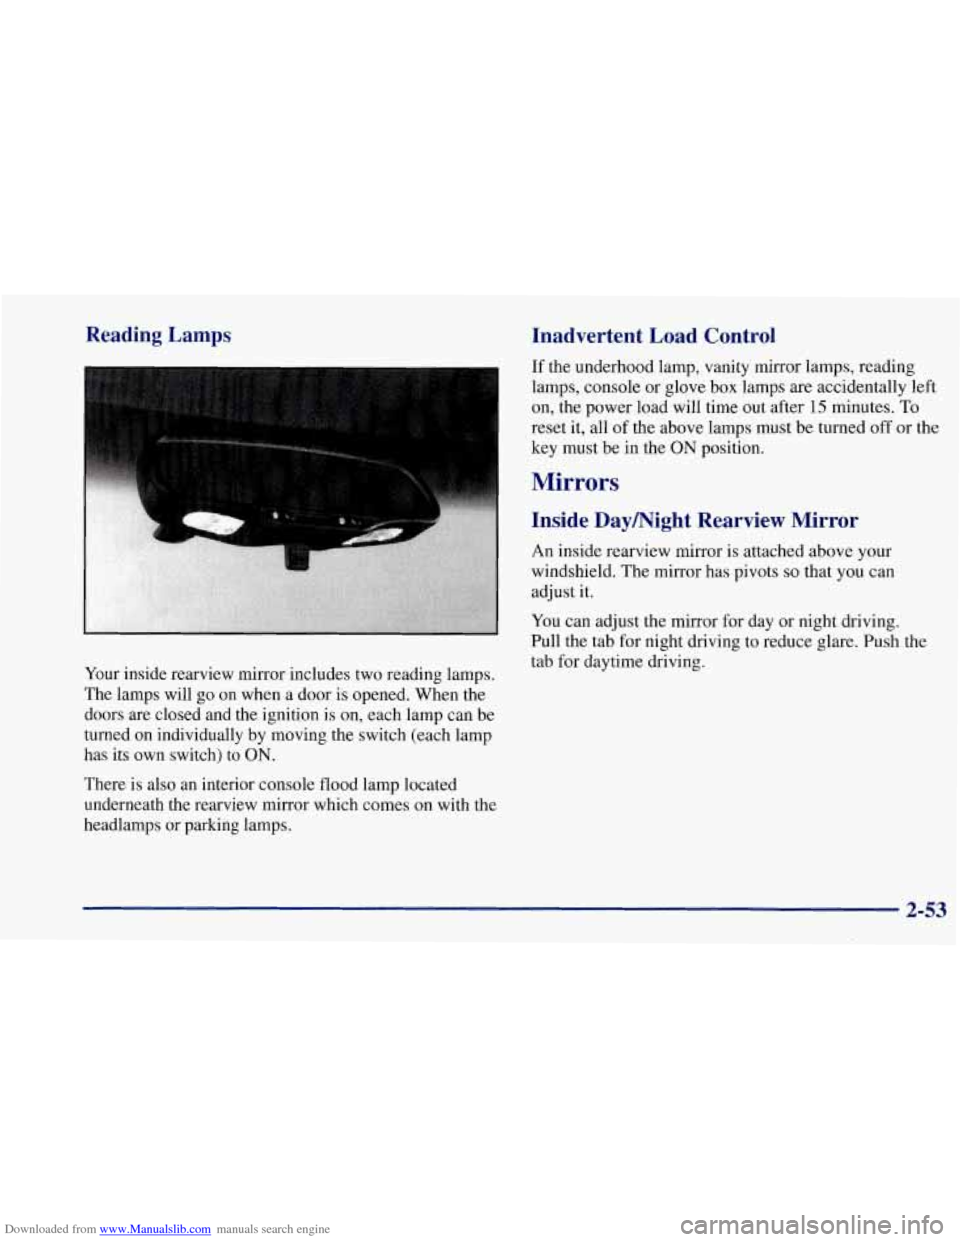
Your inside rearview mirror includes two reading lamps.
The lamps will go on when a door is opened. When the
doors are closed and the ignition is on, each lamp can be
turned on individually by moving the switch (each lamp
has its own switch) to ON.
There is also an interior console flood lamp located
underneath the rearview mirror which comes on with the
headlamps or parking lamps.
Inadvertent Load Control
If the underhood lamp, vanity mirror lamps, reading
lamps, console or glove box lamps are accidentally left
on, the power load will time out after 15 minutes. To
reset it, all of the above lamps must be turned off or the
key must be in the
ON position.
Mirrors
Inside Daymight Rearview Mirror
An inside rearview mirror is attached above your
windshield. The mirror has pivots
so that you can
adjust it.
You can adjust the mirror for day or night driving.
Pull the tab for night driving to reduce glare. Push the
tab for daytime driving.
2-53
Page 103 of 356
Downloaded from www.Manualslib.com manuals search engine Power Remote Control Mirrors
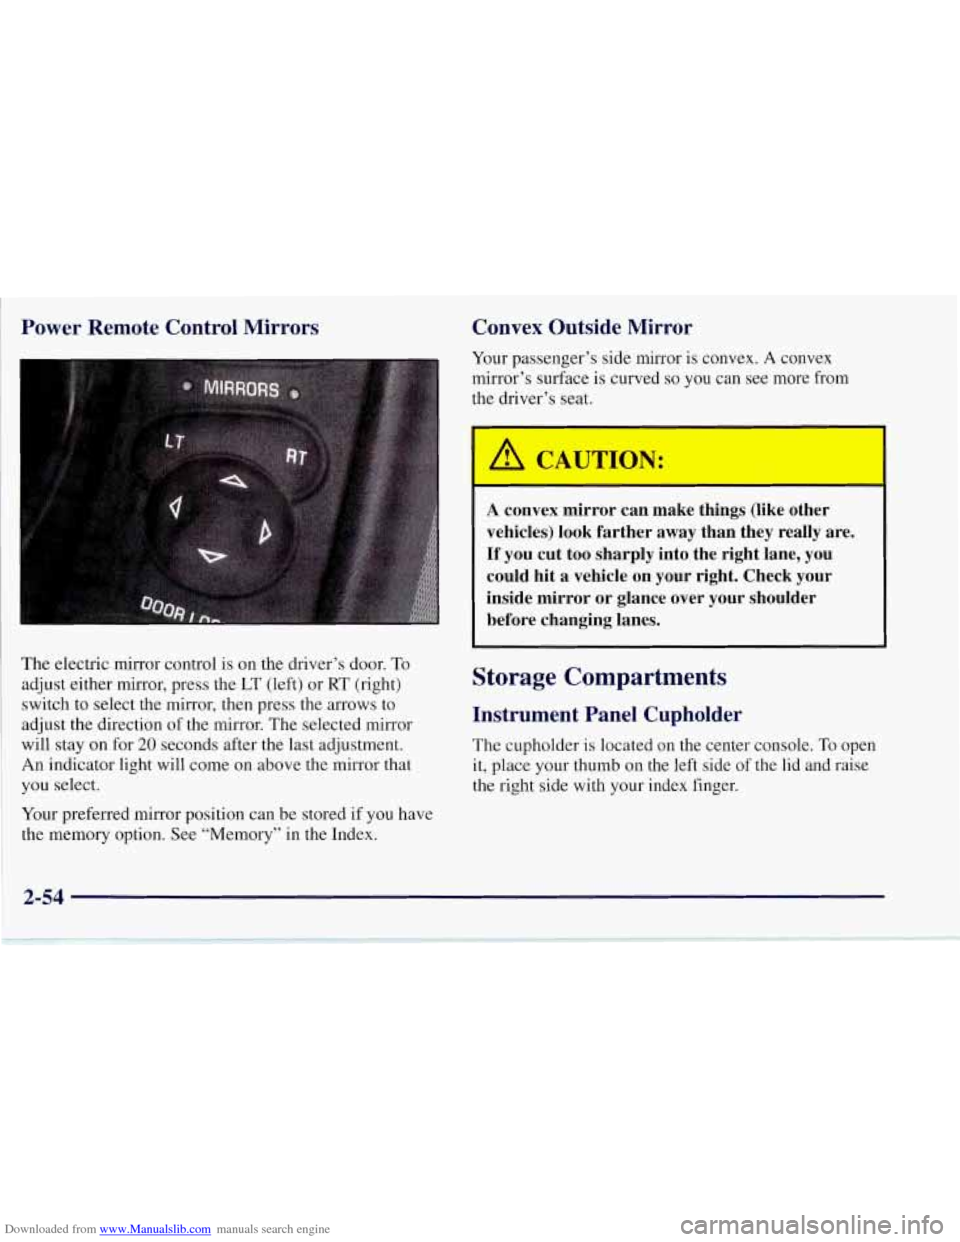
The electric mirror control is on the driver’s door. To
adjust either mirror, press the LT (left) or RT (right)
switch to select the mirror, then press the arrows to
adjust the direction of the mirror. The selected mirror
will stay
on for 20 seconds after the last adjustment.
An indicator light will come on above the mirror that
you select.
Your preferred mirror position can be stored if you have
the memory option. See “Memory” in the Index.
Convex Outside Mirror
Your passenger’s side mirror is convex. A convex
mirror’s surface is curved
so you can see more from
the driver’s seat.
A CAUTION:
I
A convex mirror can make things (like other
vehicles) look farther away than they really are. If you cut too sharply into the right lane, you
could hit a vehicle on your right. Check your
inside mirror or glance over your shoulder before changing lanes.
Storage Compartments
Instrument Panel Cupholder
The cupholder is located on the center console. To open
it, place your thumb
on the left side of the lid and raise
the right side with your index finger.
Page 107 of 356
Downloaded from www.Manualslib.com manuals search engine To use the lighter, push it in all the way and let go.
~ When it’s ready, it will pop back by itself.
NOTICE:
Don’t hold a cigarette lighter in with your hand
while it is heating.
If you do, it won’t be able to
back away from the heating element when it’s
ready. That can make it overheat, damaging the
lighter and the heating element.
Sun Visors
To block out glare, you can swing down the visors. You
can also swing them to the side.
Visor Vanity Mirror
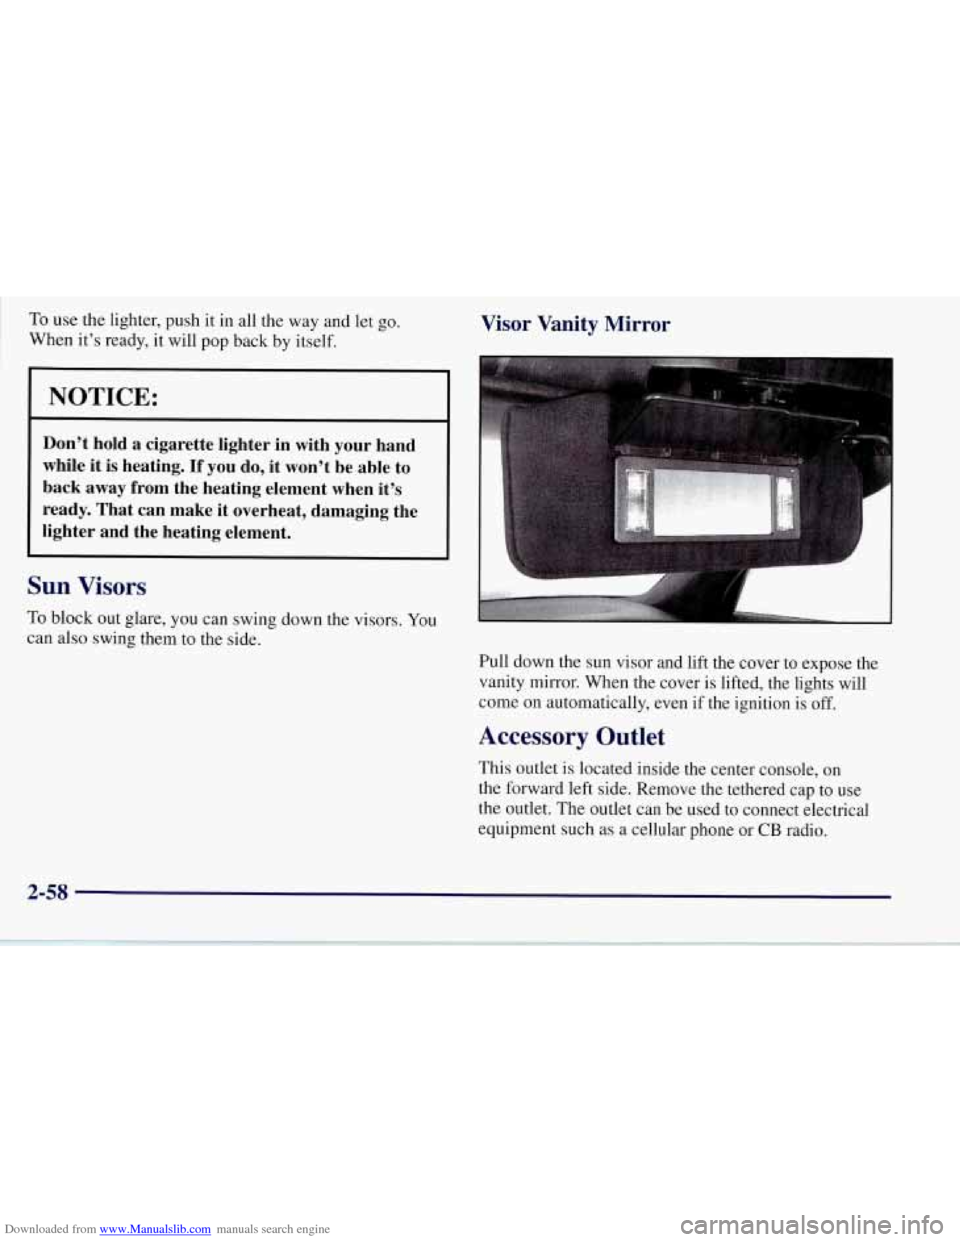
Pull down the sun visor and lift the cover to expose the
vanity
mirror. When the cover is lifted, the lights will
come on automatically, even if the ignition is
off.
Accessory Outlet
This outlet is located inside the center console, on
the forward left side. Remove the tethered cap to use
the outlet. The outlet can be used to connect electrical
equipment such as a cellular phone or
CB radio.
2-58
Page 151 of 356
Downloaded from www.Manualslib.com manuals search engine Mode Buttons
These buttons control the air intake, the air conditioning
and the rear window defogger operation.
outside air into your vehicle. The light on the button will
come on when operating. Use this setting while trying
to
defrost or defog windows to help clear moisture.
amount of fresh
air entering your vehicle by recirculating
most of the
air inside your vehicle. The light on the button
will come on when operating.
This setting is helpful when
you are trying to cool the
air quickly or to limit odors
entering your vehicle.
RECIRCULATE cannot be used
while in the DEFROST or DEFOG modes.
a NC: This button turns the air conditioning
compressor off or on under most conditions. The light
on the
A/C button comes on when the compressor is
operating. The air conditioning does not operate at
temperatures below approximately
35 OF to 40°F
(2" C to 4" C). The air conditioning cools and
dehumidifies the air coming into the vehicle. The
air conditioning cannot be turned off in DEFROST
as it helps to remove moisture from the vehicle. It also
helps to keep the windows clear.
FRESH AIR: Press this button and it will bring
RECIRCULATE: Press this button to limit the The air
conditioning may be forced off at high engine
speeds or high engine oil or coolant temperatures,
Rear Window Defogger
@ This button turns the rear defogger and heated
outside mirrors on. The light on the button will come
on when operating. The system automatically shuts off
after approximately
10 minutes. If further defogging is
desired, press the button again.
The rear window defogger operates only when the
engine
is running.
The rear window defogger uses a warming grid to
remove fog from the rear window.
Do not attach
anything like a temporary vehicle license or a decal
across the defogger grid on the rear window.
I NOTICE:
Don't use a razor blade or something sharp on
the inside
of the rear window. If you do, you
could cut or damage the warming grid, and repairs wouldn't be covered by your warranty.
Page 157 of 356
Downloaded from www.Manualslib.com manuals search engine a RECIRCULATE: Press this button to limit the
amount of fresh air entering the vehicle. The light on
this air intake button will come on to show when it is
operating. RECIRCULATE is helpful when you
are
trying to cool the air quickly or trying to limit odors
and dust from entering the vehicle. When in the AUTO
mode, the system automatically selects RECIRCULATE
to
cool the vehicle’s temperature. By pressing this
button, the system will lock into the recirculated air
mode. Any adjustment to the air intake must then be
made manually. The recirculated air mode is not
allowed in the front defrost or defog modes as fresh air
helps reduce moisture inside the vehicle.
Lfttr REAR WINDOW DEFOG: This button turns the
rear defogger and heated outside mirrors on. The light
on
the button will come on when operating. The system
automatically shuts off after approximately
10 minutes.
If further defogging is desired, press the button again.
The rear window defogger operates only when the
engine
is running.
The rear window defogger uses a warming grid to
remove fog from the rear window.
Do not attach
anything like a temporary vehicle license or a decal
across the defogger grid on the rear window.
NOTICE:
Don’t use a razor blade or something sharp on
the inside
of the rear window. If you do, you
could cut or damage the warming grid, and
repairs wouldn’t be covered by your warranty.
Sensors
The Dual Zone Electronic Climate Control System
uses several sensors to control operation and
display information.
Solar Load Sensor
This sensor is located on the top right side of the
defroster grille. The defroster grille is on the top
of
the instrument panel.
The sensor monitors the sun’s solar radiation and uses
this information as part of the automatic climate control
system when operating in the AUTO mode.
Be careful not to put anything over the sensor. It cannot
compensate for changes in the amount of heat the
vehicle
is absorbing from the sun when it is covered.
3-10