1997 CHEVROLET CAVALIER ABS
[x] Cancel search: ABSPage 169 of 388
Downloaded from www.Manualslib.com manuals search engine Avoid needless heavy braking. Some people drive in
spurts
-- heavy acceleration followed by heavy
braking
-- rather than keeping pace with traffic. This is a
mistake. Your brakes may not have time to cool between
hard stops. Your brakes will wear out much faster if you
do a lot of heavy braking. If you keep pace with the
traffic and allow realistic following distances, you will
eliminate a lot
of unnecessary braking. That means
better braking and longer brake life.
If your engine ever stops while you’re driving, brake
normally but don’t pump your brakes. If you do, the
pedal may get harder to push down.
If your engine
stops, you will still have some power brake assist. But
you will use it when you brake. Once the power assist is
used up, it may take longer to stop and the brake pedal
will be harder to push.
Anti-Lock Brakes
Your vehicle has anti-lock brakes (ABS). ABS is an
advanced electronic braking system that will help
prevent a braking skid.
When you start your engine,
or when you begin to drive
away, your anti-lock brake system will check itself.
You
may hear a momentary motor or clicking noise while
this test is going on, and you may even notice that your
brake pedal moves
a little. This is normal.
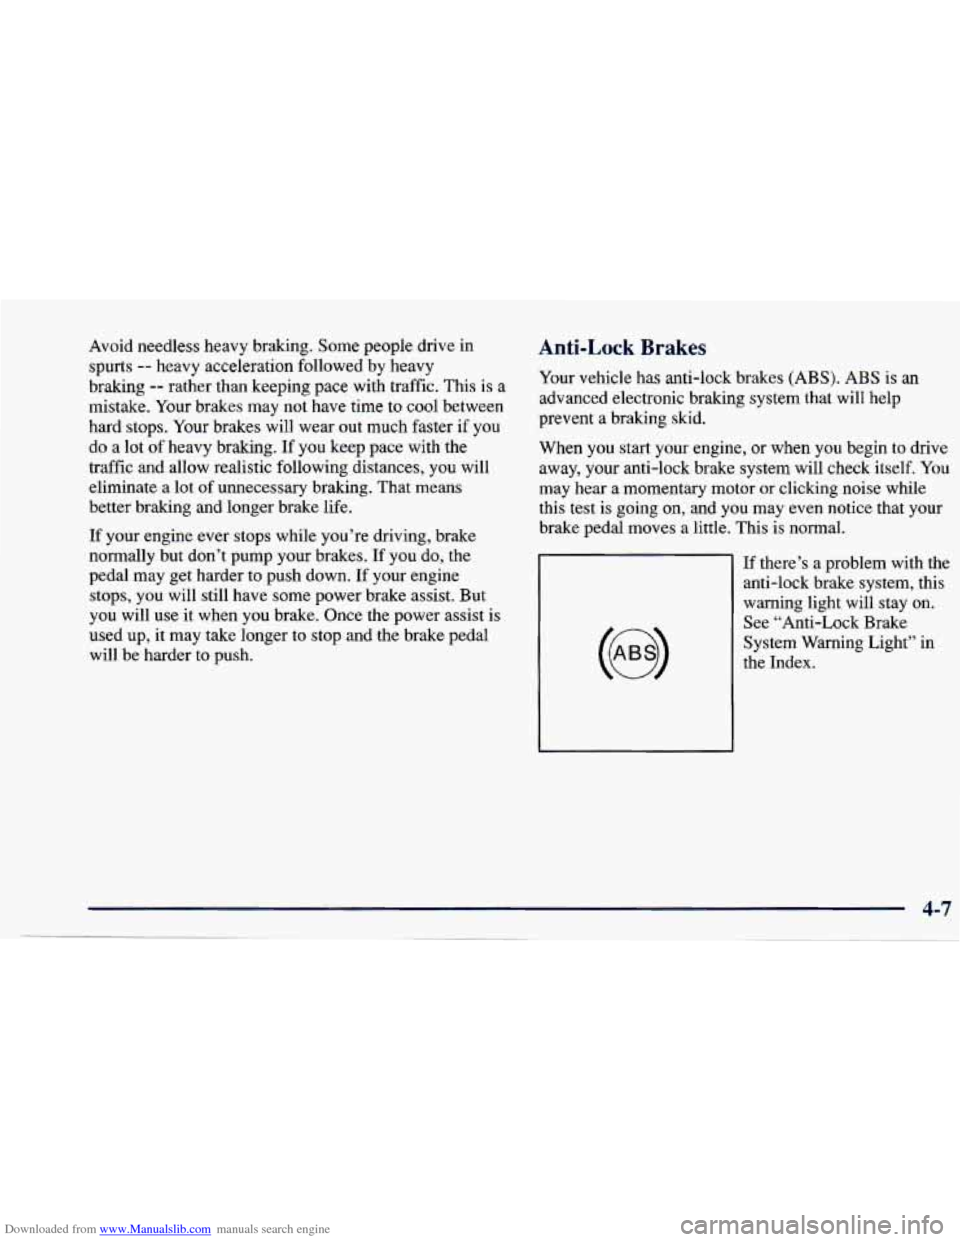
If there’s
a problem with the
anti-lock brake system, this
warning light will stay on. See “Anti-Lock Brake
System Warning Light’’ in
the Index.
Page 170 of 388
Downloaded from www.Manualslib.com manuals search engine The anti-lock system can change the brake pressure
I faster than any driver could. The computer is
programmed
to make the most of available tire and
road conditions.
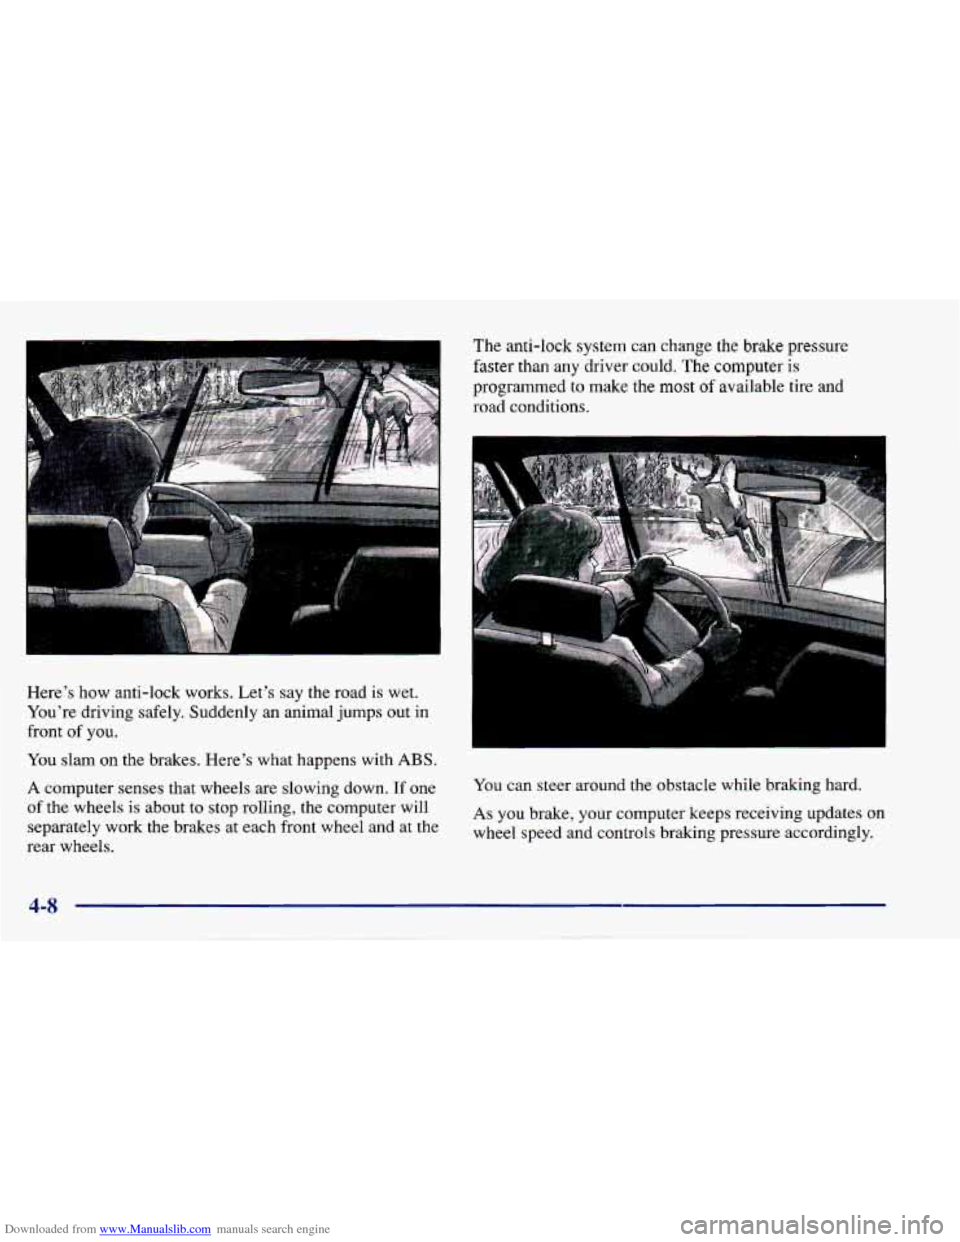
Here’s how anti-lock works. Let’s say the road is wet.
You’re driving safely. Suddenly an animal jumps out in
front of you.
You slam on the brakes. Here’s what happens with
ABS.
A computer senses that wheels are slowing down. If one
of the wheels is about to stop rolling, the computer will
separately
work the brakes at each front wheel and at the
rear wheels. You
can steer around the obstacle while braking hard.
As you brake, your computer keeps receiving updates on
wheel speed and controls braking pressure accordingly.
4-8
Page 177 of 388
Downloaded from www.Manualslib.com manuals search engine A cornering skid is best handled by easing your foot off
the accelerator pedal.
If you have the Enhanced Traction System, remember:
It helps avoid only the acceleration skid.
If you do not have the Enhanced Traction System, or if
the transaxle shift lever is not in the OVERDRIVE
(@)
position, then an acceleration skid is also best handled
by easing your foot off the accelerator pedal.
If your vehicle starts to slide, ease your foot off the
accelerator pedal and quickly steer the way you want the
vehicle to go. If you start steering quickly enough, your
vehicle may straighten out. Always be ready for a
second skid if it occurs.
Of course, traction is reduced when water, snow, ice,
gravel or other material is on the road. For safety, you’ll
want to slow down and adjust your driving to these
conditions.
It is important to slow down on slippery
surfaces because stopping distance will be longer and
vehicle control more limited. While
driving on a surface with reduced traction,
try
your best to avoid sudden steering, acceleration or
braking (including engine braking by shifting to a lower
gear). Any sudden changes could cause the tires to slide.
You may not realize the surface is slippery until your
vehicle is skidding. Learn to recognize warning
clues
-- such as enough water, ice or packed snow on
the road to make a “mirrored surface”
-- and slow
down when you have any doubt.
Remember: Any anti-lock brake system
(ABS) helps
avoid only the braking skid.
Page 204 of 388
Downloaded from www.Manualslib.com manuals search engine Driving On Grades
NOTICE:
Do not tow on steep, continuous grades exceeding
6 miles (9.6 km). Extended, higher than normal
engine and transaxle temperatures may result
and damage your vehicle. Frequent stops are very important to allow the engine and transaxle
to
cool.
Reduce speed and shift to a lower gear before you start
down a long or steep downgrade. If you don’t shift
down, you might have to use your brakes
so much that
they would get hot and no longer work well.
On a long uphill grade, shift down and reduce your
speed to around
45 mph (70 km/h) to reduce the
possibility of engine and transaxle overheating.
Pay particular attention
to the engine coolant gage. If the
indicator is in the red area, turn off the air conditioning
(if you have this option)
to reduce engine load (see
“Engine Overheating” in the Index).
Parking on Hills
You really should not park your vehicle, with a trailer
attached,
on a hill. If something goes wrong, your rig
could start to move. People can be injured, and both
your vehicle
and the trailer can be damaged.
But
if you ever have to park your rig on a hill, here’s
how
to do it:
1.
2.
3.
4.
5.
Apply your regular brakes, but don’t shift into
PARK (P) yet.
Have someone place chocks under the trailer wheels.
When
the wheel chocks are in place, release the
regular brakes until the chocks absorb the load.
Reapply the regular brakes. Then apply your parking
brake, and then shift
to PARK (P).
Release the regular brakes.
Page 219 of 388
Downloaded from www.Manualslib.com manuals search engine NOTICE:
Do not tow your Cavalier from the rear with
the front wheels on the ground or your transaxle
can be damaged.
Do not tow with sling-type
equipment or rear fascia will be damaged. Use
wheel-lift or car-carrier equipment. Additional
ramping may be required for car-carrier
equipment. Use safety chains and wheel straps.
Towing
a vehicle over rough surfaces could
damage
a vehicle. Damage can occur from vehicle
to ground or vehicle to wheel-lift equipment. To
help avoid damage, install
a towing dolly and
raise vehicle until adequate clearance is obtained
between the ground and/or wheel-lift equipment.
Do not attach winch cables or J-hooks to
suspension components when using car-carrier
equipment. Always use T-hooks inserted in the
T-hook slots.
r
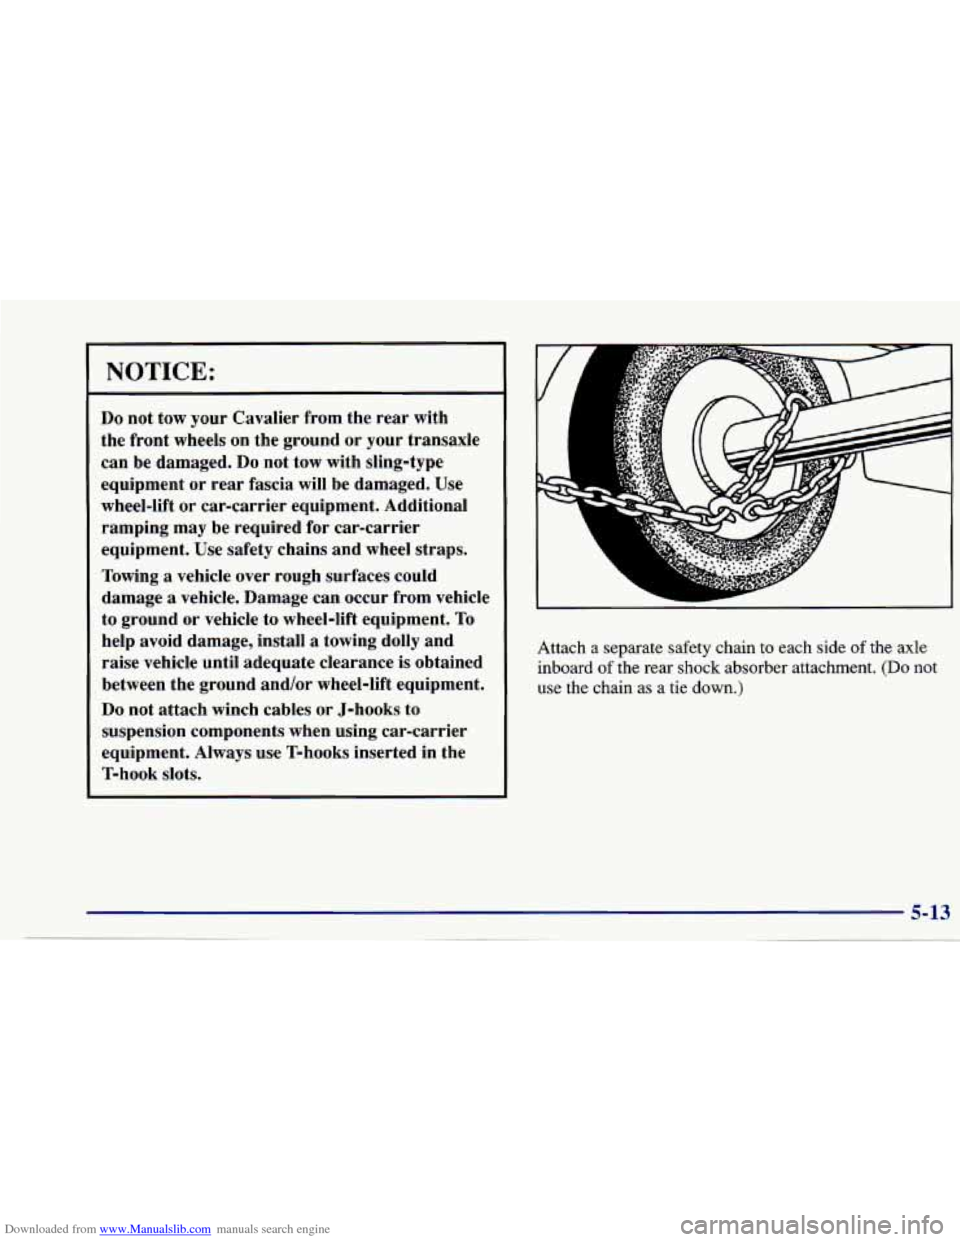
Attach a separate safety chain to each side of the axle
inboard
of the rear shock absorber attachment. (Do not
use the chain as a tie down.)
5-13
Page 280 of 388
Downloaded from www.Manualslib.com manuals search engine Back-up Lamps (Sedan)
If you have a four-door sedan, do the following to
replace
a back-up lamp:
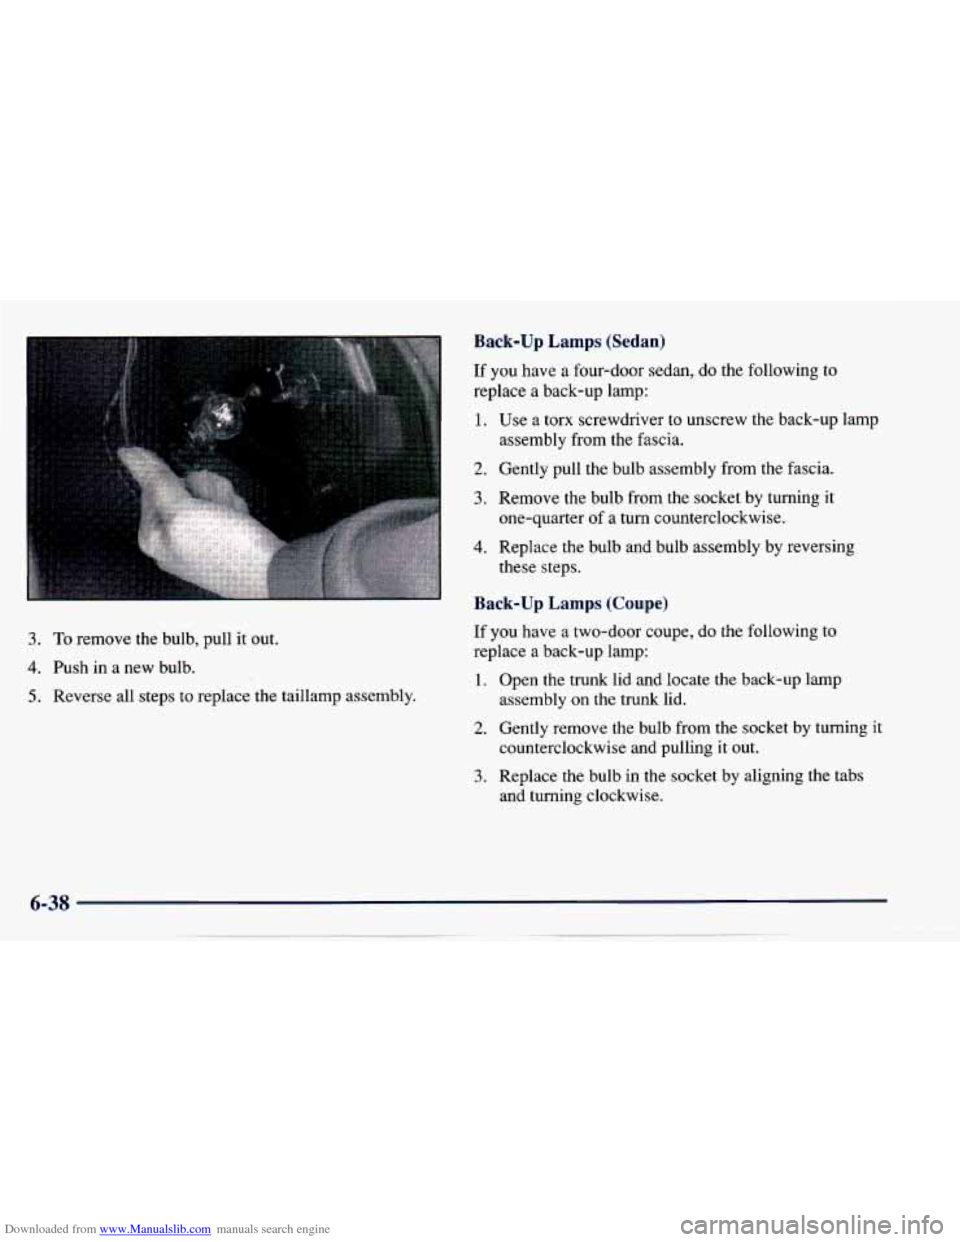
3. To remove the bulb, pull it out.
4. Push in a new bulb.
5. Reverse all steps to replace the taillamp assembly.
1.
2.
3.
4.
Use a torx screwdriver to unscrew the back-up lamp
assembly from the fascia.
Gently pull the bulb assembly from the fascia.
Remove the bulb from the socket
by turning it
one-quarter of
a turn counterclockwise.
Replace the bulb and bulb assembly by reversing
these steps.
Back-up Lamps (Coupe)
If you have a two-door coupe, do the following to
replace a back-up lamp:
1.
2.
3.
Open the trunk lid and locate the back-up lamp
assembly on the trunk lid.
Gently remove the bulb from the socket by turning
it
counterclockwise and pulling it out.
Replace the bulb in the socket by aligning the tabs
and turning clockwise.
Page 281 of 388
Downloaded from www.Manualslib.com manuals search engine Center High-Mounted Stoplamp
(Models Without a Spoiler)
To change the bulb, do the following:
1. Open the trunk and view the access hole under the
rear shelf.
2. Remove the bulb sockets by rotating and pull down.
3. Remove the bulb and replace.
4. Re-install the new bulb and socket into the CHMSL.
Center High-Mounted Stoplamp
(Models With
a Spoiler)
To change the bulb, do the following:
1.
2.
3.
4.
Use a torx screwdriver to unscrew the bulb assembly
from the spoiler.
Gently pull out the bulb assembly.
Remove the bulb(s) by gently wiggling the bulb
from the assembly.
Replace the bulb(s) and reverse these steps to replace
the bulb assembly.
Interior Lamps
Dome Lamp With Integral Reading Lamps
To replace a bulb, do the following:
1. Insert a flat screwdriver into the slot at the rear
of the lens.
2. With the screwdriver, push the tab rearward to
3. Push the lens forward to release the two tabs at the
release the lamp
lens.
front
of the lens.
4. Gently remove and replace the bulb( s).
5. Reverse these steps to replace the lens.
Dome Lamp Without Integral Reading Lamps
To
replace a bulb, do the following:
1. From the rear of the dome lamp lens, insert a flat
screwdriver between the roof trim and the lens.
2. With the screwdriver, push the tab at the rear of the
3. Pull the lamp lens reward to release the two front tabs.
4. Gently remove and replace the bulb(s).
5. Reverse these steps to replace the lens.
lens
forward to release the
lens.
6-39
Page 302 of 388
Downloaded from www.Manualslib.com manuals search engine Instrument Panel Fuse Block
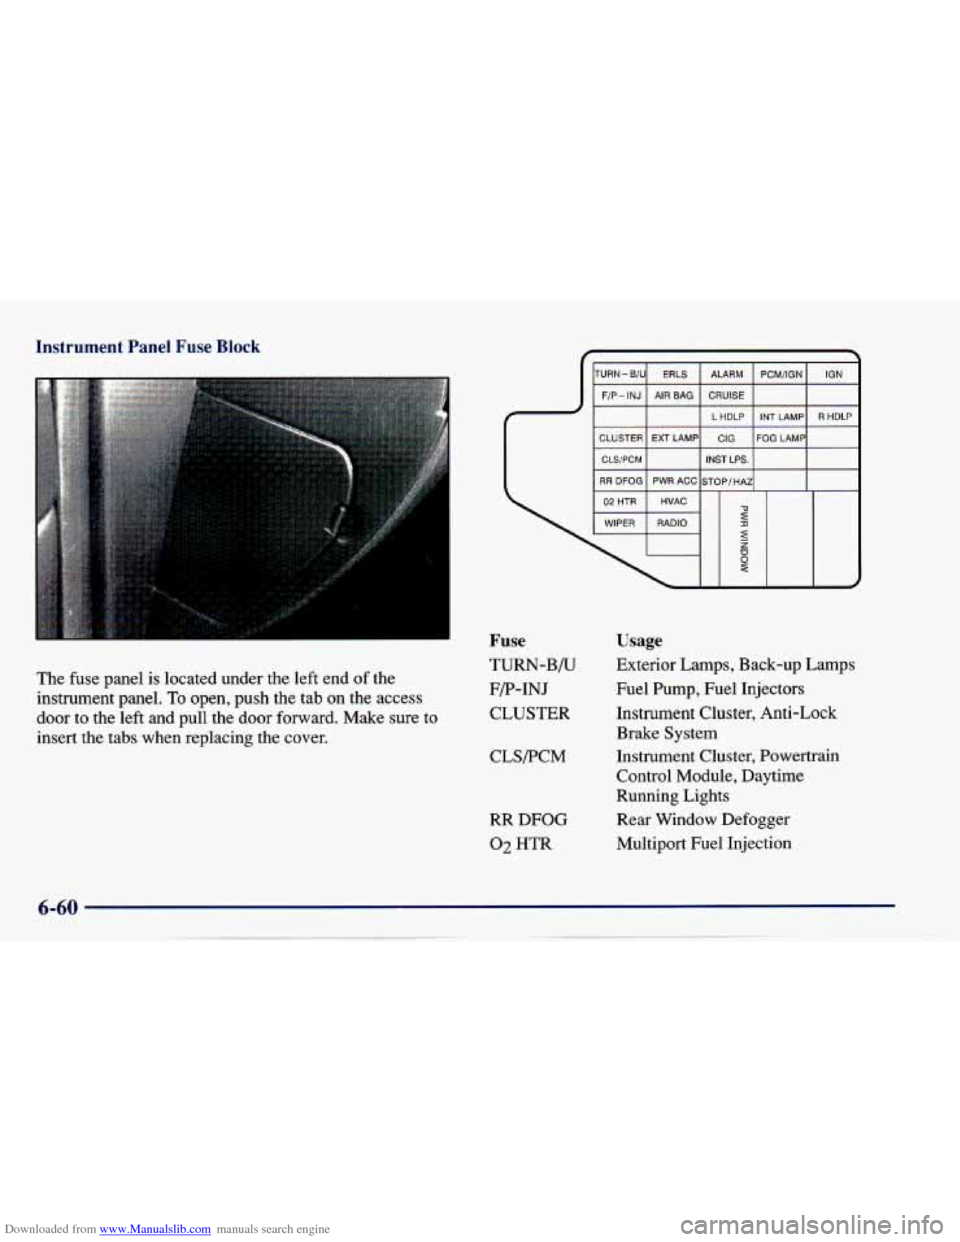
The fuse panel is located under the left end of the
instrument panel.
To open, push the tab on the access
door to the left and pull the door forward. Make
sure to
insert the tabs when replacing the cover.
Fuse
TURN-B/U
F/P-INJ
CLUSTER
CLS/PCM
RR DFOG
02 HTR
Usage
Exterior Lamps, Back-up Lamps
Fuel Pump, Fuel Injectors
Instrument Cluster, Anti-Lock Brake System
Instrument Cluster, Powertrain Control Module, Daytime
Running Lights
Rear Window Defogger
Multiport Fuel Injection