Page 18 of 402
Downloaded from www.Manualslib.com manuals search engine 1 --
I
1 lE&€d.*.L-r_ 1 *"
i
The person keeps going until stopped by something.
In a real vehicle, it could be the windshield ...
or the instrument panel ...
Page 28 of 402
Downloaded from www.Manualslib.com manuals search engine CAUTION: (Continued)
in rollover, rear, side or low-speed frontal crashes.
Everyone in your vehicle should wear a safety belt
properly
-- whether or not there’s an air bag for
that person.
A CAUTION:
Air bags inflate with great force, faster than the
blink of an eye.
If you’re too close to an inflating
air bag, it could seriously injure you. Safety belts
help keep you in position before and during a
crash. Always wear your safety belt, even with an
air
bag, and sit as far back as you can while still
maintaining control
of your vehicle. There is
an air bag readiness
light on
the instrument
panel, which shows
AIR
BAG
AIR BAG.
The system checks the air bag electrical system for
malfunctions. The light tells you if there is an electrical
problem. See “Air Bag Readiness Light” in the Index
for more information.
1-21
Page 58 of 402

Downloaded from www.Manualslib.com manuals search engine Section 2 Features and Controls
Here you can learn about the many standard and optional features on your vehicle, and information on starting,
shifting and braking.
Also explained are the instrument panel and the warning systems that tell you if everything is
working properly -- and what to do if you have a problem.
2-2
2-6
2-9
2- 12
2-13
2-
13
2- 15
2-
17
2-18
2-2 1
2-23
2-23
2-23
2-29
2-30
2-33 Keys
Keyless Entry
System
(If Equipped)
Endgatekiftgate
Theft
New Vehicle “Break-In”
Ignition Positions
Starting Your Engine
Engine Coolant Heater (Option)
Automatic Transmission Operation
Manual Transmission
Locking Rear Axle
All-Wheel Drive (If Equipped)
Four-wheel Drive (If Equipped)
Parking Brake
Shifting Into
PARK (P) (Automatic
Transmission Models Only)
Shifting Out
of PARK (P)
(Automatic Transmission) 2-33
2-34
2-34
2-35
2-36
2-38
2-45
2-49
2-63
2-63
2- 64
2-67
2-72 Parking
Your Vehicle (Manual Transmission
Models Only) Parking Over Things That Burn
Engine Exhaust
Running Your Engine While You’re Parked
(Automatic Transmission)
Windows
Turn SignaVMultifunction Lever Exterior Lamps
Mirrors
Accessory Power Outlets (If Equipped)
Sunroof
(If Equipped)
Universal Transmitter
(If Equipped)
Instrument Panel
Warning Lights, Gages and Indicators
Page 66 of 402

Downloaded from www.Manualslib.com manuals search engine EndgateLiftgate
A CAUTION:
It can be dangerous to drive with the rear
window, endgate or liftgate open because carbon
monoxide (CO) gas can come into your vehicle.
You can’t see or smell CO. It can cause
unconsciousness and even death.
If you must drive with the rear window, endgate
or liftgate open or
if electrical wiring or other
cable connections must pass through the seal
between the body and the rear window, endgate
or liftgate:
Make sure all windows are shut.
Turn the fan on your heating or cooling
system to
its highest speed with the setting on
VENT. That will force outside air into your
vehicle. See
“Comfort Controis” in the Index.
instrument panel, open them all the way.
If you have air outlets on or under the
See “Engine Exhaust”
in the Index.
Endgate Mounted Spare
If your vehicle has an endgate-mounted spare tire
carrier,
you must move the carrier arm out of the way to
open the glass.
Here’s how to move the arm:
d
I
1. Squeeze the release handle to free the carrier arm.
2. Swing the carrier arm away from the endgate. You
3. To latch the carrier arm, swing it toward the endgate.
may need
to give it a slight tug.
2-9
Page 82 of 402

Downloaded from www.Manualslib.com manuals search engine The front axle portion of the diagram on the indicator
will light up when you shift
into four-wheel drive. A
slight delay between shifting and the pattern’s lighting is
normal. If the pattern does not light up, or if the front
axle lights do not go out after you shift out of
four-wheel drive, have your dealer check your system.
Turn the INT LIGHTS switch located to the right of
your headlamp switch
to dim your transfer case
indicator light when your headlamps or parking lamps
are on. This will also cause your instrument panel lights
to dim.
2HI: This setting is for driving in most street and
highway situations. Your front axle is
not engaged in
two-wheel drive.
4HI: This setting engages your front axle to help
drive
your vehicle. Use 4HI when you need extra
traction, such as on snowy
or icy roads, or in most
off-road situations.
N SET PARK BRAKE: Shift to this neutral setting
only when your vehicle needs to be towed.
4LO: This setting also engages your front axle to give
you extra traction and provides extra gear reduction.
You may never need 4LO. It sends the maximum power
to all four wheels. You might choose 4LO if you were
driving off-road in sand, mud or deep snow and
climbing or descending steep hills.
You can shift from 2HI to 4HI or from 4HI to 2HI while
the vehicle is moving. Do not press the transfer case
shift lever button when shifting from 2HI
to 4HI or
from 4HI to 2HI.
To shift your transfer case into N SET PARK BRAKE:
1. Stop the vehicle and shift your transmission into
NEUTRAL
(N).
2. Set the parking brake. Your vehicle can roll unless
the brakes are applied.
3. Pull the transfer case shift lever into N SET
PARK BRAISE.
2-25
Page 86 of 402
Downloaded from www.Manualslib.com manuals search engine Parking Brake
To set the parking brake, hold the regular brake pedal
down with your right foot. Push down the parking brake
pedal with your left
foot. If the ignition is on, the brake
system warning light will come
on.
To release the parking brake hold the regular brake
pedal down.
Pull the
BRAKE RELEASE
lever. It is located on the
bottom driver’s side
of the
instrument panel. ..
NOTICE:
r
Driving with the parking brake on can cause
your rear brakes to overheat.
You may have to
replace them, and you could also damage other
parts
of your vehicle.
If you are towing a trailer and you must park on a hill,
see “Towing a Trailer” in the Index. That section shows
what to do first to keep the trailer from moving.
2-29
Page 96 of 402

Downloaded from www.Manualslib.com manuals search engine ’krn and Lane Change Signals
The turn signal has two upward (for right) and two
downward (for left) positions.
These positions allow you
to signal a turn or a lane change.
To signal a turn, move the lever all the way up or down.
When
the turn is finished, the lever will return automatically.
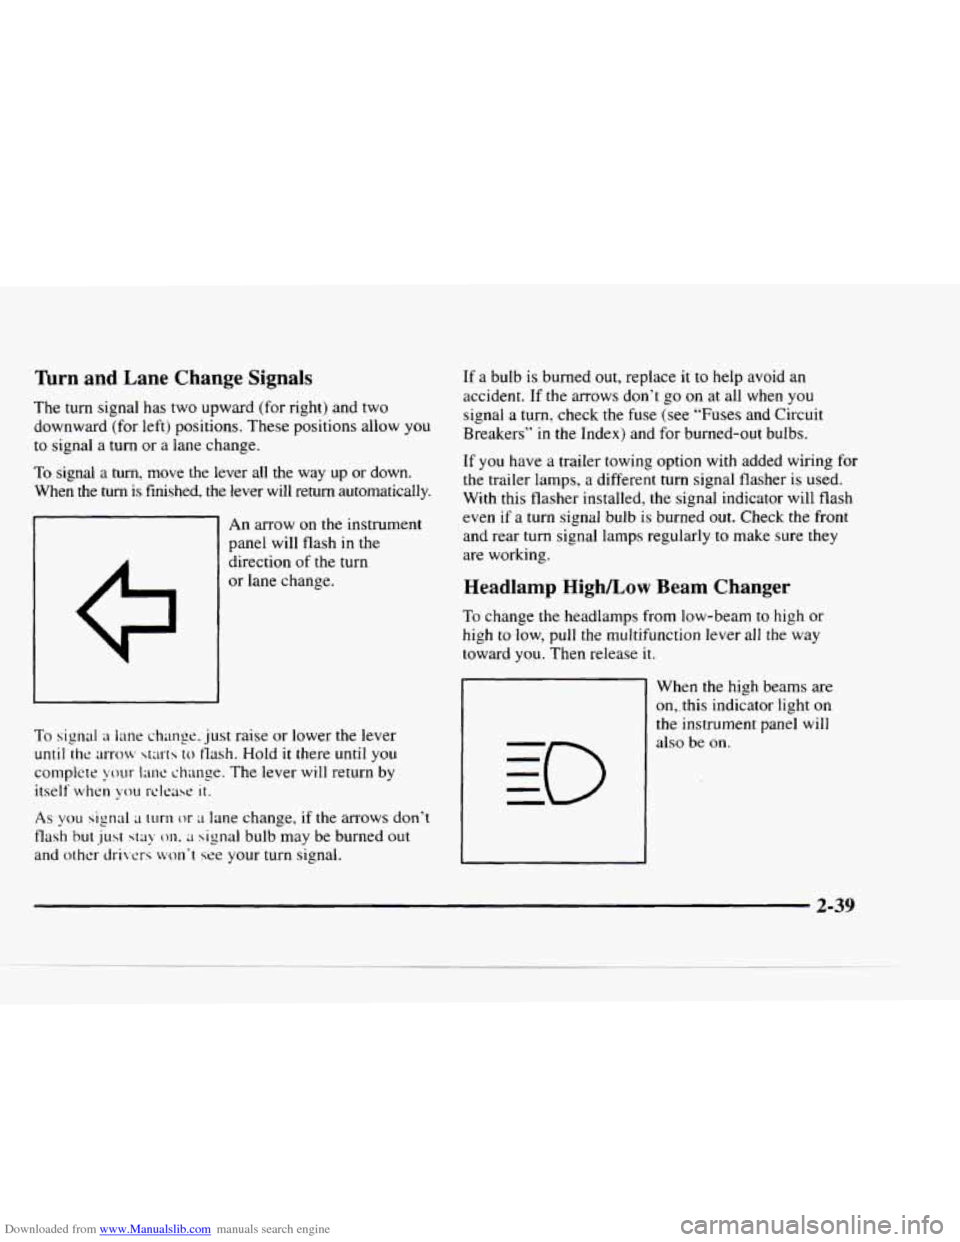
An arrow on the instrument
panel will flash in the
direction
of the turn
or lane change.
To signal a lane change. just raise or lower the lever
until the ;lrrocv starts to tlash. Hold it there until you
complete your
1mc change. The lever will return by
itself when you rclt.ast: it.
As you signal ;1 turn or LI lane change, if the arrows don’t
flash but just stay 011. ;I signal bulb may be burned out
and other drivers won‘t see your turn signal.
If a bulb is burned out, replace it to help avoid an
accident.
If the arrows don’t go on at all when you
signal a turn, check the fuse (see
“Fuses and Circuit
Breakers’’ in the Index) and for burned-out bulbs.
If
you have a trailer towing option with added wiring for
the trailer lamps, a different turn signal flasher is used.
With this flasher installed,
the signal indicator will flash
even
if a turn signal bulb is burned out. Check the front
and rear turn signal lamps regularly
to make sure they
are working.
Headlamp Highkow Beam Changer
To change the headlamps from low-beam to high or
high
to low, pull the multifunction lever all the way
toward
you. Then release it.
1
When the high beams are
on,. this indicator light on
the instrument panel will
also be
on.
2-39
Page 98 of 402
Downloaded from www.Manualslib.com manuals search engine Rear Window WasherIWiper
WASH
REAR WIPER
This switch is located on the instrument panel. The rear
window wiper operates with
a constant five
second delay when the rear wiper switch
is in the ON
position. If the rear glass is opened, the wiper arm
will automatically park
on the endgate. When the
glass
is completely closed, the wiper will resume the
delay mode.
To wash the window, press and hold ON. The wipers
will continue to work after
you release the switch.
Press
OFF to turn the wiper off.
The rear window washer uses the same fluid bottle as
the windshield washer. However, the rear window
washer will run out
of fluid before the windshield
washer. If you can wash your windshield but
not your
rear window, check your fluid level.
2-41