Page 246 of 402
Downloaded from www.Manualslib.com manuals search engine I /d CAUTION:
Getting under a vehicle when it is jacked up is
dangerous.
If the vehicle slips off the jack, you
could be badly injured
or killed. Never get under
a vehicle
when it is supported only by a jack.
I NOTICE:
Raising your vehicle with the jack improperly
positioned can damage the vehicle and even make
the vehicle to fall.
To help avoid personal injury
and vehicle damage, be sure to
fit the jack lift
head into the proper location before raising
the vehicle.
a
4. Raise the vehicle by turning the jack handle
clockwise. Raise the vehicle far enough
off the
ground
so there is enough room for the spare tire
to fit.
5. Remove all the wheel nuts and take off the flat tire.
Page 248 of 402
Downloaded from www.Manualslib.com manuals search engine .. I
A
n
9. Lower the vehicle by turning the jack handle
counterclockwise. Lower the jack completely.
10. Use the wrench to tighten the wheel nuts firmly in a
crisscross sequence
as shown.
5-31
Page 250 of 402
Downloaded from www.Manualslib.com manuals search engine Follow this diagram to store the underbody-mounted spare.
Y; BJ
A. Retainer
B. Valve Stem
(Pointed Down)
C. Spare or Flat Tire
D. Spring
E. Wheel Wrench
E Lower
G. Raise
H. Hoist Arm
1. Put the tire on the ground at the rear of the vehicle,
with the valve stem pointed down and to the rear.
2. Pull the retainer through the wheel.
3. Put the chisel end of the wheel wrench, on an angle,
through the hole
in the rear bumper and into the hoist
shaft. Turn the wheel wrench clockwise
until the tire
is raised against the underside of the vehicle.
You
will hear two “clicks“ when the tire is secure,
but pull on the tire to make sure.
5-33
Page 260 of 402
Downloaded from www.Manualslib.com manuals search engine Filling Your Tank
The fuel cap is behind
a hinged door
on the
driver’s side of
your vehicle.
A CAUTION:
Gasoline vapor is highly flammable. It burns
violently, and that can cause very bad injuries.
Don’t smoke if you’re near gasoline
or refueling
your vehicle. Keep sparks, flames
and smoking
materials away from gasoline.
To take off the cap, turn
it slowly to the left
(counterclockwise). The
cap has a spring
in it; if
you let go of the cap
too soon, it will spring
back to the right.
A CAUTION:
If you get gasoline on yourself and then
something ignites
it, you could be badly burned.
Gasoline can spray
out on you if you open the
fuel filler cap too quickly. This spray can happen
if
your tank is nearly full, and is more likely in
hot weather. Open the fuel filler cap slowly and
wait for any
“hiss” noise to stop. Then unscrew
the cap all the way.
6-5
Page 261 of 402

Downloaded from www.Manualslib.com manuals search engine Be careful not to spill gasoline. Clean gasoline from
painted surfaces as soon as possible. See "Cleaning the
Outside
of Your Vehicle" in the Index.
When you
put the cap back on, turn it to the right
(clockwise)
until you hear a clicking sound. Make sure
you fully install the cap. The diagnostic system can
determine
if the fuel cap has been left off or improperly
installed. This would allow fuel
to evaporate into the
atmosphere. See "Malfunction Indicator Lamp"
in
the Index.
NOTICE:
If you need a new cap, be sure to get the right
type. Your dealer
can get one for you. If you get
the wrong type, it may not
fit properly. This may
cause your malfunction indicator lamp to light and your fuel tank and emissions system may be
damaged. See "Malfunction Indicator Lamp"
in
the Index.
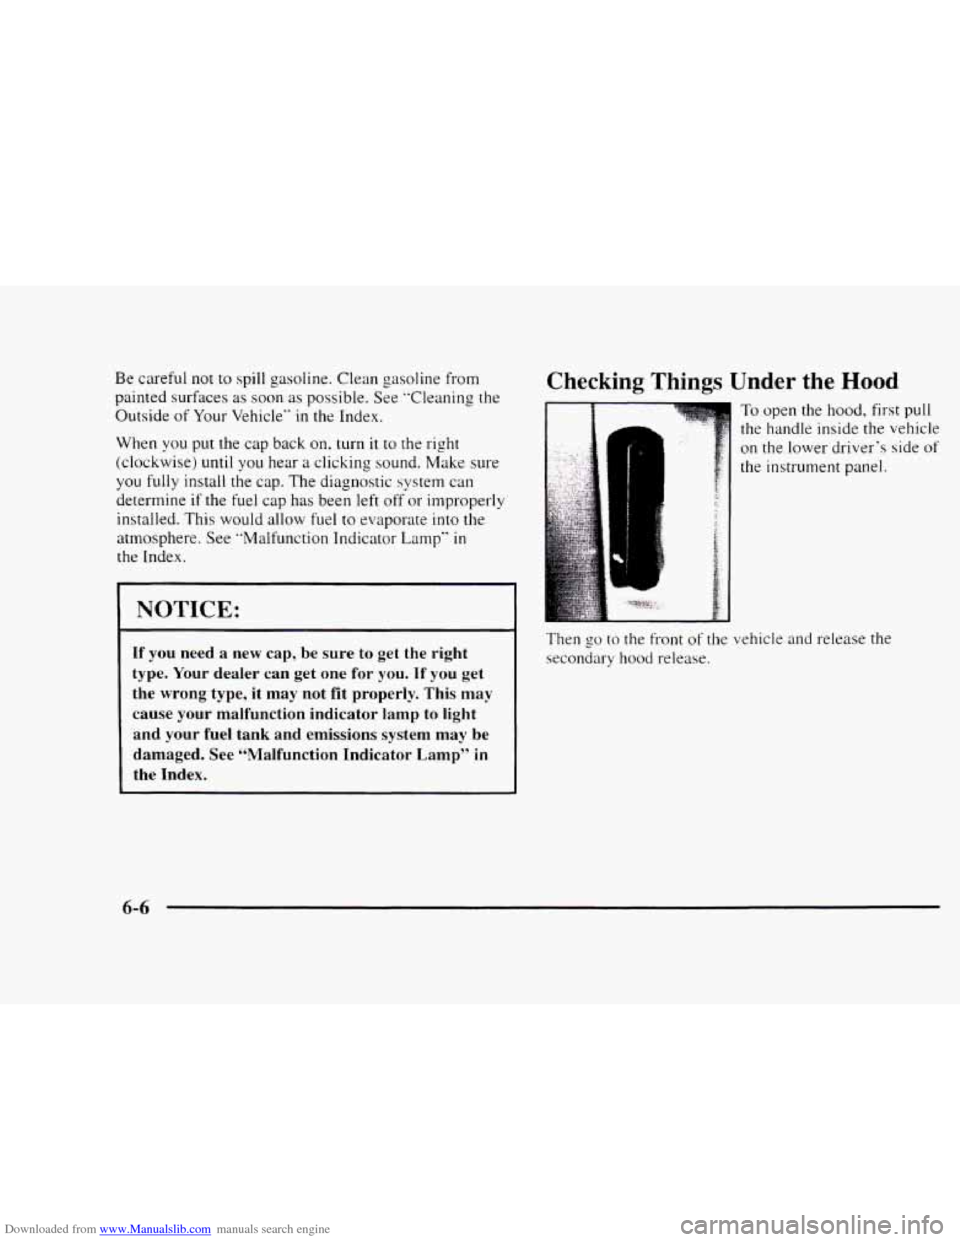
Checking Things Under the Hood
1
To open the hood, first pull
the handle inside the vehicle
on the lower driver's side of
the instrument panel.
Then
go to the front of the vehicle and release the
secondary hood release.
6-6
Page 290 of 402
Downloaded from www.Manualslib.com manuals search engine Composite Headlamps
1. Open the hood.
c
2. Remove the black
protective caps from
the
removal pins at the top
of the radiator support.
Use a hex socket to
unscrew the pins.
3. Pull the headlamp lens
assembly
out. (Some
side-by-side bulbs.)
I,. .*::g> 1.21 , ' ..-g vehicles may have
.. '
4. Unplug the electrical connector.
5. Turn the bulb
counterclockwise
to
remove it.
6. Put the new bulb into the headlamp lens assembly
and turn
it clockwise until it is tight.
7. Plug in the electrical connector.
8. Put the headlamp lens assembly back into the
vehicle.
Install and tighten the screws.
Page 291 of 402

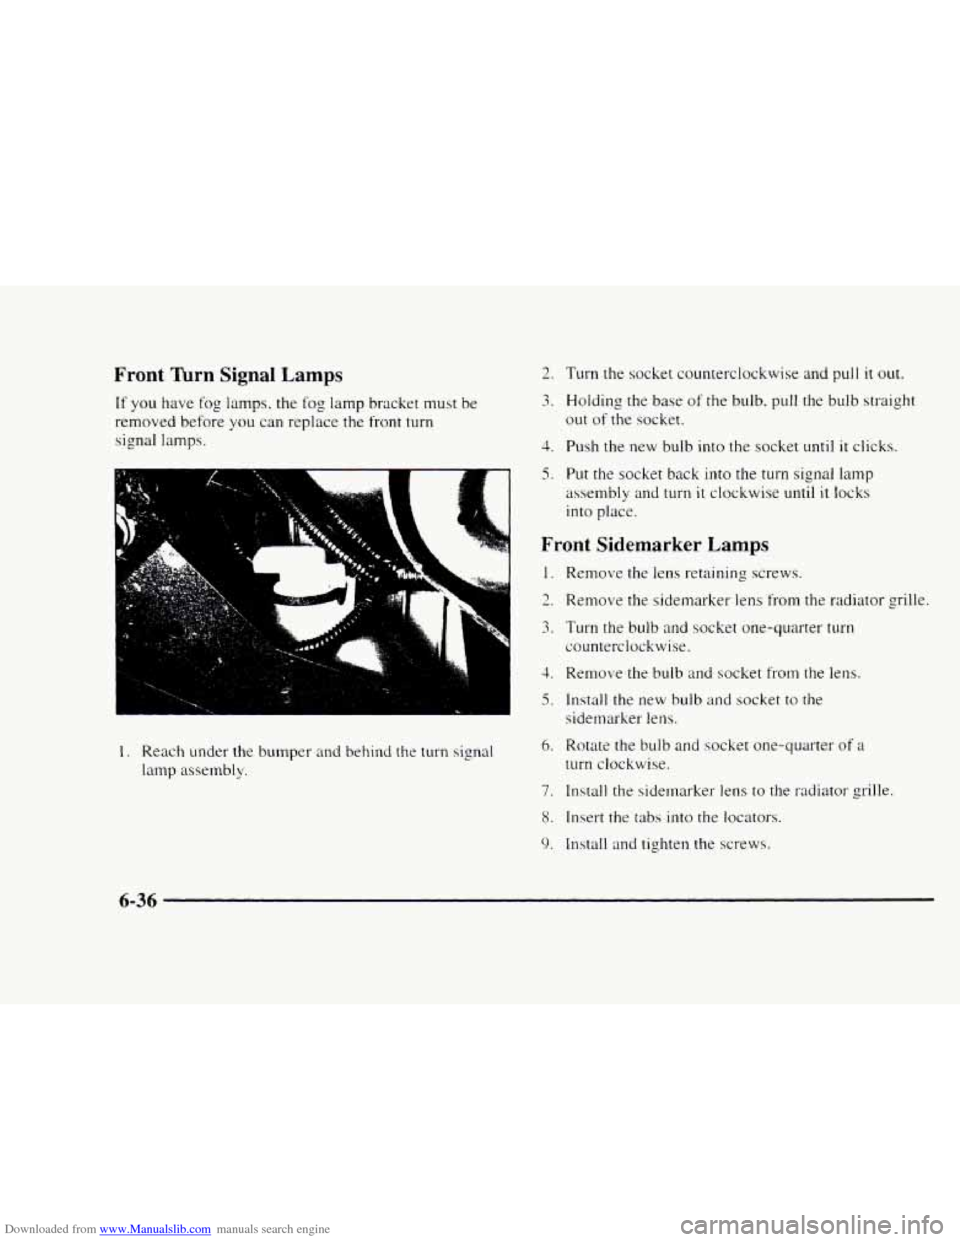
Downloaded from www.Manualslib.com manuals search engine Front Turn Signal Lamps
If you have fog lamps. the fog lamp bracket must be
removed before
you can replace the front turn
signal lamps.
U
L 1
2. Turn the socket counterclockwise and pull it out.
3. Holding the base of the bulb, pull the bulb straight
out of the socket.
4. Push the new bulb into the socket until it clicks.
5. Put the socket back into the turn signal lamp
assembly
and turn it clockwise until it locks
into place.
Front Sidemarker Lamps
1.
-. ?
3.
3.
5.
I. Reach under the bumper and behind the turn sipal
lamp assembly. 6.
7.
8.
9.
Remove the lens retaining screws.
Remove the sidemarker lens from the radiator grille.
Turn the bulb
and socket one-quarter turn
counterclockwise.
Remove the bulb
and socket from the lens.
Install the new bulb and socket to the
sidemarker lens.
Rotate the bulb and socket one-quarter
of a
turn clockwise.
Install the sidemarker lens
to the radiator grille.
Insert the tabs
into the locators.
Install
and tighten the screws.
6-36
Page 292 of 402
Downloaded from www.Manualslib.com manuals search engine Taillamps
1. Open the endgate.
2. Remove the two screws
from the lamp assembly.
3. Pull the assembly away from the vehicle.
4. Turn the socket counterclockwise to remove it. Push
the tab in while
you turn the socket
counterclockwise.
5. Holding the base of the bulb, pull the bulb straight
out of the socket.
6. Push the new bulb straight into the socket until
it clicks.
7. Put the socket into the lamp assembly and turn the
socket clockwise until it locks into place.
8. Install the lamp assembly and screws.
9. Close the endgate.
Underhood Lamp
1.
2.
3.
4.
5.
6.
7.
8.
Disconnect the electrical connector from the
underhood lamp assembly.
Remove the screws.
Disconnect the ground wire.
Remove the lamp assembly from the hood.
Install the
new bulb.
Replace the assembly. Install and tighten the screws.
Connect
the ground wire.
Connect the electrical connector
to the
lamp assembly.