1997 CHEVROLET BLAZER clock
[x] Cancel search: clockPage 147 of 402
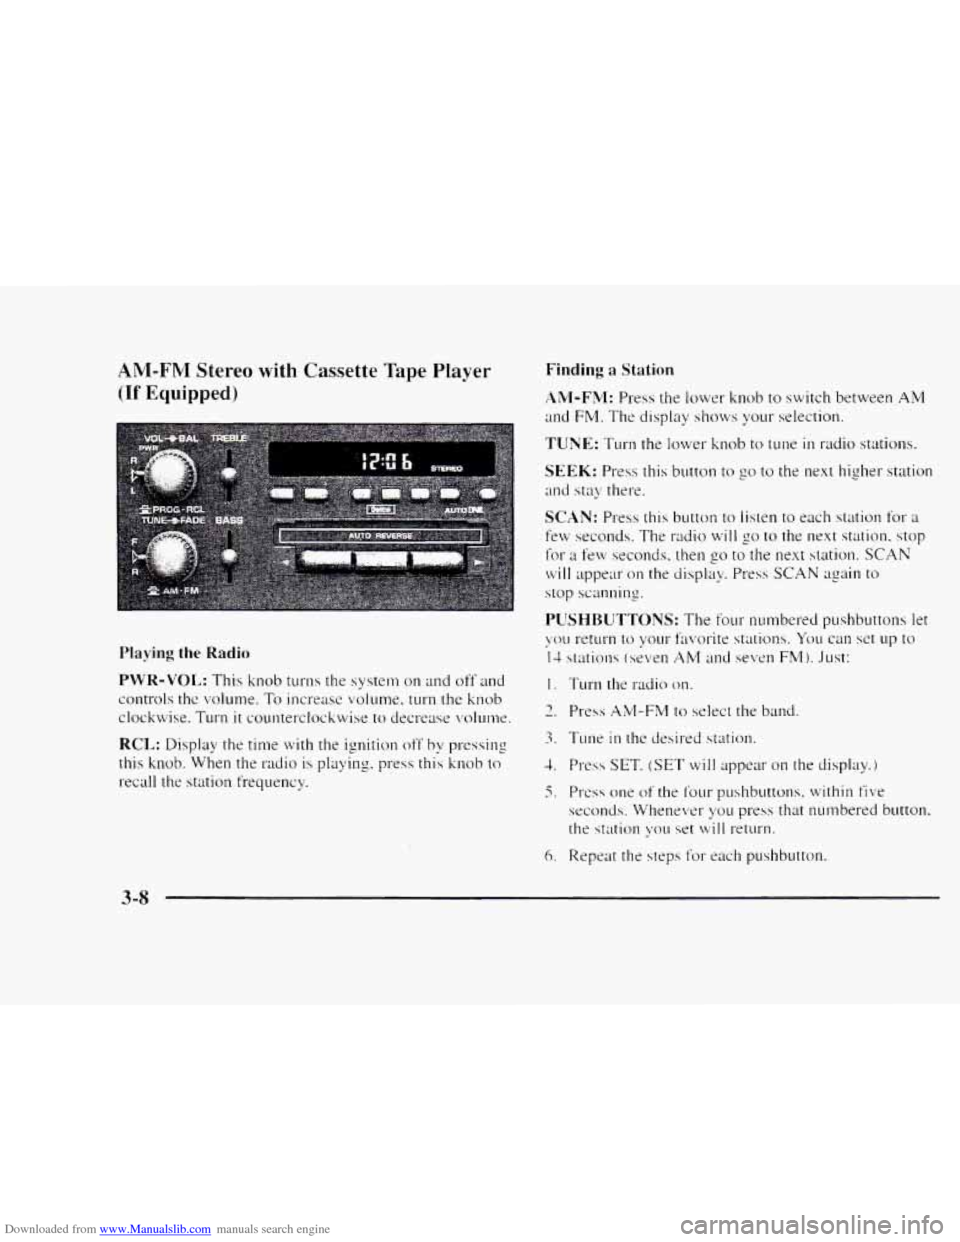
Downloaded from www.Manualslib.com manuals search engine AM-FNI Stereo with Cassette Tape Player
(If Equipped)
Playing the Radio
PWR-VOL: This knob turns the system on and off and
controls the volume.
To increase volume, turn the knob
clockwise. Turn
it counterclockwise to decrease volunw.
RCL: Display the time with the ignition off by pressing
this knob. When the
radio is playing. press this knob to
recall the station frequency.
Finding a Station
AM-FM: Press the lower knob to switch between AM
and FM. The display sl~ows your selection.
TUNE: Turn the lower knob to tune in radio stations.
SEEK: Press this button to go to the next higher station
and stay there.
SCAN: Press this button to listen to each station for a
few seconds. The radio will go to the next station. stop
for a few seconds. then go to the next station. SCAN
will appear on the display. Press SCAN again to
stop scanning.
I. Turn the radio on.
3. Tune in the desired station.
1. Press SET, (SET will appear on the display.)
5. PI-css one of the f’our pushbuttons. within five
seconds. Whenever yo11 press that numbered button.
the station \:ou
set will return.
6. Repeat the steps f’or each pushbutton.
3-8
Page 149 of 402
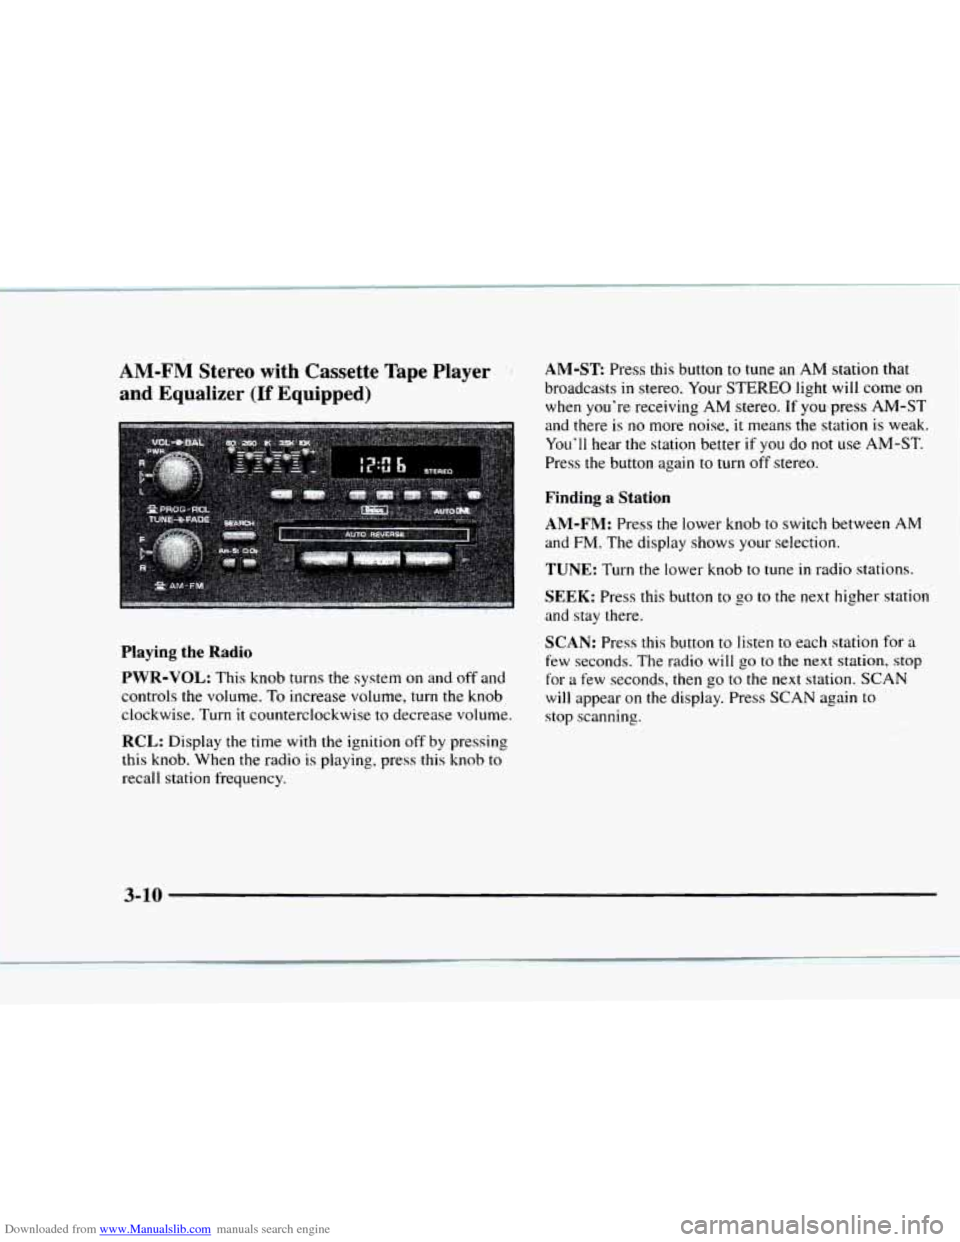
Downloaded from www.Manualslib.com manuals search engine AM-FM Stereo with Cassette Tape Player'*:'#
and Equalizer
(If Equipped)
AM-ST Press this button to tune an AM station that
broadcasts
in stereo. Your STEREO light will come on
when you're receiving
AM stereo. If you press AM-ST
and there
is no more noise, it means the station is weak.
You'll hear the station better
if you do not use AM-ST.
Press the button again to turn
off stereo.
Finding a Station
AM-FM:
Press the lower knob to switch between AM
and FM. The display shows your selection.
TUNE: Turn the lower knob to tune in radio stations.
SEEK: Press this button to go to the next higher station
and stay there.
SCAN: Press this button to listen to each station for a
few seconds. The radio will go to the next station, stop
for a few seconds, then
go to the next station. SCAN
will appear on the display. Press SCAN again to
stop scanning.
Playing the Radio
PWR-VOL:
This knob turns the system on and off and
controls the volume. To increase volume,
turn the knob
clockwise. Turn
it counterclockwise to decrease volume.
RCL: Display the time with the ignition off by pressing
this knob. When the radio
is playing, press this knob to
recall station frequency.
' , :i I -. ,
3-10
Page 152 of 402
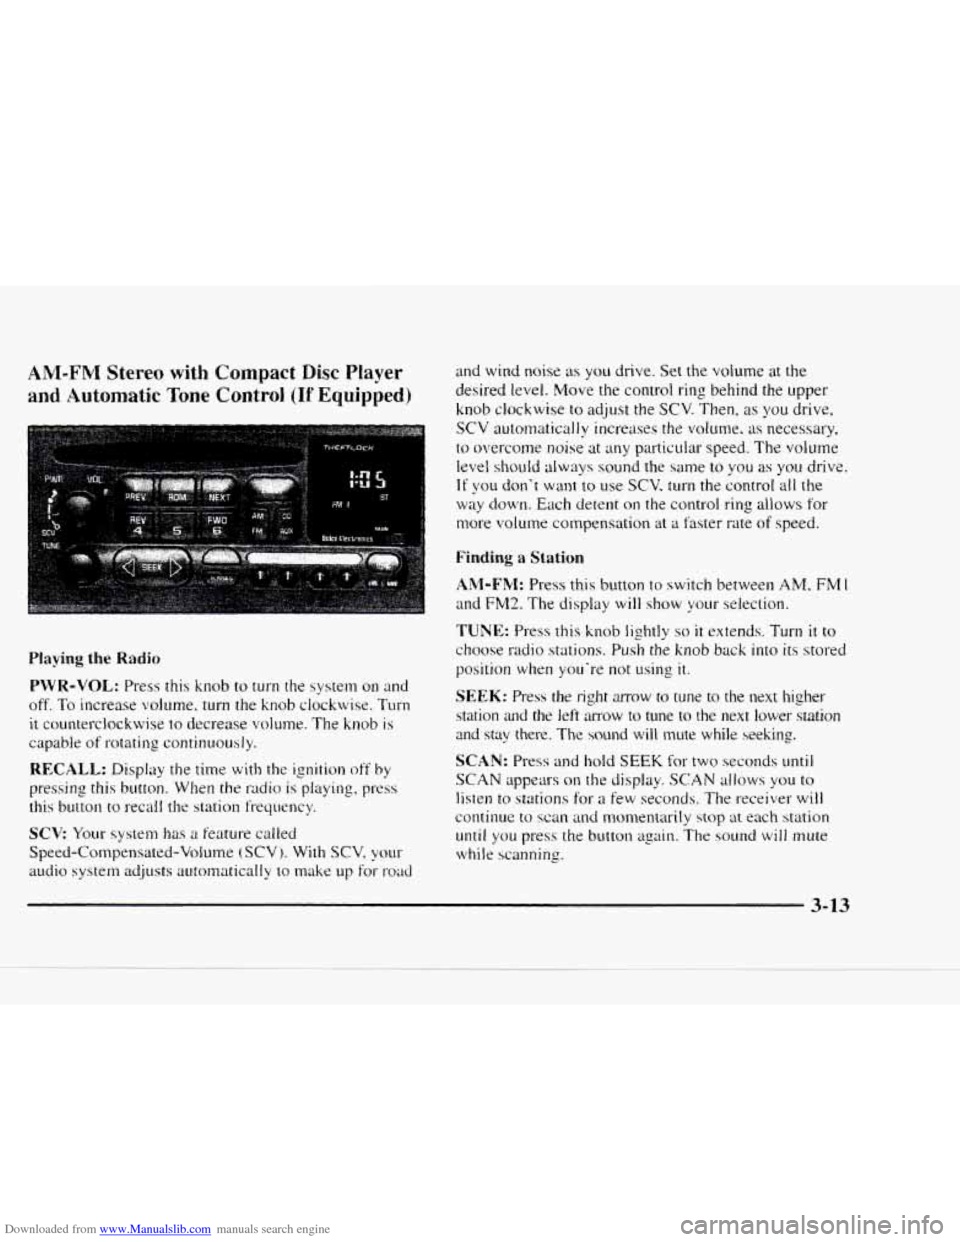
Downloaded from www.Manualslib.com manuals search engine AM-FM Stereo with Compact Disc Player
and Automatic Tone Control (If Equipped)
Playing the Radio
PWR-VOL: Press this knob to turn the system on and
off.
To increase volume, turn the knob clockwise. Turn
it counterclockwise to decrease volume. The knob is
capable of rotating continuously.
RECALL: Display the time with the ignition off by
pressing this button. When the radio is playing, press
this button
to recall the station frequency.
SCV Your system has a feature called
Speed-Compensated-Volume
(SCV j. With SCV, your
audio system adjusts autornatically to make up for- road
and wind noise as you drive. Set the volume at the
desired level. Move the control ring behind the upper
knob clockwise
to adjust the SCV. Then, as you drive,
SCV automatically increases the volume, as necessary.
to overcome noise at any particuiar speed. The volume
level shouId always sound the same to you as you drive.
If you don't want to use SCV. turn the control all the
way down. Each detent on the control ring allows for
more volume compensation at
a faster rate of speed.
Finding a Station
AM-FM: Press this button to switch between AM, FM 1
and FM2. The display will show your selection.
TUNE: Press this knob lightly so it extends. Turn it to
choose radio stations. Push the knob back into its stored
position
when you're not using it.
SEEK: Press the right mow to tune to the next higher
station
and the left amow to tune to the next lower station
and stay there. The sound will mute while seeking.
SCAN: Press and hold SEEK for two seconds mtil
SCAN appears on the display. SCAN allows you to
listen to stations for a few seconds. The receiver will
continue to scan and monxntarily stop at each station
until you press the button again. The sound will mute
while scanning.
3-13
Page 154 of 402
Downloaded from www.Manualslib.com manuals search engine Setting the Tone Adjusting the Speakers
BASS: Press lightly on this knob to release it froln its
stored position. Turn the
knob clockwise to increase
bass and counterclockwise
to decrease bass. When the
BASS control is rotated, the AUTO TONE setting will
change to MAN.
TREB: Press lightly on this knob to release it from its
stored position. Turn the knob clockwise
to increase
treble and counterclockwise
to decrease treble. When
the TREB control
is rotated, the AUTO TONE setting
will change to
MAN. If a station is weak or noisy. you
may want to decrease the treble.
Push these knobs back into their stored positions when
you’re
not using them.
AUTO TONE: Press this button to select among the
five preset equalization settings and tailor the sound
to
the music or voice being heard. Each time you press the
button, the selection will switch
to one of the preset
settings
of CLASSIC, NEWS. ROCK. POP or JAZZ.
The display will show which mode
the receiver is in. To
return to the manual mode, press and release this button
until MAN appears on the display. This will return the
tone adjustment
to the BASS and TREB controls. If a
BASS or TREB control
is rotated, the AUTO TONE
setting will change to MAN.
BAL: Press lightly on this knob to release it from its
stored position. Turn the control clockwise to adjust
sound
to the right speakers and counterclockwise to
adjust sound to the left speakers. The middle position
balances the sound between the speakers.
FADE: Press lightly on this knob to release it from its
stored position. Turn the control clockwise to adjust the
sound to the front and counterclockwise
for the rear
speakers. The middle position balances the sound
between the speakers.
Push these knobs back
into their stored positions when
you’re not using
them.
Playing a Compact Disc
PWR: Press this knob to turn the system on.
(Please note that you can also turn the system on when
you insert
a compact disc into the player with the
ignition
on.)
Insert a disc partway into the slot. label side LIP. The
player
will pull it in. Wait a few seconds and the disc
should play. CD and
a CD symbol will also appear on
the display. Anytime you are playing a CD. the letters
CD will be next
to the CD symbol.
Page 172 of 402
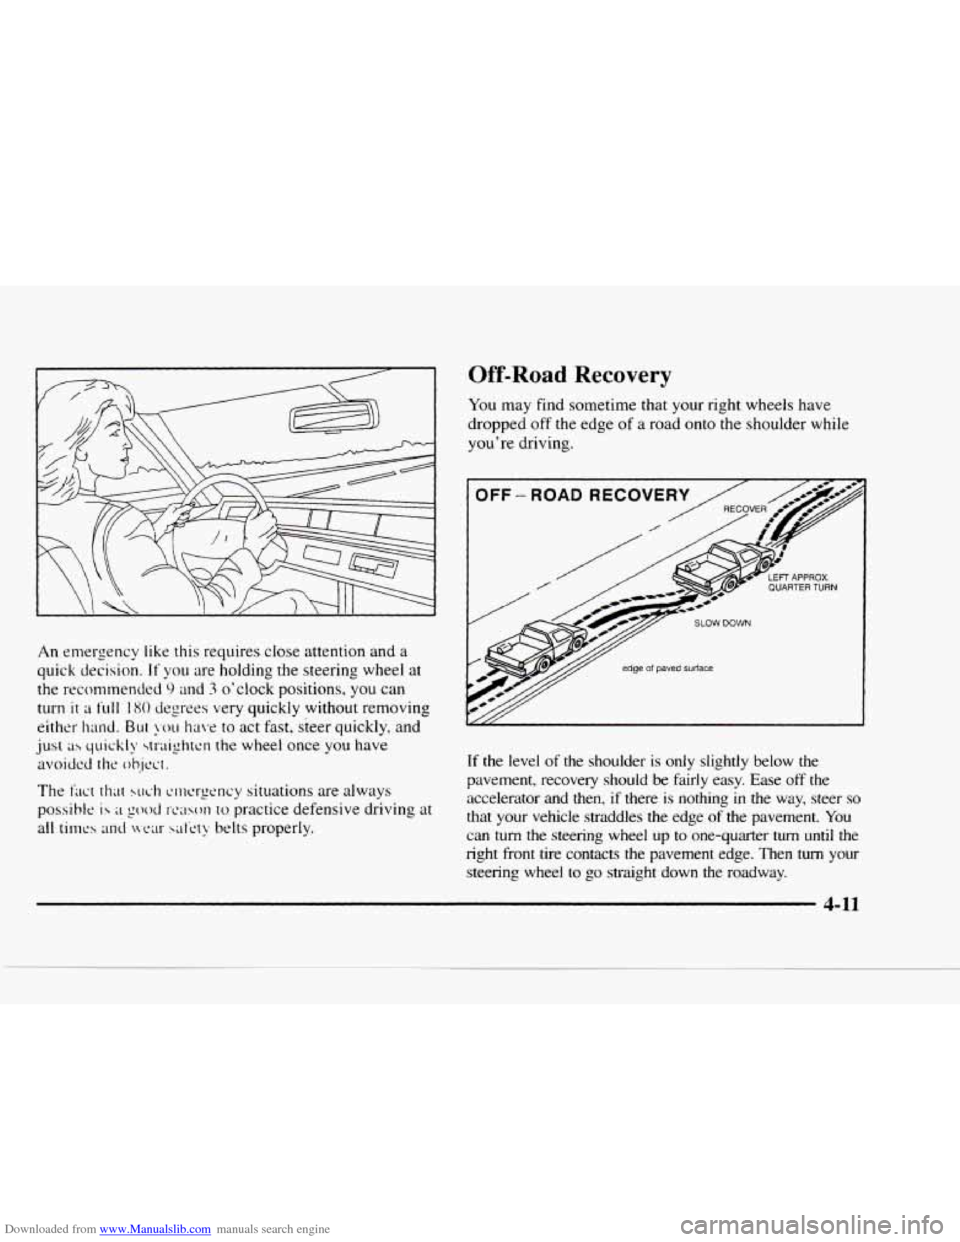
Downloaded from www.Manualslib.com manuals search engine An emergency like this requires close attention and a
quick decision. If you are holding the steering wheel at
the recommended
9 and 3 o'clock positions, you can
turn
it a tull 180 degrees very quickly without removing
either
hand. Bur you hrt\*e to act fast, steer quickly, and
just ah quickly straighten the wheel once you have
avoided
the ob-jcct.
The fact that wch clncrgcncy situations are always
possible ih ;I good reason to practice defensive driving at
all
times and NYN satety belts properly.
Off-Road Recovery
You may find sometime that your right wheels have
dropped off
the edge of a road onto the shoulder while
you're driving.
I OFF - ROA
v/// edge of paved surface
If the level of the shoulder is only slightly below the
pavement, recovery should be
fairly easy. Ease off the
accelerator and then, if there is nothing in the way, steer so
that your vehicle straddles the edge of the pavement. You
can turn the steering wheel up to one-quarter turn until the
right front tire contacts the pavement
edge. Then turn your
steering wheel to go straight down the roadway.
4-11
Page 182 of 402
Downloaded from www.Manualslib.com manuals search engine @ What should I do if my vehicle stalls, or is about
A: If this happens, there are some things you should
to stall, and I can’t make it up the hill?
do. and there are some things you must not do.
First, here’s what
you should do:
0 Push the brake pedal to stop the vehicle and keep it
from rolling backwards. Also, apply the parking brake.
0 If your engine is still running, shift the transmission
to REVERSE
(R), release the parking brake, and
slowly back down the hill
in REVERSE (R).
0 If your engine has stopped running, you’ll need to
restart it. With the brake pedal depressed and the
parking brake still applied, shift
the transmission to
PARK (P) (or, shift to NEUTRAL (N) if your
vehicle has a manual transmission) and restart
the
engine. Then, shift to REVERSE (R), release the
parking brake, and slowly back down the
hill as
straight as possible in REVERSE (R).
As you are backing down the hill, put your left hand
on the steering wheel at the 12 o’clock position. This
way, you’ll be able
to tell if your wheels are straight
and maneuver
as you back down. It’s best that you
back down the hill with your wheels straight rather
than
in the left or right direction. Turning the wheel
too far to the left or right will increase the possibility
of
a rollover.
Here are some things
you must not do if you stall, or are
about
to stall, when going up a hill.
0 Never attempt to prevent a stall by shifting into
NEUTRAL
(N) (or depressing the clutch, if you
have
a manual transmission) to “rev-up” the engine
and regain forward momentum. This
won’t work.
Your vehicle will roll backwards very quickly and
you could go out of control.
Instead, apply the regular brake
to stop the
vehicle. Then apply
the parking brake. Shift to
REVERSE
(R), release the parking brake, and
slowly back straight down.
0 Never attempt to turn around if you are about to stall
when going up
a hill. If the hill is steep enough to
stall your vehicle, it’s steep enough to cause you to
roll over if you turn around. If you can’t make it up
the hill, you must back straight down the hill.
4-21
Page 236 of 402
Downloaded from www.Manualslib.com manuals search engine How to Add Coolant to the Radiator
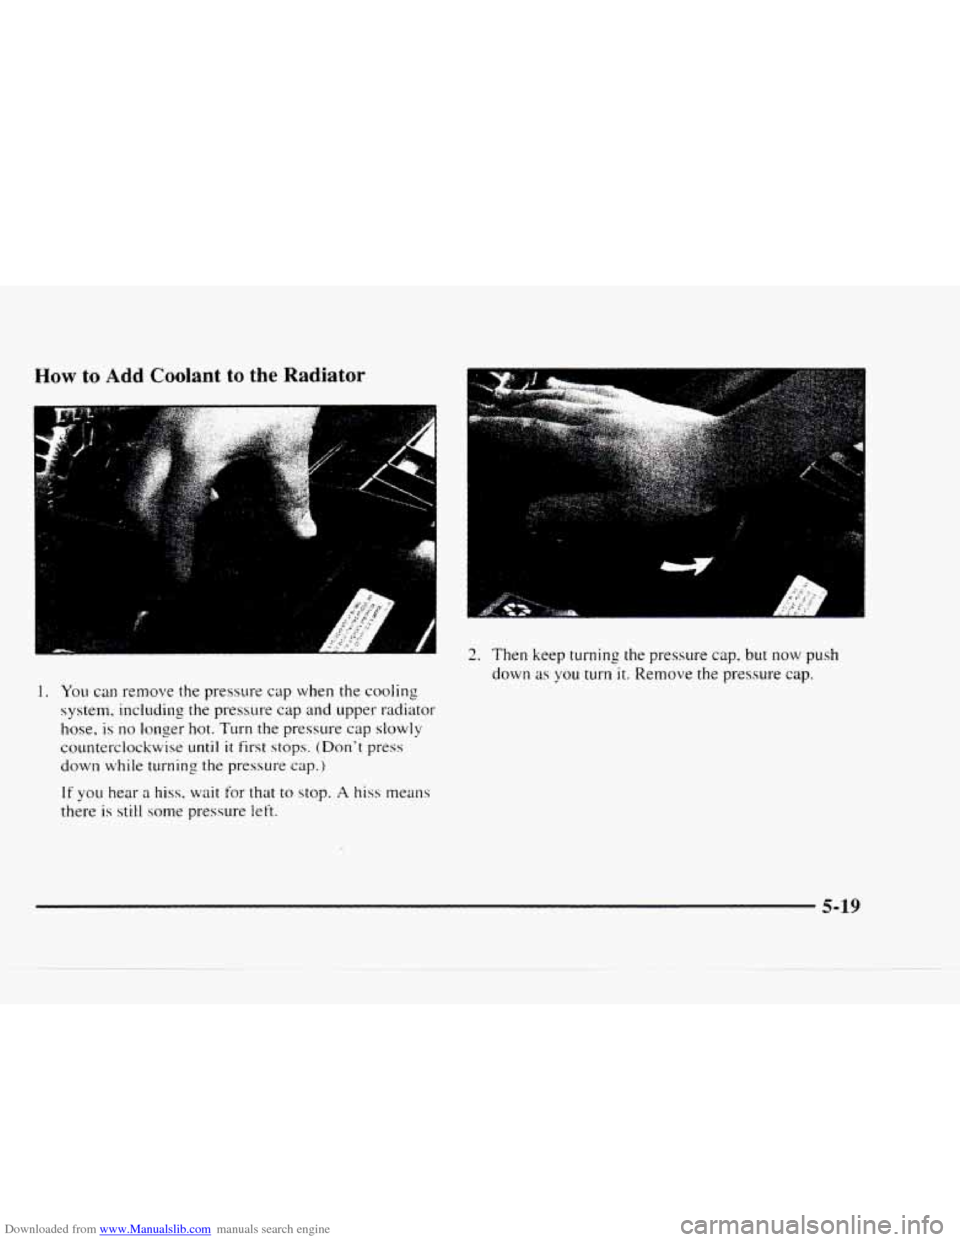
1. You can remove the pressure cap when the cooling
system, including the pressure cap and upper radiator
hose, is no longer hot. Turn the pressure cap slowly
counterclockwise
until it first stops. (Don't press
down while turning the pressure cap.)
If you hear a hiss. wait for that to stop. A hiss means
there is still some pressure left.
2. Then keep turning the pressure cap, but now push
down as you turn it. Remove the pressure cap.
5-19
Page 242 of 402
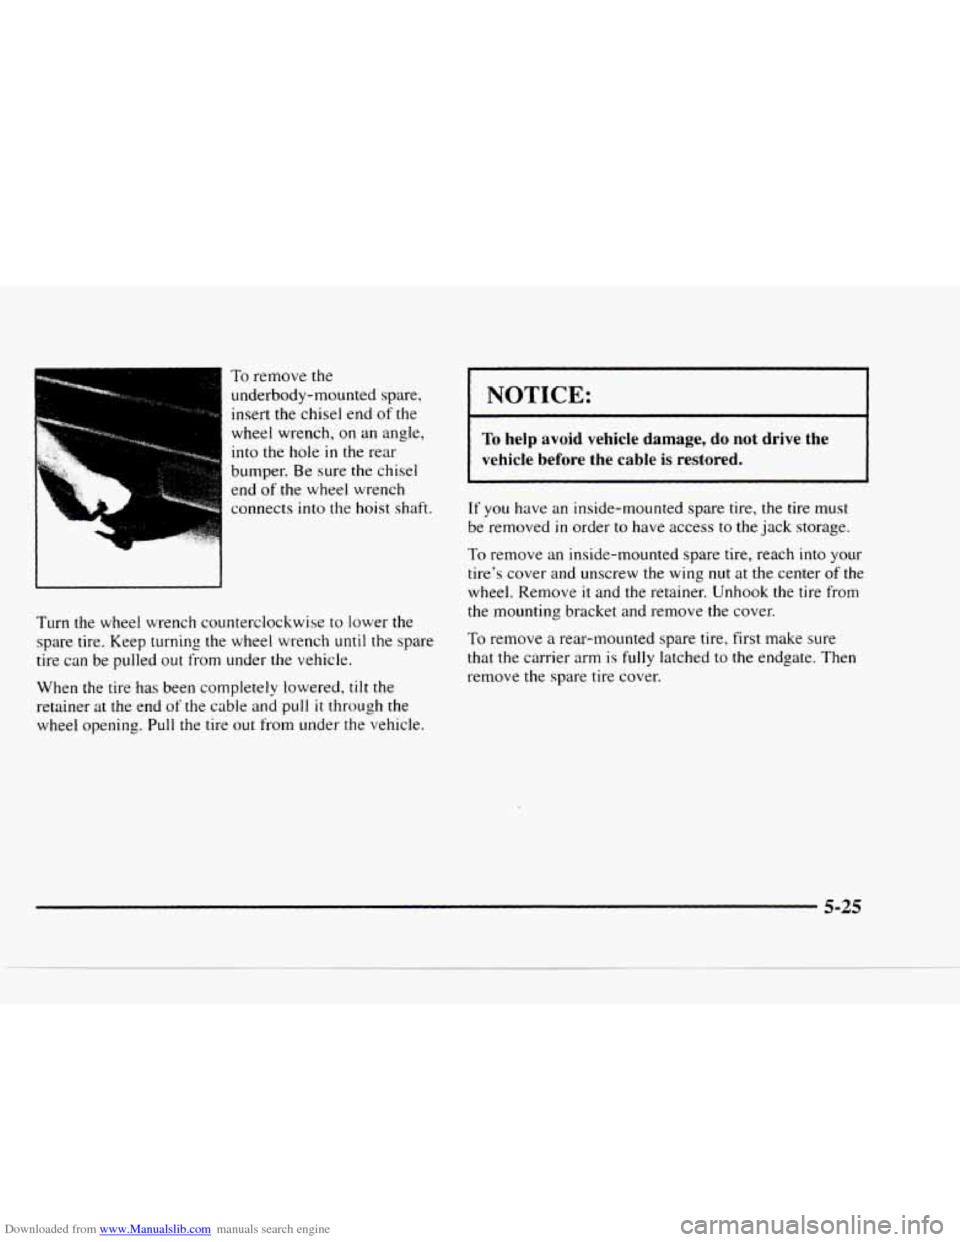
Downloaded from www.Manualslib.com manuals search engine To remove the
underbody-mounted spare,
insert the chisel end of the
wheel wrench,
on an angle,
into the hole in the rear
bumper. Be sure the chisel
end
of the wheel wrench
connects
into the hoist shaft.
Turn the wheel wrench counterclockwise
to lower the
spare tire. Keep turning the wheel wrench
until the spare
tire can be pulled out from under the vehicle.
When the tire
has been completely lowered, tilt the
retainer at
the end of the cable and pull it through the
wheel opening. Pull the tire out from under the vehicle.
I NOTICE:
To help avoid vehicle damage, do not drive the
vehicle before the cable
is restored.
If you have an inside-mounted spare tire, the tire must
be removed
in order to have access to the jack storage.
To remove an inside-mounted spare tire, reach into your
tire's cover and unscrew
the wing nut at the center of the
wheel. Remove
it and the retainer. Unhook the tire from
the mounting bracket and remove the cover.
To remove
a rear-mounted spare tire, first make sure
that the carrier arm is
fully latched to the endgate. Then
remove the spare
tire cover.