1997 CHEVROLET ASTRO key
[x] Cancel search: keyPage 17 of 404
Downloaded from www.Manualslib.com manuals search engine Removing the Rear Seats
To remove the rear seats, do the following:
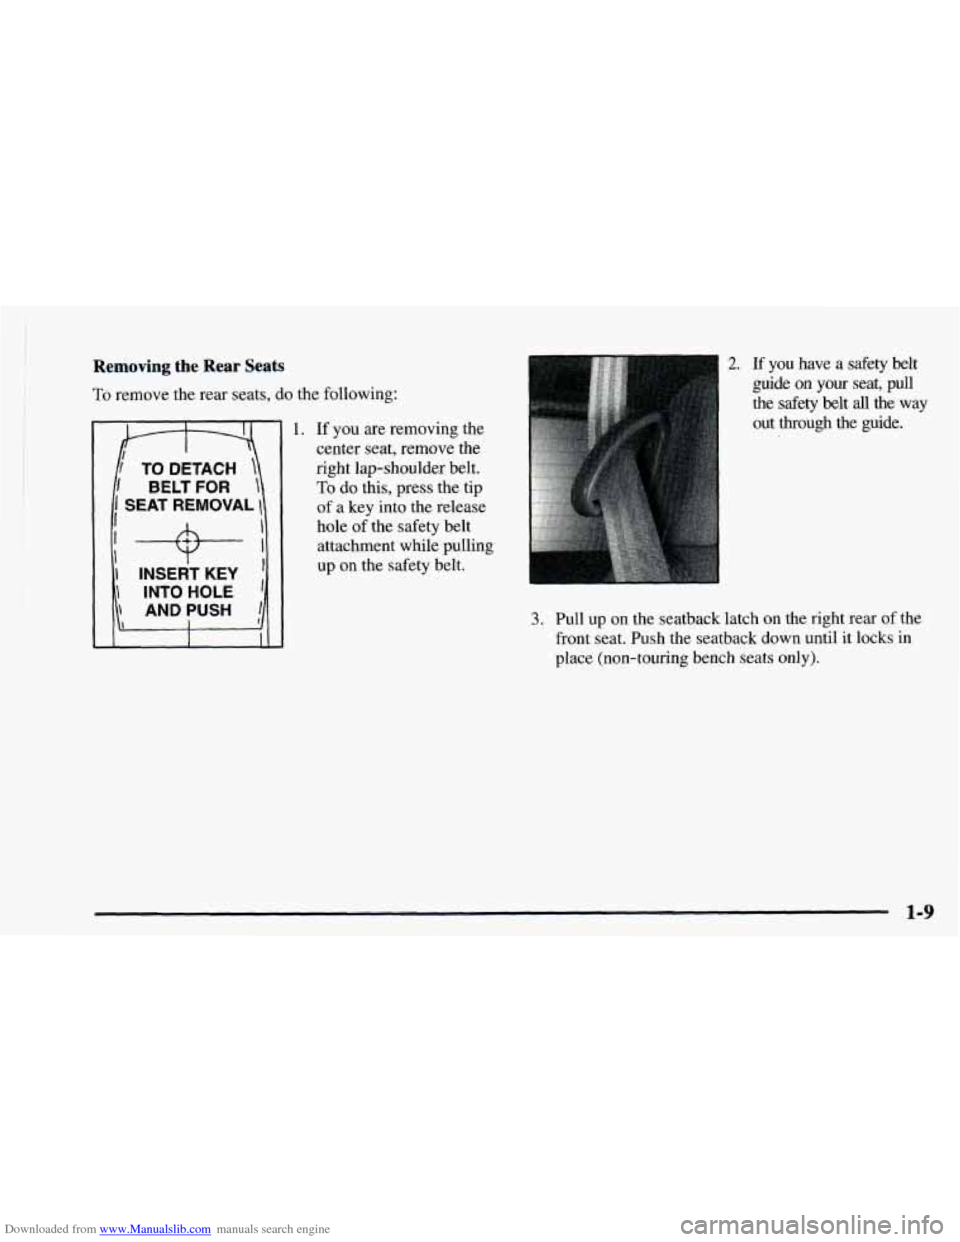
c I TO DETACH
‘1 BELT FOR
SEAT REMOVAL
-9.- I
INSERT KEY , 1
INTO HOLE
AND PUSH I
I I
1 I
1. If you are removing the
center seat, remove the
right lap-shoulder belt.
To do this, press the tip
of a key into the release
hole of the safety belt
attachment while pulling
up on the safety belt.
2. If you have a safety belt
guide on
your seat, pull
the
safety belt all the way
I, out through the guide.
3. Pull up on the seatback latch on the right rear of the
front seat. Push the seatback
down until it locks in
place (non-touring bench seats only).
1-9
Page 35 of 404
Downloaded from www.Manualslib.com manuals search engine The best way to protect the fetus is to protect the
mother. When a safety belt is worn properly, it’s more
likely that the fetus won’t be hurt in a crash. For
pregnant women, as for anyone, the key to malung
safety belts effective is wearing them properly.
Right Front Passenger Position
The right front passenger’s safety belt works the same
way as the driver’s safety belt. See “Driver Position”
earlier in this section.
When the lap belt is ,pulled out all the way,
it will lock.
If it does, let it go back all the way and start again.
Supplemental Inflatable Restraint
(SIR) System
This part explains the Supplemental Inflatable Restraint
(SIR) system or air bag system.
Your vehicle has two air bags
-- one air bag for the
driver and another air bag for the right front passenger.
Here are the most important things to know about the air
bag system:
You can be severely injured or’killed in a crash if
you aren’t wearing your safety..belt
-- even if you
have air bags. Wearing your safety belt during a
crash helps reduce your chance of hitting things
inside the vehicle or being ejec‘ted from it. Air
bags are “supplemental restraints” to the safety
belts.
All air bags are designetkto work with
safety belts, but don’t replace them. Air bags are
designed
to work only in moderate to severe
crashes where the front of your vehicle hits
something. They aren’t designed to inflate at all
in rollover, rear, side or low-speed frontal
crashes. Everyone in your vehicle should wear a
safety belt properly
-- whether or not there’s an
air bag for that person.
----- 1-27
Page 40 of 404
Downloaded from www.Manualslib.com manuals search engine Let only qualified technicians work on your air bag
system. Improper service
can mean that your air bag
system won’t work properly. See your dealer
for service.
NOTICE:
~ ~ ~~~
If you damage the covering for the driver’s or the
right front passenger’s air bag, the bag may not
work properly. You may have to replace the air
bag module in the steering wheel or both the
air
bag module and the instrument panel for the
right front passenger’s
air bag. Do not open or
break the air bag coverings.
Servicing Your Air Bag-Equipped Vehicle
Air bags affect how your vehicle should be serviced.
There are parts
of the air bag system in several places
around your vehicle. You don’t
want the system to
inflate while someone is working on your vehicle. Your
GM dealer and the service manual have information
about servicing your vehicle and the air bag system. To
purchase a service manual, see “Service and Owner
Publications”
in the Index.
I a CAUTION:
For up to 10 minutes after the ignition key is
turned
off and the battery is disconnected, an air
bag can still inflate during improper service.
You
can be injured if you are close to an air bag when
it inflates. Avoid wires wrapped with yellow tape
or yellow connectors. They are probably part
of
the air bag system. Be sure to follow proper
service procedures, and make sure the person
performing work for you is qualified to do
so.
The air bag system does not need regular maintenance.
1-32
Page 75 of 404

Downloaded from www.Manualslib.com manuals search engine Section 2 Features and Controls
Here you can learn about the many standard and optional features on your vehicle, and information on starting,
shifting and braking. Also explained are the instrument panel and the warning systems that tell you if everything is
working properly
-- and what to do if you have a problem.
2-2
2-4 2-4
2- 6
2-7
2-
10
2- 12
2-
14
2- 15
2-15
2- 17
2-1 8
2- 19
2-22
2-22
2-23
2-24
2-26 Keys
Front
Doors
Rear Doors
Door Locks
Keyless Entry System
Sliding Door
Hatch
Theft New Vehicle “Break-In”
Ignition Positions
Starting Your Engine
Engine Coolant Heater (Option)
Automatic Transmission Operation
Locking Rear Axle All-Wheel Drive (Option)
Parking Brake
Shifting Into PARK (P)
Shifting Out
of PARK (P) 2-27
2-27
2-28
2-29
2-3
1
2-3 1
2-3 1
2-37
2-39
2-4
1
2-42
2-50
2-5
1
2-52
2-5
3
2-56
2-58
2-60 Parking
Over Things That Burn
Engine Exhaust
Running Your Engine While You’re Parked
Windows
Horn
Tilt Wheel (If Equipped)
Turn Signal/Multifunction Lever
Lamps Interior Lamps
Mirrors Storage Compartments
Ashtrays and Cigarette Lighter
Sun Visors
Accessory Power Outlets (Option)
Universal Transmitter (Option)
Instrument Panel
Instrument Panel Cluster
Warning Lights, Gages and Indicators
2-1
Page 76 of 404
Downloaded from www.Manualslib.com manuals search engine Keys
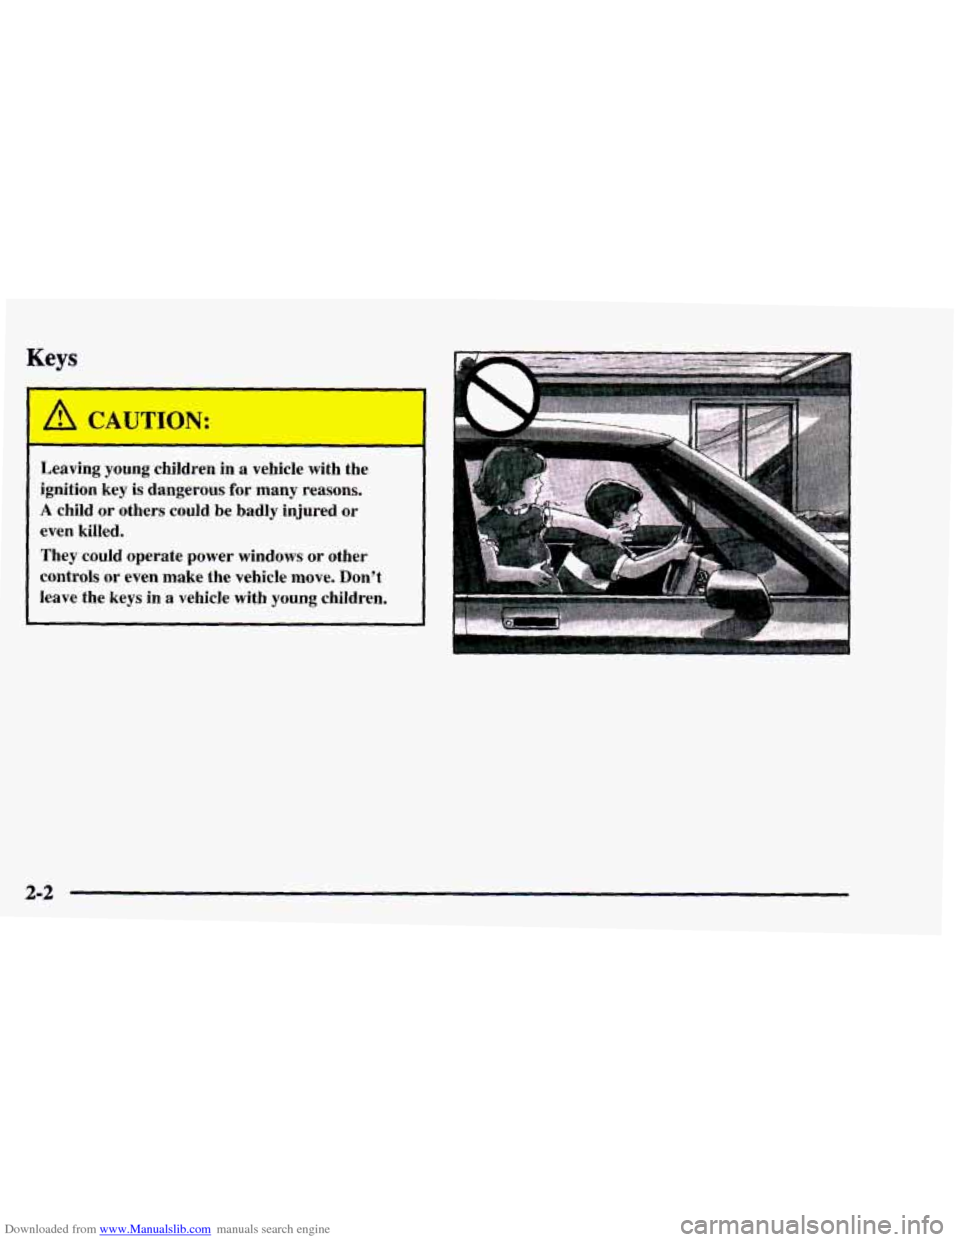
A CAUTION:
Leaving young children in a vehicle --I with the
ignition key
is dangerous for many reasons.
A child or others could be badly injured or
even killed.
They could operate power windows or other
controls
or even make the vehicle move. Don’t
leave the keys in a vehicle with young children.
I
‘CL’
2-2
Page 77 of 404
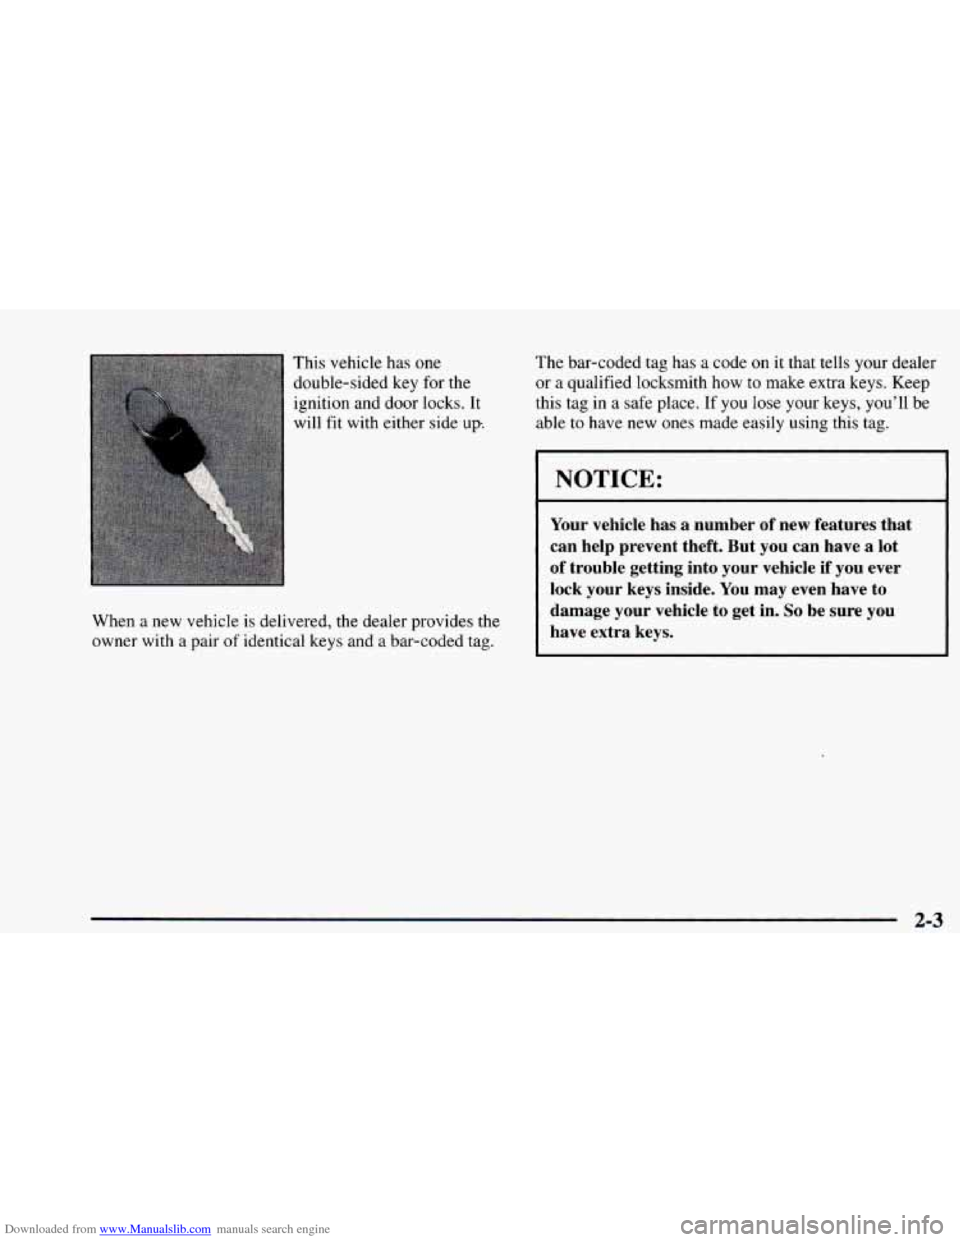
Downloaded from www.Manualslib.com manuals search engine This vehicle has one
double-sided key for the
ignition and door locks. It
will fit with either side
up.
The bar-coded tag has a code on it that tells your dealer
or a qualified locksmith how to make extra keys. Keep
this tag
in a safe place. If you lose your keys, you’ll be
able to have new ones made easily using this tag.
When
a new vehicle is delivered, the dealer provides the
owner with a pair
of identical keys and a bar-coded tag.
I NOTICE:
Your vehicle has a number of new features that
can help prevent theft. But you can have a lot
of trouble getting into your vehicle if you ever lock your keys inside. You may even have to
damage your vehicle to get in.
So be sure you
have extra keys.
2-3
Page 80 of 404
Downloaded from www.Manualslib.com manuals search engine Door Locks
Unlocked doors can be dangerous.
Passengers
-- especially children -- can easily
open the doors and fall out. When
a door is
locked, the inside handle won’t open it.
Outsiders can easily enter through an unlocked
door when you slow down or stop your vehicle.
This may not be
so obvious: You increase the
chance of being thrown out
of the vehicle in a
crash if the doors aren’t locked. Wear safety belts
properly, lock your doors, and you will be far
better
off whenever you drive your vehicle.
There are several ways to lock and unlock your vehicle.
To unlock your door from the outside, use your key.
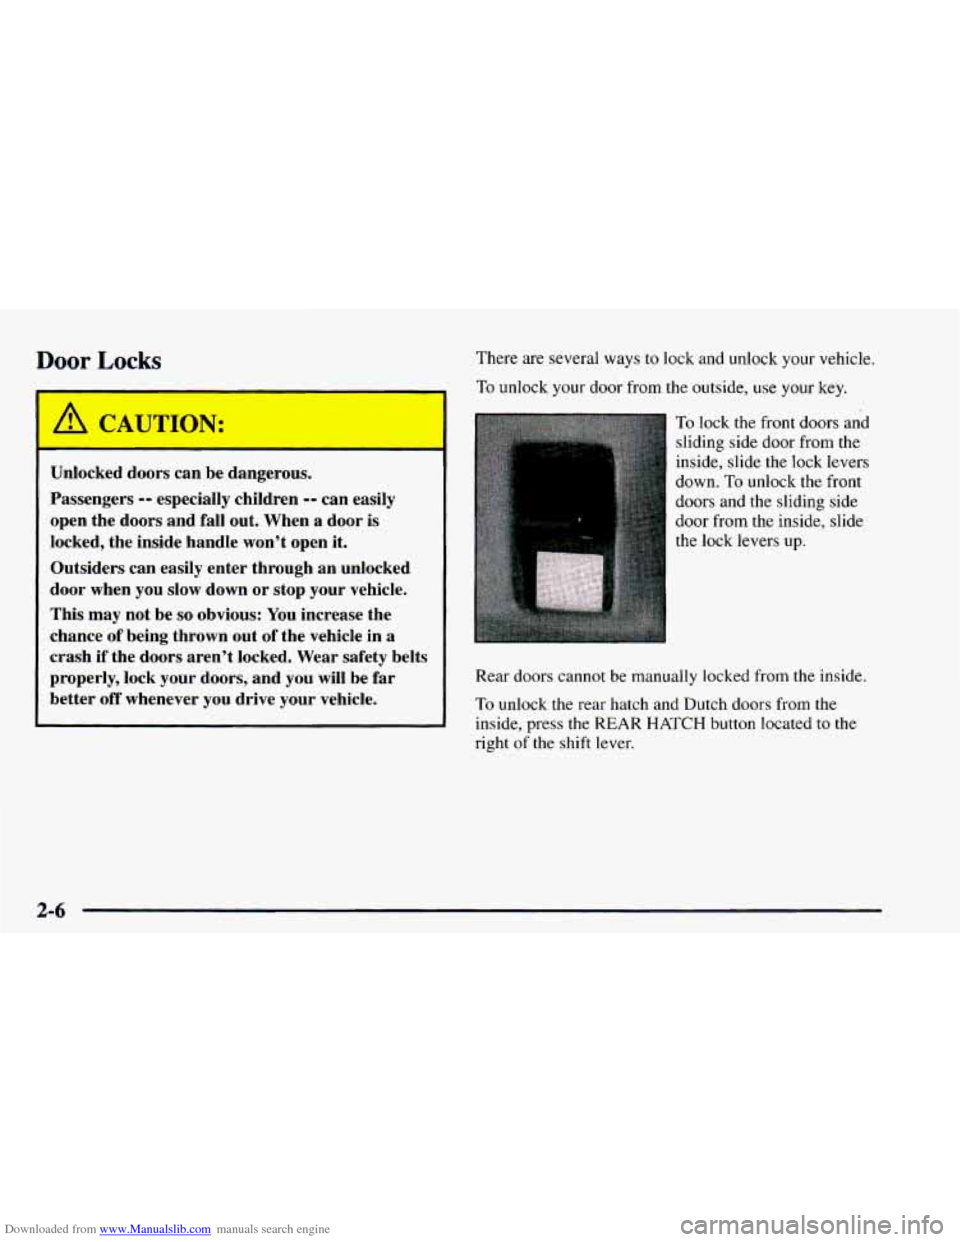
To lock the front doors and
sliding side door from the
inside, slide the lock levers
down.
To unlock the front
doors and
the sliding side
door from the inside, slide
the lock levers up.
Rear doors cannot be manually locked from the inside.
To unlock the rear hatch and Dutch doors from the
inside, press the
REAR HATCH button located to the
right of the shift lever.
2-6
Page 81 of 404
Downloaded from www.Manualslib.com manuals search engine Power Door LC ’-- (If Equipped)
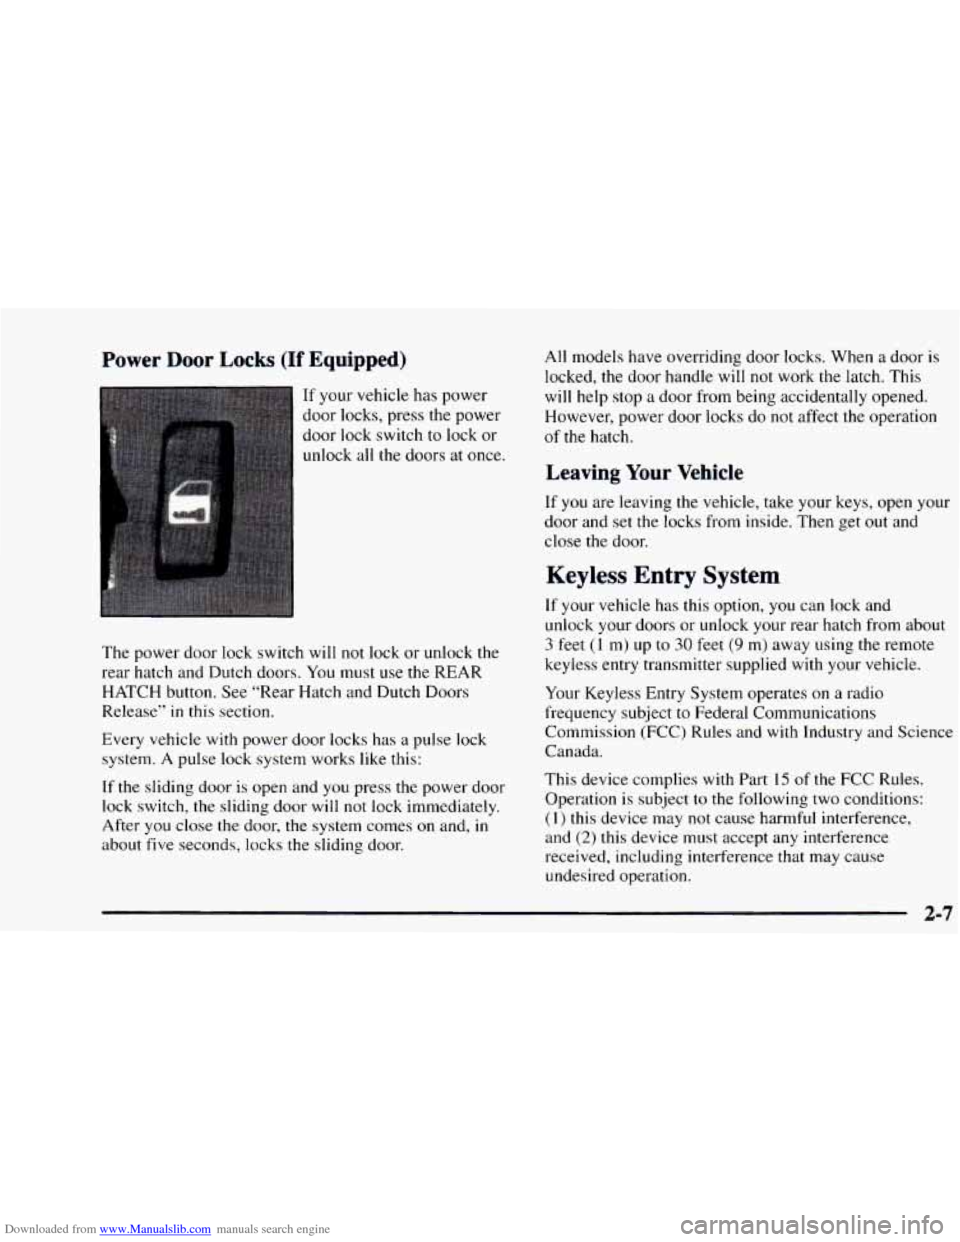
If your vehicle has power
door locks, press the power
door lock switch to lock or
unlock all the doors at once.
The power door lock switch will
not lock or unlock the
rear hatch and Dutch doors.
You must use the REAR
HATCH button. See “Rear Hatch and Dutch Doors
Release” in
this section.
Every vehicle with power door locks has
a pulse lock
system.
A pulse lock system works like this:
If the sliding door is open and you press the power door
lock switch, the sliding door will
not lock immediately.
After you close the door, the system comes
on and, in
about five seconds, locks the sliding door. All
models have overriding door locks. When a door is
locked,
the door handle will not work the latch. This
will help stop a door from being accidentally opened.
However, power door locks
do not affect the operation
of the hatch.
Leaving Your Vehicle
If you are leaving the vehicle, take your keys, open your
door and set the locks from inside. Then get
out and
close the door.
Keyless Entry System
If your vehicle has this option, you can lock and
unlock your doors or unlock your rear hatch from about
3 feet (1 m) up to 30 feet (9 m) away using the remote
keyless entry transmitter supplied with your vehicle.
Your Keyless Entry System operates on a radio
frequency subject to Federal Communications
Commission (FCC) Rules and with Industry and Science
Canada.
This device complies with Part
15 of the FCC Rules.
Operation
is subject to the following two conditions:
(1) this device may not cause harmful interference,
and
(2) this device must accept any interference
received, including interference that may cause
undesired operation.
2-7