1997 CADILLAC ELDORADO buttons
[x] Cancel search: buttonsPage 125 of 361
Downloaded from www.Manualslib.com manuals search engine Be sure to keep the original hand-held transmitter
in case you need to erase and reprogram the
universal transmitter.
Note to Canadian Owners: During programming, the
hand-held transmitter may stop transmitting after one or
two seconds. If you are programming from one of these
transmitters, you should press and re-press
the button
on the hand-held transmitter every two seconds without
ever releasing
the button on the universal transmitter.
Release both buttons when the red light
on the universal
transmitter begins to flash rapidly.
Press and hold the appropriate button on the universal
transmitter. The red light
comes on while the signal is
being transmitted. Note that
the universal transmitter is disabled when the
VALET button
inside the glove box is activated. For
more information, see “Security Override” earlier in
this section.
Also note that if the hand-held transmitter appears to
program
the universal transmitter but does not open
your garage door,
and if the garage door opener was
manufactured after 1995, the garage door opener may
have
a “rolling code” system. A rolling code system
changes the code
of the garage door opener every time
you open or close the garage door.
To determine if you have this system, press the button
on the universal transmitter that you have programmed
already.
If the red light on the universal transmitter
flashes rapidly for
one or two seconds and then
stops flashing, the garage door opener has a rolling
code system.
Page 126 of 361
Downloaded from www.Manualslib.com manuals search engine If you have not previously programmed the
hand-held transmitter to the universal transmitter, see
“Programming the Transmitter” earlier in this section.
If
you have completed this programming already, you now
need to train the garage door opener receiver to
recognize the universal transmitter.
1. Remove the cover panel from the garage door opener
receiver (the receiver should be located by the
garage door opener motor).
receiver.
The exact location and color of the button
may
vary by garage door opener brand. If you have
difficulty locating the training button,
refer to your
garage door opener manual.
2. Locate the training button on the garage door opener
3. Press the training button on the garage door opener
receiver for one or two seconds.
4. Return to the universal transmitter in your vehicle
and press the universal transmitter button
you have
already programmed for two
to three seconds. Press
the button again to make sure that the universal
transmitter has been trained
to the garage door
opener receiver.
The garage door opener should now recognize the
universal transmitter.
You may either use the universal
transmitter or the hand-held transmitter to open the
garage door.
If after following these instructions you still have
problems training the
garage door opener, consult your
Cadillac dealer.
To erase all three programmed channels, hold down the
two outside
buttons until the red light begins to flash.
Individual channels cannot
be erased, but can be
reprogrammed using the procedure for programming the
transmitter explained earlier.
Page 128 of 361
Downloaded from www.Manualslib.com manuals search engine The insbrument.pane1 is designed to let you know at a glance how your Cadillac is running. You’ll, know how fast
you’re going, how
much fuel you’re using and many of the other things you’ll need to know to drive safely and
economically. The main components of the instrument panel are:
1.
2.
3.
4.
5.
6.
7.
8.
9.
Air Outlets
Turn SignaVMultifbnction Lever.
Driver Information Center Control Buttons
Driver’s Side
Air Bag
Cluster Steering Columi Shift Lever
Electronic Climate Controls
Radio
Passenger’s Side
Air Bag
10. Lamp Controls
11. WAC Steering Wheel Controls (or Cellular
Telephone Controls,
If Equipped)
12. Hood Release
13. Horn
.#k. 14. Audio Steering Wheel Controls
F. , LI
- , .r 15. Ashtray and Cigarette Lighter I !i&&
16. Glove Box
Page 131 of 361
Downloaded from www.Manualslib.com manuals search engine eter
The speedometer lets you see your speed in both miles
per hour
(mph) and kilometers per hour (kmh). The
odometer shows how far your vehicle has been driven,
in either miles (used in the United States) or kilometers
(used
in Canada).
YOU may wonder what happens if a vehicle has to have a
new odometer installed. The new one may read the
correct mileage. This
is because your vehcle’s computer
has stored
the mileage in memory.
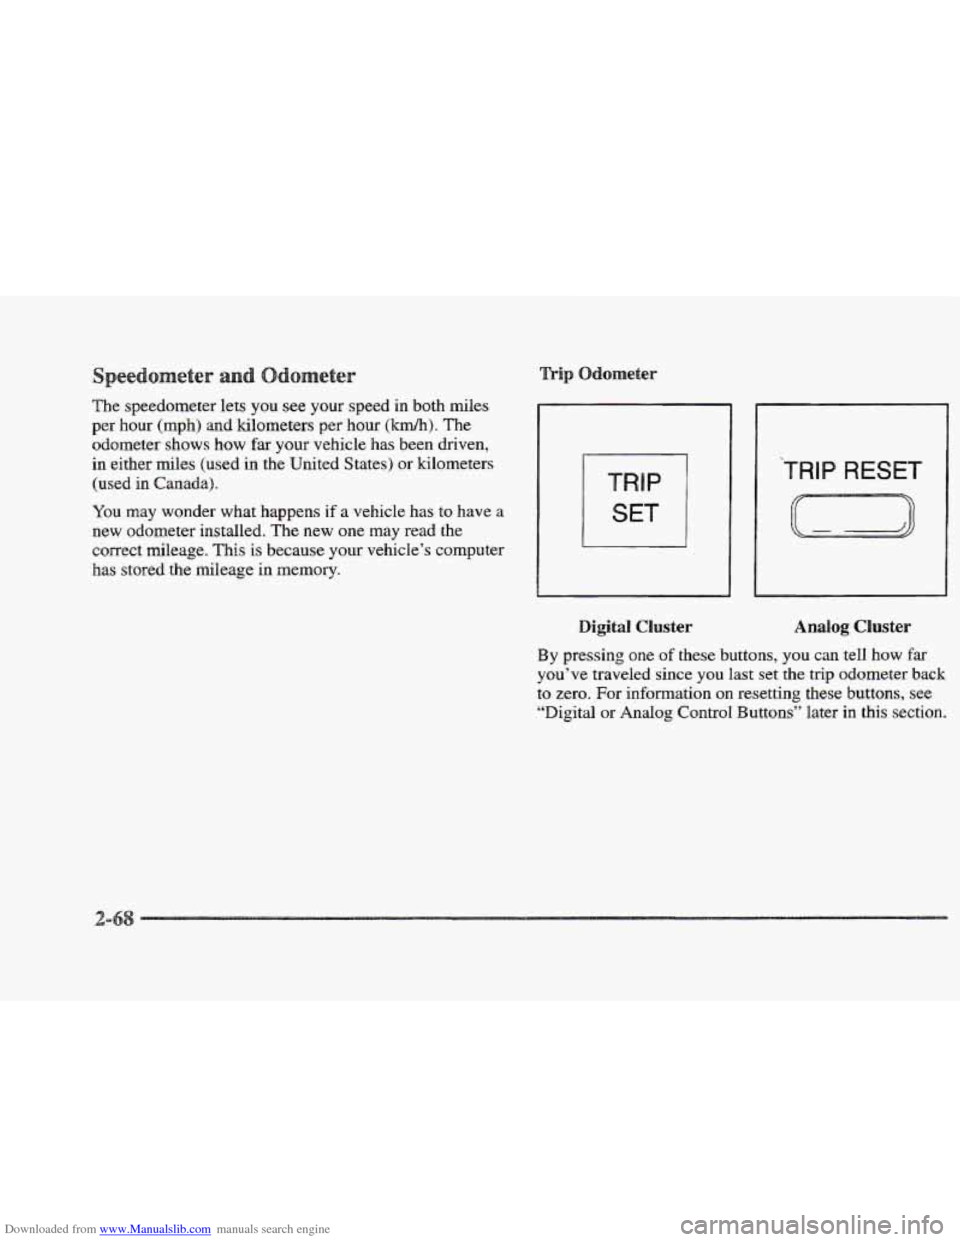
1 SET 1
TRIP RESET
r=----3
Digital Cluster Analog Cluster
By pressing one of these buttons, you can tell how far
you’ve traveled since you last set
the trip odometer back
to zero. For information
on resetting these buttons, see
“Digital or Analog Control Buttons” later in this section.
Page 143 of 361
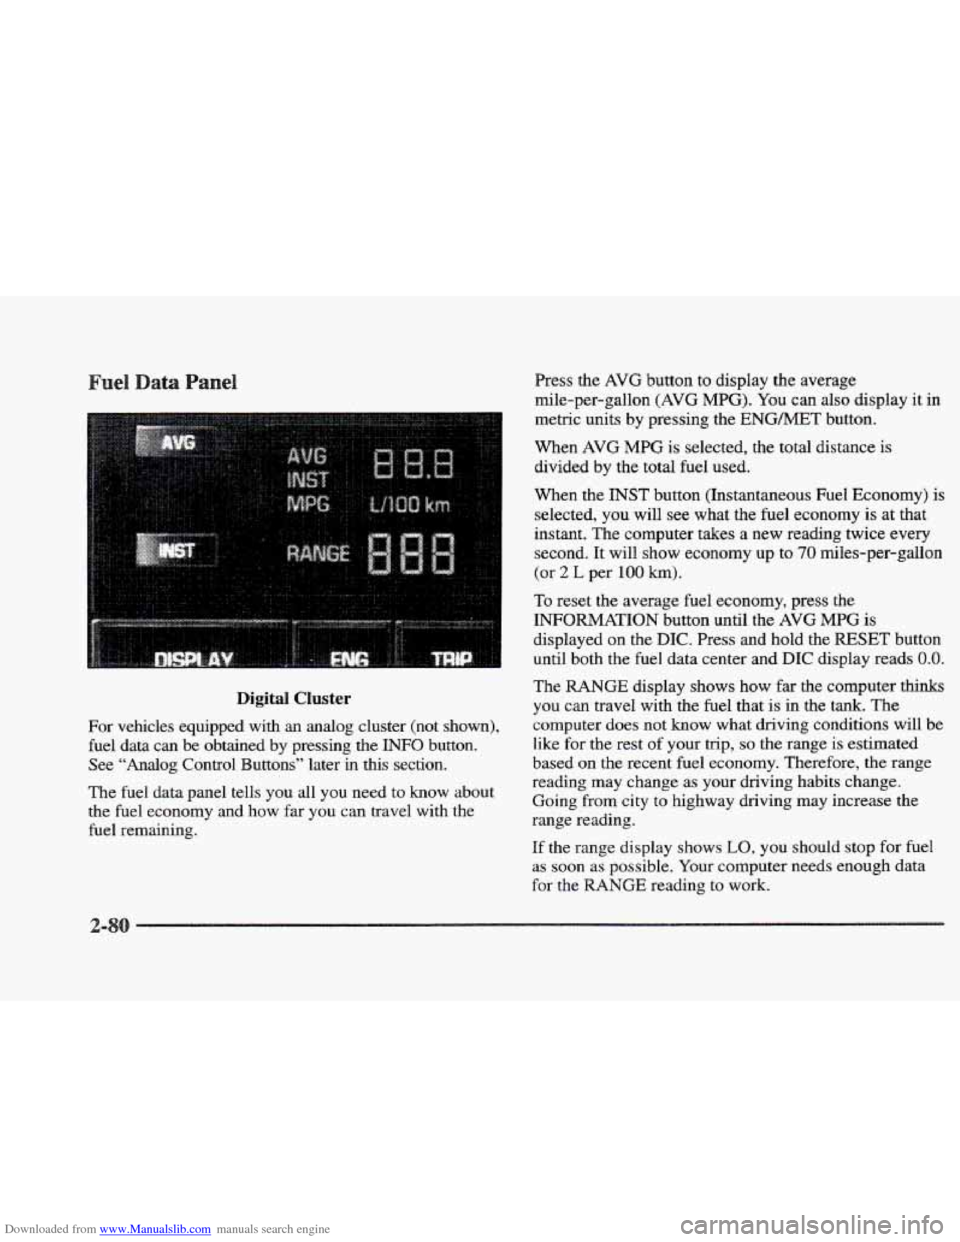
Downloaded from www.Manualslib.com manuals search engine Digital Cluster
For vehicles equipped with an analog cluster (not shown),
fuel data can be obtained by pressing the INFO button.
See
“Analog Control Buttons” later in this section.
The
fuel data panel tells you all you need to know about
the fuel economy and how far you can travel with the
fuel remaining. Press
the
AVG button to display the average
mile-per-gallon
(AVG MPG). You can also display it in
metric units by pressing the
ENGMET button.
When AVG
MPG is selected, the total distance is
divided by the total fuel used.
When the
INST button (Instantaneous Fuel Economy) is
selected, you will see what the
fuel economy is at that
instant. The computer takes a new reading twice every
second.
It will show economy up to 70 miles-per-gallon
(or
2 L per 100 km).
To reset the average fuel economy, press the
INFORMATION button until the AVG MPG is
displayed on the DIC. Press and hold the RESET button
until both the fuel data center and
DIC display reads 0.0.
The RANGE display shows how far the computer thinks
you can travel with the fuel that is in the
tank. The
computer does not
know what driving conditions will be
like for
the rest of your trip, so the range is estimated
based
on the recent fuel economy. Therefore, the range
reading may change as your driving habits change.
Going from city to highway driving may increase the
range reading.
If the range display shows
LO, you should stop for fuel
as soon as possible. Your computer needs enough data
for the MNGE reading to work.
2-
Page 147 of 361
Downloaded from www.Manualslib.com manuals search engine OIL LIFE LEFT (Reset): Press the INFO button to
display the OIL
LIFE LEFT, then press and hold the
INFO RESET button until 100% OIL LIFE LEFT is
displayed. (This only needs
to be reset after you have
had the oil changed.)
ENGLISWMETRIC (Reset): Press the INFO button
to display ENGLISIWMETFUC RESET, then press the
INFO RESET button to select. The display will change
from English
(miles) to metric (kilometers).
INFO: Pressing this button repeatedly will display the
RANGE, MPG AVG, MPG INST, GAL FUEL USED,
MPH, AVG MPH, TIMER, BATTERY VOLTS,
COOLANT TEMP, OIL LIFE LEFT and
ENGLISWMETRIC RESET.
FUEL DOOR: Press this button to open the fuel door.
(This feature will work only when the shift lever is in
PARK (P) regardless of whether or not the vehicle
is running.)
TRUNK: Press this button to open the trunk.
(Ths feature will work only when the shift lever is in
PARK (P) regardless of whether or not the vehicle
is running.)
river Information Center
These messages will appear if there is a problem sensed
in one of your vehicle’s systems. Vehicles that
are first
sold in Canada will have
a number after each message.
This number helps to identify
the message which is only
displayed in English.
message displays when
the engine coolant becomes
hotter than the normal operating temperature.
To avoid
added
strain on a hot engine, the air conditioning
compressor is automatically turned
off so that
air conditioned
air is not delivered. If the coolant
temperature returns to normal, you must select
AC to
return to a normal
A/C compressor operation. If this
message continues to appear, have the system repaired
as soon as possible to avoid compressor damage.
A/C OFF FOR ENGINE PROTECTION - 16: This
APPLY BRAKE TO SHIFT - 46: This message
will appear
if your vehicle is in PARK (P) for about
15 seconds and the brake is not pressed in. To remove
this message from the
DIC display, hold the OFF and
the blue (cooler) buttons on the digital cluster climate
control panel for about five seconds. On the analog
climate control panel, press the
OFF button (next to the
MODE button) and the down arrow on the PASS TEMP
button for about five seconds. Hold the
same two
buttons to display the message again.
Page 154 of 361
Downloaded from www.Manualslib.com manuals search engine TRANS FLUID RESET - 48: With the engine not
running and the ignition on, press and hold the OFF and
rear defog buttons until the
TRANS FLUID RESET
message appears on the DIC (between five and
20 seconds).
TRANSMISSION HOT - 112: This messages indicates
that the transaxle fluid in your vehicle is too hot. Stop
and allow your vehicle to idle until it cools down or
until this message is removed.
TRUNK OPEN - 24: This message indicates that the
trunk is open when the ignition
is in RUN.
TURN SIGNAL ON - 20: This message is a reminder,
after driving about
a mile, that you have the turn signal
on.
A multiple chime will also sound when this message
is displayed.
VEHICLE SPEED LIMITED TO XXX MPH
(KM/N) - 113: A failure in the suspension control
system has occurred when this message appears. The
PCM determines the speed your vehicle is limited to.
Have your Cadillac serviced if this message appears.
WRY LOW REFRIGERANT A/C COMPRESSOR
OFF - 12: This message means that the air conditioning
system detects a refrigerant level that is low enough to
cause damage to the air conditioning compressor.
To avoid darnage, the air conditioning compressor
automatically turns
off and the Electronic Climate
Control will automatically switch from
AUTO to ECON
and remain there. Have the air conditioning system
serviced if this message appears.
The
CV-RTD automatically adjusts the ride of your
vehicle. Automatic ride control
is achieved through a
computer used to control
and monitor the suspension
system.
The controller receives inputs from various
sensors to determine the proper system response. If the
controller detects a problem within the system, the
DIC
will display a SERVICE RIDE CONTROL message. If
this message appears, have your vehicle serviced at
your
CadilIac dealership.
Page 164 of 361

Downloaded from www.Manualslib.com manuals search engine Some heating and cooling
controls can be adjusted at
the steering wheel. Other
touch controls operate some audio controls. See “Audio
Steering Wheel Controls”
later
in this section.
8 FAN SPEED: Press the up arrow lever to increase
the
fan speed and the down arrow lever to decrease
fan speed.
TEMP: Press the up arrow lever to increase
the temperature and the down arrow lever to
decrease temperature.
With
this feature, your vehicle will recall the latest
climate control settings as adjusted the last time your
vehicle was operated.
This feature allows two different drivers-
to store and recall
their own climate control
settings. The settings recalled by the climate control
system
are determined by which RKE transmitter (“ 1 ”
or “2”) was used to enter the vehicle. The number on the.
back of the
RKE transmitter corresponds to driver 1 or
to driver
2. After the unlock button is pressed on the
RKE transmitter or the ignition key is placed in the
ignition, the climate control settings will automatically
adjust to where’ they were last set. The settings can
also
be changkd by briefly pressing the memory seat buttons
1 or 2 located on the driver’s door.
dio sys
Your Cadillac. audio system has been designed to operate
easily
and give years of listening pleasure. You will get
the most enjoyment
out of it if you acquaint yourself
with it first. Find out what your audio system can do
and how to operate
all its controls, to be sure you’re
getting the most out
of the advanced engineering that
went into it.
Press and hold
HR or MN until the time display begins
to change. Release the button as you get close
to the
correct time. The time may be set anytime. the clock
is
displayed.. There is a two-second delay before the clock
goes into time-set mode.
3-