1996 PONTIAC BONNEVILLE change time
[x] Cancel search: change timePage 3 of 387
GENERAL MOTORS, GM and the GM Emblem,
PONTIAC, the PONTIAC Emblem and the name
BONNEVILLE
are registered trademarks of General
Motors Corporation.
This manual includes the latest information at the time it
was printed. We reserve the right
to make changes in the
product after
that time without further notice. For
vehicles first
sold in Canada, substitute the name
"General Motors
of Canada Limited" for Pontiac
Division whenever it appears
in this manual.
Please keep this manual in your Pontiac,
so it will be
there if you ever need it when you're on' the road.
If you
sell the vehicle, please leave this manual in
it so the new
owner can
use it.
Litho in U.S.A.
Part No. 10273 198 .B First Edition
CERTIFIED
IL
WE SUPPORT VOLUNTARY TECHNICIAN
CERTIFICATION THROUGH
National Institute for
AUTOMOTIVE SERVICE EXCELILENCE
We support voluntary
technician certification.
For Canadian Owners Who Prefer a
French Language Manual:
Aux propribtaires canadiens: Vous pouvez vous
procurer un exemplaire de ce guide en franGais chez
votre concessionaire
ou au:
DGN Marketing Services Ltd.
1500 Bonhill Rd.
Mississauga, Ontario L5T 1C7
'Copyright General Motors Corporation 1995
All Rights Reserved
ii 1
ProCarManuals.com
Page 56 of 387
Customizing Your Automatic Door Locks Feature
With Remote Keyless Entry, you can program the: automatic door locks feature to change to the following
modes:
Mode
1
2
3
Operation
No automatic door lock or unlock.
All doors automatically lock when shifted out of PARK (P).
No
automatic door unlock.
All doors automatically lock when
shifted out of PARK (P). All the
doors automatically unlock when shifted into
PARK (P) with the
ignition turned
OFF.
Vehicles are delivered programmed in Mode 3.
If your vehicle is equipped with Remote Keyless Entry,
use the following procedure to change modes:
1. Close all doors and turn the ignition on. Keep all
doors closed throughout this procedure.
2. Press and hold the driver’s power door lock switch
through Step
4.
3.
4.
5.
Press the LOCK button on the Remote Keyless Entry
transmitter. The automatic door locks will remain in
the current mode.
Press the LOCK button on the transmitter again.
Each time the transmitter’s LOCK button
is pressed,
the mode will advance by one,
going from 3 to 1 to
2, etc.
Release the power door lock switch. The automatic door locks will remain in the most recent mode
selected.
If your vehicle is not equipped with Remote Keyless
Entry, use the following procedure to change modes:
1. Close all doors and turn the ignition on. Keep all
doors closed throughout this procedure.
2. Press and hold the driver’s power door lock switch
through Step
3.
3. Cycle the PARK (P) shift lever starting in PARK (P)
position to advance by one mode.
4. Release the power door lock switch.
ProCarManuals.com
Page 60 of 387
Vehicles are delivered programmed in Mode 5. To
change to another mode:
1. Press and hold the power door lock switch.
2. Press the opened trunk button on the transmitter. The
transmitter will remain
in its current mode.
3. Press the opened trunk button again. Each time the
opened
trunk button is pressed, the transmitter will
advance to the next mode.
4. Release the power door lock switch.
Delayed Locking (Option)
NOTE: This feature is available only if you request your
dealer to activate this option. After initial activation
you can turn this feature on and off by using the
following procedure.
This feature lets the driver delay the actual locking of
the vehicle. When the power door lock switch is pressed
with the key removed from the ignition and the driver's
door open, a chime will sound three times to signal that
the delayed locking system
is active. When all doors
have been closed, the doors will lock automatically after five seconds.
If any door is opened before this, the
five-second twer will reset itself once all the doors
have been closed again.
Pressing the door lock switch twice within two seconds will override
this feature. The delayed locking feature
can be turned on.or
off for
each remote transmitter.
To turn the feature on:
1. Press and hold the power door lock switch
throughout
this procedure. All'the doors will Io&.
2. Press the UNLOCK button on the remote
transmitter. The lock delay is still
off and all
doors will remain locked.
3. Press the UNLOCK button on the remote
transmitter again. Lock delay is now active and
all doors dill unlock.
4. Release the power door lock switch. I
If your vehicle is not equipped with the Remote Keyless
Enby, use the following procedure to
turn the feature on:
1. With the ignition on, press and hold the power door
lock switch.
All doors will lock.
2. Toggle the headlamps switch seven times (off to on
is one toggle). The doors will unlock to confirm that
the feature
is now on.
3. Release the power door lock switch.
To
turn the feature off, repeat the previous procedure.
ProCarManuals.com
Page 61 of 387
Matching Transmitter(s) To Your Vehicle
Each key chain transmitter is coded to prevent another
transmitter from unlocking your vehicle. If a transmitter
is lost or stolen, a replacement can be purchased through
your dealer. Remember
to bring any remaining
transmitters with you when
you go to your dealer. When
the dealer matches
the replacement transmitter to your
vehicle, any remaining transmitters must
also be
matched. Once the new transmitter is coded, the lost
transmitter will not unlock your vehicle. Each vehicle
can have only four transmitters matched to it.
See your dealer to match transmitters to another vehicle.
Battery Replacement
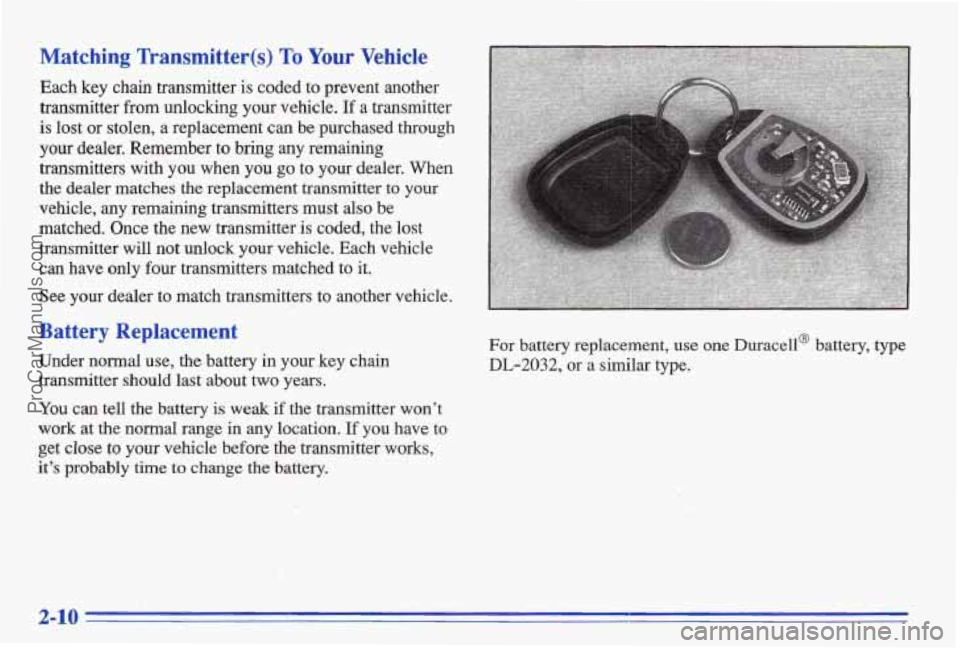
Under normal use, the battery in your key chain
transmitter should last about two years.
You can tell the battery is weak if the transmitter won’t
work at the normal range in any location. If you have to
get
close to your vehicle before the transmitter works,
it’s probably
time to change the battery. For battery replacement,
use one Duracella battery, type
DL-2032, or a similar type.
2-10
ProCarManuals.com
Page 70 of 387
Starting Your 3.8 Liter Engine
1. Without pushing the accelerator pedal, turn your
ignition key to
START. When the engine starts, let
go of the key. The idle speed will go down as your
engine gets warm.
.
NOTICE:
Holding your key in START for longer than
15 seconds at a time will cause your battery to be
drained much sooner. And the excessive heat can
damage your starter motor.
2. I€ it doesn’t start right away, hold your key in
START for about three to five seconds at a time until
your engine
starts. Wait about 15 seconds between
each
try to help avoid draining your battery.
3. If your engine still won’t start (or starts but then
stops), it could
be flooded with too much gasoline.
Try pushing your accelerator pedal all the way to the
floor and holding it there as you hold the key in
START for about three seconds. If the vehicle starts
briefly but then stops again, do the same thing, but
this time keep the pedal down for five or
six seconds.
This clears the extra gasoline from the engine.
After waiting about 15 seconds, repeat the nomd
starting procedure.
NOTICE:
I
Your engine is designed to work with the
electronics in your y,ehicle.
If you add electrical
parts or accessories, you could change the way
the engine operates. Before
adding electrical
equipment, check with your dealer.
If you don’t,
your engine might not perform properly.
If you ever have to have your vehicle towed, see
the part of this manual that tells how to do it
without damaging your vehicle. See “Towing
Your Vehicle”
m the Index.
ProCarManuals.com
Page 93 of 387
Daytime Running Lamps
Daytime Running Lamps (Dm) can make it easier for
others to see the front of your vehicle during the day.
DRL can be helpful in many different driving
conditions, but they can
be especially helpful in the
short periods after dawn and before sunset.
A light sensor on top of the instrument panel monitors
the exterior light level for the operation
of DlU and
twilight sentinel,
so .be sure it isn’t covered. The DRL
system will make your low-beam headlamps come on at
a reduced brightness when:
The ignition is on,
0 The headlamp switch is OFF and
The transaxle is not in PARK (P).
When the DRL are on, only your low-beam headlamps
will
be on. The taillamps, sidemarker and other lamps
won’t be on.
Your instrument panel won’t be lighted either.
When it’s
dark enough outside, your low-beam
headlamps
will change to full brightness. The other
lamps that come on with your headlamps will also come
on. When it’s bright
enough outside, the regular lamps
will
go off, and your low-beam headlamps change to the
reduced brightness
of DRL.
To idle your vehicle with the DIU off, shift the
transaxle into
PARK (P). The DRL will’ stay off until
YOU Shift Out Qf PARK (P).
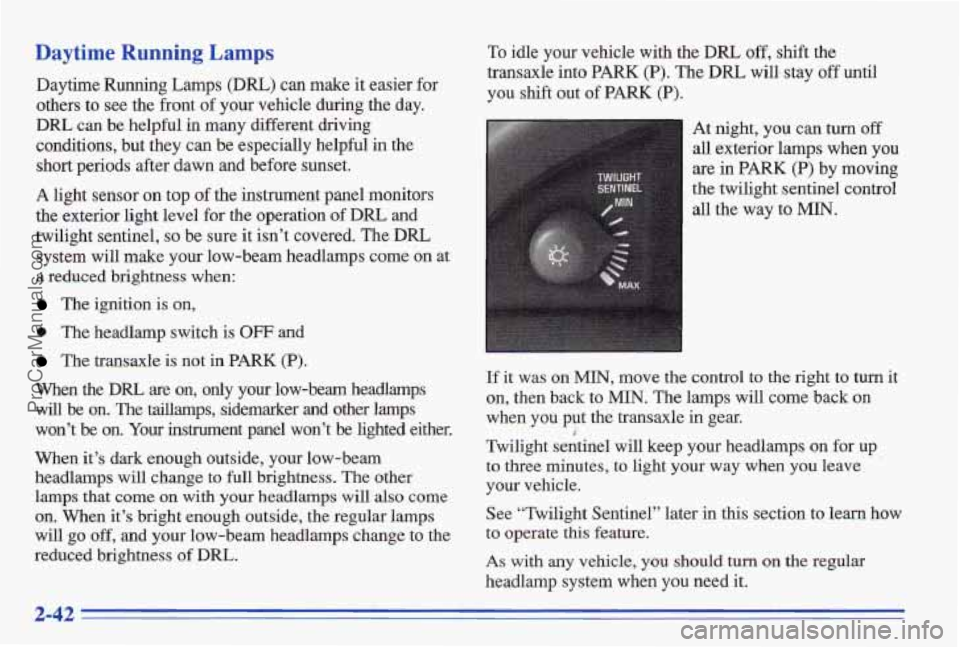
At night, you can turn off
all exterior lamps when you
are in PARK (P) by moving
the twilight sentinel control
all the way to
MIN.
If it was on MIN, move the control to the right to turn it
on, then back to
“4. The lamps will come back on
when you put the transaxle
in gear.
Twilight sentinel will keep your headlamps on for up to three minutes, to light your way when you leave
YOU vehicle.
See “Twilight Sentinel” later
in this section to learn how
to operate this feature.
As with any vehicle, you should turn on the regular
headlamp system when you need it.
3
2-42
ProCarManuals.com
Page 97 of 387
Mirrors
Iwide Day/Night Manual Rearview Mirror Electrochromic Day/Night Rearview
Mirror
(Option)
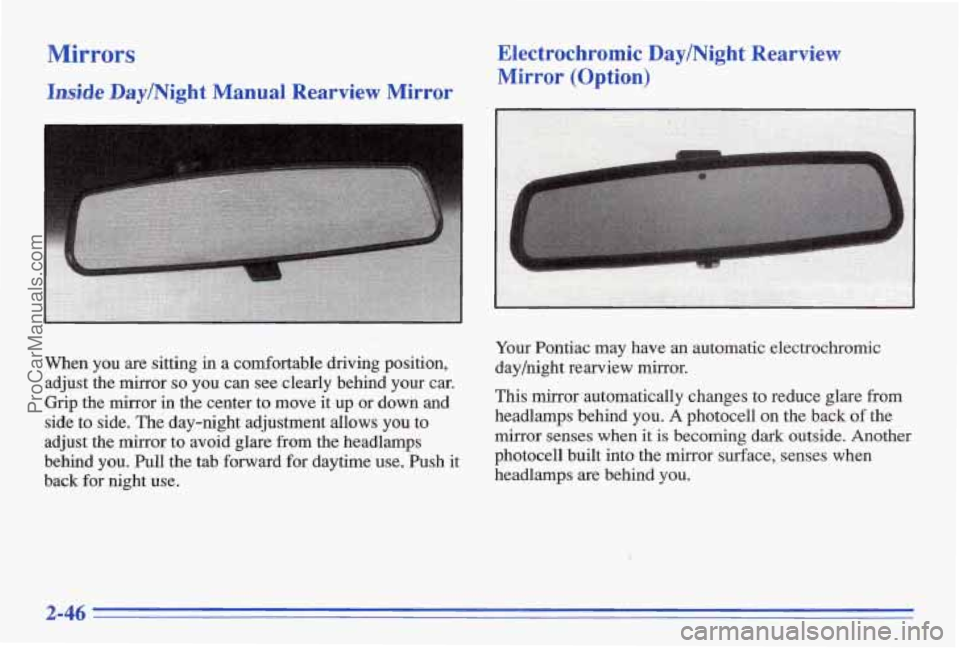
When you are sitting in a comfortable driving position,
adjust the mirror
so you can see clearly behind your car.
Grip
the mirror in the center tomove it up or down and
side to side. The day-night adjustment allows you to
adjust
the mirror to avoid glare from the headlamps
behind you.
Pull the tab f6mard for daytime use. Push it
back for night use.
Your Pontiac may have an automatic electrochromic
day/night rearview
mirror.
This mirror automatically changes to reduce glare from
headlamps behind
you A photocell on the back of the
mirror senses when it is becoming dark outside. Another
photocell built into the mirrur surface, senses when
headlamps
are behind you.
2-46
ProCarManuals.com
Page 98 of 387
At night, when the glare is too high, the mirror will
gradually darken to reduce glare (this change may take a
few seconds). The mirror
will return to its clear daytime
state when the glare is reduced.
Press the button at the base
of the mirror to turn on the
automatic feature. The button has an indicator light to
show
it is on. Press the button again to turn the
automatic off.
Time Delay
The automatic mirror has a time delay feature which
prevents unnecessary switching from the night back
to
the day position. This delay prevents rapid changing of
the mirror as
you drive under lights ind through traffic.
Cleaning the Photocells
Use a cotton swab and glass cleaner to clean the
photocells when necessary.
' :... .. ,.
Manual Remote Control. Mirror
The outside rearview mirror should be adjusted so you
can just see the side of your vehicle when you are sitting
in a comfortable driving position.
Adjust the driver's side outside mirror with the control lever on the driver's door.
To adjust your passenger's side mirror, sit in the driver's
seat and have a passenger adjust the mirror for you.
Reverse Gear Day Mode
The reverse day mode is another important feature
of the electrochromic mirror. When you shift into
REVERSE (R), the mirror changes to the day mode.
This gives you a bright image in the mirror as you
back up.
ProCarManuals.com