Page 86 of 387

As you signal a turn or a lane change, if the arrows don’t
flash but just stay on, a signal bulb may be burned out
and other drivers won’t see your turn signal. If you have
the Driver Information Center, it
will tell you if you
have a burned out bulb. See “Driver Information
Center” in the Index.
If a bulb is burned out, replace it to help avoid an
accident.
If the arrows don’t go on at all when you
signal a turn, check the fuse and for burned-out bulbs.
See “Fuses and Circuit Breakers” in the Index.
nrn Signal On Chime
If your turn signal is left on for more than 3/4 of a mile
(1.2 km), a chime will sound at each flash of the turn
signal. To turn
off the chime, move the turn signal lever
to the
off position.
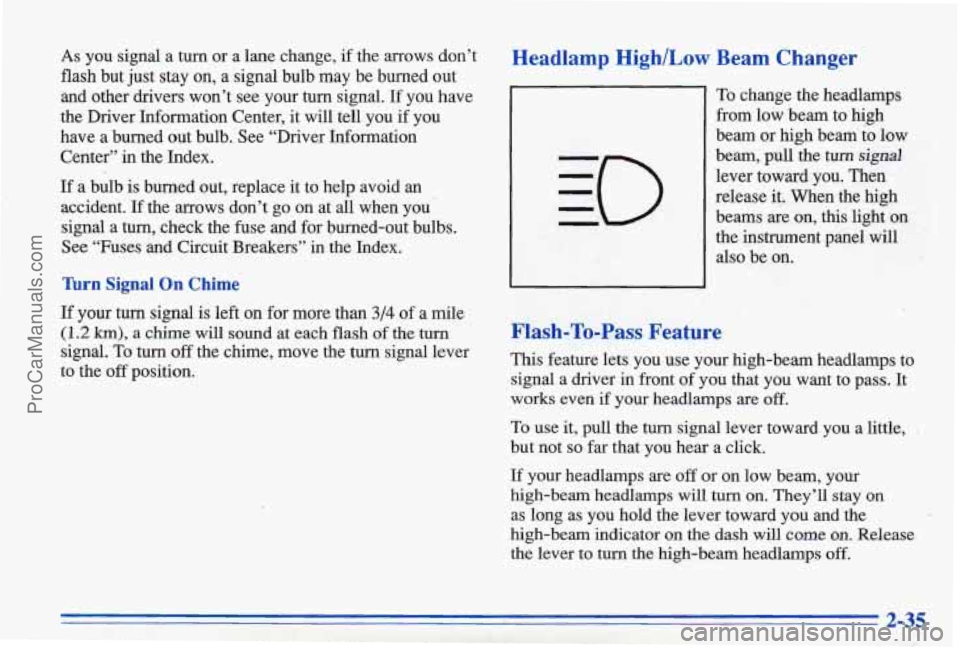
Headlamp HighlLow Beam Changer
To change the headlamps
from
low b’eam to high
beam or high beam
to low
beam, pull the turn
signal
lever toward you. Then
release it. When the high
beams are
on, this light 011.
the instrument panel will also be on.
Flash-To-Pass Feature
This feature lets you use your high-beam headlamps to
signal a driver
in front of you that you want to pass. It
works even if your headlamps are off.
To use it, pull the turn signal lever toward you a little,
but not
so far that you hear a click.
If your headlamps are off or on low beam, your
high-beam headlamps
will turn on. They’ll stay on -
as long as you hold the lever toward you and the
high-beam indicator
on the dash will come on. Release
the lever to turn the high-beam headlamps
off.
I-
ProCarManuals.com
Page 123 of 387
I /r CAUTION:
Don't keep driving if the oil pressure is low. If
you do,. your engine can become so hot that it
catches fire.
You or others could be burned.
Check your oil
as soon as possible and have your
vehicle serviced.
I NOTICE: Ir
r
~ ~~
Damage to your engine from neglected oil
problems can be costly and is not covered by
your warranty.
- '
Check Oil Level Warning Light
CHECK OIL
LEVEL
This light indicates when
the engine
oil level is 1 to
1 1/2 quarts (0.95 L to
1.4 L) low. It will go on for
one to three seconds when
the ignition
is turned to the
RUN position, as a bulb
check to show you that the
system
is working.
If the light doesn't come on, have your oil level warning
svstem serviced.
:? ' .C. .:
ProCarManuals.com
Page 124 of 387

Even if you have a low oil level, the light will go off for
15 to 20 seconds. Then, if the oil level is low, and it has
been at least eight minutes
since your engine was last
running, the
CHECK OIL LEVEL light will come on
for
20 to 40 seconds. The eight-minute delay allows the
majority of the oil to drain back into the oil pan and
prevent a false low condition.
If the CHECK OIL LEVEL warning comes on, the oil
level should be checked at the oil dipstick. If the level is
low, the engine
oil should be brought up to the proper
level. See “Engine Oil” in the Index. After restoring the\
proper level and waiting for the eight-minute drainback,
the key can be turned to the
RUN position and the
CHECK OIL LEVEL warning light should only come
on as a bulb check.
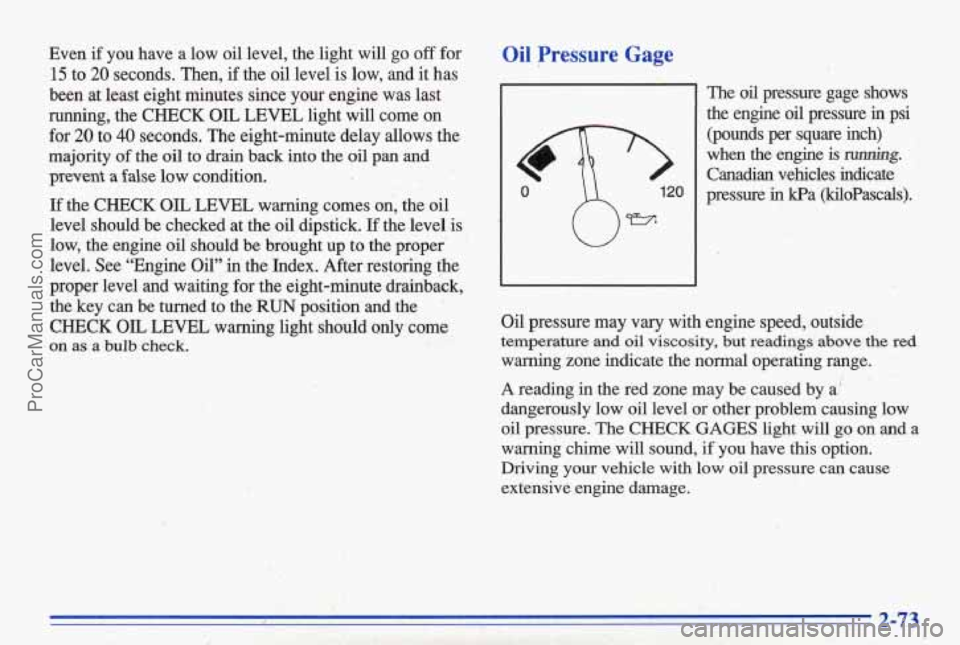
Oil Pressure Gage
The oil pressure gage shows
the engine
oil pressure in psi
(pounds per square inch)
when
the engine is rwmhg.
Canadian vehicles indicate
pressure in kPa (kiloPascals).
Oil pressure may vary with engine speed, outside
temperature and oil viscosity, but readings above the red
warning zone indicate the normal operating range.
A reading in the red zone may be caused by a,’
dangerously low
oil level or other problem causing low
oil pressure.
The CHECK GAGES light will go on and. a
warning ch@e
will sound, if you have this option.
Driving your
vehicle with low oil pressure can cause
extensive ,engine, damage.
ProCarManuals.com
Page 131 of 387

LAMP MONITOR: Whenever YOU try to use one of
the following lamps, the LAMP MONITOR will tell you
if a bulb is out.
0
0
0
e
..
0
Headlamp (Low and High Beam)
tun^ Signal/Parking/Stop ,
Parking Lampsidemkker
Brake Lamp and Center High-Mounted Stoplamp
qE2ack-Up Lamp
Taillarnp/Turn/Sidemarker/license
If a bulb is out, you will see a message, such as 'PARK
LAMB, and you will also see where the problem is on
the vehicle outline. The message stays on until the
problem is fixed. See "Replacement Bulbs"
in the Index
for bulb details.
If a burned-out bulb is replaced, the warning light will
. stay on until the bulb is used. ,
i: ,
Message Bulbs Monitored
Hi-Beam Lamp ...... Both Headlamp High Beams
Head Lamp
........... Both Headlamp Low Beams
Turn Signal
............... 1 Front Left Turnpark
1 Front Right Turnpark
2 Rear Left Turdstop
2 Rear Right Turn/Stop
Back-up
.................... .2 Back-Up Lamps
Tail
.............................. 4TailOnly
2 License Plate
Right Rear Sidemarker Left Rear Sidemarker
Brake Lamp
............... 4 Rear Stop/Tail/Turn
1 Center High-Mounted Stop
Right Sidemarker Left Sidemarker
4 Stop/Tail/Turn
Park Lamp
....................... 2 Front Park
.- ' 8. I L.
ProCarManuals.com
Page 204 of 387

Making Turns
NOTICE:
Making very sharp turns while trailering could
cause the trailer to come in contact with the
vehicle. Your vehicle could be damaged. Avoid
making very sharp turns while trailering.
When you’re turning with a trailer, make wider turns than
normal. Do this so your trailer won’t strike soft shoulders,
curbs, road signs, trees or other objects. Avoid jerky
or
sudden maneuvers. Signal well in advance. ‘
. Turn ,Signals When Towing a Trailer’
When you tow a trailer, your vehicle may need a
different
turn signal flasher and/or extra wiring. Check
with your Pontiac dealer. The green
arrows on your
instrument panel will flash whenever you signal a turn
or lane change. Properly hooked up,’ the trailer lamps
will also flash, telling other drivers you’re about to turn,
change lanes or stop. When towing a trailer, the green arrows
on your
instrument panel will flash for turns
even if the bulbs on
the trailer are burned out.
Thus, you may think drivers
behind you are seeing your signal when they are not. It’s
important to check occasionally to be sure the trailer
bulbs are still working.
Your vehicle has bulb warning lights. When you’plug
a trailer lighting system into your vehicle’s lighting
system, its bulb warning lights may not let you
know if
one of your lamps goes out. So, when you have a trailer
lighting system plugged in, be sure to check your
vehicle and trailer lamps
from time to time to be sure
they’re
all working. Once you disconnect the trailer
lamps, the bulb warning lights again can tell you
if one
of ypur vehicle lamps is out.
Driving On Grades
Reduce speed and shift to a lower gear before you start
down a long or steep downgrade.
If you don’t shift
down, you might have to use your brakes so much that
they. would get hot
and no longer work well.
On a long uphill grade, shift down to Dm (D) and
reduce your speed to around
45 mph (70 km/h) to reduce
the possibility of engine and transaxle overheating.
4-37
ProCarManuals.com
Page 277 of 387
r.
I-
the battery. This will help keep your battery from
running down.
A CAUTION:
-
Batteries have acid that can burn you and gas
that can explode.
You can be badly hurt if you
aren’t careful. See
“Jump Starting” in the’hclex
for tips on working around a battery without
getting brt.
:ontact
your deder to learn how to prepare your vehicle
for longer
storage periods.
Also, for your audio system, see “Theft-Deterrent
Feature”
in the Index.
..
A CAUTION: I
Halogen bulbs have pressurized gas inside and
can burst
if you drop or scratch the bulb. You or
others could be injured. Be sure to read and
follow the instructions on the bulb package.
If you go through a high pressure car wash, or it is very
humid, your headlamps may “fog up.” This is normal.
The lenses should clear by themselves in time.
Headlamps
or bulb type, s,ee “Replacement Bulbs” in the Idex.
ProCarManuals.com
Page 278 of 387
Driver's Side Replacement
1. Reach behind the headlamp assembly and turn the
bulb assembly counterclockwise to remove the
bulb assembly.
2. Remove the bulb from the assembly. -c
3. Replace the bulb and reverse the steps to install the
new bulb assembly.
Passenger's Side Replacement
1. Remove the two bolts with a 10 mm socket.
6-33
ProCarManuals.com
Page 279 of 387
2. Slide the headlamp assembly outward (to the left)
and lift it out. 3. Tip the assembly and turn the bulb assembly
counterclockwise
to remove it.
6-34
ProCarManuals.com