1996 PONTIAC BONNEVILLE display
[x] Cancel search: displayPage 160 of 387
Theft-Deterrent Feature
THEFTLOC,K" is designed to discourage theft of your
radio. It works by using a secret code to disable all radio functions whenever battery power is removed.
The' THEFTLOCK feature for the radio may be used or
ignored.
If ignored, the system plays normally and the
radio is not protected by the feature.
If THEFTLOCK is
activated, your radio will not operate if stolen.
When THEFTLOCK is activated, the radio will display
LOC to indicate a locked condition anythe battery
power
is removed. If your battery loses power for any
reason, you must unlock the radio with the,. secret code
before it will operate.
Activating the Theft-Deterrent Feature .
The instructions which follow explain how to enter your secret code to activate the THEFTLOCK system. It is
recommended that you read through all nine steps before starting.the procedure.
NOTE: If you allow more than 15 seconds to elapse
between any steps, the radio automatically reverts to
time apd you must start the procedure over at Step
4.
i
1.
2.
3.
4.
5.
6.
7.
8.
9.
Write down any three or four-digit number from
000 to 1999 and keep it in a safe place separate from
the vehicle.
Turn the ignition to the ACC or RUN position.
Turn the radio
off.
Press the 1 and 4 buttons together. Hold them down
until
--- shows on the display. Next you will use the
secret code number which you have written down.
Press
MIN and 000 will appear on the display..
Press
MIN again to make the last two digits agree
with your code.
Press
HR to make the first one or two digits agree
with your code.
Press
AM-FM after you have confirmed that the
code matches the secret code you have written down.
The display will show
REP to let you know that you
need to repeat Steps
5 through 7 to confirm your
secret code.
Press
AM-FM and this tinie the display will show
SEC to let you know that your radio is secure.
. .. .. ?' . ' .:?< .. .
ProCarManuals.com
Page 161 of 387
Unlocking the Theft-Deterrent Feature After a
Power Loss
Enter your secret code as follows; pause no more than
15 seconds between steps:
1. LOC appears when the ignition is on.
2. Press MIN and 000 will appear-on the display.
3. Press MIN again to make the last two digits agree
4. Press HR to make the first one or two digits agree
with your code.
with your ?ode.
5. Press AM-FM after you have confirmed that the
code matches the secret code you have written down.
The display
will show SEC, indicating the radio is
now operable and ,secure.
If you enter the wrong code eight times, INOP will
appear on the display. You will have to wait an hour
with the ignition
on before you can try again. When you
try again, you will only have three chances to enter the
correct code before
INOP appears.
11 you lose or forget your code, contact you dealer.
Disabling the Theft-Deterrent Feature
Enter your secret code as follows; pause no more than
15 seconds between steps:
1. Turn the ignition to the ACCESSORY or RUN
position.
2. Turn the radio off.
3. Press the 1 and 4 buttons together. Hold them down
4. 'Press MIN and 0010 will appear on the display.
5. Press MIN again to make 'the iast two digits agree
until
SEC shows on the display. I
with your code.
6. Press HR to make the
first one or two digits agree
7.. Press AM-FM after you have confirmed that the
with your code.
code matches
the secret code you have written down.
The display will show
---, indicating that the radio is
no longer secured.
If the code entered is incorrect, SEC will appear on the
display. The radio
will remain secured until the correct
code
is entered.
When battery power
is given to a secured radio, the
radio won't
turn on and LOC will appear on the display.
3-24
ProCarManuals.com
Page 162 of 387
Steering Wheel Controls (Option)
If your vehicle has this feature, you can control certain
radio functions using the buttons
on your steering wheel.
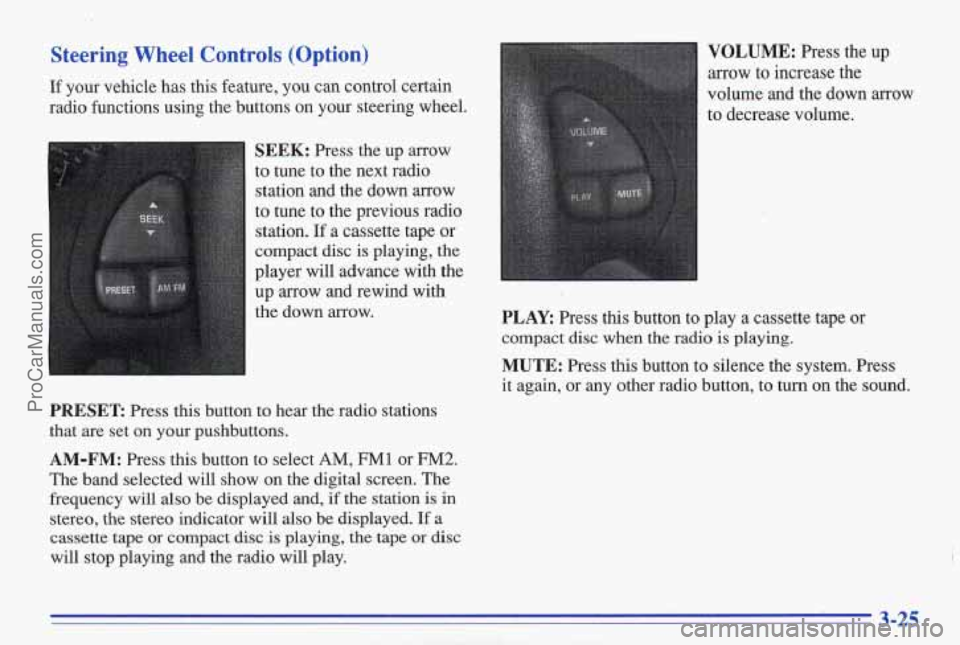
SEEK: Press the up arrow
to tune to the next radio
station and the down
arrow
to tune to the previous radio station.
If a cassette tape or
compact disc
is playing, the
player will advance with the
up arrow and rewind with
the down arrow.
PRESET Press this button to hear the radio stations
that are set on
your pushbuttons.
AM-FM: Press this button to select AM, FM1 or FM2.
The band selected will show on the digital screen. The
frequency will also be displayed and,
if the station is in
stereo, the stereo indicator will also be displayed.
If a
cassette tape
or compact disc is playing, the tape or disc
will stop playing and the radio will play.
VOLUME: Press the up
arrow to increase the
volume and the down arrow
to decrease volume.
PLAY: Press this button to play a cassette tape or
compact disc when the radio
is playing.
MUTE: Press this button to silence the system. Press
it again, or any other radio button, to turn on the sound.
3-25
ProCarManuals.com
Page 164 of 387
Care of Your Cassette Tape Player The radio will default back to CUT TAPE DETECTION
A tape player that is not cleaned regularly can cause
reduced sound quality, ruined cassettes or a damaged You may
also choose a non-scrubbing action, wet-type
mechanism. Cassette tapes should be stored in their cleaner whi\
ch uses a cassette with a fabric belt to clean
cases away from contaminants, direct sunlight and the tape head. It may not'clean as thoroughly as the
extreme heat.
If they aren't, they may not operate scrubbing type cleaner.
when the cleaner cassette is ejected.
properly
or may cause failure of the tape player.
Cassettes are subject to wear and the sound quality may
tape player should be clean4 regularly after every, degrade over time. Always make sure that\
the cassette
50 hours of use. Youi. radio may display CLN to indicate tape is in good condition before you have your tape
that you have used your tape player for
50 hok without player serviced.
resetting the tape clean timer.
If you notice a reduction in
sound quality, try a known good cassette to see if the tape Care of Your Compact Discs
or the tape player is at fault. If this other cassette has no Handle discs carefully. Store them in th'eir original cases
improvement in sound quality, clean the tape player. or other protective cases and away from direct sunlight ,
Cleaning my be done with a scrubbing action, and dust. If the surface
of a disc is soiled, dampen a
non-abrasive cleaning cassette with pads which scrub clean, soft cloth
in a mild, neutral detergent solution and
the tape head as the hubs of the cleaner cassette
turn. clean it, wiping from the center to the edge.
Follow these steps to prevent the cassette from being Be sure never td touch the signal surface when handling
ejected due to the CUT TAPE DETECTION feature:
discs. Pick up discs by grasping the outer edges or the
1. Turn the radio off and the ignition on. ' edge of the hole and the outer edge..
2. Press and hold the TAPEPLAY button for three
3. ~nskrt the cleaner cassette.
seconds (tape indicator will flash
for two seconds).
ProCarManuals.com
Page 378 of 387
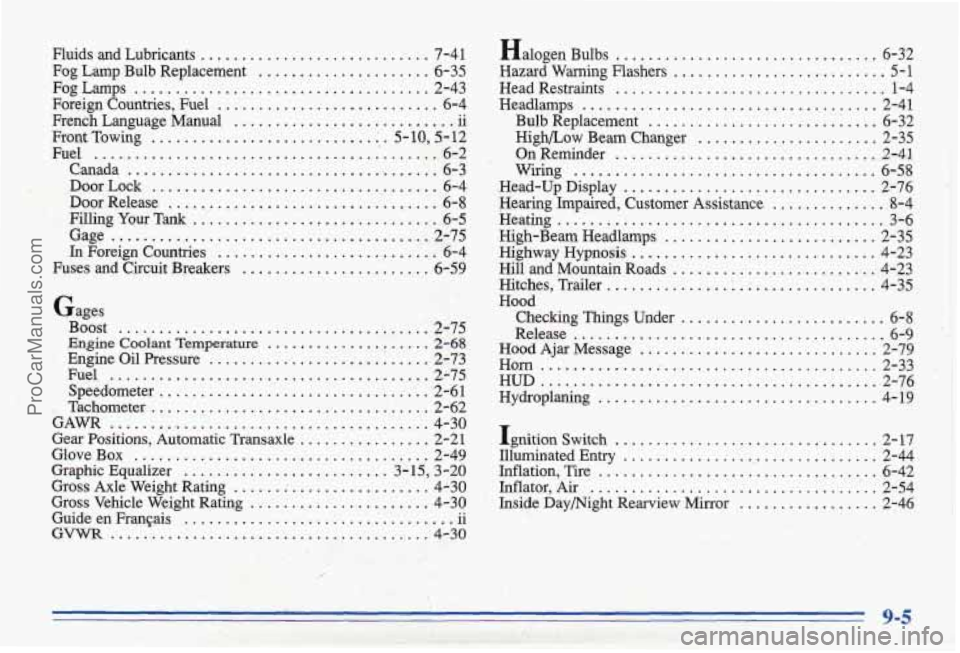
Fluids and Lubricants .......................... 7-41
Fog Lamp Bulb Replacement ..................... 6-35
Fog Lamps .................................... 2-43
Foreign Countries. Fuel ........................... 6-4
French Language Manual ........................... ii
FrontTowing
............................. 5-10, 5-12
Fuel ........................................... 6-2
Canada ....................................... 6-3
DoorLock ................................... 6-4
Door Release ................................. 6-8
Filling Your Tank .............................. 6-5
Gage ........................................ 2-75
In Foreign Countries ........................... 6-4
Fuses and Circuit Breakers ....................... 6-59
Gages
Boost ...................................... 2-75
&gjne Coolant Temperature .................... 2-68
Engine Oil Pressure ........................... 2-73
Fuel ....................................... 2-75
Speedometer .......................... ; ...... 2-61
. Tachometer .................................... 2-62
GAWR ........................................ 4-30
Gear Positions. Automatic Transaxle ................ 2-21
GloveBox .................................... 2-4 9
Graphic Equalizer ......................... 3-15, 3-20
Gross Axle Weight Rating ........................ 4-30
Gross Vehicle Weight Rating ...................... 4-30
Guide en Frarqais ................................. ii
GVWR ....................................... 4-30
Halogen Bulbs ......... ................ 6-32
Hazard Warning Flashers ........................... 5-1
Head Restraints .................................. 1-4
Headlamps .................................... 2-41
Bulb Replacement ............................ 6-32
High/Low Beam- Changer ...................... 2-35
On Reminder ................................ 2-41
Wiring ..................................... 6-58
Head-Up Display ............................... 2-76
High-Beam Headlamps ........................... 2-35
Hill and Mountain Roads .......................... 4-23
Checking Things Under ......................... 6-8
Hearing Impaired, Customer Assistance .............. 8-4
Heating ........................................ 3-6
Highway Hypnosis ............................... 4-23
Hitches. Trailer ................. ; ............... 4-35
Hood
Release
...................................... 6-9
Hood Ajar Message ............................. 2-79
Horn ......................... 1 ................. 2-33 .
HUD .......................................... 2-76
Hydroplaning .................................. 4-19
Ignition Switch ................................. 2-17
Illuminated Entry ................................. 2-44
Inflator. Air .................................... 2-54
Inflation. Tire .................................. 6-42
Inside Daymight Rearview Mirror ................. 2-46
_. 9.5'
ProCarManuals.com