Page 253 of 387
Fuel Door Manual Release (‘Option)
L
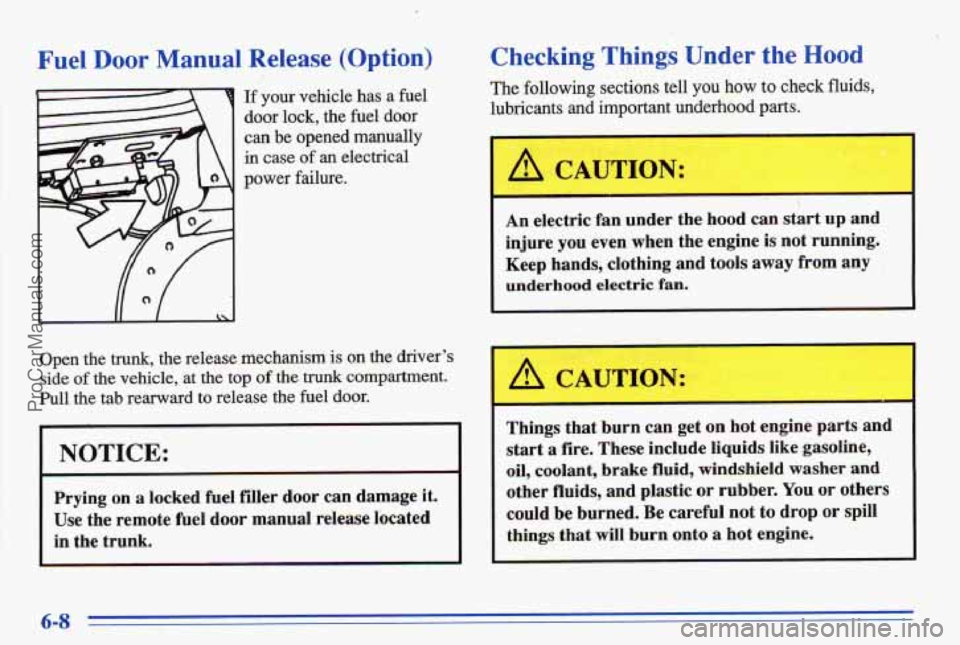
If your vehicle has a fuel
door lock, the fuel door
can be opened manually
in case of an electrical
power
failure.
Y
Open the trunk, the release mechanism is on the driver’s
side
of the vehicle, at the top of the trunk compartment.
Pull the tab rearward
to release the fuel door.
NOTICE:
Prying on a locked fuel filler door can damage it.
Use the remote fuel door manual release located
in the trunk.
Checking T,hings Under the Hood
The following sections tell you how to check fluids,
lubricants and important underhood
parts.
A CAUTION:
i
An electric fan under the hood can start up and
injure you even when the engine
is not running.
Keep hands, clothing and tools away from any
underhood electric fan.
A CAUTION:
Things that burn can get on hot engine parts and
start
a fire. These include liquids like gasoline,
oil, coolant, brake fluid, windshield washer and
other fluids,
and plastic or rubber. You or others
could be burned. Be careful not to drop
or spill
things that will burn onto a hot engine.
6-8
ProCarManuals.com
Page 257 of 387
Supercharged Engine (Option)
Your Bonneville may have a 3800 Supercharged engine.
The supercharger is a device which is designed
to pump
more
air into the engine than it would normally use.
This air mixed with fuel, creates increased engine
power. Since the supercharger is a pump
and is driven
from an engine accessory drive belt, increased pressure
is available at all driving conditions.
The Powertrain Control Module (PCM), works with a
vacuum control to regulate the increased pressure
required
during specific driving conditions. When this
increased pressure or boost is not desired, such as during
idling
and light throttle cruising, the excess air that the
supercharger is pumping is routed through
a bypass.
All of these controls, working together provide high
performance character
and fuel efficiency in the
38010 V6 Supercharged engine.
The-power steering pump uses a remote reservoir
mounted on the throttle and cruise control cable bracket.
See “Maintenance Schedule”
in the Index for when you
should check the fluid.
I ’. .. ,- .. .. , . -. :? 1
Engine Oil
CHECK OIL
LEVEL
If the CHECK OIL
LEVEL light on the
instrument panel comes
on, it means
you need to check
your engine oil level
right away.
For more information, see “Check Oil Level Light”
in
the Index. You should check your engine oil level
regularly; this is
an added reminder.
It’s a good idea
to check your engine oil every time you
get fuel. In order to get an accurate reading, the oil must
be warm and the vehicle must be on level ground.
6-12
ProCarManuals.com
Page 258 of 387
The engine oil dipstick
is located immediately
behind the engine
fans
and in front of the
engine oil
fill cap. The
top
of the dipstick is a
round, yellow loop.
Turn
off the engine and give the oil a few minutes to
drain back into the oil pan. If you don’t, the oil dipstick
might not show the actual level.
Checking Engine Oil
Pull out the dipstick and clean it with a paper towel or
cloth, then push it back in all the way. Remove it again,
keeping the tip down, and check the level.
6-13
ProCarManuals.com
Page 264 of 387
Supercharger Oil
Unless you are
technically qualified and have the proper
tools, you should let
your dealer or a
qualified service
center perform this
maintenance.
When to Check
Check oil level every 30,000 miles (50 000 km) or every
36 months, whichever occurs ,first.
What Kind of Oil to Use
See “Recommended Fluids and Lubricants” in the Index
and use only the recommended oil.
How to Check and Add Oil
Check oil only when the engine is cold. Allow the
engine to cool two to three hours after running.
If you remove the supercharger oil fill plug while
the engine
is hot, pressure may cause hot oil to
blow out
of the oil fill hole. You may be burned.
Do not remove the plug until the engine cools.
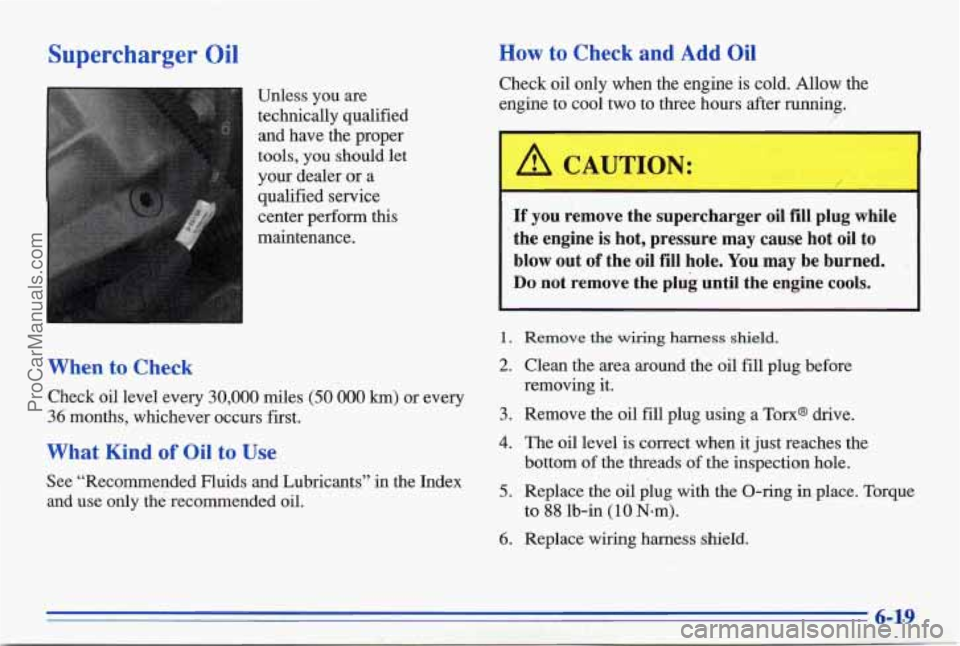
1. Remove the wiring harness shield.
2. Clean the area around the oil fill plug before
removing it.
3. Remove the oil fill plug using a Torx@ drive.
4. The oil level is correct when it just reaches the
bottom of the threads of the inspection hole.
5. Replace the oil plug with the O-ring in place. Torque
6. Replace wiring harness shield. to
88 lb-in (10 N-m).
ProCarManuals.com
Page 265 of 387
Automatic Transaxle Fluid
When to Check and Change
A good time to check your automatic transaxle fluid
level is when the engine oil
is changed.
Change both the fluid
and filter every 50,000 miles
(83 000 km) if the vehicle is mainly driven under one or
more of these conditions:
In .heavy eity.traffic where the 'outside temperature
regularly reaches
90 OF (32 O C) or higher.
0 In hilly or mountainous terrain.
0 When doing frequent trailer towing.
0 Uses such as found in taxi, police or delivery service.
If you do not use your vehicle under any of these
conditions, the fluid and filter
do not require changing.
See "Scheduled Maintenance Services"
in the Index.
..
I .(.. :.-'Bow to Check
Because &is operation can be a little dBicult, you may
choose to have
this done at your P'ontiac dealership
Service Department.
If you do it yourself, be' sure to follow all the instructions
here, or you could get a false reading on the dipstick.
NOTICE:
Too much or too little fluid can damage your
transaxle.
Too much can mean that some of the
~ fluid could come out and fall on hot engine parts
or exhaust system parts, starting
a fire. Be sure to
get an' accurate reading if you check your
transaxle fluid.
Wait at least 30 minutes before checking.& .@an: Je
fluid level if you have been driving:
0 When outside temperatures are above 90°F (32°C).
0 At high speed for quite a while.
In heavy traffic -- especially in hot weather.
While pulling a trailer.
To get the right reading, the fluid should be at normal
operating temperature, which is
180°F to 200°F
(82°C to 93°C).
Get the vehicle warmed up by driving about 15 miles
(24 km) when outside temperatures are above 50°F
(10°C). If it's colder than 50°F (lO"C), you may
have
to drive longer.
ProCarManuals.com
Page 266 of 387
Checking the Fluid Level
Park your vehicle on a level place. Keep the
0 With the parking brake applied, place the shift lever
engine running.
in
PARK (P).
0 With your foot on the brake pedal, move the shift lever through each gear range, pausing
for about
three seconds
in each range. Then, position the shift
lever in
PARK (P).
Let the engine run at idle for three to five minutes.
Then, without shutting
off the engine, follow these steps:
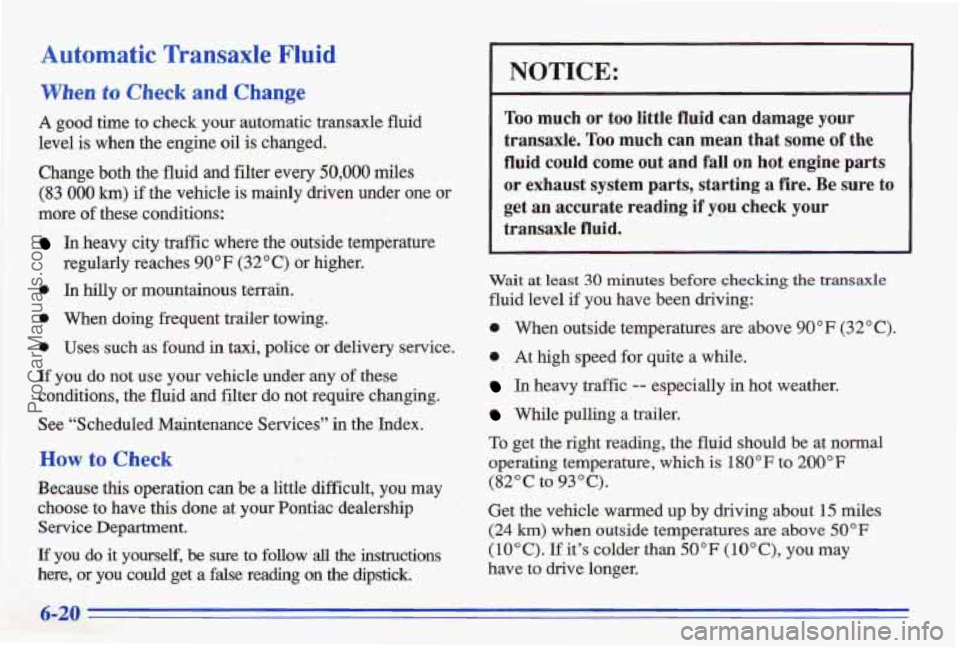
I. The transhission
oil dipstick top is a
round, red loop' and
is next to the brake
master cylinder
behind the engine
dipstick and wipe it
with a clean rag
or
paper towel.
i block. Pull out the
2. Push it back in all the way, wait three seconds and
then pull it back out again.
3.
4.
Check both sides of the dipstick, and read the lower
level. The fluid level must be in the cross-hatched area.
If the fluid level is in the acceptable range, push the
dipstick back in all the way.
6-21
ProCarManuals.com
Page 267 of 387
How to Add Fluid
Refer to the Maintenance Schedule to determine what
bind of tmhsaxle fluid to use. See 6‘Recomended
Fluids and Lubricants” in the Index.
If the fluid level is low, add only enough of the proper
fluid to bring
the level into the cross-hatched area on
the dipstick.
Pull out the dipstick.
Using a long-neck funnel, add enough
Md at the
dipstick hole to bring it to the proper level. It doesn’t
take much
fluid, generally less than a pint (0.5 L).
Don’t overfiI2. We recommend you use only fluid
labeled
DEXRON*-III,, because fluid with that label
is made especially for yo& automatic transax18e.
Damage caused
by fluid other than DEXRON’@-III
is not covered by your new vehicle warranty.
After adding fluid, recheck the fluid level as
described under “How to Check.”
When the correct fluid level is obtained, push the
dipstick back in
all the way.
Engine Coolant
The cooling system in your vehicle is filled with new
DEX-COOL (orange-colored,
silicate-free) engine
coolant.
This coolant is designed to remain in your
vehicle for 5 years or 100,000 miles (166 000 km),
whichever occurs first.
The following explains your cooling system and how to
add coolant when it is low.
If you have a problem with
engine overheating, see “Engine Overheating” in
the Index.
A 50/50 mixture of water &d the proper coolant for
your Pontiac will:
e
e
0
0
0
Give freezing protection down to -34°F (-37°C).
Give boiling protection up to 265 OF (1 29 O C).
Protect against rust and corrosion.
Help keep the proper engine temperature.
Let the warning lights and gages work as they should.
ProCarManuals.com
Page 269 of 387
NOTICE:
If you use an improper coolant mix, your engine
could overheat and be badly damaged. The
repair
cost wouldn’t be covered by your
warranty.
Too much water in the mix can freeze
and
crack the engine, radiator, heater core and
other parts.
If you have to add coolant more than four times a year,
have your dealer check your cooling system.
NOTICE:
If YOU use the proper coolant, you don’t have to
add extra inhibitors or additives which claim to
improve .the system. These can be harmful.
Checking Coolant
When your engine is cold, the coolant level should be
at FULL COLD or a little higher. When your engine is
warm, the level should be up to FULL HOT or a
little higher.
ProCarManuals.com