1996 NISSAN SENTRA light
[x] Cancel search: lightPage 33 of 191

1. Pull the hood lock release handles1
located below the instrument panel. The
hood springs up slightly.
2. Pull up on the lever
s2at the front of the
hood with your fingertips and raise the
hood.3. Insert the support rod into the slot
marked with the arrow on the underside
of the hood.
4. When closing the hood, reset the support
rod to its original position, lower the hood
to approximately 12 inches above the
latch and release it. This allows proper
engagement of the hood latch.
SPA0004APD0618
HOOD RELEASE
2-8
ZX
Page 40 of 191

REAR SEAT
Interior trunk access
(If so equipped)
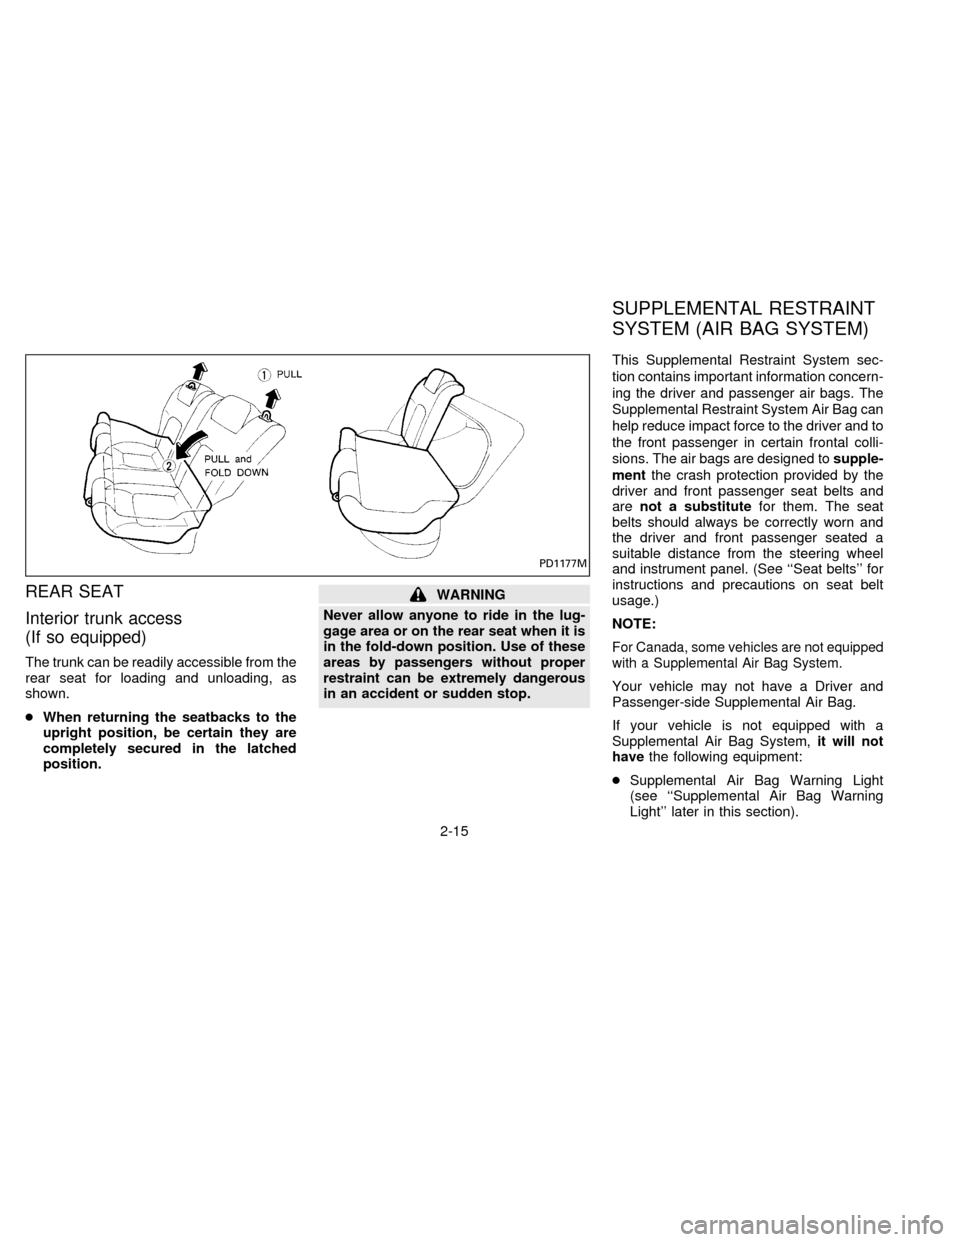
The trunk can be readily accessible from the
rear seat for loading and unloading, as
shown.
cWhen returning the seatbacks to the
upright position, be certain they are
completely secured in the latched
position.
WARNING
Never allow anyone to ride in the lug-
gage area or on the rear seat when it is
in the fold-down position. Use of these
areas by passengers without proper
restraint can be extremely dangerous
in an accident or sudden stop.This Supplemental Restraint System sec-
tion contains important information concern-
ing the driver and passenger air bags. The
Supplemental Restraint System Air Bag can
help reduce impact force to the driver and to
the front passenger in certain frontal colli-
sions. The air bags are designed tosupple-
mentthe crash protection provided by the
driver and front passenger seat belts and
arenot a substitutefor them. The seat
belts should always be correctly worn and
the driver and front passenger seated a
suitable distance from the steering wheel
and instrument panel. (See ``Seat belts'' for
instructions and precautions on seat belt
usage.)
NOTE:
For Canada, some vehicles are not equipped
with a Supplemental Air Bag System.
Your vehicle may not have a Driver and
Passenger-side Supplemental Air Bag.
If your vehicle is not equipped with a
Supplemental Air Bag System,it will not
havethe following equipment:
cSupplemental Air Bag Warning Light
(see ``Supplemental Air Bag Warning
Light'' later in this section).
PD1177M
SUPPLEMENTAL RESTRAINT
SYSTEM (AIR BAG SYSTEM)
2-15
ZX
Page 45 of 191

Warning labels about the supplemental air
bag system are placed in the vehicle as
shown in the illustration.
The supplemental air bag light, displaying
AIR BAG in the instrument panel, monitors
the circuits of the air bag. The circuits
monitored by the air bag light are the diag-
nosis sensor unit, air bag modules and all
related wiring.
APD0609
APD0610
WARNING LABELS
(If so equipped)AIR BAG WARNING LIGHT
(If so equipped)
2-20
ZX
Page 46 of 191

When the ignition key is in the ON or START
position, the supplemental air bag warning
light illuminates for about 7 seconds and
then turns off. This means the system is
operational.
If any of the following conditions occur, the
supplemental air bag needs servicing:
1. The supplemental air bag light does not
come on and remain on for 7 seconds
and then go off as described above.
2. The supplemental air bag light flashes
intermittently or remains on.
3. The supplemental air bag light does not
come on at all.
Under these conditions, the Supplemental
Restraint System Air Bag does not operate
properly. It must be checked and repaired.
Take your vehicle to the nearest authorized
NISSAN dealer.
Repair and replacement procedure
The supplemental air bag system is de-
signed to inflate on a one-time-only basis.
As a reminder, unless it is damaged, the
supplemental air bag light remains illumi-
nated after inflation has occurred. Repair
and replacement of the supplemental airbag system should be done only by an
authorized NISSAN dealer.
To ensure long-term functioning, the
system must be inspected 10 years after
the date of manufacture as noted on the
certification label located on the driver
side front pillar.
When maintenance work is required on the
vehicle, the supplemental air bag system
and related parts should be pointed out to
the person conducting the maintenance.
The ignition key must always be in the
LOCK position when working under the
hood or inside the vehicle.
WARNING
cOnce the supplemental air bag in-
flates, the supplemental air bag mod-
ule will not function again and must
be replaced. The supplemental air
bag module cannot be repaired.
cAfter a supplemental air bag inflates,
the front instrument panel assembly
should be replaced by your NISSAN
dealer if damaged.cThe supplemental air bag system
should be inspected by an authorized
NISSAN dealer if there is any damage
to the front end portion of the vehicle
or if the air bag has inflated.
cWhen selling your vehicle, we re-
quest that you inform the buyer about
the supplemental air bag system and
guide the buyer to the appropriate
sections in this Owner's Manual.
cIf you need to dispose of the supple-
mental air bag or scrap the vehicle,
contact an authorized NISSAN dealer.
Correct supplemental air bag dis-
posal procedures are set forth in the
appropriate NISSAN Service Manual.
Incorrect disposal procedures could
cause personal injury.
2-21
ZX
Page 60 of 191

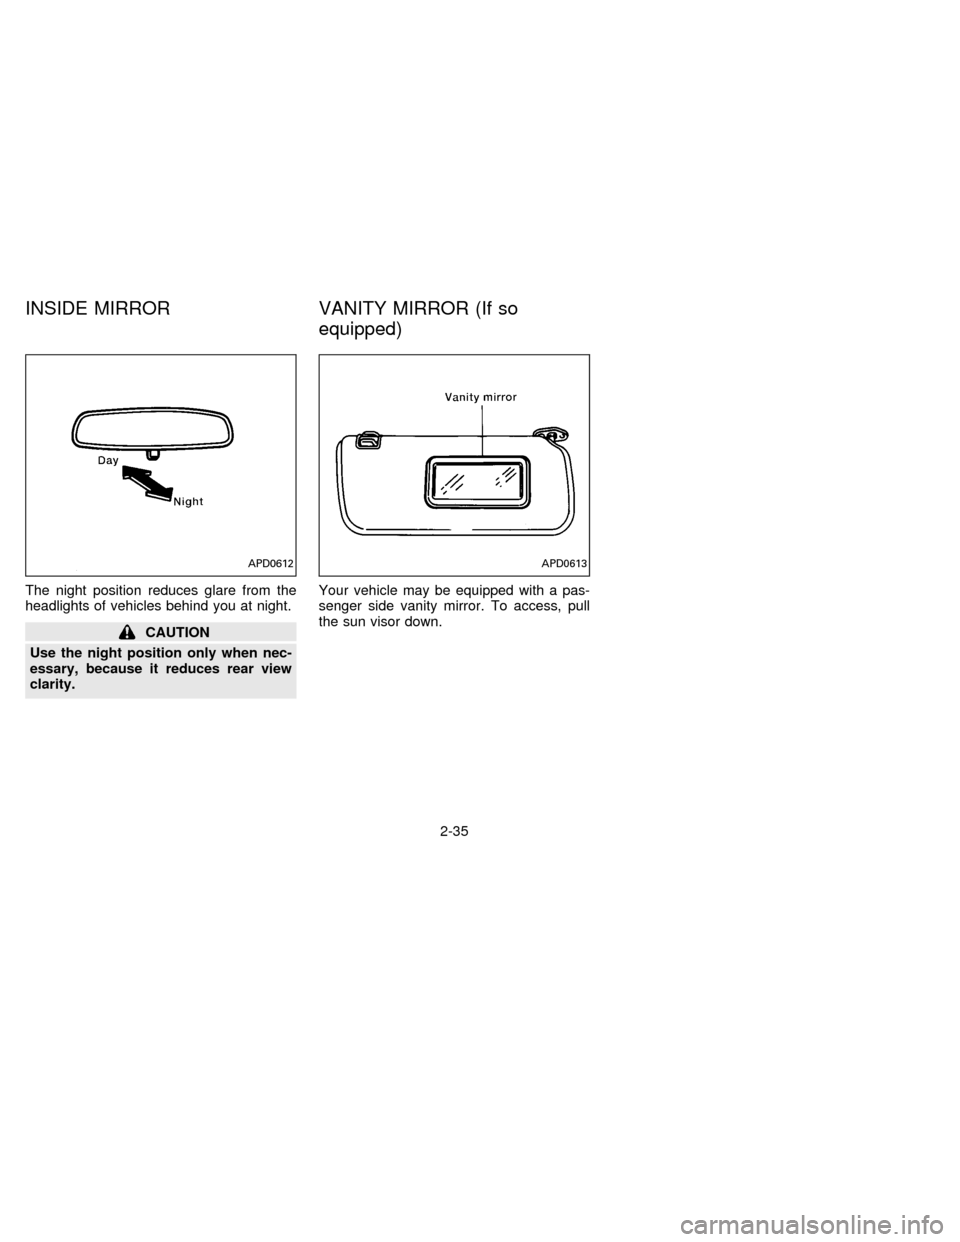
The night position reduces glare from the
headlights of vehicles behind you at night.
CAUTION
Use the night position only when nec-
essary, because it reduces rear view
clarity.Your vehicle may be equipped with a pas-
senger side vanity mirror. To access, pull
the sun visor down.
APD0612APD0613
INSIDE MIRROR VANITY MIRROR (If so
equipped)
2-35
ZX
Page 64 of 191

CONTROLS
Fan control dial
This dial turns the fan on and off, and
controls fan speed.
Air flow control dial
This dial allows you to select the air flow
outlets.
Ð Air flows from center and side
ventilators.
Ð Air flows from center and side
ventilators and foot outlets.
Ð Air flows mainly from foot outlets.
Ð Air flows from defroster outlets
and foot outlets.
Ð Air flows mainly from defroster
outlets.
Temperature control dial
This dial allows you to adjust the tempera-
ture of the outlet air.
Air recirculation button
(If so equipped)
NOTE:
The air recirculation feature is available
only on those vehicles equipped with air
conditioning.
OFF position (Indicator light OFF):
Outside air is drawn into the passenger
compartment and distributed through the
selected outlets.
Use this position for normal heater or air
conditioner operation.
ON position (Indicator light ON):
Interior air is recirculated inside the vehicle.
Depress the air recirculation button to acti-
vate the recirculation function when driving
on a dusty road or to avoid traffic fumes.
The air recirculation function is also used to
improve A/C performance during extremely
hot or humid conditions.
AHA0604
HEATER AND AIR
CONDITIONER
3-3
ZX
Page 65 of 191

WARNING
Do not use the recirculation mode (if so
equipped) for long periods of time. It
may cause the interior air to become
stale and the windows to fog up.
Air conditioner button
This button is provided only on those ve-
hicles equipped with air conditioning.
Start the engine, move the fan control dial to
the desired (1 to 4) position, and push the
air conditioner button to turn on the air
conditioner. The indicator light comes on
when the air conditioner is on. To turn off the
air conditioner, push the button again.
The air conditioner cooling function op-
erates only when the engine is running.
WARNING
Positioning of the heating or air condi-
tioning controls should not be done
while driving, in order that full attention
may be given to the driving operation.
HEATER OPERATION
Heating
This mode is used to direct hot air mainly
from the floor outlets. A small amount of air
also flows from the defrost vents.
1. Push the air recirculation button (if so
equipped) to the OFF position for normal
heating.
2. Move the air control dial to the
po-
sition.
3. Move the fan control dial to the desired
position.
4. Move the temperature control dial to the
desired position between the middle and
the hot position.
Ventilation
This mode directs outside air from the side
and center vents.
1. Push the air recirculation button (if so
equipped) to the OFF position.
2. Move the air control dial to the
po-
sition.3. Move the fan control dial to the desired
position.
4. Move the temperature control dial to the
desired position.
Defrosting or defogging
This mode is used to defrost/defog the
windows.
1. Push the air recirculation button (if so
equipped) to the OFF position.
2. Move the air control dial to the
po-
sition.
3. Move the fan control dial to the desired
position.
4. Move the temperature control dial to the
desired position between the middle and
the hot position.
cIf it is difficult to defog the windshield
glass, turn the air conditioner on (if so
equipped). This helps dehumidify the air.
Outside air is drawn into the passenger
compartment to improve the defogging per-
formance.
3-4
ZX
Page 66 of 191

Bi-level heating
This mode directs cooler air from the side
and center vents and warmer air from the
floor outlets. When the temperature control
dial is moved to the full hot or full cool
position, the air between the vents and the
floor outlets is the same temperature.
1. Push the air recirculation button (if so
equipped) to the OFF position.
2. Move the air control dial to the
po-
sition.
3. Move the fan control dial to the desired
position.
4. Move the temperature control dial to the
the desired position.
Heating and defogging
This mode heats the interior and defogs the
windshield.
1. Push the air recirculation button (if so
equipped) to the OFF position.
2. Move the air control dial to the
po-
sition.
3. Move the fan control dial to the desired
position.4. Move the temperature control dial to the
desired position between the middle and
the hot position.
Operating tips
cClear snow and ice from the wiper
blades and air inlet in front of the
windshield. This improves heater op-
eration.
AIR CONDITIONER OPERATION
(If so equipped)
Start the engine, move the fan control dial to
the desired (1 to 4) position, and push in the
air conditioner button to activate the air
conditioner. When the air conditioner is on,
cooling and dehumidifying functions are
added to the heater operation.
The air conditioner cooling function op-
erates only when the engine is running.
Cooling
This mode is used to cool and dehumidify.
1. Push the air recirculation button to the
OFF position.
2. Move the air control dial to
posi-
tion.3. Move the fan control dial to the desired
position.
4. Push on the air conditioner button. The
indicator light comes on.
5. Move the temperature control dial to the
desired position.
cFor quick cooling when the outside tem-
perature is high, push the air recirculation
button (if so equipped) to the ON posi-
tion. Be sure to return the air recirculation
button to the OFF position for normal
cooling.
Dehumidified heating
This mode is used to heat and dehumidify
the air.
1. Push the air recirculation button to the
OFF position.
2. Move the air control dial to the
po-
sition.
3. Move the fan control dial to the desired
position.
4. Push on the air conditioner button. The
indicator light comes on.
3-5
ZX