1996 NISSAN ALTIMA length
[x] Cancel search: lengthPage 47 of 183
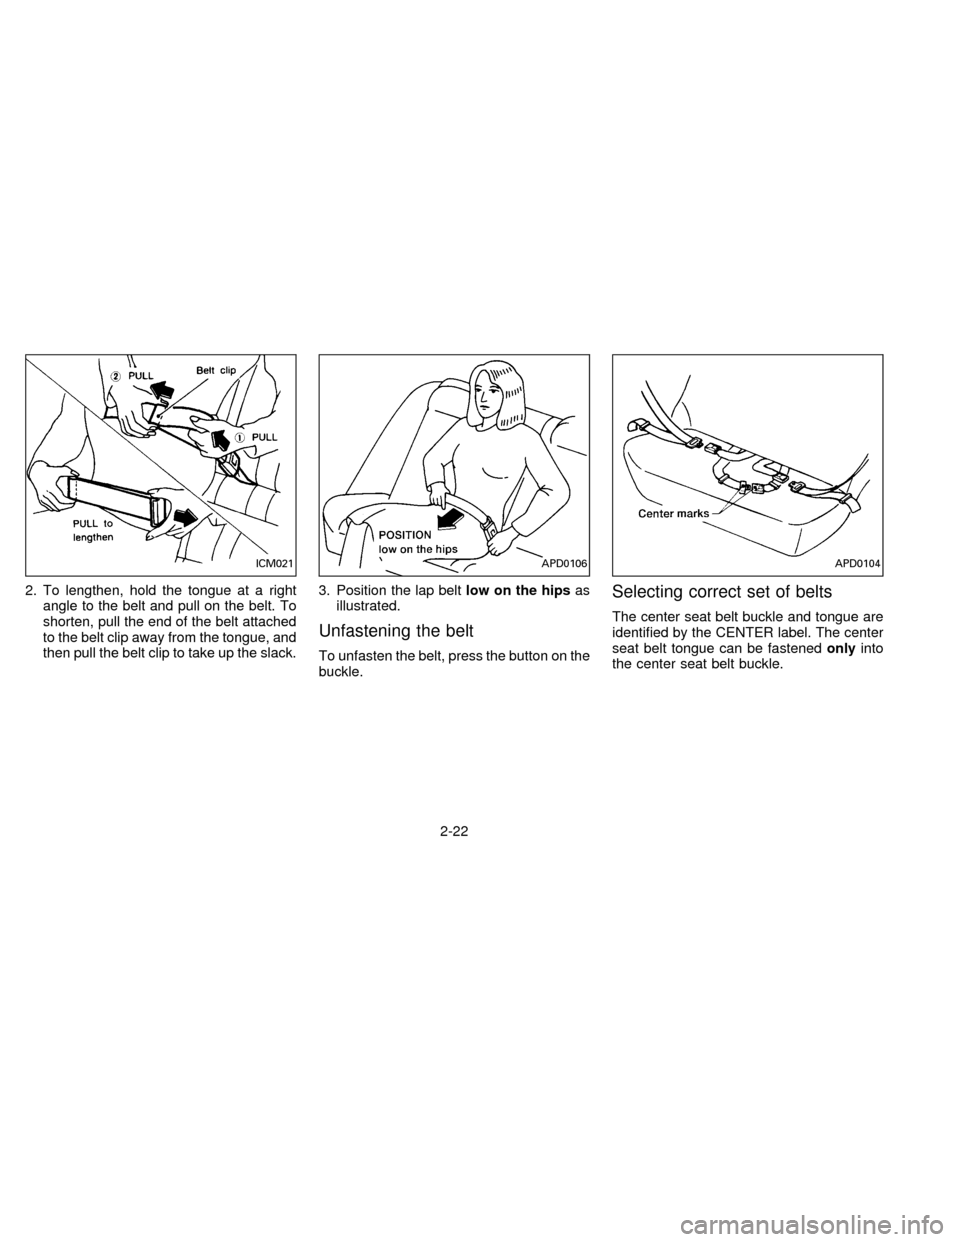
2. To lengthen, hold the tongue at a right
angle to the belt and pull on the belt. To
shorten, pull the end of the belt attached
to the belt clip away from the tongue, and
then pull the belt clip to take up the slack.3. Position the lap beltlow on the hipsas
illustrated.
Unfastening the belt
To unfasten the belt, press the button on the
buckle.
Selecting correct set of belts
The center seat belt buckle and tongue are
identified by the CENTER label. The center
seat belt tongue can be fastenedonlyinto
the center seat belt buckle.
ICM021APD0106APD0104
2-22
ZX
Page 48 of 183
SEAT BELT EXTENDERS
If, because of body size or driving position,
it is not possible to properly fit the lap-
shoulder belt and fasten it, an extender is
available which is compatible with the in-
stalled seat belts. The extender adds ap-
proximately 8 inches (200 mm) of length
and may be used for either the driver or front
passenger seating position. See your NIS-
SAN dealer for assistance if the extender is
required.
WARNING
cOnly NISSAN belt extenders, made
by the same company which made
the original equipment belts, should
be used with NISSAN belts.
cPersons who can use the standard
seat belt should not use an extender.
Such unnecessary use could result
in serious personal injury in the
event of an accident.
SEAT BELT MAINTENANCE
cTo clean the belt webbings,apply a
mild soap solution or any solution recom-
mended for cleaning upholstery or car-
pets. Then brush the webbing, wipe it
with a cloth and allow it to dry in the
shade. Do not allow the belts to retract
until they are completely dry.
cPeriodically check to see that the belt
and the metal componentssuch as
buckles, tongues, retractors, flexible
wires and anchors work properly. If loose
parts, deterioration, cuts or other dam-
age on the webbing is found, the entire
belt assembly should be replaced.
WARNING
Infants and small children should al-
ways be placed in an appropriate child
restraint while riding in the vehicle.
Failure to use a child restraint can re-
sult in serious injury or death.
Children and infants should never be
carried on your lap. It is not possible for
even the strongest adult to resist the
forces of a severe accident. The child
could be crushed between the adult
and parts of the vehicle. Also, do not
put the same seat belt around both
your child and yourself. In general,
child restraints are designed to be in-
stalled with a lap belt or the lap portion
of a three-point type seat belt.
Nissan recommends that the child re-
straint be installed in the rear seat.
According to accident statistics, chil-
dren are safer when properly restrained
in the rear seat than in the front seat.
An improperly installed child restraint
could lead to serious injury or death in
an accident.
CHILD RESTRAINTS FOR
INFANTS AND SMALL
CHILDREN
2-23
ZX
Page 52 of 183
belt is not locked, repeat steps 3 through
6.
After the child restraint is removed and the
seat belt is allowed to wind back into the
retractor, the automatic locking mode (child
restraint mode) is canceled; the seat belt
may be used as normal and will only lock
during a sudden stop or impact.
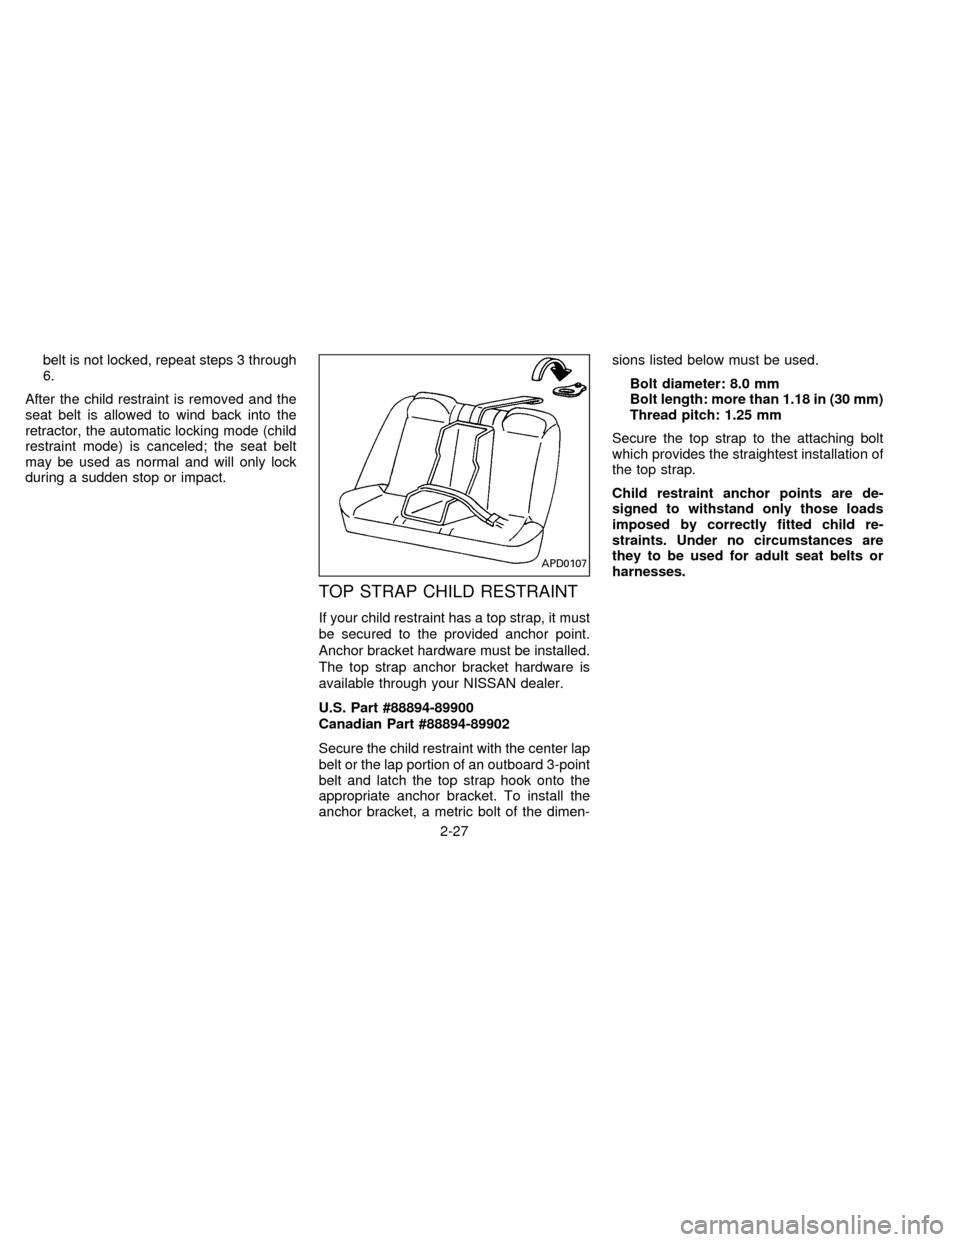
TOP STRAP CHILD RESTRAINT
If your child restraint has a top strap, it must
be secured to the provided anchor point.
Anchor bracket hardware must be installed.
The top strap anchor bracket hardware is
available through your NISSAN dealer.
U.S. Part #88894-89900
Canadian Part #88894-89902
Secure the child restraint with the center lap
belt or the lap portion of an outboard 3-point
belt and latch the top strap hook onto the
appropriate anchor bracket. To install the
anchor bracket, a metric bolt of the dimen-sions listed below must be used.
Bolt diameter: 8.0 mm
Bolt length: more than 1.18 in (30 mm)
Thread pitch: 1.25 mm
Secure the top strap to the attaching bolt
which provides the straightest installation of
the top strap.
Child restraint anchor points are de-
signed to withstand only those loads
imposed by correctly fitted child re-
straints. Under no circumstances are
they to be used for adult seat belts or
harnesses.
APD0107
2-27
ZX
Page 71 of 183

indicating tape side will illuminate in the
display window.
Do not force the cassette tape into the
tape door.
Pressing strongly could cause player
damage.
The cassette tape will automatically change
directions to play the other side when the
first side is completed. At this time, the
arrow in the display window will change
direction.
cTo maintain good quality sound, NIS-
SAN recommends that you use cas-
sette tapes of 60 minutes or shorter in
length.
cCassette tapes should be removed
from the player when not in use. Store
cassettes in their protective cases
and away from direct sunlight, heat,
moisture and magnetic sources.
cDirect sunlight can cause the cassette
to become deformed. The use of de-
formed cassettes may cause the cas-
sette to jam in the player.
cDo not use cassettes that have labels
which are peeling and loose. If used,the label could jam in the player.
cIf a cassette has loose tape, insert a
pencil through one of the cassette
hubs and rewind the tape firmly
around the hubs. Loose tape may
cause tape jamming and wavering
sound quality.
cOver a period of time, the playback
head, capstan and pinch roller may
collect a tape coating residue as the
tape passes over the head. This resi-
due accumulation can cause weak or
wavering sound, and should be re-
moved periodically with a head clean-
ing tape. If the residue is not removed
periodically, the player may need to
be disassembled for cleaning.
Fast forwarding or rewinding the
tape
Push either the FF (fast forward) or REW
(rewind) button for the desired direction.
The
orsymbol will illuminate in
the display.
To stop the FF or REW function, press the
``PLAY/STOP'' button.
Automatic Program Search (APS)
fast forwarding or APS rewinding
the tape
Push either the APS FF or APS REW button
while the cassette tape is playing. The tape
will run quickly, and stop and play at the
next program. The indicator light flashes on
and off while searching the program. The
orsymbol will illuminate in
the display.
This system searches for the blank intervals
between selections. If there is a blank inter-
val within one program or there is no interval
between programs, the system may not
stop in the desired or expected location.
Changing the direction of tape play
Push the PROG (program) select button.
The
orsymbol will illuminate in
the display to indicate side of program play.
Playing and stopping the cassette
tape
Push the PLAY/STOP button while the cas-
sette tape is playing to stop the tape. Push
the button again to play the tape.
3-14
ZX
Page 76 of 183
POWERbutton with the cassette tape still in
the player, the tape will resume playing
when the POWER button is pushed once
again.
TAPE button
cWhen this button is pushed with the
system turned off and a tape loaded, the
system will come on and the tape will
play.
cWhen this button is pushed with either
the radio or compact disc turned on and
the tape loaded, the compact disc or the
radio will automatically be turned off and
the tape will play.
While the tape is playing, pushing the TAPE
button stops tape play. Pushing the button
again resumes tape play.
FF (fast forward), REW (rewind)
button
Push the FF (fast forward) button to fast
forward the tape. To rewind the tape, push
the REW (rewind) button. Either the indica-
tor light ``
'' or ``'' will come on when
the FF or REW function is started. To stop
the FF or REW function, press the TAPE
button.
Automatic Program Search (APS)
FF, APS REW button
When the APS FF button is pushed while
the tape is being played, the next program
will start to play from the beginning. Push
the APS FF button several times to skip
through programs. The tape will advance
the number of times the button is pushed
(up to 9 programs).
When the APS REW button is pushed once,
the program being played starts over from
the beginning. Push several times to fast
rewind programs. The tape will rewind back
the number of times the button is pushed.
Either the indicator light ``
'' or
``'' will come on when the APS FF or
APS REW function is started.
This system searches for the blank intervals
between selections. If there is a blank inter-
val within one program or there is no interval
between programs, the system may not
stop in the desired or expected location.
PROG (program) button
Push the PROG (program) button to change
the tape side while the tape is being played.The cassette tape will automatically change
directions to play the other side when the
first side is completed.
Dolby NR (noise reduction)
button
Push the``DOLBY NR'' button for
Dolby NR encoded tapes to reduce high
frequency tape noise. The indicator will
come on.
Dolby NR is manufactured under license
from Dolby Laboratories Licensing Corpora-
tion. ``DOLBY NR'' and the double-D symbol
are trademarks of Dolby Laboratories Li-
censing Corporation.
TAPE EJECT button
Push this button to eject an inserted tape.
When the tape is ejected while it is being
played, the system will be turned off.
Precautions on cassette player op-
eration
cTo maintain good quality sound,
NISSAN recommends that you use
cassette tapes of 60 minutes or
shorter in length.
3-19
ZX
Page 81 of 183
WARNING
Do not leave children, unreliable
adults, or pets alone in your vehicle.
They could accidentally injure them-
selves or others through inadvertent
operation of the vehicle. Also, on hot,
sunny days, temperatures in a closed
vehicle could quickly become high
enough to cause severe or possibly
fatal injuries to people or animals.
EXHAUST GAS
(Carbon Monoxide)
WARNING
Do not breathe exhaust gases; they
contain colorless and odorless carbon
monoxide. Carbon monoxide is dan-
gerous. It can cause unconsciousness
or death.
cIf you suspect that exhaust fumes
are entering the vehicle, drive with
all windows fully open, and have the
vehicle inspected immediately.
cDo not run the engine in closed
spaces such as a garage for any
longer than is absolutely necessary.cDo not park the vehicle with the
engine running for any extended
length of time.
cKeep the trunk lid closed while driv-
ing, otherwise exhaust gases could
be drawn into the passenger com-
partment. If you must drive in this
manner for some reason, take the
following steps:
1. Open all the windows.
2. Set the air recirculation switch to
``OFF'' and the fan control at 4
(high) to circulate the air.
cIf electrical wiring or other cable
connections must pass to a trailer
through the seal on the trunk lid or
the body, follow the manufacturer's
recommendation to prevent carbon
monoxide entry into the vehicle.
cThe exhaust system and body
should be inspected by a qualified
mechanic whenever:
a. The vehicle is raised for service.
b. You suspect that exhaust fumes
are entering into the passenger
compartment.c. You notice a change in the sound
of the exhaust system.
d. You have had an accident involv-
ing damage to the exhaust sys-
tem, underbody, or rear of the
vehicle.
THREE WAY CATALYST
The three way catalyst is an emission con-
trol device installed in the exhaust system.
Exhaust gases in the three way catalyst are
burned at high temperatures to help reduce
pollutants.
WARNING
cThe exhaust gas and the exhaust
system are very hot. While the en-
gine is running, keep people or flam-
mable materials away from the ex-
haust pipe.
cDo not stop or park the vehicle over
flammable materials such as dry
grass, waste paper or rags, as they
may burn easily.
PRECAUTIONS WHEN
STARTING AND DRIVING
4-2
ZX
Page 164 of 183
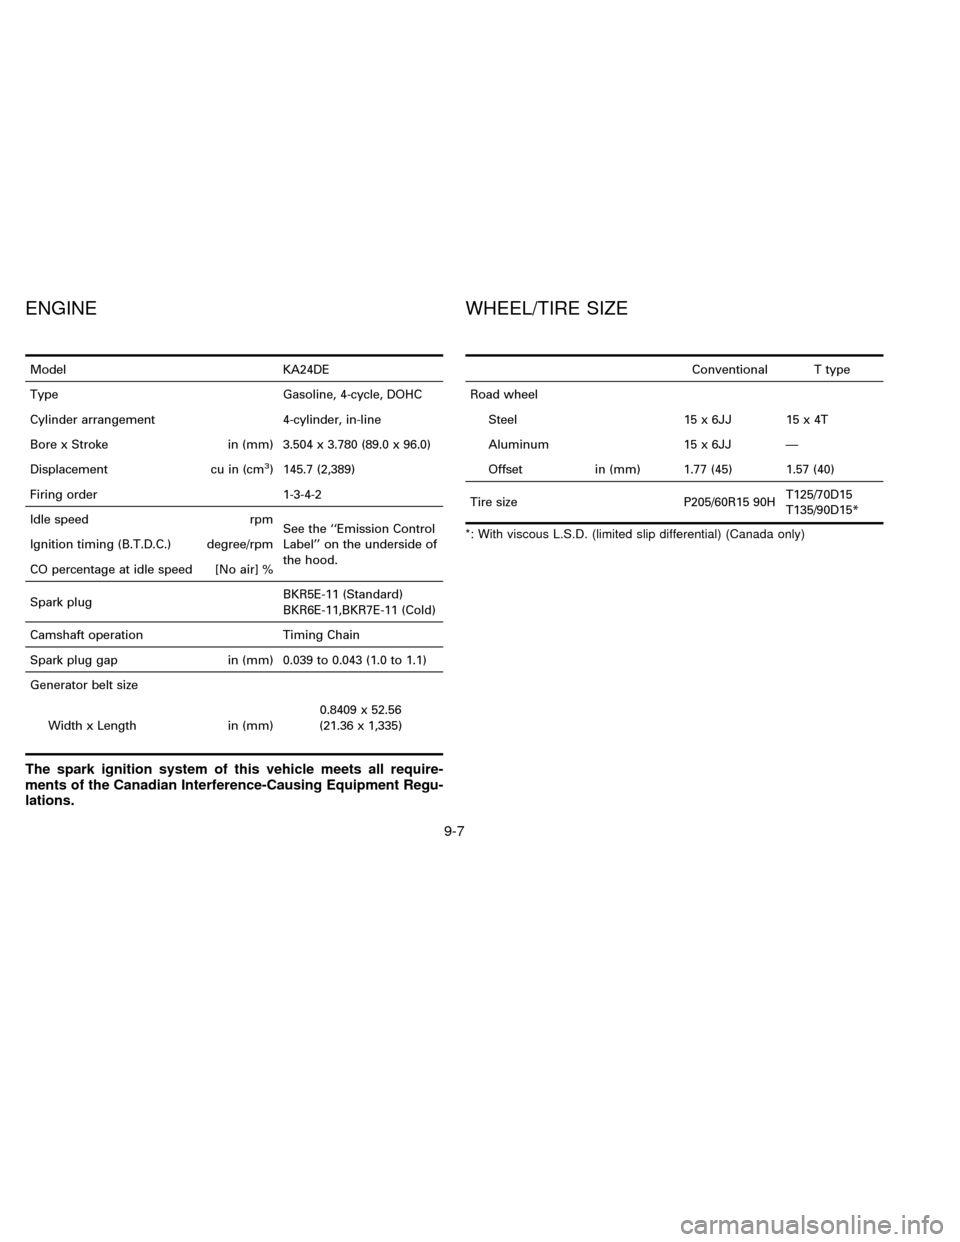
Model KA24DE
Type Gasoline, 4-cycle, DOHC
Cylinder arrangement 4-cylinder, in-line
Bore x Stroke in (mm) 3.504 x 3.780 (89.0 x 96.0)
Displacement cu in (cm
3) 145.7 (2,389)
Firing order 1-3-4-2
Idle speed rpm
See the ``Emission Control
Label'' on the underside of
the hood. Ignition timing (B.T.D.C.) degree/rpm
CO percentage at idle speed [No air] %
Spark plugBKR5E-11 (Standard)
BKR6E-11,BKR7E-11 (Cold)
Camshaft operation Timing Chain
Spark plug gap in (mm) 0.039 to 0.043 (1.0 to 1.1)
Generator belt size
Width x Length in (mm)0.8409 x 52.56
(21.36 x 1,335)
The spark ignition system of this vehicle meets all require-
ments of the Canadian Interference-Causing Equipment Regu-
lations.
Conventional T type
Road wheel
Steel 15 x 6JJ 15 x 4T
Aluminum 15 x 6JJ Ð
Offset in (mm) 1.77 (45) 1.57 (40)
Tire size P205/60R15 90HT125/70D15
T135/90D15*
*: With viscous L.S.D. (limited slip differential) (Canada only)
ENGINE WHEEL/TIRE SIZE
9-7
ZX
Page 165 of 183
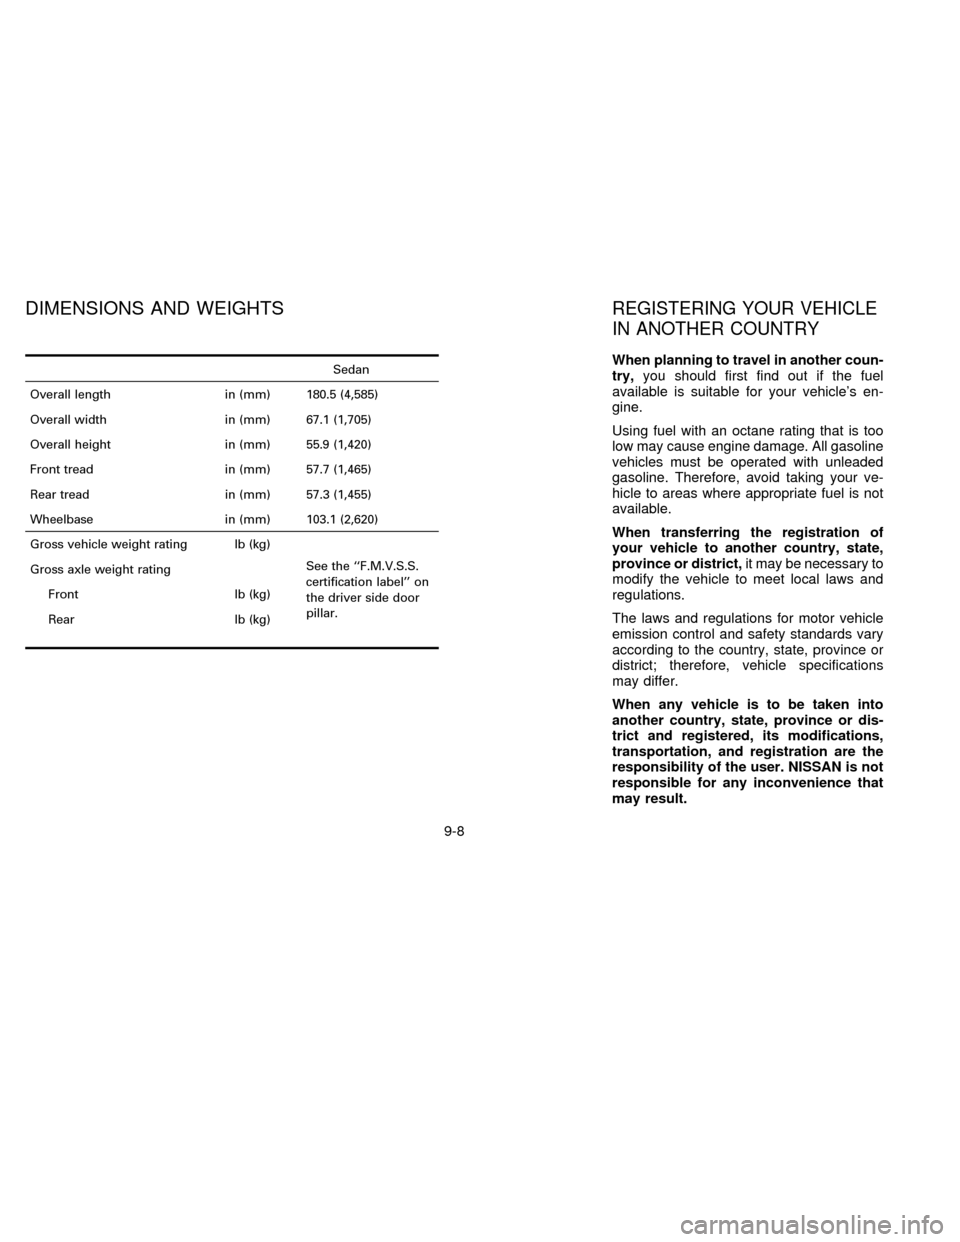
Sedan
Overall length in (mm) 180.5 (4,585)
Overall width in (mm) 67.1 (1,705)
Overall height in (mm) 55.9 (1,420)
Front tread in (mm) 57.7 (1,465)
Rear tread in (mm) 57.3 (1,455)
Wheelbase in (mm) 103.1 (2,620)
Gross vehicle weight rating lb (kg)
See the ``F.M.V.S.S.
certification label'' on
the driver side door
pillar. Gross axle weight rating
Front lb (kg)
Rear lb (kg)When planning to travel in another coun-
try,you should first find out if the fuel
available is suitable for your vehicle's en-
gine.
Using fuel with an octane rating that is too
low may cause engine damage. All gasoline
vehicles must be operated with unleaded
gasoline. Therefore, avoid taking your ve-
hicle to areas where appropriate fuel is not
available.
When transferring the registration of
your vehicle to another country, state,
province or district,it may be necessary to
modify the vehicle to meet local laws and
regulations.
The laws and regulations for motor vehicle
emission control and safety standards vary
according to the country, state, province or
district; therefore, vehicle specifications
may differ.
When any vehicle is to be taken into
another country, state, province or dis-
trict and registered, its modifications,
transportation, and registration are the
responsibility of the user. NISSAN is not
responsible for any inconvenience that
may result.
DIMENSIONS AND WEIGHTSREGISTERING YOUR VEHICLE
IN ANOTHER COUNTRY
9-8
ZX