Page 11 of 183

CAUTION
Do not continue driving if the belt is
loose, broken or missing.
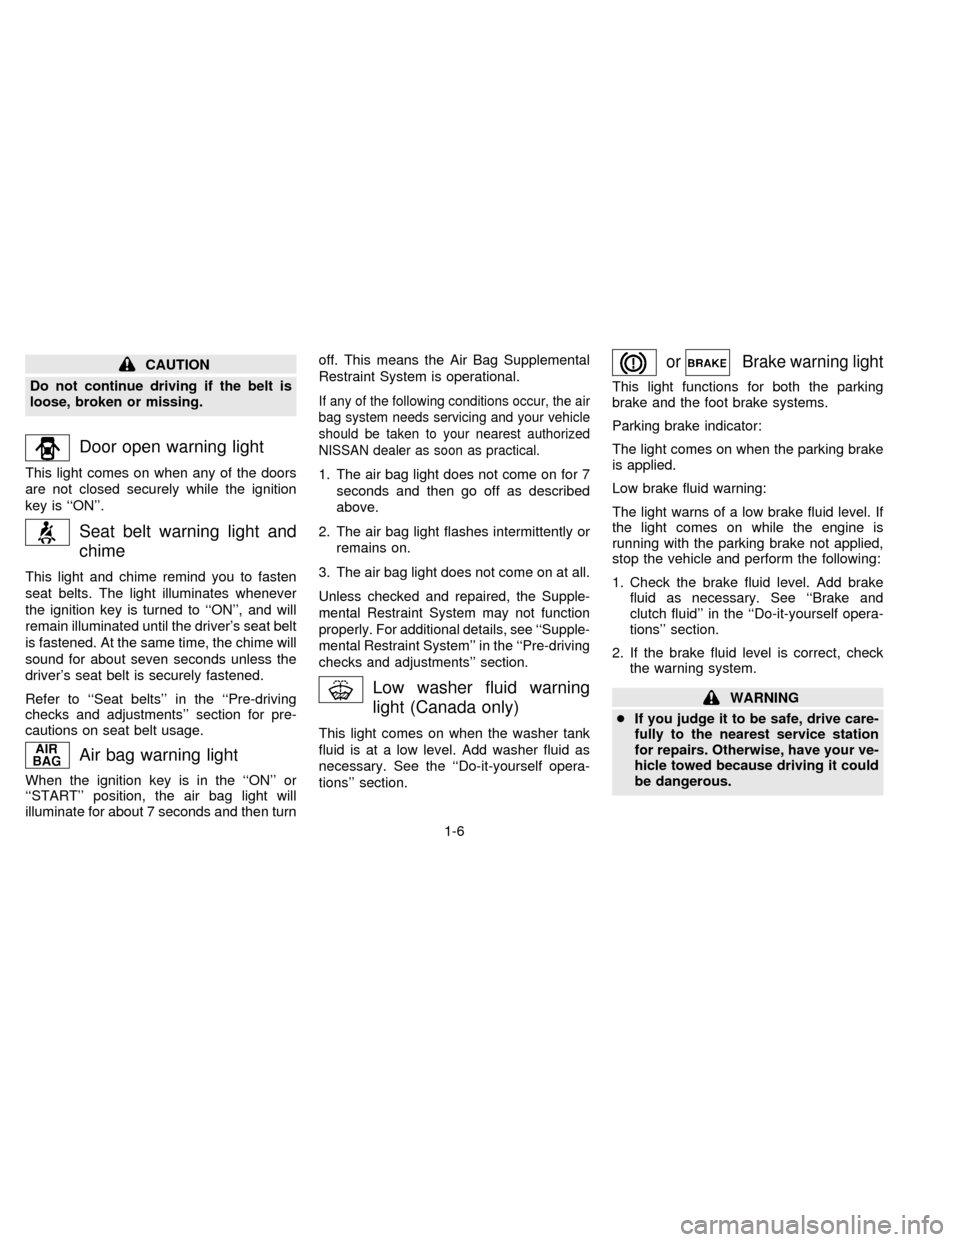
Door open warning light
This light comes on when any of the doors
are not closed securely while the ignition
key is ``ON''.
Seat belt warning light and
chime
This light and chime remind you to fasten
seat belts. The light illuminates whenever
the ignition key is turned to ``ON'', and will
remain illuminated until the driver's seat belt
is fastened. At the same time, the chime will
sound for about seven seconds unless the
driver's seat belt is securely fastened.
Refer to ``Seat belts'' in the ``Pre-driving
checks and adjustments'' section for pre-
cautions on seat belt usage.
Air bag warning light
When the ignition key is in the ``ON'' or
``START'' position, the air bag light will
illuminate for about 7 seconds and then turnoff. This means the Air Bag Supplemental
Restraint System is operational.
If any of the following conditions occur, the air
bag system needs servicing and your vehicle
should be taken to your nearest authorized
NISSAN dealer as soon as practical.
1. The air bag light does not come on for 7
seconds and then go off as described
above.
2. The air bag light flashes intermittently or
remains on.
3. The air bag light does not come on at all.
Unless checked and repaired, the Supple-
mental Restraint System may not function
properly. For additional details, see ``Supple-
mental Restraint System'' in the ``Pre-driving
checks and adjustments'' section.
Low washer fluid warning
light (Canada only)
This light comes on when the washer tank
fluid is at a low level. Add washer fluid as
necessary. See the ``Do-it-yourself opera-
tions'' section.
orBrake warning light
This light functions for both the parking
brake and the foot brake systems.
Parking brake indicator:
The light comes on when the parking brake
is applied.
Low brake fluid warning:
The light warns of a low brake fluid level. If
the light comes on while the engine is
running with the parking brake not applied,
stop the vehicle and perform the following:
1. Check the brake fluid level. Add brake
fluid as necessary. See ``Brake and
clutch fluid'' in the ``Do-it-yourself opera-
tions'' section.
2. If the brake fluid level is correct, check
the warning system.
WARNING
cIf you judge it to be safe, drive care-
fully to the nearest service station
for repairs. Otherwise, have your ve-
hicle towed because driving it could
be dangerous.
1-6
ZX
Page 34 of 183
SEAT ADJUSTMENT
WARNING
cDo not adjust the driver's seat while
driving. The seat may move sud-
denly and could cause loss of con-
trol of the vehicle.
cAfter adjustment, gently rock in the
seat to make sure it is securely
locked.
Forward and backward
Pull the lever up while you slide the seat
forward or backward to the desired position.
Release the lever to lock the seat in posi-
tion.
Reclining
Pull the lever up and lean back until the
desired angle is obtained. To bring the
seatback forward again, pull the lever and
move your body forward. The seatback will
move forward.
WARNING
Do not recline the seatback any more
than is needed for comfort when the
vehicle is moving. Seat belts are most
effective when the occupant sits well
back and upright in the seat. If the seat
is reclined, the risk of sliding under the
lap belt and being injured is increased.
APD0102
FRONT SEATS
2-9
ZX
Page 137 of 183

7. Remove the headlight bulb. Do not shake
or rotate the bulb when removing it.
8. Install the new bulb in the reverse order
of removal.
cBe sure the lip of the rubber cap
contacts the headlight body.
DO NOT TOUCH THE BULB.
CAUTION
cUse the same number and wattage
as originally installed:
Wattage 60/55
Bulb No. HB2
cAiming is not necessary after replac-
ing the bulb.
cDo not leave the bulb out of the
headlight reflector for a long period
of time as dust, moisture, and smoke
may enter the headlight body and
affect the performance of the head-
light.
HEADLIGHT AIMING
ADJUSTMENT
Before performing aiming adjustment, make
sure of the following.
a. Keep all tires inflated to correct pressure.
b. Place vehicle on level ground.
c. See that vehicle is unloaded (except for
full levels of coolant, engine oil and fuel,
and spare tire, jack, and tools). Have the
driver or equivalent weight placed in driv-
er's seat.
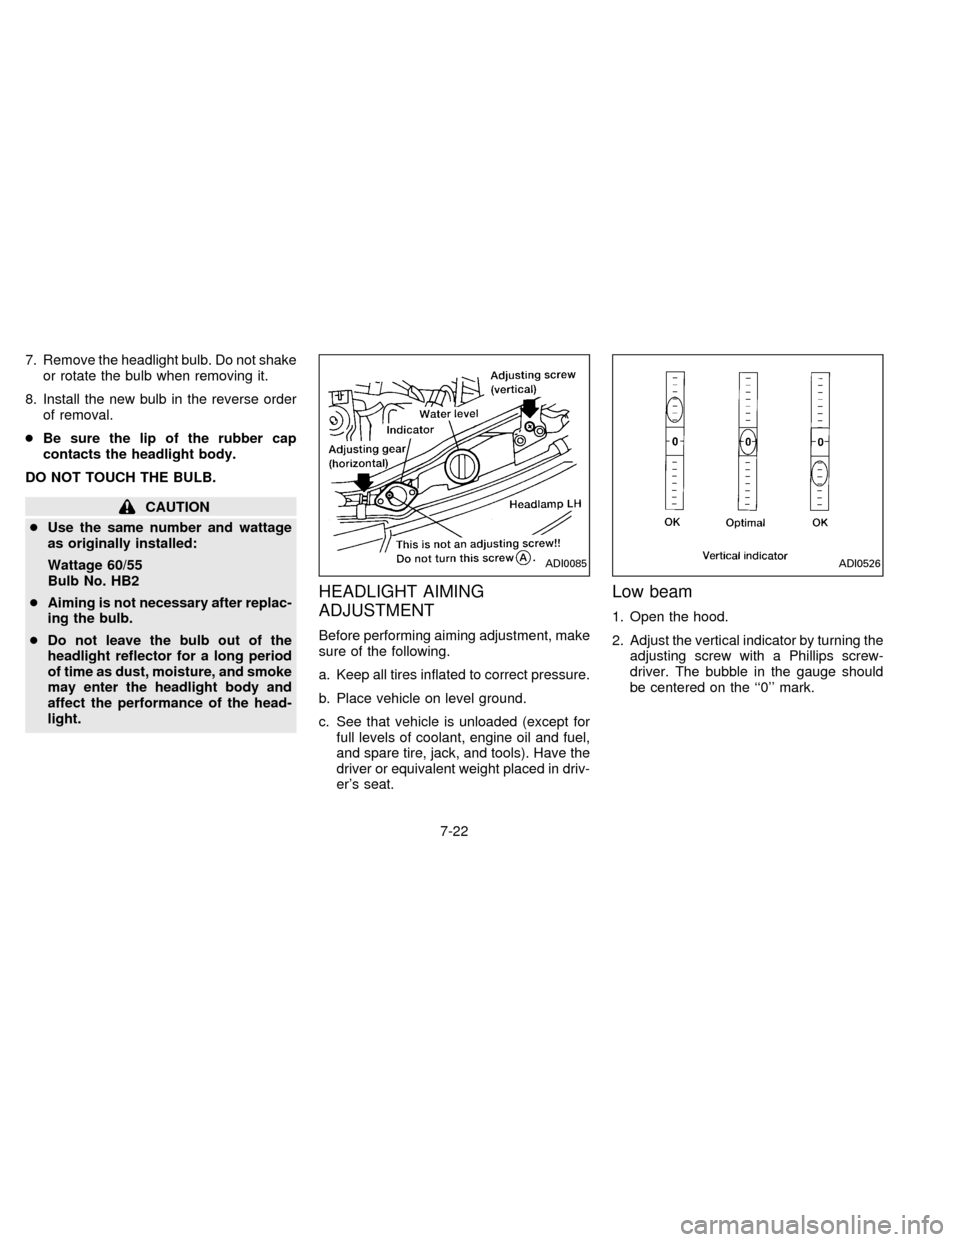
Low beam
1. Open the hood.
2. Adjust the vertical indicator by turning the
adjusting screw with a Phillips screw-
driver. The bubble in the gauge should
be centered on the ``0'' mark.
ADI0085ADI0526
7-22
ZX