Page 10 of 320

Buying a Ford Extended Service Plan
If you bought your vehicle in the U.S., you can buy
a Ford Extended Service Plan for your vehicle. This
optional contract provides service protection for a
longer period of time than the basic warranty that
comes with your vehicle.
You do not have to buy this option when you buy
your vehicle. However, your option to purchase the
Ford Extended Service Plan runs out after 18
months or 18,000 miles. See your dealer for more
details about the Ford Extended Service Plan.
If you purchased a Canadian vehicle and did not
take advantage of the Ford Extended Service Plan at
the time of purchase, you may still be eligible. See
your dealer for the details.
6Breaking Your Vehicle In
Your new vehicle goes through an adjustment or
break-in period during the first 1,000 miles
(1,600 km) that you drive it. During the break-in
period, you need to pay careful attention to how
you drive your vehicle. Avoid sudden stops. Because your vehicle has
new brake linings, you should take these steps:
-Watch traffic carefully so that you can
anticipate when to stop.
-Begin braking well in advance.
-Apply the brakes gradually.
The break-in period for new brake linings lasts
for I 00 miles (I 60 km) of city driving or 1,000
miles (1,600 km) of highway driving.
Page 15 of 320
Combination Lap and Shoulder
Belts
While your vehicle is in motion, the combination lap
and shoulder belt adjusts to your movement.
However, if you brake hard, corner hard or if your
vehicle receives an impact of 5 mph (8 km/h) or
more, the lap and shoulder belt locks and helps
reduce your forward movement.
After you get into your vehicle, close the door and
lock it. Then adjust the seat to the position that
suits you best.Fastening the combination lap and shoulder
belt
NOTE: Be sure to read and understand Important
Safety Belt Information at the beginning of this
chapter.
To adjust the lap part of the belt, pull up on the
shoulder belt until the lap belt fits snugly and as
low as possible around your hips.
While the belt retracts, guide the tongue to its
original position to prevent it from striking you or
the vehicle.
11
Page 45 of 320

OFF allows you to shut off the engine and all
accessories without locking the steering wheel, or the
gearshift lever.
ON allows You to test your vehicle's warning lights
(except the brake system warning light) to make sure
they work before you start the engine. The key returns
to the ON position once the engine is started and
remains in this position while the
engine runs.
START cranks the engine. Release the key once the
engine starts so that you do not damage the starter. The
key should return to ON when You release it. The
START position also allows You to test the Brake
Warning Light.
42Removing the Key From the Ignition
1.Put the gearshift in P (Park)-
2.Set the parking brake fully.
3.Turn the ignition key to LOCK.
4.Remove the key.
If the key is stuck in the LOCK position, move the
steering wheel left or right until the key turns freely.
If the driver's door is open while the key is still in the
ignition, a warning chime sounds./! WARNINGAlways set the parking brake fully andmake sure that the gearshift is securelylatched in P (Park).
Page 47 of 320

3.Make sure that the gearshift is in P (Park) and the
parking brake is set before you turn the key.
Before you start your vehicle, you should test the
warning lights on the instrument panel to make sure that
they work. Refer to the Warning Lights and Gauges
chapter.
Starting Your Engine
To start your engine:
1.Follow the steps under Preparing to Start Your
Vehicle at the beginning of this section.
2.Turn the ignition key to the ON position.
3. DO NOT depress the accelerator pedal when
starting your engine. DO NOT use the accelerator
while the vehicle is parked.
444. Turn the key to the START position (cranking)
until the engine starts. Allow the key to return to
the ON position after the engine has started.
If you have difficulty in turning the key, rotate the
steering wheel slightly because it may be binding.
For a cold engine: At temperatures 10° °F (-12° °C) and below: If the
engine does not start in fifteen (15) seconds on the
first try, turn the key to OFF, wait approximately
ten (10) seconds so you do not flood the engine,
then try again. At temperatures above 10° °F (-12° °C): If the
engine does not start in five (5) seconds on the
first try, turn the key to OFF, wait approximately
ten (10) seconds so you do not flood the engine,
then try again.
Page 48 of 320

For a warm engine: Do not hold the key in the START position for more
than five (5) seconds at a time. If the engine does
not start within five (5) seconds on the first try, turn
the key to the OFF position. Wait a few seconds
after the starter stops, then try again.
Whenever you start your vehicle, release the key as soon
as the engine starts. Excessive cranking could damage
the starter or flood the engine.
After you start the engine, let it idle for a few seconds.
Keep your foot on the brake pedal and put the
gearshift lever in gear. Release the parking brake.
Slowly release the brake pedal and drive away in the
normal manner.
NOTE:Your vehicle is equipped with an automatic
transaxle that has an interlock that prevents you from
shifting out of P (Park) unless your foot is on the brake
pedal.If the engine does not start after two
attempts:
1. Turn the ignition key to the OFF position
2. Press the accelerator all the way to the floor
and hold it.
3. Turn the ignition key to the START position,
4. Release the ignition key when the engine
starts
5. Release the accelerator gradually as the
engine speeds up. Then drive away in the
normal manner.
If the engine still does not start, the fuel pump
shut-off may have been triggered. For directions
on how to reset the switch see Fuel Pump Shut-
Off Switch later in this chapter.
45
Page 55 of 320

The following warning lights and gauges are on
the instrument cluster. AD of the warning
lights and gauges alert you to possible
problems with your vehicle.
Indicator Lights and Chimes
Safety Belt Warning Light and Chime
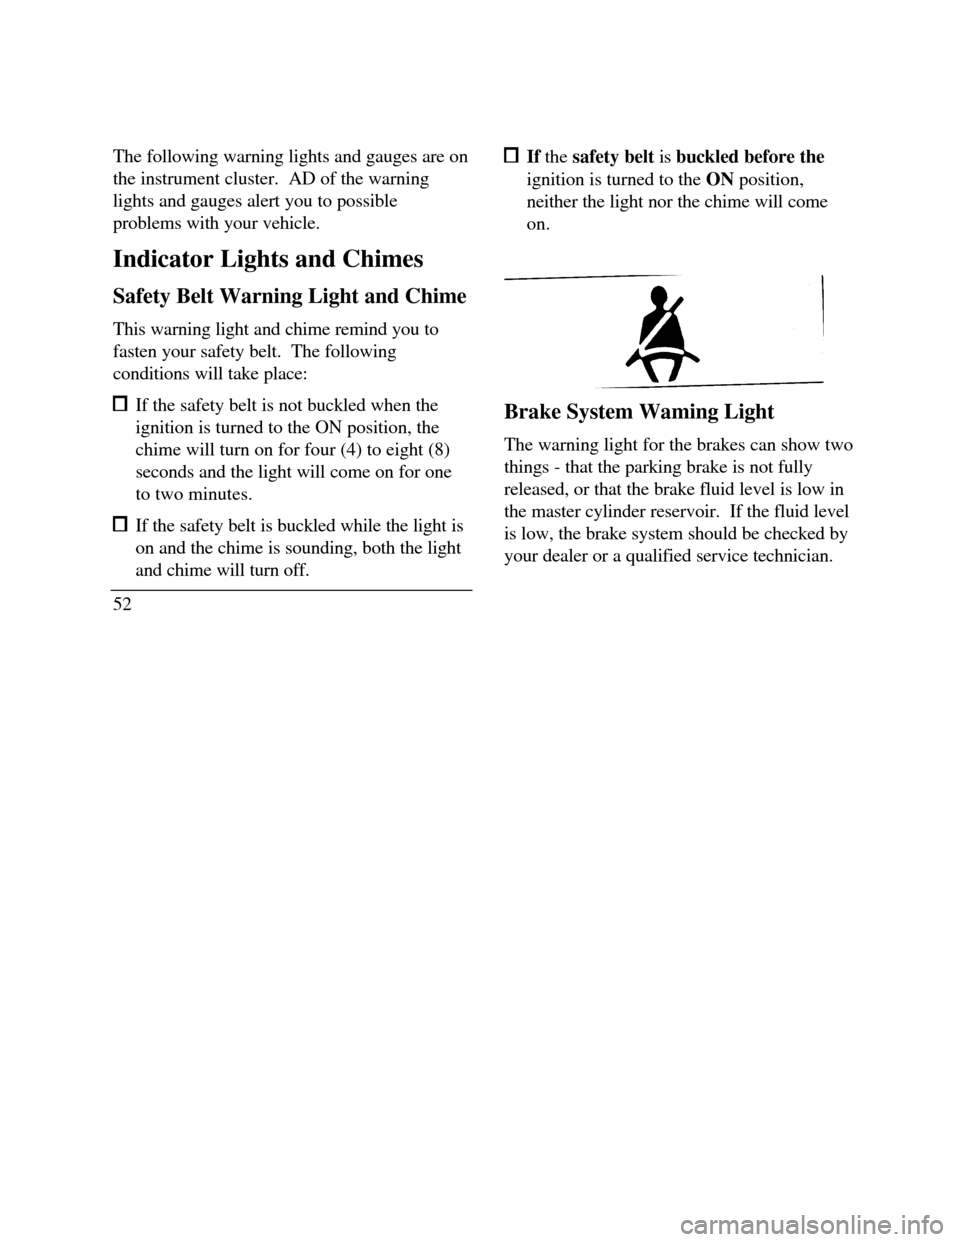
This warning light and chime remind you to
fasten your safety belt. The following
conditions will take place: If the safety belt is not buckled when the
ignition is turned to the ON position, the
chime will turn on for four (4) to eight (8)
seconds and the light will come on for one
to two minutes. If the safety belt is buckled while the light is
on and the chime is sounding, both the light
and chime will turn off.
52 If the safety belt is buckled before the
ignition is turned to the ON position,
neither the light nor the chime will come
on.Brake System Waming Light
The warning light for the brakes can show two
things - that the parking brake is not fully
released, or that the brake fluid level is low in
the master cylinder reservoir. If the fluid level
is low, the brake system should be checked by
your dealer or a qualified service technician.
Page 56 of 320

This light comes on when the parking brake is
set, or if it is not set, it comes on briefly when
you turn the ignition to the START position. It
normally goes off shortly after the engine starts
and you release the parking brake. If the light
stays on after you have fully released the
parking brake, have the hydraulic brake system
serviced by your dealer or a qualified service
technician./!\WARNINGThe BRAKE light indicates that the brakesmay not be working properly. Have thebrakes checked immediately.Anti-Lock Brake System Warning Light
This light comes on for a few seconds when you
turn the ignition key to the START position. It
should go off shortly after the engine starts. If it
stays on longer than five (5) seconds, it indicates
that your anti-lock brake system may not be
working properly. Normal braking is not affected
unless the BRAKE system warning light also
remains on for longer than six (6) seconds. You
should have your vehicle serviced immediately by
your dealer or qualified service technician to restore
the benefits of the anti-lock feature. See Anti-lock
brakes in the Index for more information.
53
Page 58 of 320
Traction ControlÒ Ò Active Light (If
equipped)
This light comes on when the Traction
ContronÒ system begins applying and releasing
the brakes and adjusting the engine
characteristics to limit a wheelspin condition.
It will be lit for a minimum of six seconds or
for the duration of the Traction ControlÒ
event.T/CACTIVECharging System Light
This light indicates that your battery is not being
charged and that you need to have the electrical
system begins applying and releasing the brakes
and system checked.55