1996 HONDA ODYSSEY dead battery
[x] Cancel search: dead batteryPage 85 of 240
Audio System
You can use any of three methods to find radio stations on the selectedband: TUNE, SEEK, or the Preset
buttons.
TUNE — Use the TUNE/SEEK buttons to tune the radio to a desired frequency. Press ( ) to change
to a higher frequency, and press ( ) to tune to a lower frequency.
The frequency numbers will start to change rapidly. Release the switch
when the display reaches the desired frequency. To change the frequency
in small increments, press and
release the appropriate TUNE/SEEK button. SEEK — The SEEK function
searches the band for a station with
a strong signal. To activate it, push
the TUNE/SEEK button until you
hear a beep, then release it.
Depending on which TUNE/SEEK
button you pushed, the system scans
upward or downward from the
current frequency. It stops when it
finds a station with a strong signal.
Preset — You can store the fre- quencies of your favorite radio
stations in the six preset buttons.
Each button will store one frequency
on the AM band, and two on the FM
band.
To store a frequency:
1. Select the desired band, AM or FM. FM1 and FM2 let you store
two frequencies with each Preset
button.
2. Use the TUNE or SEEK function to tune the radio to a desired
station.
3. Pick the Preset button you want for that station. Press the button
and hold it until you hear a beep.
4. Repeat steps 1 to 3 to store a total of six stations on AM and twelve
on FM.
Once a station's frequency is stored,
simply press and release the proper
preset button to tune to it.
The preset frequencies will be lost if your vehicle's battery goes dead or is
disconnected.
Comfort and Convenience FeaturesProCarManuals.comMain Menu s t Table of Contents
Page 94 of 240
Audio System
To store a frequency:
1. Select the desired band, AM or FM. FM1 and FM2 let you store
two frequencies with each Preset
button.
2. Use the TUNE or SEEK function to tune the radio to a desired
station.
3. Pick the Preset button you want for that station. Press the button
and hold it until you hear a beep.
4. Repeat steps 1 to 3 to store a total of six stations on AM and twelve
on FM.
Once a station's frequency is stored,
simply press and release the proper
preset button to tune to it.
The preset frequencies will be lost if
your vehicle's battery goes dead or is
disconnected.
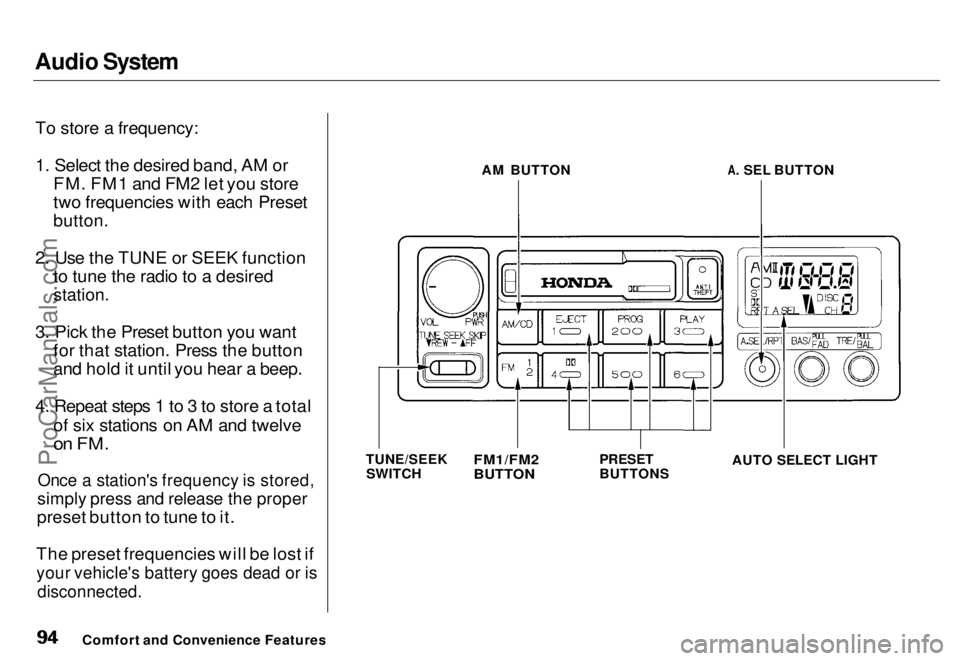
Comfort and Convenience Features AM BUTTON
A. SEL BUTTON
TUNE/SEEK SWITCH
PRESET
BUTTON
S
FM1/FM2
BUTTON
AUTO SELECT LIGHTProCarManuals.comMain Menu s t Table of Contents
Page 106 of 240
Audio System
Theft Protection
On U.S. EX model
Your car's audio system will disable itself if it is disconnected fromelectrical power for any reason. To
make it work again, the user must enter a specific five-digit code in the
Preset buttons. Because there are
hundreds of number combinations possible from five digits, making the system work without knowing the
exact code is nearly impossible.
You should have received a card that lists your audio system's code number and serial number. It is best
to store this card in a safe place at
home, or to keep it in your wallet or
purse. In addition, you should write the audio system's serial number in
this Owner's Manual. If you should
happen to lose the card, you must
obtain the code number from yourHonda dealer. To do this, you will
need the system's serial number. If your car's battery is disconnected
or goes dead, the audio system will
disable itself. If this happens, you
will see "Code" in the frequency display the next time you turn on the
system. Use the Preset buttons toenter the five-digit code. If it is
entered correctly, the radio will start
playing.
If you make a mistake entering thecode, do not start over or try to
correct your mistake. Complete the
five-digit sequence, then enter the correct code. You have three tries toenter the correct code. If you are
unsuccessful in three attempts, you
must then leave the system on for one hour before trying again. You will have to store your favorite
stations in the Preset buttons after
the system begins working. Your original settings were lost when
power was disconnected.
Comfort and Convenience FeaturesProCarManuals.comMain Menu s t Table of Contents
Page 149 of 240
Engine Oil, Cooling System
If you change your own oil, pleasedispose of the used oil properly. Put it in a sealed container and take it to arecycling center. Do not discard it in a
trash bin or dump it on the ground.
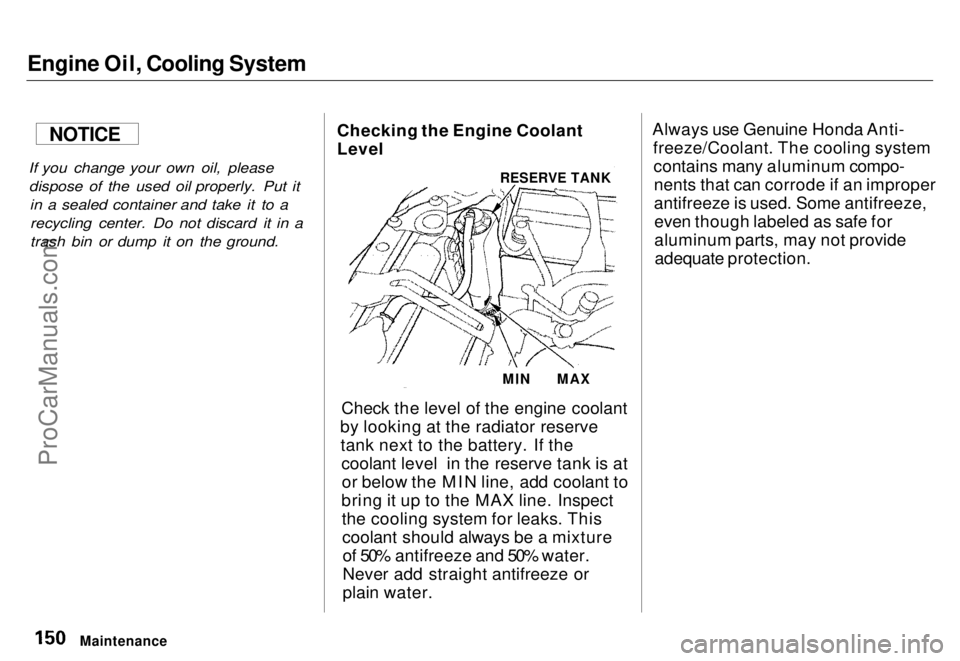
Checking the Engine Coolant
Level
Check the level of the engine coolant
by looking at the radiator reserve tank next to the battery. If the coolant level in the reserve tank is ator below the MIN line, add coolant to
bring it up to the MAX line. Inspect the cooling system for leaks. Thiscoolant should always be a mixtureof 50% antifreeze and 50% water.
Never add straight antifreeze or
plain water. Always use Genuine Honda Anti-
freeze/Coolant. The cooling systemcontains many aluminum compo-nents that can corrode if an improper
antifreeze is used. Some antifreeze,even though labeled as safe for
aluminum parts, may not provideadequate protection.
Maintenance
RESERVE TANK
MIN
MAX
NOTICEProCarManuals.comMain Menu s t Table of Contents
Page 163 of 240
Battery
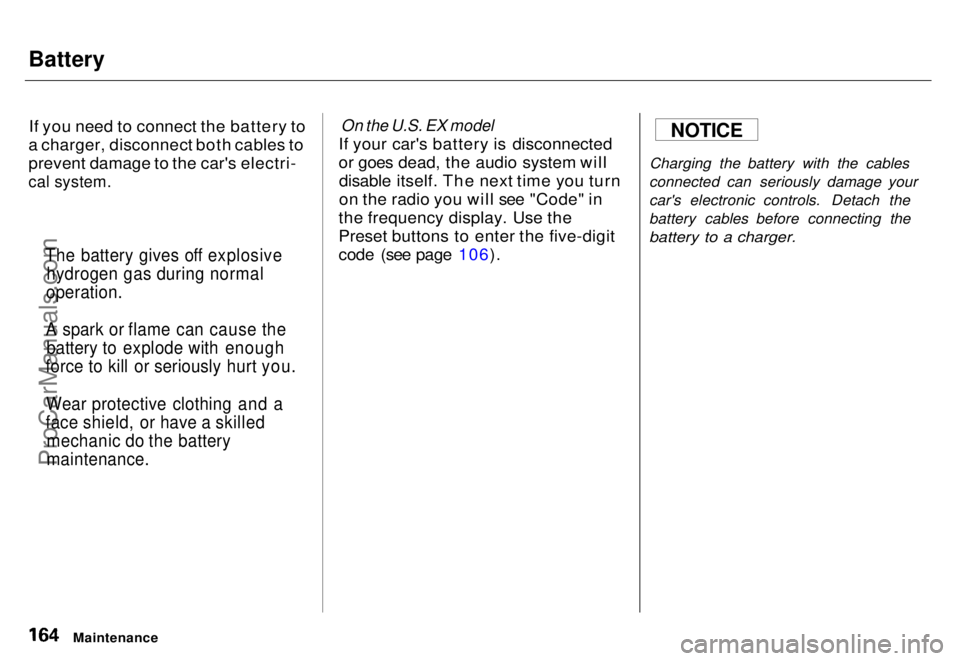
If you need to connect the battery to
a charger, disconnect both cables to
prevent damage to the car's electri-
cal system.
On the U.S. EX model
If your car's battery is disconnected
or goes dead, the audio system will disable itself. The next time you turn
on the radio you will see "Code" in
the frequency display. Use the
Preset buttons to enter the five-digit
code (see page 106). Charging the battery with the cables
connected can seriously damage your
car's electronic controls. Detach the
battery cables before connecting the
battery to a charger.
Maintenance
The battery gives off explosive
hydrogen gas during normal
operation.
A spark or flame can cause the battery to explode with enough
force to kill or seriously hurt you.
Wear protective clothing and a
face shield, or have a skilled mechanic do the battery
maintenance.
NOTICEProCarManuals.comMain Menu s t Table of Contents
Page 234 of 240
Index
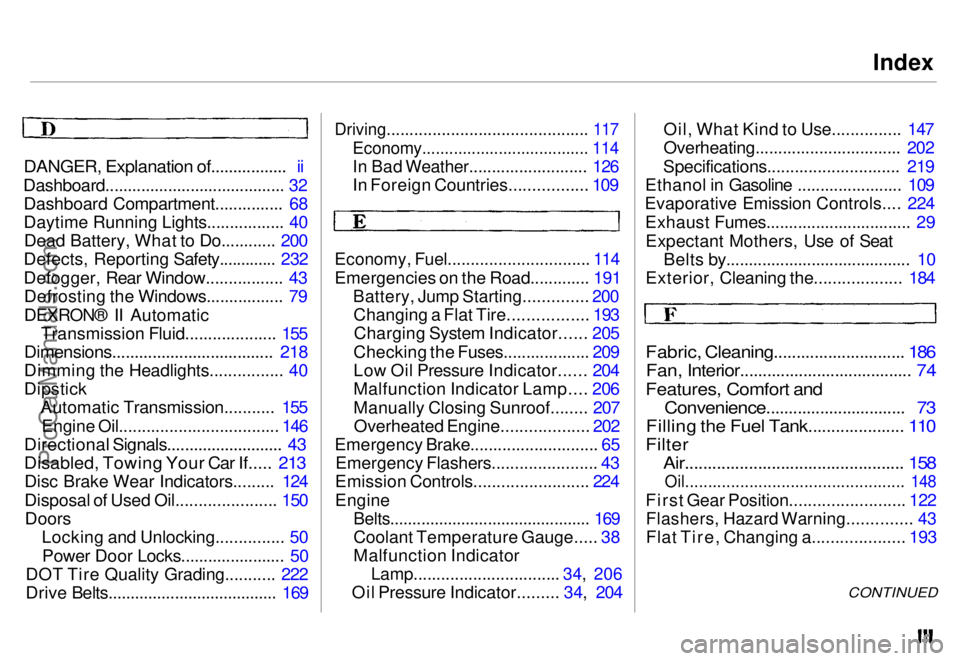
DANGER, Explanation of................. ii
Dashboard........................................ 32 Dashboard Compartment............... 68
Daytime Running Lights................. 40Dead Battery, What to Do............ 200
Defects, Reporting Safety............. 232
Defogger, Rear Window................. 43 Defrosting the Windows................. 79
DEXRON® II Automatic Transmission Fluid.................... 155
Dimensions.................................... 218
Dimming the Headlights................ 40
Dipstick Automatic Transmission........... 155
Engine Oil................................... 146
Directional Signals.......................... 43
Disabled, Towing Your Car If..... 213
Disc Brake Wear Indicators......... 124
Disposal of Used Oil...................... 150Doors Locking and Unlocking............... 50
Power Door Locks....................... 50
DOT Tire Quality Grading........... 222
Drive Belts...................................... 169
Driving............................................ 117
Economy..................................... 114
In Bad Weather.......................... 126
In Foreign Countries................. 109
Economy, Fuel............................... 114
Emergencies on the Road............. 191
Battery, Jump Starting.............. 200
Changing a Flat Tire................. 193
Charging System Indicator...... 205
Checking the Fuses................... 209
Low Oil Pressure Indicator...... 204
Malfunction Indicator Lamp.... 206
Manually Closing Sunroof........ 207
Overheated Engine................... 202
Emergency Brake............................ 65
Emergency Flashers....................... 43
Emission Controls......................... 224
Engine
Belts............................................. 169
Coolant Temperature Gauge..... 38
Malfunction Indicator
Lamp................................ 34,
206
Oil Pressur e
Indicator......... 34, 204Oil, What Kind to Use............... 147
Overheating................................ 202
Specifications............................. 219
Ethanol in Gasoline ....................... 109
Evaporative Emission Controls.... 224
Exhaust Fumes................................ 29Expectant Mothers, Use of Seat Belts by......................................... 10
Exterior, Cleaning the................... 184
Fabric, Cleaning............................. 186
Fan, Interior...................................... 74
Features, Comfort and
Convenience............................... 73
Filling the Fuel Tank..................... 110
Filter
Air................................................ 158
Oil................................................ 148
First Gear Position......................... 122
Flashers, Hazard Warning.............. 43
Flat Tire, Changing a.................... 193
CONTINUEDProCarManuals.comMain Menu s t
Page 238 of 240

Index
Seats
Reclining the Second Seat.......... 59
Removing the Second Seats....... 57
Third Seat Access...................... 56
Serial Number................................ 216
Service Intervals*.......................... 140
Service Manual.............................. 233
Service Station Procedures.......... 110
Setting the Clock............................. 66
Shifting the Automatic
Transmission.............................. 120
Shift Lever Position Indicator...... 120
Side Marker Lights, Bulb
Replacement in.......................... 178
Signaling Turns................................ 41
Snow Tires...................................... 174
Solvent-type Cleaners.................... 184
Sound System................................... 83
Spare Tire
Inflating....................................... 192
Specifications............................. 219
Spark Plugs, Replacing................. 160
Specifications Charts..................... 218
Speed Control...................................
46
Speedometer.................................... 3 7
SR
S Indicator............................. 16,
34
START (Ignitio
n
Key Position)..... 50
Starting the Engine........................ 119 In Cold Weather at HighAltitude................................... 119
With a Dead Battery................. 200
Steam Coming from Engine......... 202
Steering Wheel
Adjustment................................... 44
Anti-theft Column Lock.............. 49
Stereo Sound System...................... 83 Storing Your Car............................ 182
Sunroof............................................. 63
Closing Manually....................... 207
Operation......................................
63
Supplemental Restrain t
System
Service Precautions..................... 17
Servicing....................................... 16
SRS Indicator.......................... 16, 34
System
Components................... .
12
Synthetic Oil................................... 148
Tailgate........................................... 52
Taillights, Changing Bulbs in....... 179
Taking Care of the Unexpected.. 191 Tape Player................................ 87, 99
Technical Descriptions Anti-lock Brake System............ 220Emission Control Systems........ 224
Three Way Catalytic
Converter................................ 226
Tire Information........................
221
Temperature Gauge....................... .
38
Tether Attachment Points.............. 26 Three Way Catalytic Converter... 226
Time, Setting the...........................
66
Tire Chains.................................... .
174
Tire, How to Change a Flat.......... 193
Tires................................................ 169 Air Pressure............................... 170
Checking Wear.......................... 171
Compact Spare........................... 192
DOT Tire Quality Grading....... 222
Inflation....................................... 170
CONTINUED
ProCarManuals.comMain Menu s t