Page 6 of 403
Downloaded from www.Manualslib.com manuals search engine Vehicle Symbols
These are some of the symbols you may find on your vehicle.
For example,
these symbols are used on an
original battery:
POSSIBLE A
CAUTION
INJURY
PROTECT EYES BY
SHIELDING
CAUSTIC
ACID COULD BATTERY
CAUSE
BURNS
SPARK
OR ,\I/,
COULD FLAME
EXPLODE BATTERY
These symbols
are important
for you and
your passengers
whenever your
vehicle
is
driven:
DOOR LOCK
UNLOCK
These symbols have to do with
your lights:
SIGNALS e e
TURN
WARNING
A
HAZARD
FLASHER
RUNNING
* ' 0
DAYTIME -. e
LAMPS ' **
FOG LAMPS $0
These symbols
are on some of
your controls:
WINDSHIELD
DEFROSTER
VENTILATING
a*
FAN -d
These symbols are used on
warning and
indicator lights:
COOLANT -
TEMP -
CHARGING BATTERY
SYSTEM
BRAKE
(0)
COOLANT a
ENGINE OIL w,
PRESSURE
ANTI-LOCK
(a)
BRAKES
Here are some
other symbols you may see:
FUSE
t
LIGHTER n
HORN )tr
SPEAKER
b
FUEL p3
V
Page 9 of 403
Downloaded from www.Manualslib.com manuals search engine If your vehicle has a manual
1 bucket, split bench or full
~ bench seat, you can adjust it
with this lever at the front
of the seat.
Power Driver’s Seat (Option)
Slide the lever at the front of the seat toward the
passenger’s side to unlock it. Using your body, slide the
seat to where you want it. Then, release the lever and try
to move the seat with your body, to make sure the seat is
locked in place. If
your vehicle has a power seat on the driver’s side, you
can adjust it with these controls at the outside edge of
the seat.
1-2
Page 11 of 403
Downloaded from www.Manualslib.com manuals search engine Reclining Front Seatbacks
To adjust the seatback, lift
the front
of this lever.
Release the lever to lock the seatback where
you want it.
Pull up on the front of, the lever and the seatback will go
to an upright position. But don’t have a seatback reclined
if your vehicle
is moving.
1-4
Page 13 of 403
Downloaded from www.Manualslib.com manuals search engine To return the seatback to the upright position, just push
the seatback rearward until it latches.
After returning the seatback to its upright position, pull
the seatback forward
to make sure it is locked.
Easy Entry Seat (2-Door Utility)
The driver and passenger front bucket seat and the
60/40 split bench seat of your vehicle has an easy entry
feature.
This makes it easy to get in and out of the
rear seat.
A CAUTION:
If the seatback isn’t locked, it could move
forward in a sudden stop or crash. That could
cause injury to the person sitting there. Always
press rearward on the seatback to be sure it
is locked.
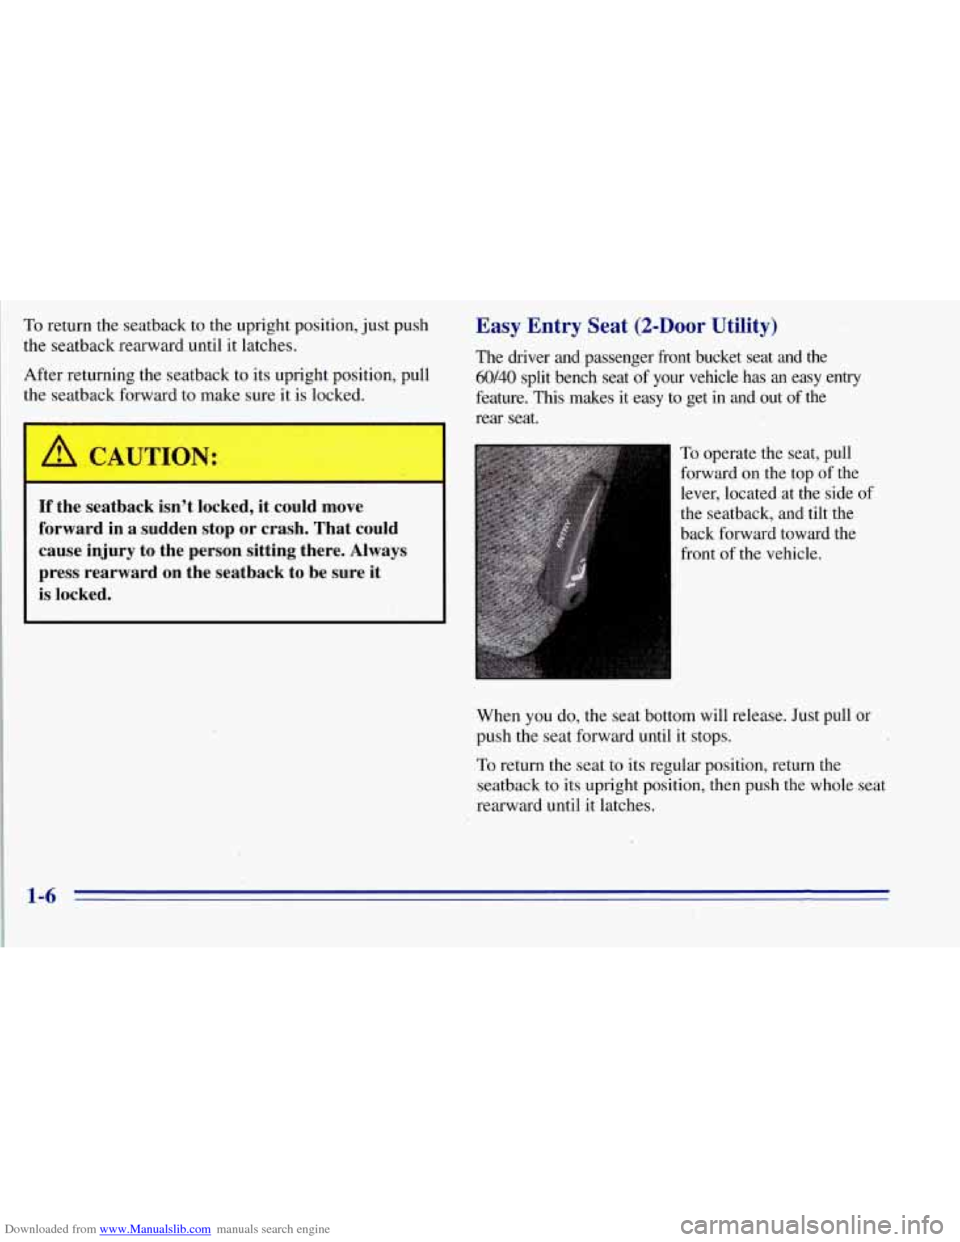
To operate the seat, pull
forward on the top
of the
lever, located at the side of
the seatback, and tilt the
back forward toward the
front
of the vehicle.
When
you do, the seat bottom will release. Just pull or
push the seat forward
until it stops.
To return the seat to its regular position, return the
seatback to its upright position, then push the whole seat
rearward until it latches.
1-6
Page 14 of 403
Downloaded from www.Manualslib.com manuals search engine After returning the seat to its regular position, try to
move the seat with your
body, to. make sure the seat is
locked into place. i
L
A
Rear Seats
b, CAUTION:
-
If any easy entry seat isn’t locked, it can move. In
a sudden stop or crash, the person sitting there
could be injured. And, even
if there is no crash or
sudden stop,
a driver,sitting in an unlocked easy
entry seat could be startled by the sudden
movement and hit the wrong control or pedal,
causing an accident. After you’ve used it, be sure
to push rearward on any easy entry seat to be
sure it is locked.
If a head restraint is not installed on.the seatback
or stored in the vehicle properly, it could be
thrown about the vehicle in a crash or sudden
maneuver. People in the vehicle could be injured.
Remove the head restraints only when you need
to fold the seat, and be sure that the head
restraints are stored securely in the storage bag
and placed under the rear seat. When the seat is
returned to the passenger position, be sure the
head restraints are installed properly.
1-7
Page 16 of 403
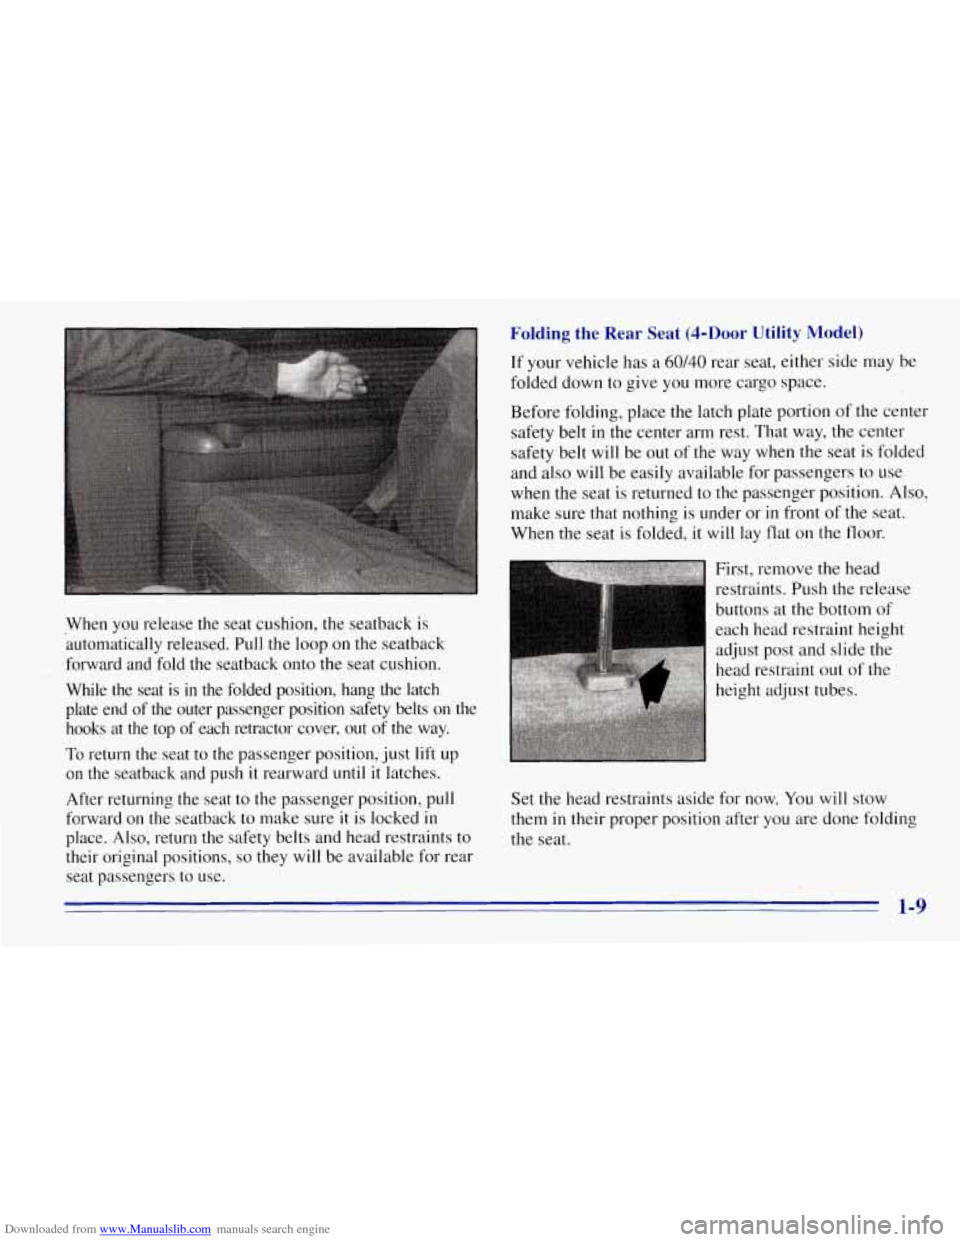
Downloaded from www.Manualslib.com manuals search engine When you release the seat cushion, the seatback is
automatically released. Pull the loop on the seatback
forward and fold the seatback onto the seat cushion.
While the seat is in the folded position, hang the latch
plate end of the outer passenger position safety belts on the \
hooks at the top of each retractor cover, out of the way.
To return the seat to the passenger position, just lift up
on the seatback and push
it rearward until it latches.
After returning the seat to the passenger position, pull
forward on the seatback to make sure it is locked in
place. Also, return the safety belts and head restraints to
their original positions,
so they will be available for rear
seat passengers to use.
Folding the Rear Seat (4-Door Utility Model)
If your vehicle has a 60/40 rear seat, either side may be
folded down to give you more cargo space.
Before folding, place the latch plate portion
of the center
safety belt in the center arm rest. That way, the center
safety belt will be out of
the way when the seat is folded
and also will be easily available for passengers to use
when the seat is returned to the passenger position. Also,
make sure that nothing is under or
in front of the seat.
When the seat is folded, it
will lay flat on the floor.
First, remove the head
restraints. Push the release
buttons at the bottom
of
each head restraint height
adiust Dost and slide the
J I
head restraint out of the
height adjust tubes.
Set the head restraints aside for now.
You will stow
them
in their proper position after you are done folding
the seat.
1-9
Page 19 of 403
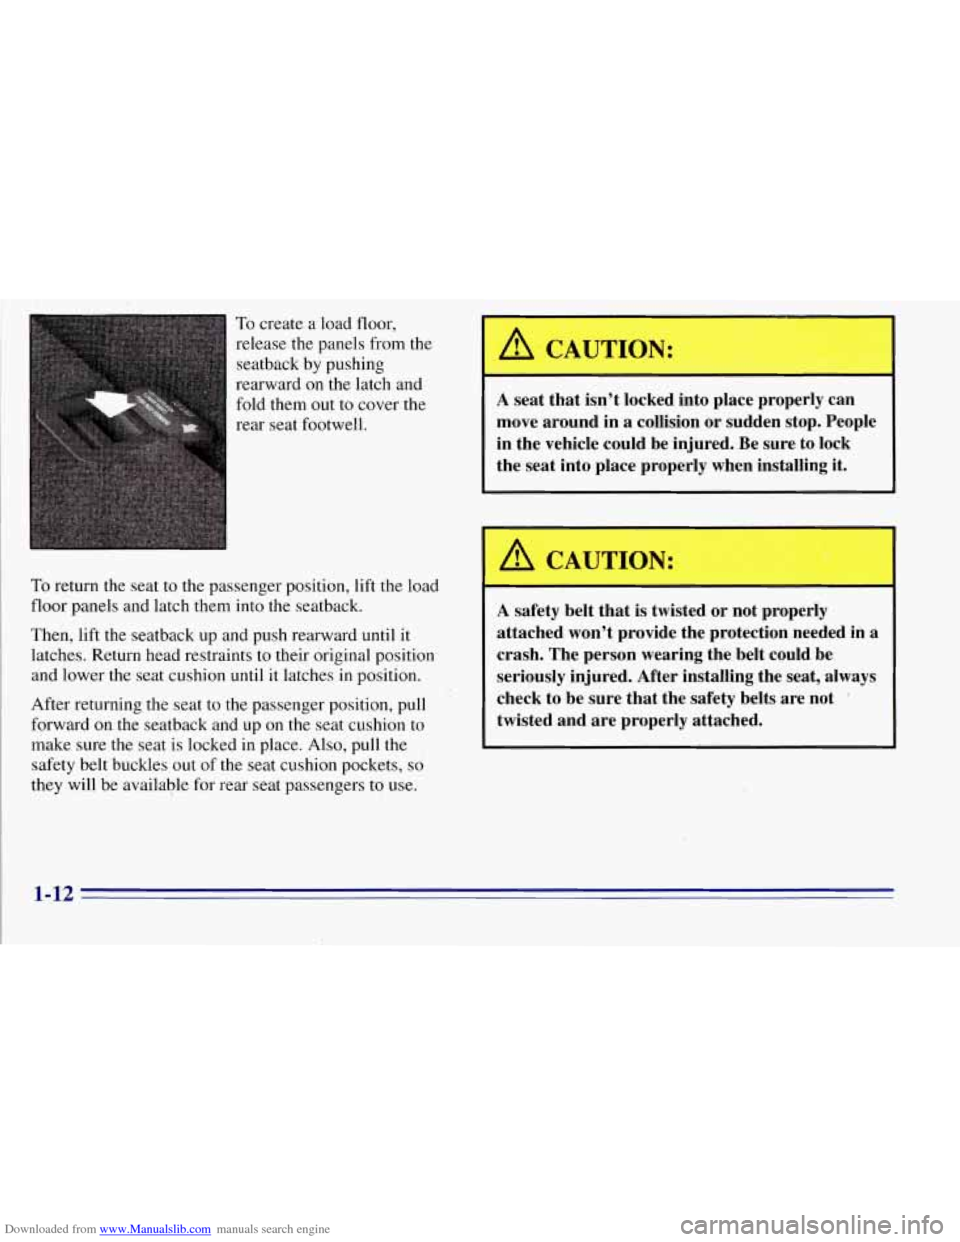
Downloaded from www.Manualslib.com manuals search engine To create a load floor,
release the panels from the
seatback by pushing
rearward on the latch and
fold them out to cover the
rear seat footwell.
To return the seat to the passenger position, lift the load
floor panels and latch them into the seatback.
Then, lift the seatback up and push rearward until it
latches. Return head restraints to their original position
and lower the seat cushion until it latches in position.
After returning the seat
to the passenger position, pull
forward on the seatback and up on the seat cushion to
make sure the seat is locked in place. Also, pull the
safety belt buckles out
of the seat cushion pockets, so
they will be available for rear seat passengers to use.
A CAUTION:
A seat that isq’t locked into place properly can
move around in
a collision or sudden stop. People
in the vehicle could be injured. Be sure to lock
the seat into place properly when installing it.
r
A safety belt that is twisted or not properly
attached won’t provide the protection needed in a
crash. The person wearing the belt could be
seriously injured. After installing the seat, always
check to be sure that the safety belts are not
‘
twisted and are properly attached.
1-12
Page 20 of 403
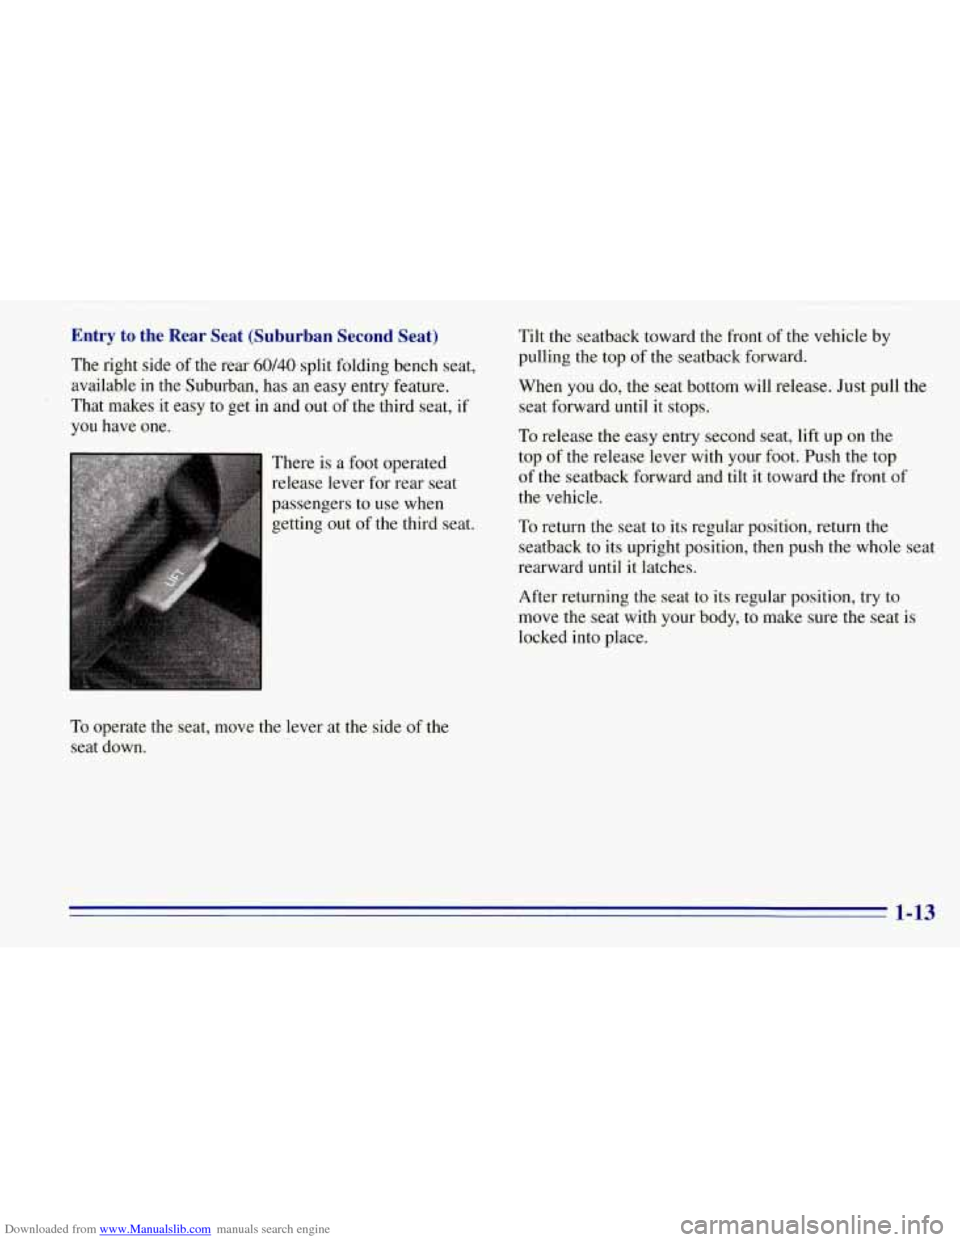
Downloaded from www.Manualslib.com manuals search engine Entry to the Rear Seat (Suburban Second Seat) Tilt the seatback toward the front of the vehicle by
The right side
of the rear 60140 split folding bench seat,
available in the Suburban, has an easy entry feature. When you do, the seat bottom will release. Just pull the
That makes it easy to get in and out of the third seat, if seat forward until
it stops.
you have one. pulling the
top of the seatback forward.
To release the easy entry second seat, lift up on the
There is a foot operated
release lever for rear seat
passengers to use when
getting out
of the third seat.
To operate the seat, move the lever at the side of the
seat down. top
of the release lever with your foot. Push the top
of the seatback forward and tilt it toward the front of
the vehicle.
To return the seat to its regular position, return the
seatback to its upright position, then push the whole seat
rearward until
it latches.
After returning the seat to its regular position, try to
move the seat with your body, to make sure the seat is
locked into place.
1-13