Page 251 of 403
Downloaded from www.Manualslib.com manuals search engine For four-door utility models equipped with an
underbody spare tire carrier, follow these instructions to
restore a spare or flat tire:
1.
2.
3.
4.
5.
Lay the tire on the ground at the rear of the vehicle.
Position the tire
so that the valve stem is pointed
down and to the rear of the vehicle.
Tilt the retainer downward and through the wheel
opening. Make sure that the retainer is fully seated
across the underside of the wheel.
Attach the ratchet, with the UP mark facing you,
near the hook at the end
of the jack handle. Insert the
other end, on an angle, through the hole in the rear
bumper and into-the hoist shaft.
Raise the tire fully against the underside
of the
vehicle. Continue turning the ratchet until there are
two “clicks” or “ratchets.” The spare tire hoist
cannot be over-tightened.
Grasp and push against the tire to be sure it is stored
securely and does not move.
If You’re Stuck: In Sand, Mud, Ice or
Snow
What you don’t want to do when your vehicle is stuck is
to spin your wheels too fast. The method known as
“rocking” can help
you get out when you’re stuck, but
you must use caution.
n
I A CAUTION:
If you let your tires spin at high speed, they can
explode, and you or others could be injured. And,
the transmission or other parts
of the vehicle can
overheat. That could cause an engine
compartment fire or other damage. When you’re stuck, spin the wheels as little
as possible. Don’t
spin the wheels above
35 mph (55 km/h) as shown
on the speedometer.
5-36
Page 252 of 403
Downloaded from www.Manualslib.com manuals search engine NOTICE:
Spinning your wheels can destroy parts of your
vehicle as well as the tires. If
you spin the wheels
too fast while shifting your transmission back and forth, you can destroy your transmission.
For information about using tire chains on your vehicle,
see “Tire Chains” in the Index.
Rocking your vehicle to get it out:
First, turn your steering wheel left and right. That will
clear the area around your front wheels. Then shift back
and forth between REVERSE
(R) and a forward gear,
Using the Recovery Hooks
spinning the wheels as little as possible. Release the
accelerator pedal while you shift, and press lightly
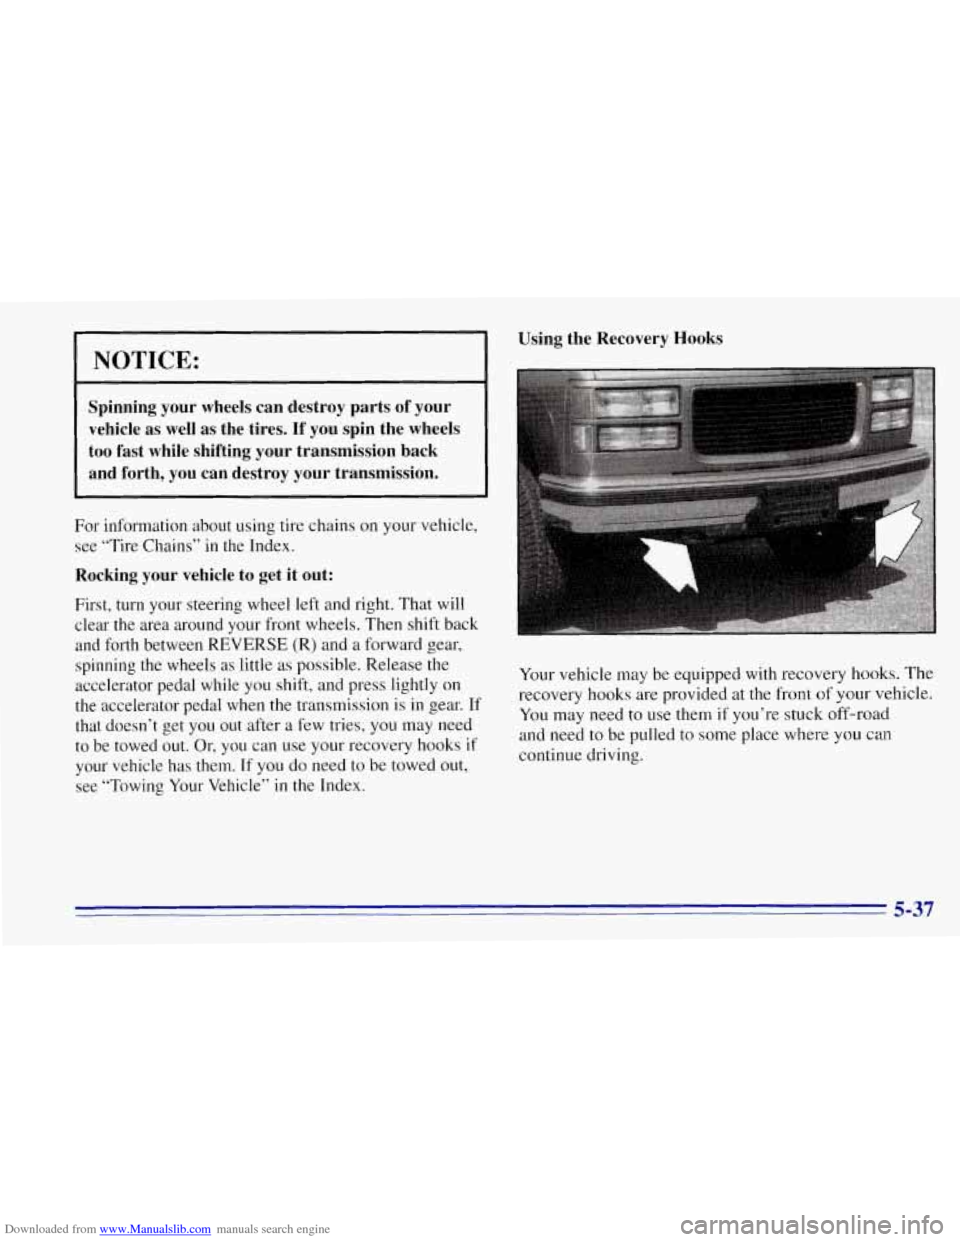
on Your vehicle may be equipped with recovery hooks. The
the accelerator pedal when the transmission is in gear. If recovery hooks are provided at the front of your vehicle.
that doesn’t get you out after a few tries, you may need
You may need to use them if you’re stuck off-road
to be towed
out. Or, you can use your recovery hooks if and need to be pulled to some place where you can
your vehicle has them. If you do need to be towed out, continue driving.
see “Towing Your Vehicle” in the Index.
5-37
Page 262 of 403
Downloaded from www.Manualslib.com manuals search engine A. Battery
B. Air Cleaner
C. Radiator Cap
D. Coolant Recovery Tank
E. Air Filter Restriction Indicator
F. Engine Oil Dipstick
G. Automatic Transmission Dipstick
H. Fan
I. Power Steering Fluid Reservoir
J. Engine Oil Fill
. I '.. t .. L $K. , .,J Brake Fluid Reservoir
L. Windshield Washer Fluid Reservoir
M. Fusemelay Center
N. Storage Compartment
6-9
Page 264 of 403
Downloaded from www.Manualslib.com manuals search engine A. Battery
8. Coolant Recovery’Tank
C. Air Cleaner
D. Radiator Cap
E. Air Filter Restriction Indicator
E Engine Oil Dipstick
G. .Automatic Transmission Dipstick
H. Engine Oil Fill
I. Fan
J. Power Steering Fluid Reservoir
K. Brake Fluid Reservoir
L. Storage Compartment
M. Windshield Washer Fluid Reservoir
N. Fuse/Relay Center
.. 6-11
Page 271 of 403
Downloaded from www.Manualslib.com manuals search engine A ,CAUTION:
Operating the engine with the air cleaner off can
cause
you or others to be burned. The air cleaner
not only cleans the air, it stops flame
if the engine
backfires.
If it isn’t there, and the engine
backfires, you could be burned. Don’t drive with
it
off, and be careful working on the engine with
the air cleaner off.
I
NOTICE:
If the air cleaner is off, a backfire can cause a
damaging engine fire. And, dirt can easily get
into your engine, which will damage
it. Always
have the air cleaner in place when you’re driving.
Automatic Transmission Fluid
When to Check and Change
A good time to check your automatic transmission fluid
level
is when the engine oil is changed.
Change both the fluid and filter every
50,000 miles
(83 000 Ism) if the vehicle is mainly driven under one
or,more of these conditions:
0 In heavy city traffic where the outside temperature
regularly reaches
90” F (32 O C) or higher.
0 In hilly or mountainous terrain.
0 When doing frequent trailer towing.
0 Uses such as found in taxi, police or delivery service.
If you do not use your vehicle under any of these
conditions, the fluid and filter do not require changing.
See “Scheduled Maintenance Services” in
the Index.
6-18
Page 272 of 403
Downloaded from www.Manualslib.com manuals search engine How to Check
Because this operation can be a little difficult, you
may choose to have this done at your GM dealer
Service Department.
If you do it yourself, be sure to follow all the instructions
here, or you could get a false reading on the dipstick.
NOTICE:
Too much or too little fluid can damage your
transmission.
Too much can mean that some of
the fluid could come out and fall on hot engine parts or exhaust system parts, starting a fire. Be
sure to get an accurate reading if
you check your
transmission fluid.
Wait at least 30 minutes before checking the
transmission fluid level if you have been driving:
When outside temperatures are above 90°F (320C).
At high speed for quite a while.
In heavy traffic -- especially in hot weather.
While pulling a trailer.
To get the right reading, the fluid should be at normal
operating temperature, which is
180°F to 200°F
(82°C
to 93°C).
Checking Transmission Fluid Hot
Get the vehicle warmed up by driving about 15 miles
(24 km) when outside temperatures are above 50°F
(10°C). If it's colder than 50°F ( lO"C), drive the
vehicle in
DRIVE (D) until the engine temperature gage
moves and then remains steady for
10 minutes. Then
follow the hot check procedures.
6-19
Page 273 of 403
Downloaded from www.Manualslib.com manuals search engine Checking Transmission Fluid Cold
A cold check is made after the vehicle has been sitting
for eight hours or more with the engine off and is used
only
as a reference. Let the engine run at idle for five
minutes if outside temperatures are
50°F ( 10°C) or
more.
If it's colder than 50°F ( lO"C), you may have to
idle the engine longer. Should the fluid level be low
during a cold check, you
must perform a hot check
before adding fluid. This will give you
a more accurate
reading
of the fluid level.
Checking the Fluid Hot or Cold
Park your vehicle on a level place. Keep the
engine running.
With the parking brake applied, place the shift lever
in PARK (P).
With your foot on the brake pedal, move the shift
lever through each gear range, pausing for about
three seconds
in each range. Then, position the shift
lever
in PARK (P).
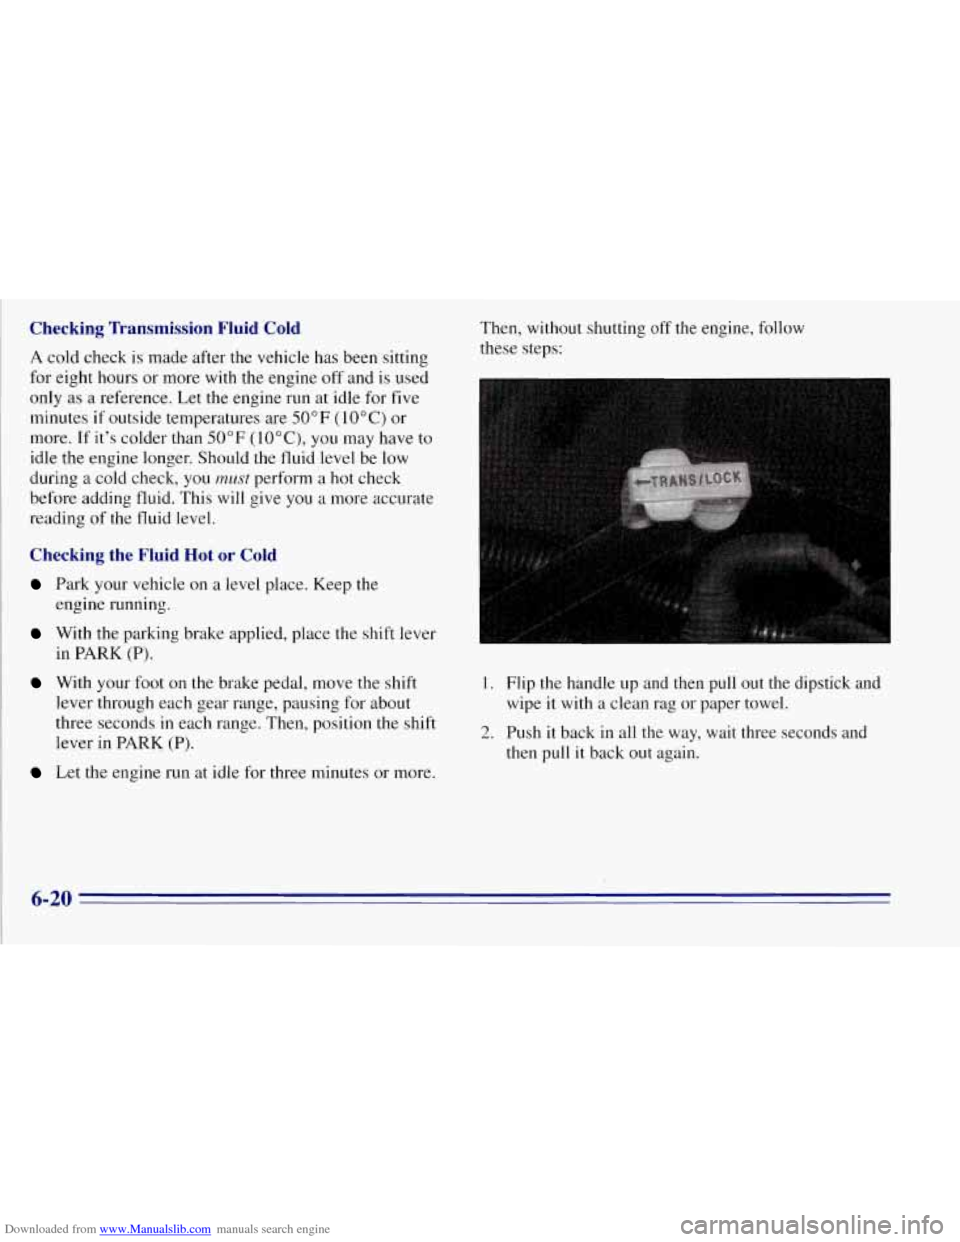
Let the engine run at idle for three minutes or more. Then,
without shutting off the engine, follow
Lhese steps:
1. Flip the handle up and then pull out the dipstick and
wipe it with
a clean rag or paper towel.
2. Push it back in all the way, wait three seconds and
then pull it back out again.
6-20
Page 274 of 403
Downloaded from www.Manualslib.com manuals search engine How to Add Fluid
Refer to the Maintenance Schedule to determine what
kind
of transmission fluid to use. See “Recommended
Fluids and Lubricants” in the Index.
Add fluid only after checking the transmission fluid
HOT. (A COLD check is used only as a reference.)
.If the fluid level is low, add only enough of the proper
fluid to bring the level up to
the HOT area for a hot
check. It doesn’t take
much fluid, generally less than a
pint
(0.5 L). Don ’t ovetjill. We recommend you use only
fluid labeled DEXR0N’-III, because fluid with that
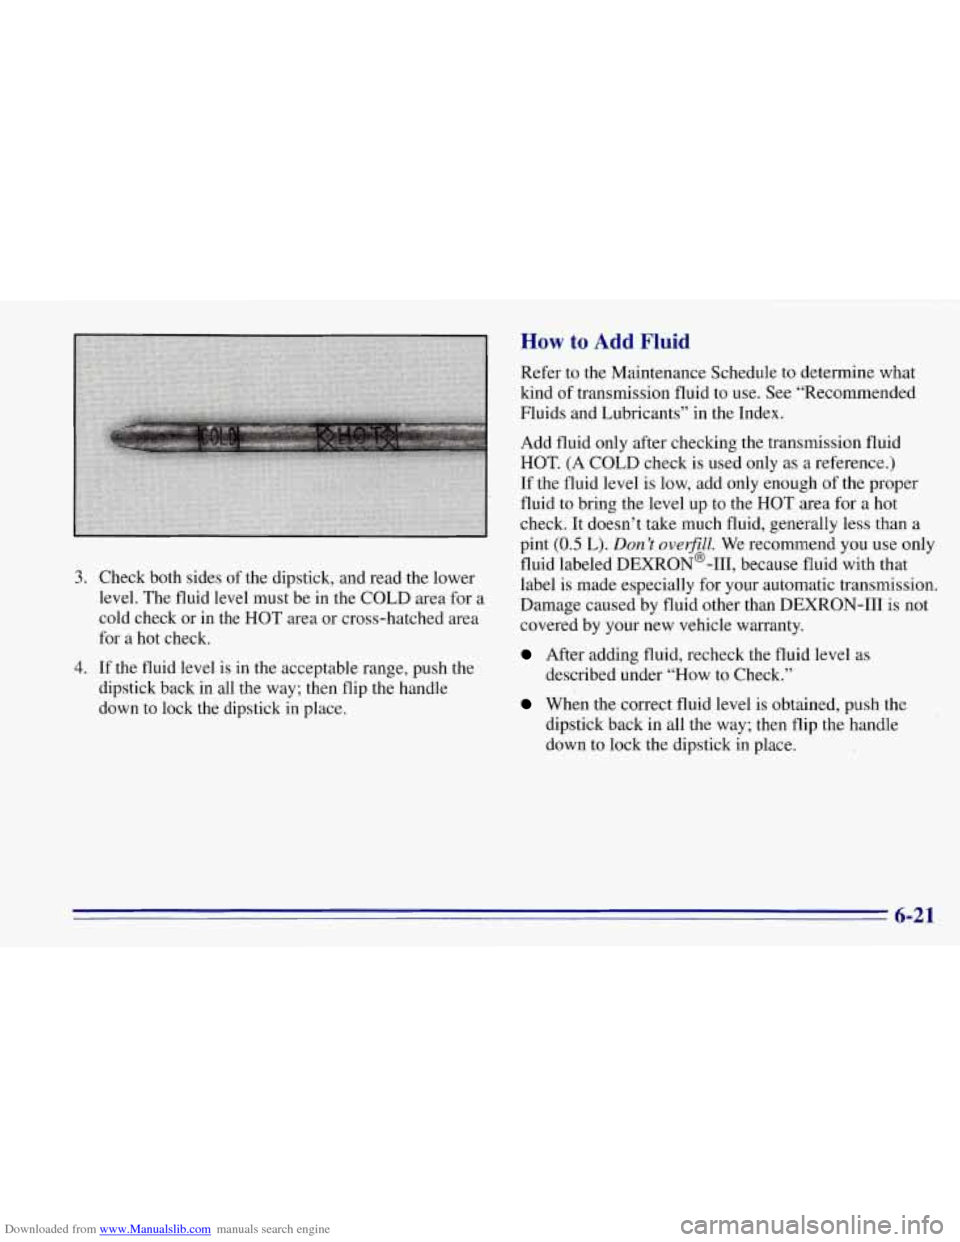
3. Check both sides of the dipstick, and read-the lower label is made especially for your automatic transmission.
level. The fluid level IINLSt be in the COLD area for a Damage cauwd by fluid other than DEXRO;N-III
is not
cold check or in the HOT area or cross-hatched area covered b\
y
your new vehicle warranty.
for a hot check.
After adding fluid, recheck the fluid level as 4. If the fluid level is in the acceptable range, push the
dipstick back in all the way; then flip the handle
down to lock the dipstick in place.
whin the correct fluid level is obtained, push the
described under “How to Check.”
dipstick back in all the way; then flip the handle
down to lock the dipstick in place.
’
6-21